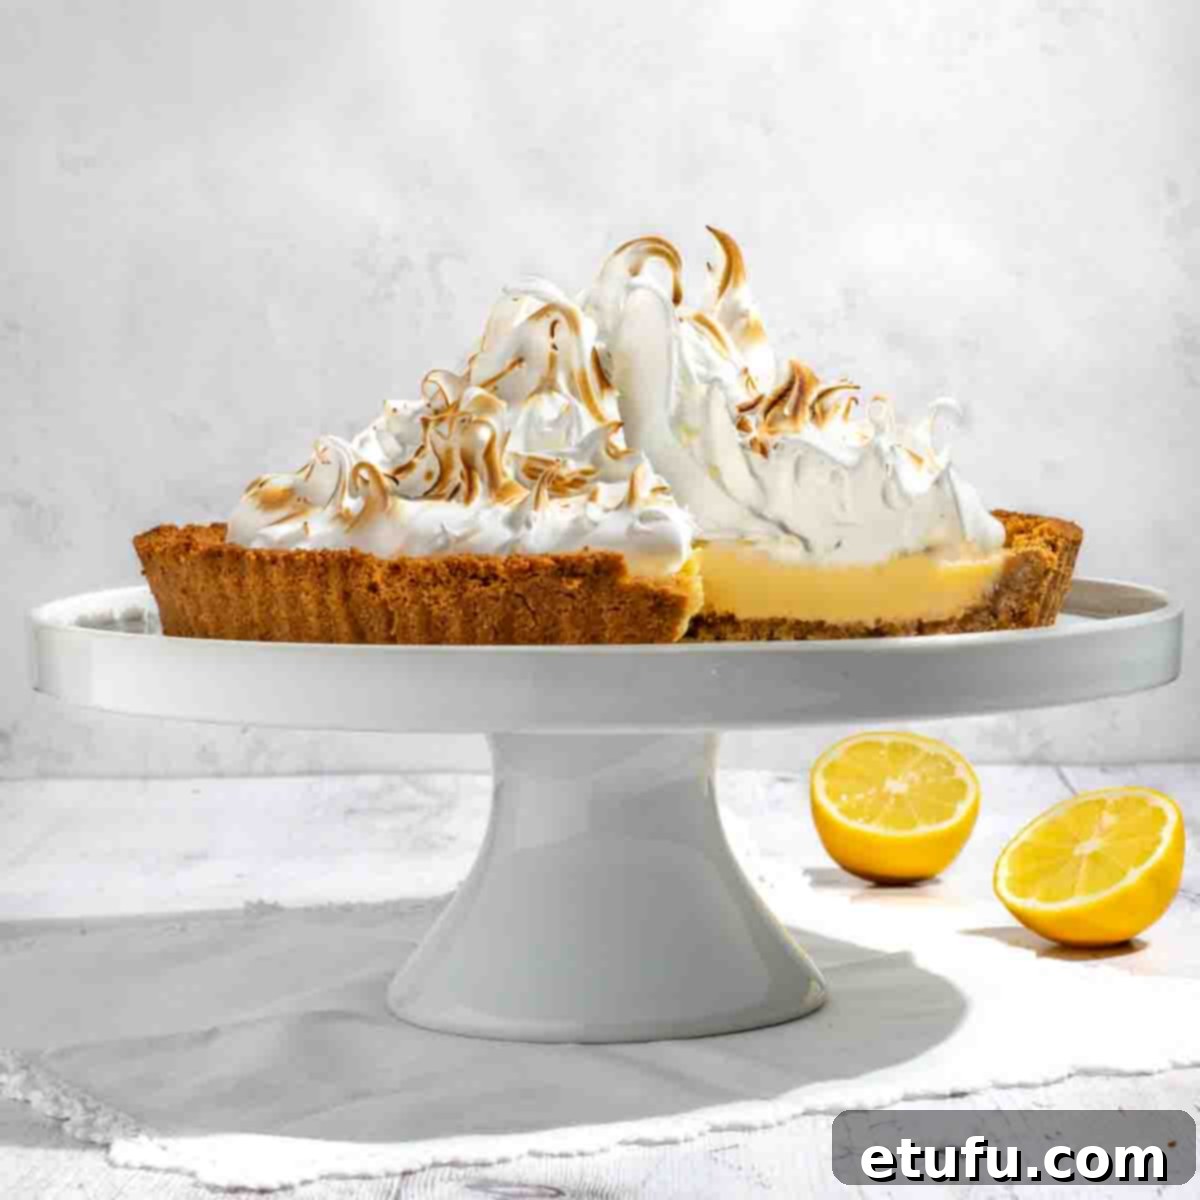
Embark on a delightful culinary journey with our remarkably effortless **Biscuit Base Lemon Meringue Pie** recipe. We admit a touch of bias, but we genuinely believe this rendition embodies simplicity and deliciousness, offering a stunning dessert without the typical baking complexities. Forget the fuss and frustration often associated with traditional pastry; this recipe eliminates pastry tantrums entirely, replacing them with a quick, no-bake crust that sets the stage for a truly showstopping experience.
This recipe revolutionizes the classic Lemon Meringue Pie, transforming it into an accessible masterpiece perfect for any home baker, regardless of experience. Its streamlined approach to both the crust and the filling makes it a go-to dessert for entertaining or a special weeknight treat. If your heart truly yearns for the vibrant tang of lemon and the sweet embrace of meringue, you absolutely cannot miss out on this incredible dessert. For another lemon-infused sensation, you might also enjoy our Lemon Meringue Cheesecake.
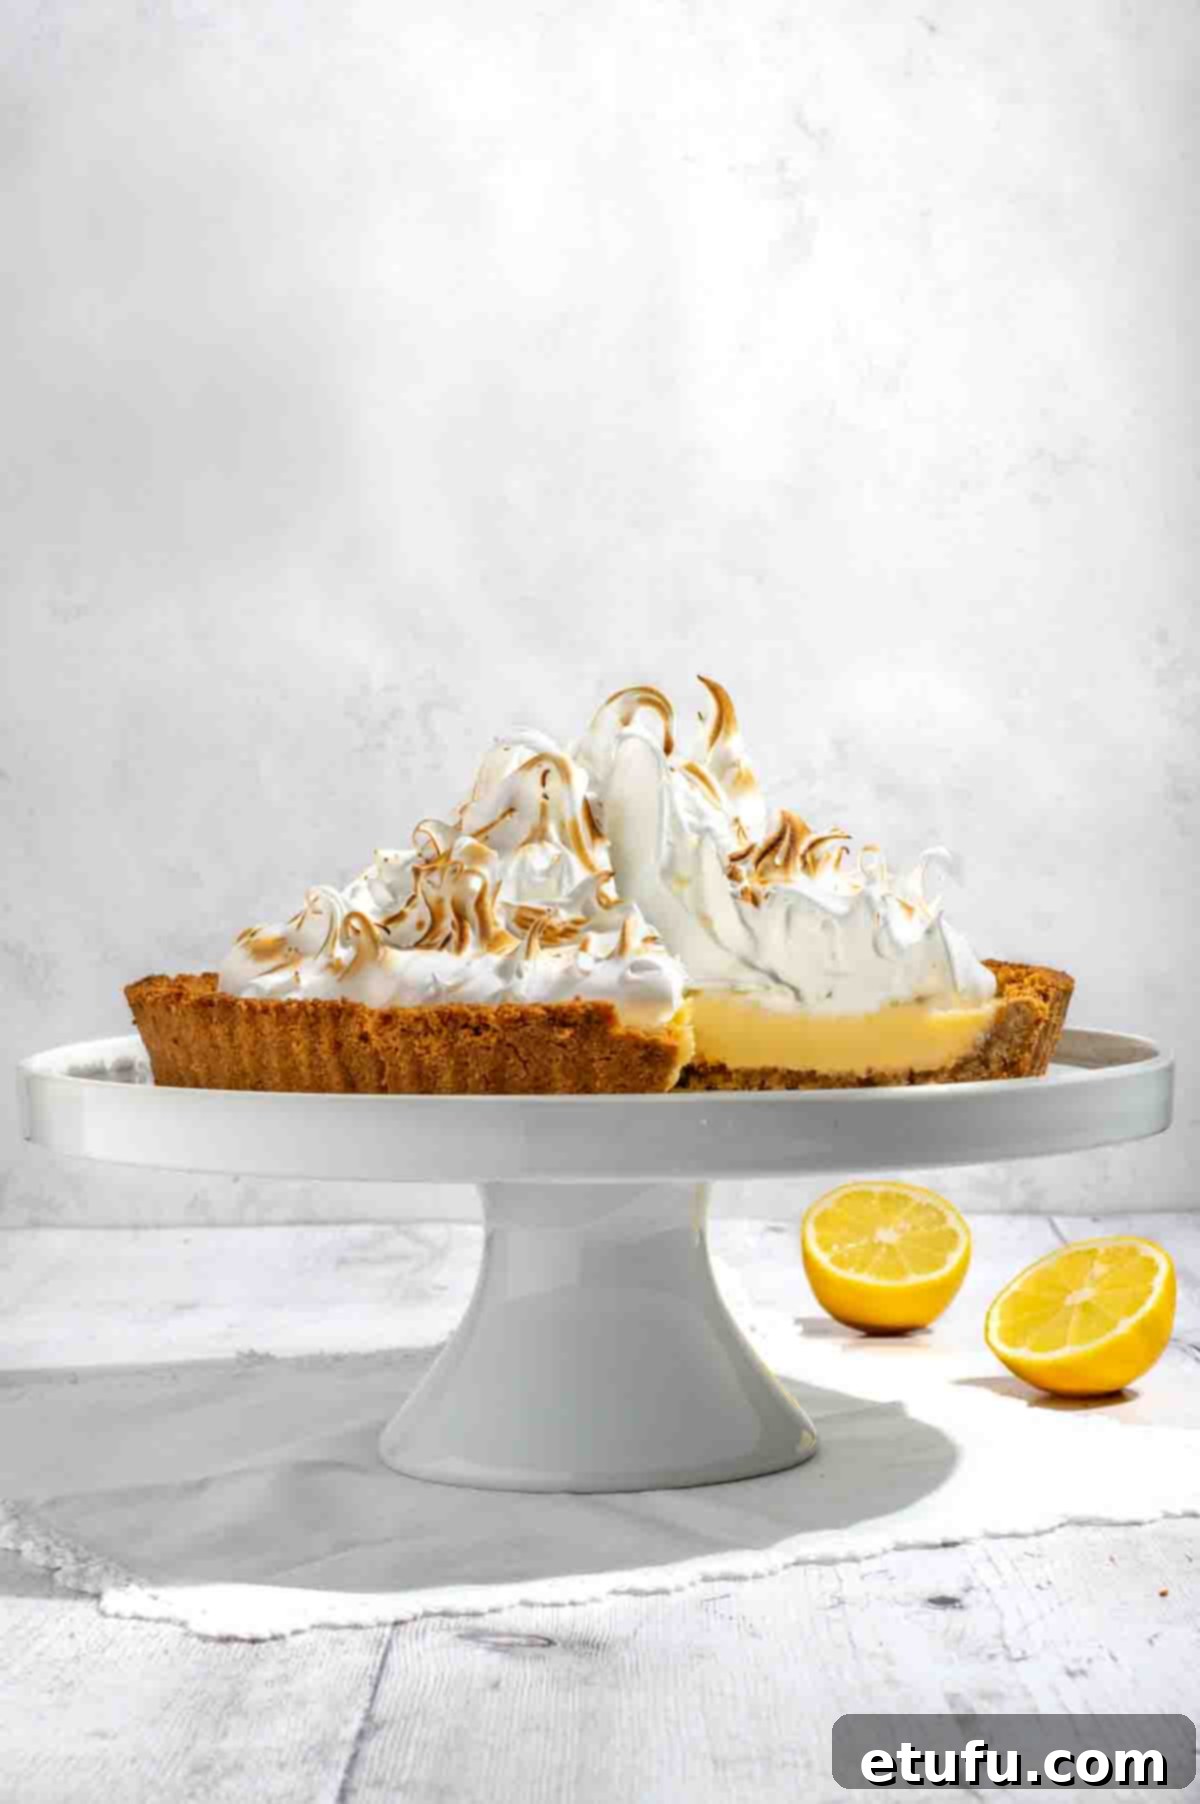
The secret to our velvety smooth lemon filling lies in the ingenious use of condensed milk. This choice marks a delightful departure from the more traditional lemon curd-style fillings, which often demand meticulous stove-top maneuvers, careful tempering of egg yolks, and precise flour incorporation. Here, you’ll find none of that time-consuming fuss – just a simple, quick mix that comes together beautifully before a brief bake. The result is a lusciously creamy, perfectly tart, and sweet lemon layer that forms the heart of this exquisite pie.
And now, for the pièce de résistance: a billowy, marshmallow-like cloud of **Swiss Meringue**. This elegant topping effortlessly bypasses the common pitfalls of baked meringue, which can sometimes weep or bead after just a few hours. Moreover, it offers a safe and appealing alternative to raw-egg white meringues, a style we’ve never truly favored for home baking. Our Swiss meringue achieves a glorious height and glossy finish, holding its shape beautifully and adding an undeniable ‘wow’ factor to every slice.
Crafted to perfection, the lemon flavor in this pie is impeccably balanced. It delivers a bright, refreshing tang without being overly tart, ensuring a delightful taste experience that appeals to a wide array of palates. This harmonious blend of sweet, tart, and creamy textures, all nestled within a buttery biscuit crust, truly makes for an unforgettable **Lemon Meringue Pie**.
Why You’ll Adore This Easy Lemon Meringue Pie Recipe
This isn’t just another dessert recipe; it’s an invitation to effortlessly create a classic with modern ease. Here’s why our **Biscuit Base Lemon Meringue Pie** is destined to become your new favorite:
- Effortless, Buttery Biscuit Base: Say goodbye to the demanding process of traditional pastry. Our no-bake, buttery biscuit base comes together in minutes, requiring no chilling or blind baking, saving you time and stress.
- Luxuriously Creamy Lemon Filling: We elevate the filling by using condensed milk, which imparts a velvety richness and creamy texture often missing in more traditional lemon curd-style pies. It’s wonderfully smooth, tangy, and sweet.
- Stable, Silky Swiss Meringue: Topped with a magnificent Swiss meringue, this pie boasts a cloud-like, stable topping that resists weeping and beading. It’s a safer, more reliable alternative to raw-egg white meringues and holds its perfect form beautifully.
- Perfectly Balanced Lemon Flavor: Our recipe is meticulously crafted to deliver a vibrant lemon punch that is perfectly balanced – wonderfully tangy without being overwhelmingly sour. It’s a flavor profile designed to please everyone.
- Showstopping Presentation: Despite its simplicity, this pie presents beautifully, making it an ideal choice for special occasions, gatherings, or simply to impress your loved ones with minimal effort.
Key Ingredients and Clever Substitutions for Your Lemon Pie
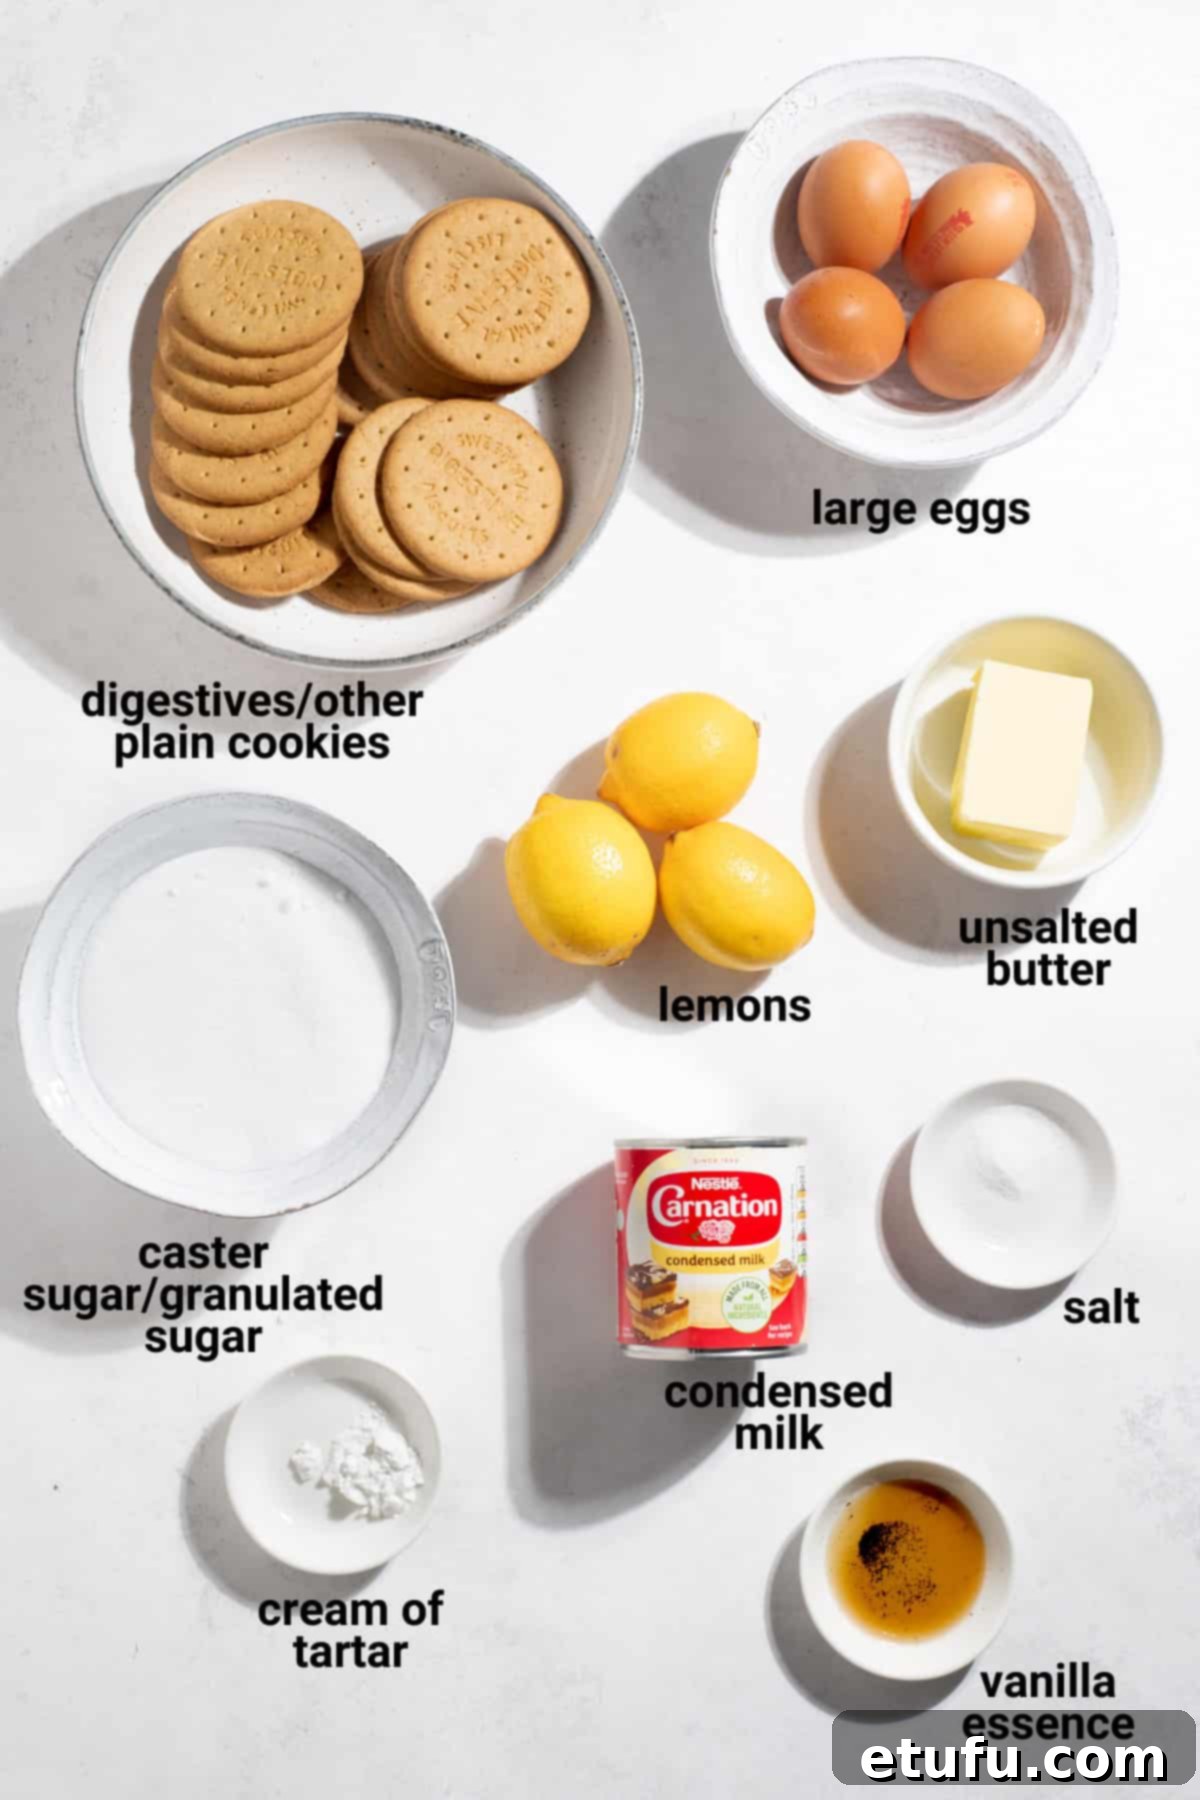
Crafting the perfect **Biscuit Base Lemon Meringue Pie** begins with understanding the role of each ingredient. Below, we delve into the essential components and offer smart substitutions to ensure your pie is nothing short of spectacular.
The Perfect Biscuit Base: Your Effortless Foundation
For this delightful and fuss-free tart base, the choice of biscuits is crucial for achieving the right texture and flavor. Any plain, relatively dry cookie works wonderfully. Classic options include **digestive biscuits**, **Graham crackers**, or **Marie biscuits**. These varieties crush easily and absorb butter beautifully, forming a firm yet tender crust.
Looking to experiment with flavor? Some fantastic alternatives include rich, buttery **Scottish shortbreads** for a more indulgent base, or the delightful, spicy kick of **ginger nut biscuits**. Shortbread adds a luxurious melt-in-your-mouth quality, while ginger nuts introduce a warm, aromatic note that complements the bright lemon filling exquisitely. Whichever you choose, ensure they are finely crushed to create a cohesive base.
Lemons: The Soul of Your Meringue Pie
The vibrant, tangy essence of lemon is undeniably the star of any **Lemon Meringue Pie**. You’ll need precisely **120ml (approximately half a US cup)** of freshly squeezed lemon juice. Lemon sizes can vary quite a bit, but typically, you’ll find that about 3-4 medium-sized lemons will yield this amount of juice. It’s worth the effort to squeeze them yourself.
We implore you, spare your exquisite tart from the injustice of bottled lemon juice! That stuff, quite frankly, belongs in flavor jail. Its artificial and often metallic taste is a soul-crushingly wrong choice for a dessert where fresh, bright lemon flavor is paramount. **Freshly squeezed lemons** deserve the only starring role here, lending an unparalleled aroma and natural tartness that simply cannot be replicated.
Beyond the juice, you’ll also need the **zest from one lemon** (based on a medium-sized lemon). Again, as lemons are a diverse bunch, aim for the zest equivalent of about a heaped, loosely packed teaspoon. The zest contains essential oils that deliver a concentrated burst of lemon aroma and flavor, adding depth and brightness to the filling. A crucial tip: **before you joyfully squeeze those lemons, don’t forget to zest one first!** It’s an easy step to overlook, and trying to zest a juiced lemon is a task no one enjoys.
Condensed Milk: The Creamy Game-Changer
Our decision to use **condensed milk** in the lemon meringue filling is a key highlight, creating what we consider our absolute favorite type of pie! This ingredient is a true game-changer for several compelling reasons:
Firstly, it’s an absolute breeze to whip up. Compared to the meticulous effort required for traditional egg and flour-based lemon curds, which demand constant stirring and careful temperature control, condensed milk simplifies the process dramatically. This means less time fussing over a hot stove and more time enjoying the anticipation of your delicious dessert.
Secondly, and perhaps most importantly, that unparalleled creaminess! The condensed milk adds a luscious richness and silky-smooth texture that is often missed in more traditional lemon meringue pies. It gives the filling a luxurious mouthfeel that perfectly complements the tart lemon and fluffy meringue.
Depending on your global location, cans of condensed milk may vary slightly in weight. For this recipe, we typically use a 397g can and round it up to 400g in the recipe card for convenience. The difference is usually just a few grams, and rest assured, a few grams over or under won’t impact the recipe’s success. The consistency and flavor profile will remain perfectly intact.
Eggs: The Foundation of Structure and Richness
You’ll need **four large eggs** for this recipe, carefully separated into whites and yolks. It is absolutely crucial that these eggs are at **room temperature** before you begin. Room temperature eggs separate more easily, and egg whites whip up to a greater volume when not cold, leading to a much more stable and voluminous meringue.
Take extra special care not to let even the slightest trace of egg yolk slip into the egg whites. Yolk contains fat, and fat is the enemy of meringue, preventing the whites from whipping up properly. If even a tiny bit of yolk gets in, it’s best to discard that white and use a fresh one for the meringue. Your patience in this step will be richly rewarded with a perfectly fluffy topping.
Caster Sugar: The Sweetener for Silky Meringue
**Caster sugar** is our preferred choice for the Swiss meringue because its finer granules dissolve quickly and seamlessly into the egg whites during the heating process. This contributes to a beautifully smooth, glossy, and stable meringue texture.
However, if caster sugar isn’t readily available, regular white granulated sugar works perfectly well as an alternative. Just be aware that you might need a tad more patience and a few extra minutes of whisking over the double boiler to ensure all the sugar crystals have completely dissolved into the egg whites. The goal is to feel no graininess between your fingertips when testing the mixture.
Cream of Tartar: The Meringue’s Best Friend
A mere **half teaspoon of cream of tartar** plays an indispensable role in the success of your Swiss meringue. This acidic salt acts as a stabilizer, providing crucial support to the egg white proteins as they whip. It helps to maintain the meringue’s structure, preventing it from collapsing and promoting that desirable smooth, glossy texture.
Functionally, cream of tartar enhances the protein bonding within the egg whites, leading to a much more stable, voluminous, and resilient meringue that holds its peaks beautifully. It’s a small addition that makes a significant difference in achieving a professional-quality meringue every time.
Step-by-Step Guide to Your Perfect Lemon Meringue Pie
Follow these detailed instructions to create a truly irresistible **Biscuit Base Lemon Meringue Pie**. Each step is designed for clarity and success, guiding you from a simple biscuit crumb to a towering meringue masterpiece.
- Preheat your oven to **180°C (350°F)**. This ensures it’s ready for the lemon filling as soon as your base is prepared.
Crafting the Easy Biscuit Base
This no-bake base is your shortcut to deliciousness, requiring minimal effort for maximum flavor and crunch.
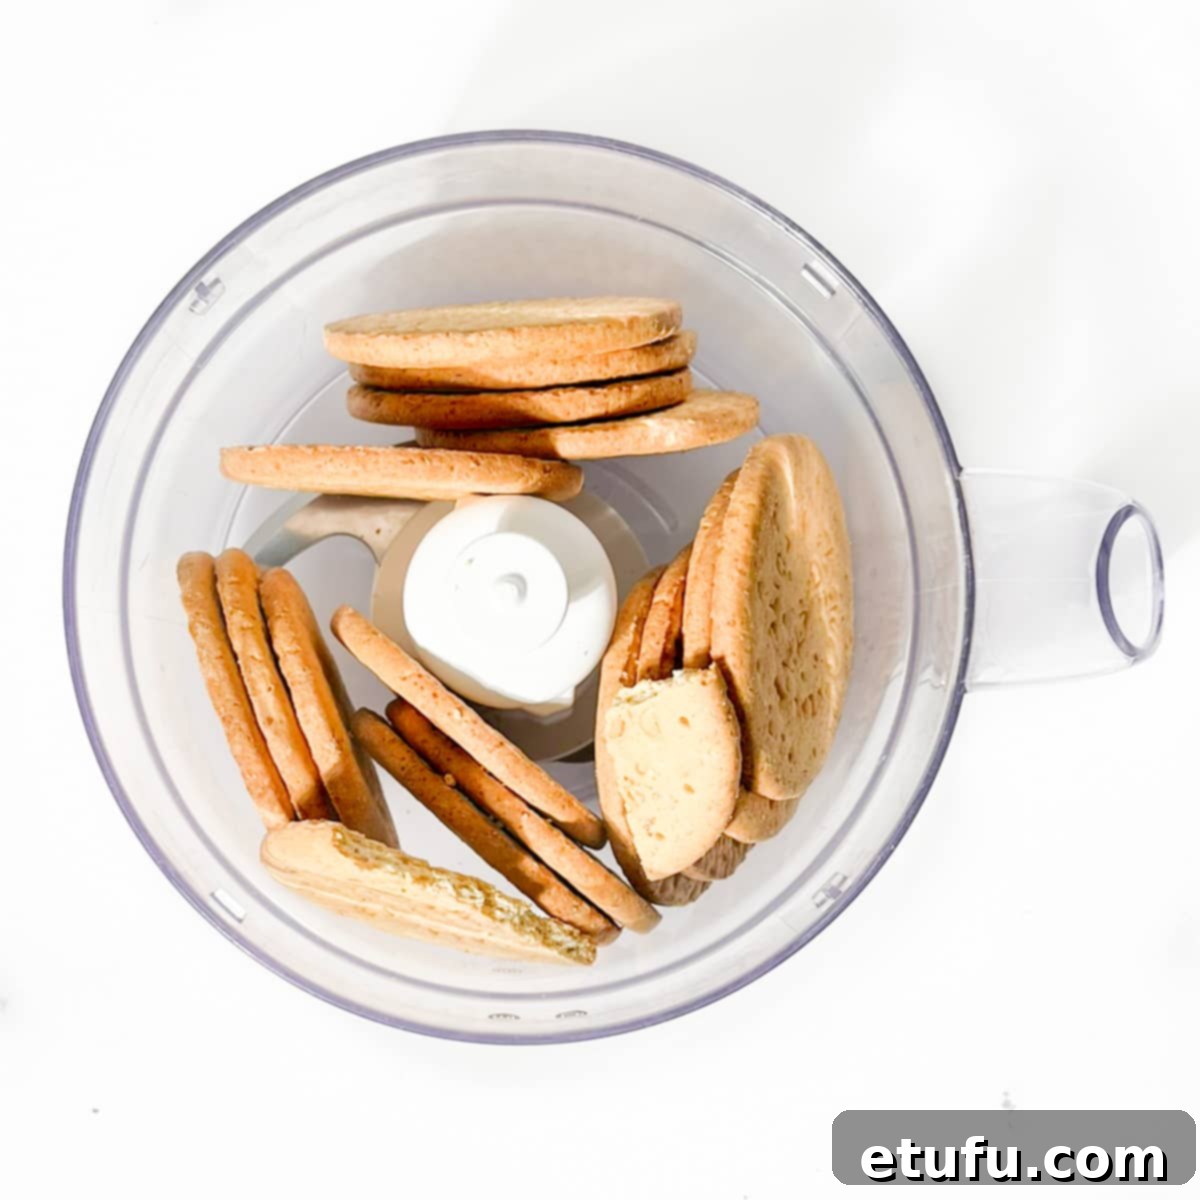
- Add your chosen biscuits (digestives, Graham crackers, or Marie biscuits work perfectly) into the bowl of a food processor. Whizz them until you achieve fine, even crumbs. Alternatively, for a bit of stress relief, place the biscuits in a sturdy plastic bag and give them a good bashing with a rolling pin until thoroughly crushed.
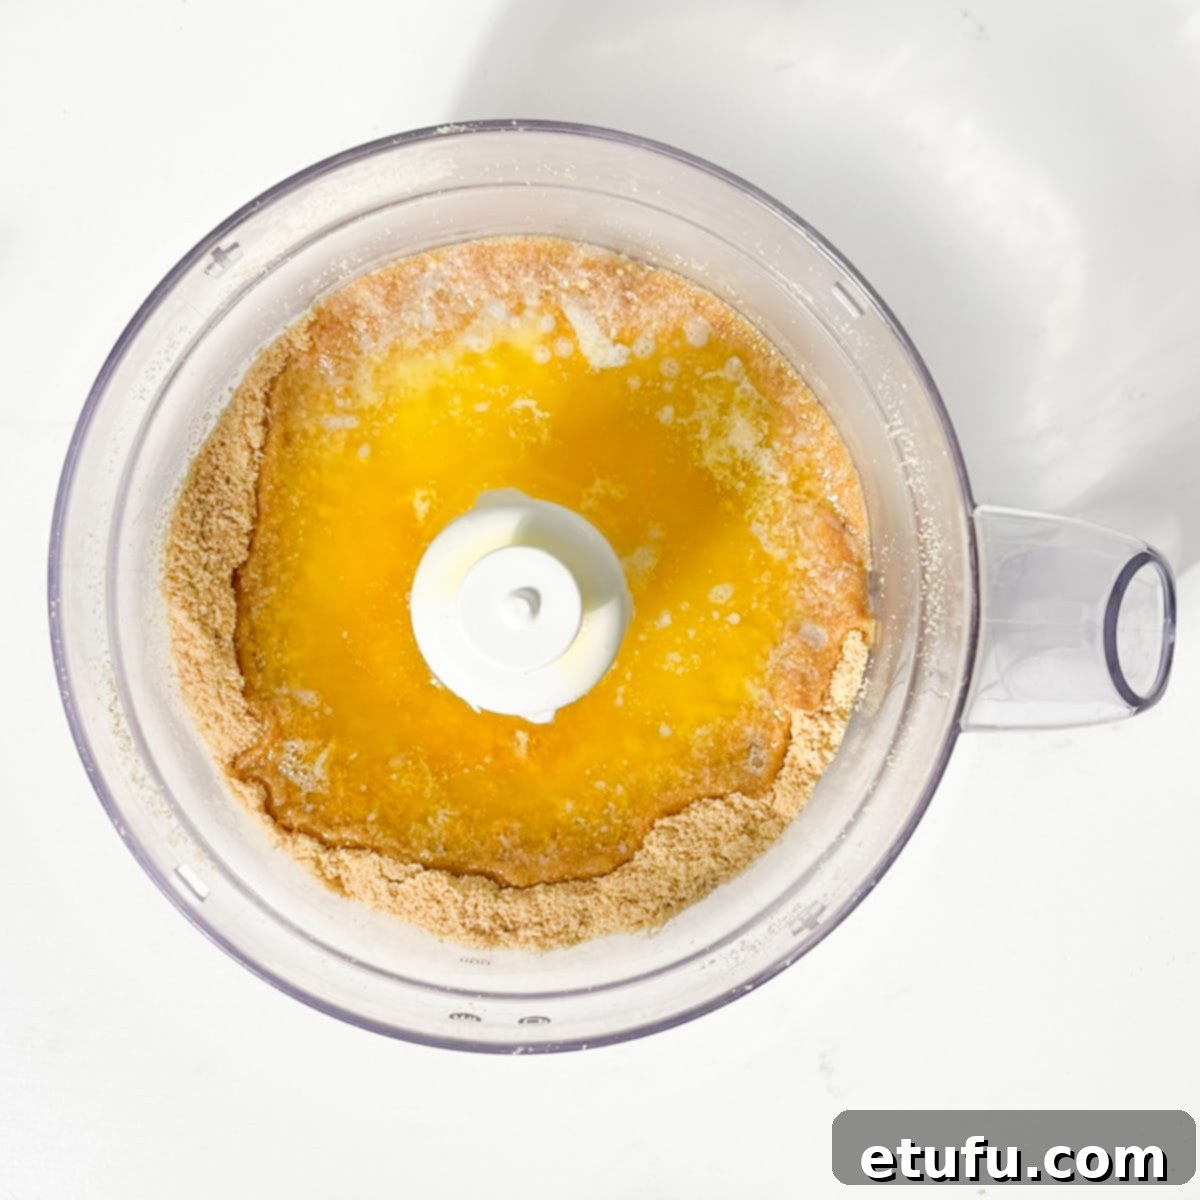
- Melt the unsalted butter either quickly in the microwave or gently in a small saucepan on the stove. Once melted, pour the butter evenly over your biscuit crumbs. Mix thoroughly until all the crumbs are uniformly coated with butter. This ensures your base will hold its shape and have a rich, buttery flavor.
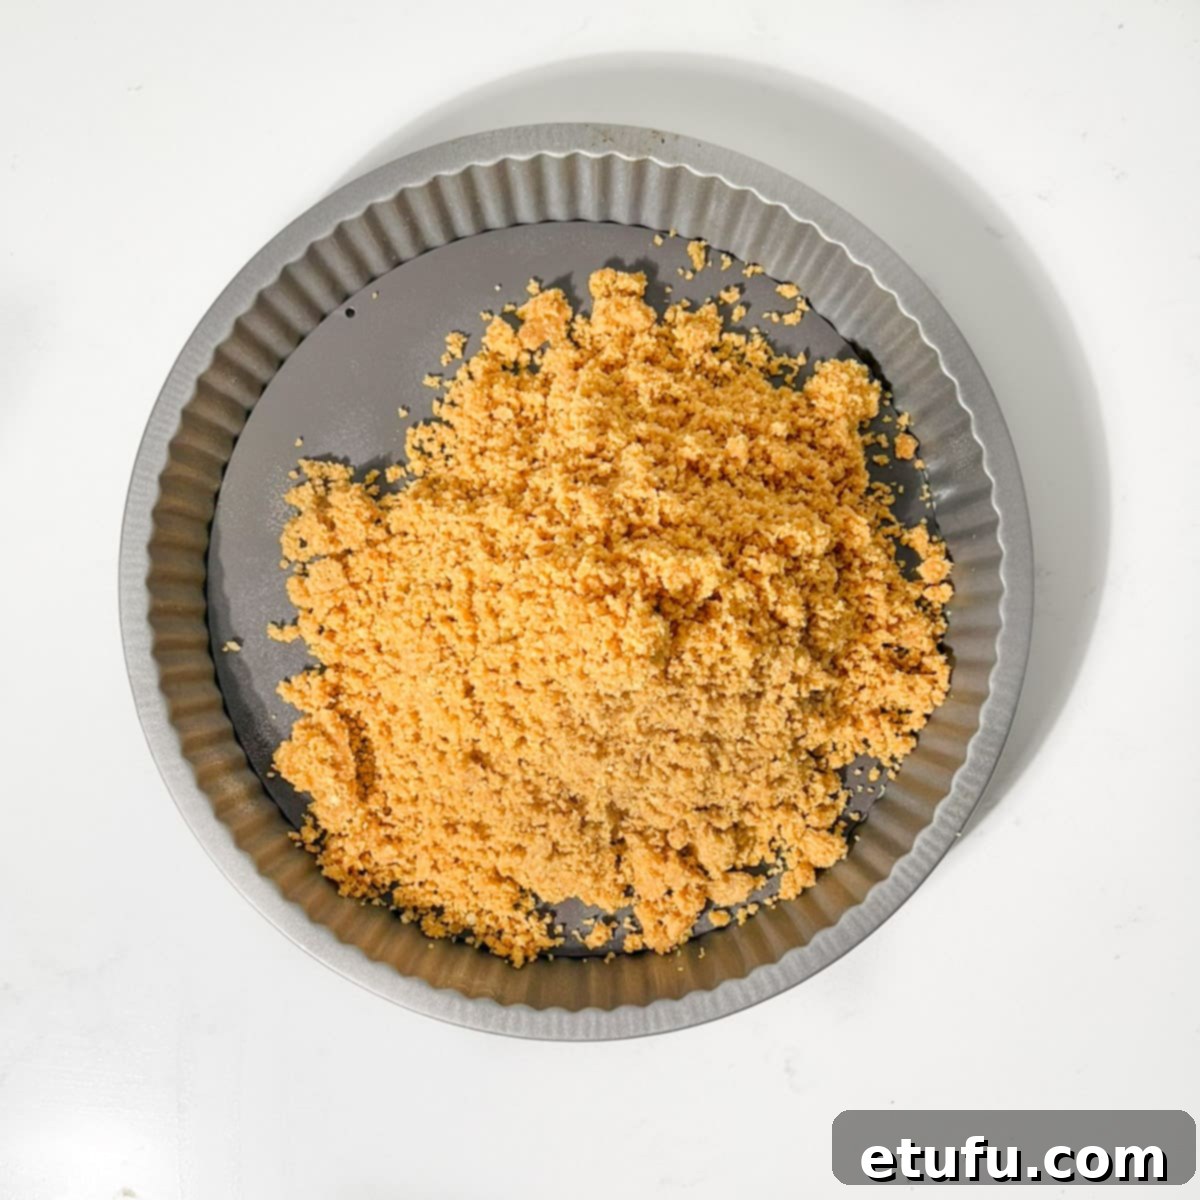
- Transfer the buttery crumb mixture into a tart tin or a pie dish, ideally one that is approximately **23cm (9 inches)** in diameter. A removable bottom tart tin makes serving much easier.
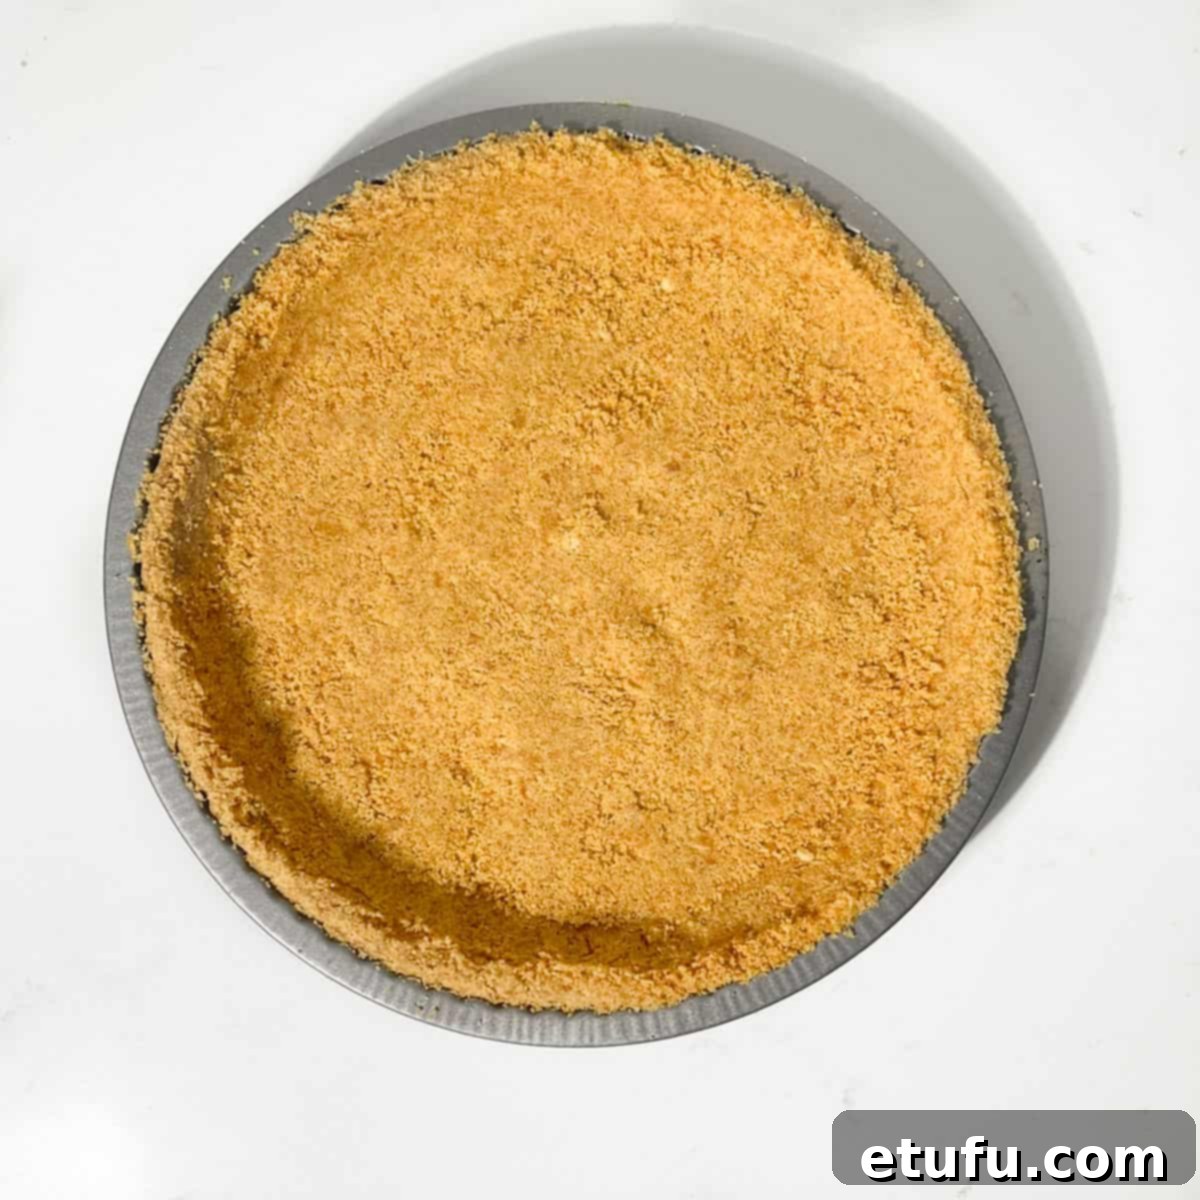
- Press the crumbs down very firmly into the dish. Ensure they cover the entire bottom surface and extend evenly up the sides of the tin to form a sturdy crust. The back of a spoon or the flat bottom of a drinking glass are excellent tools for compacting the crumbs tightly. A well-compacted base will prevent crumbling when sliced.
- Place the prepared biscuit base in the fridge to chill and firm up while you prepare the filling. This crucial step helps the base set and prevents it from becoming soggy during baking.
Preparing the Zesty Lemon Filling
This condensed milk filling is incredibly simple and delivers a burst of fresh lemon flavor that’s both sweet and tangy.
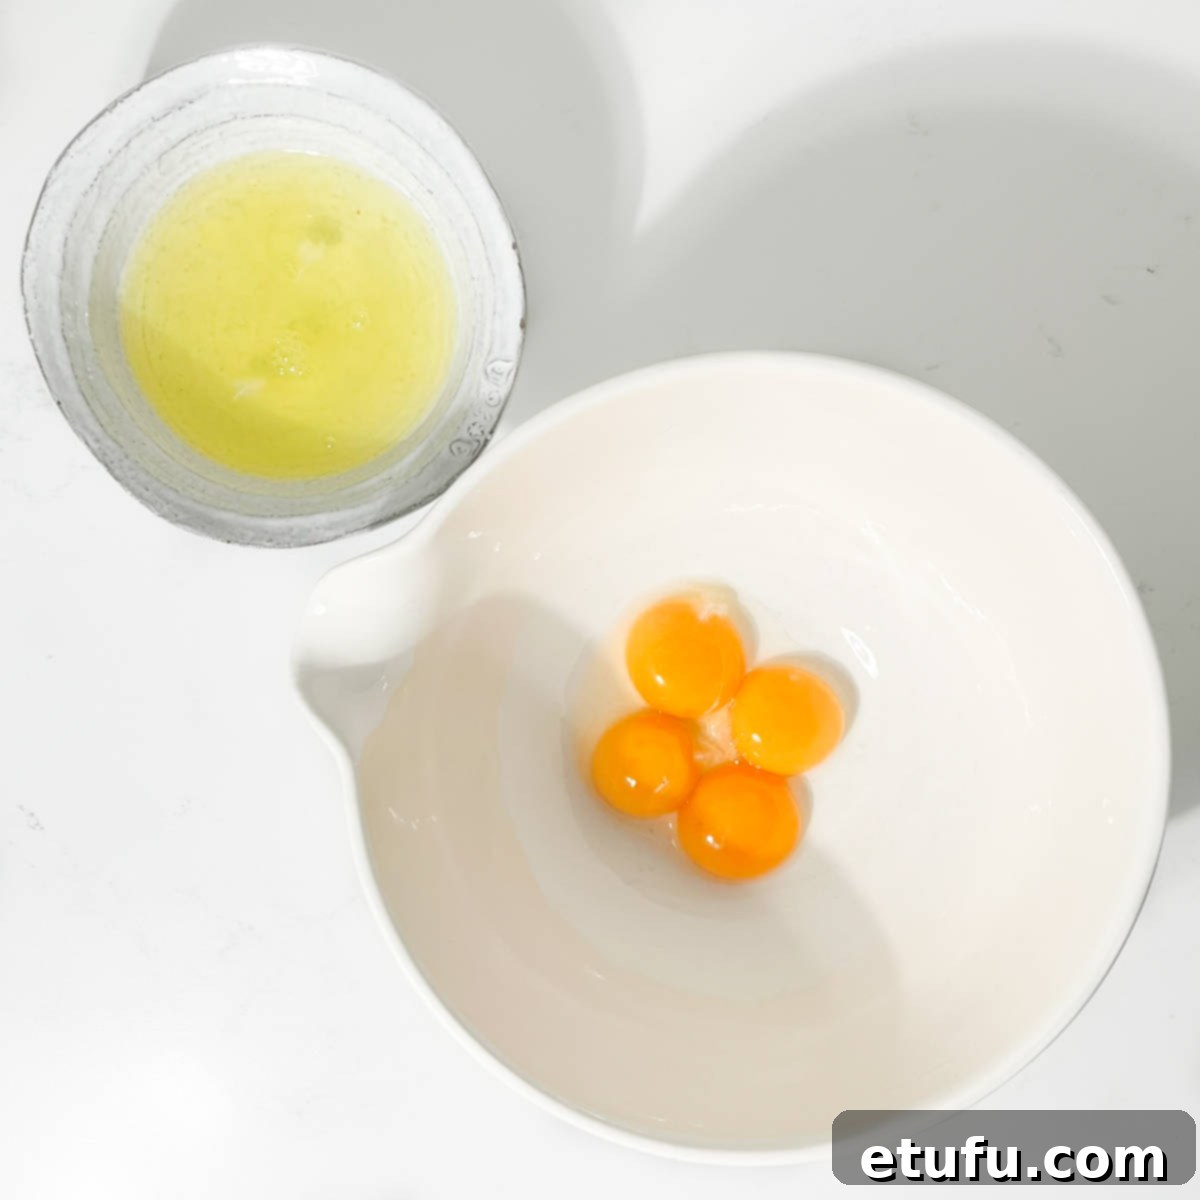
- Carefully separate your room temperature eggs. Be extra vigilant to ensure no traces of egg yolk contaminate the egg whites, as this is vital for a successful meringue later. Reserve the whites for the meringue topping.
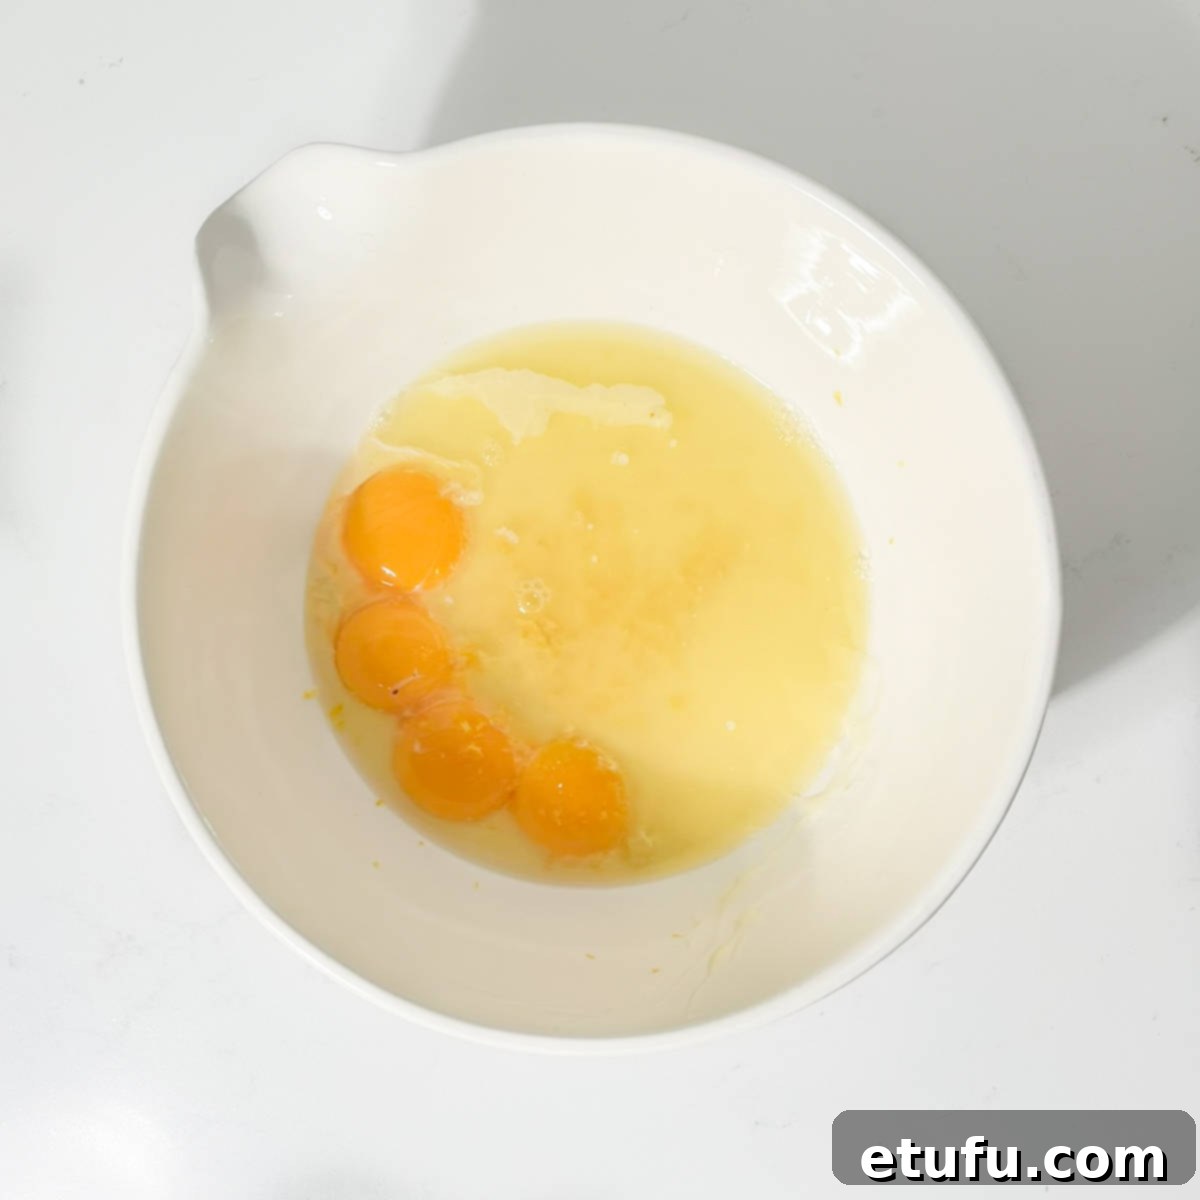
- In a large mixing bowl, combine the egg yolks, the entire can of condensed milk, freshly squeezed lemon juice, and the aromatic lemon zest.
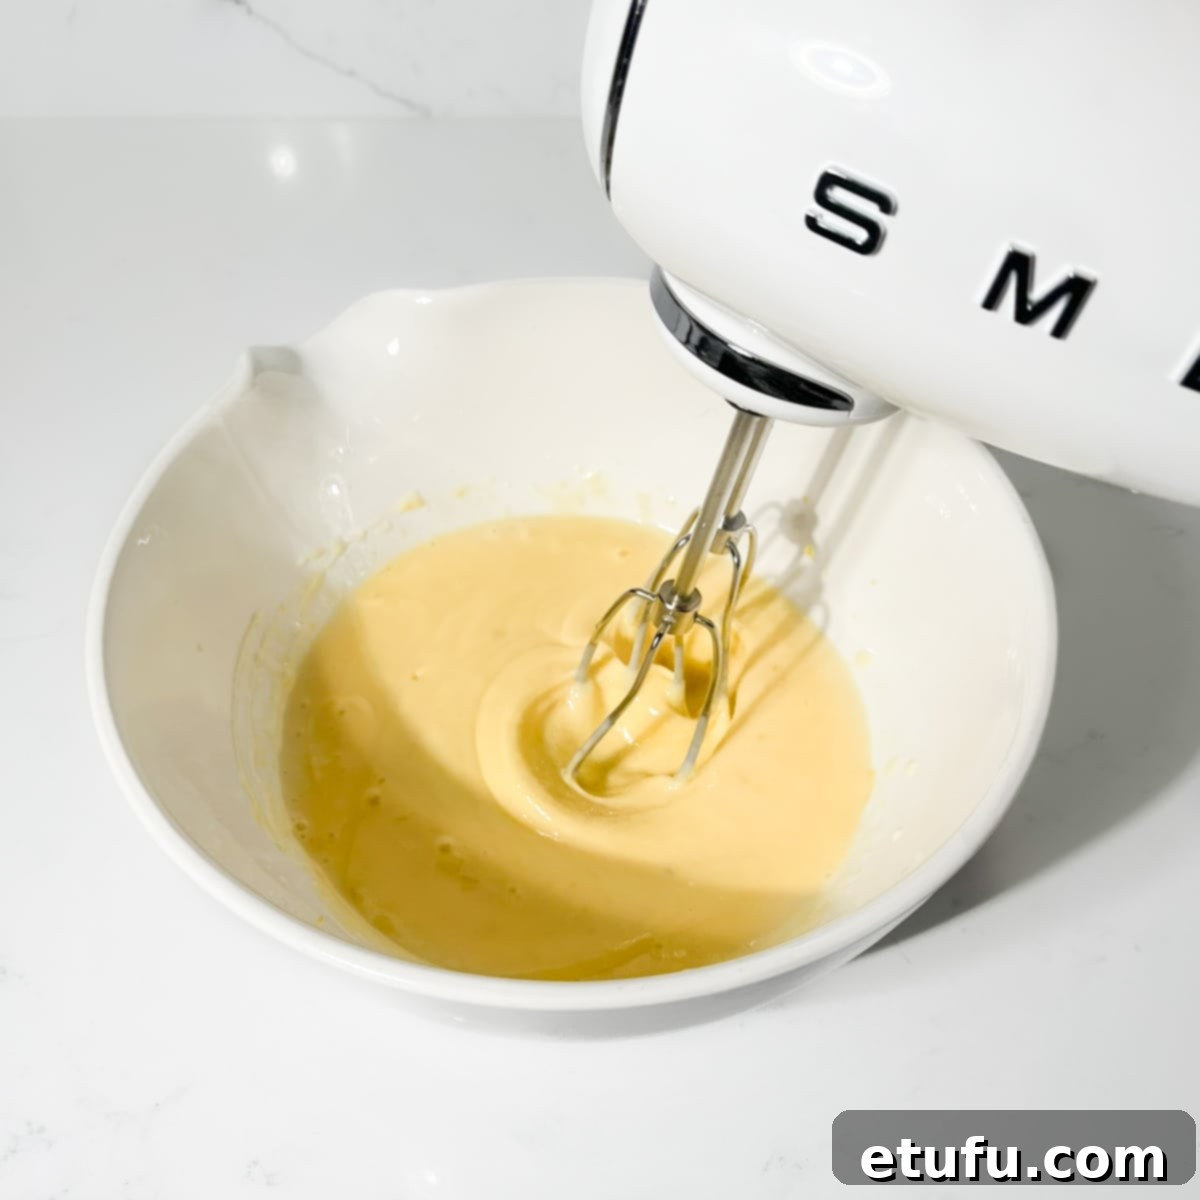
- Whisk this mixture thoroughly. You can use an electric hand mixer for efficiency or a sturdy hand whisk. Continue mixing for approximately **1-2 minutes** until all ingredients are fully incorporated and the mixture is smooth. You’ll notice the condensed milk begins to thicken slightly as it reacts with the acidity of the lemon juice – this is perfectly normal and desired.
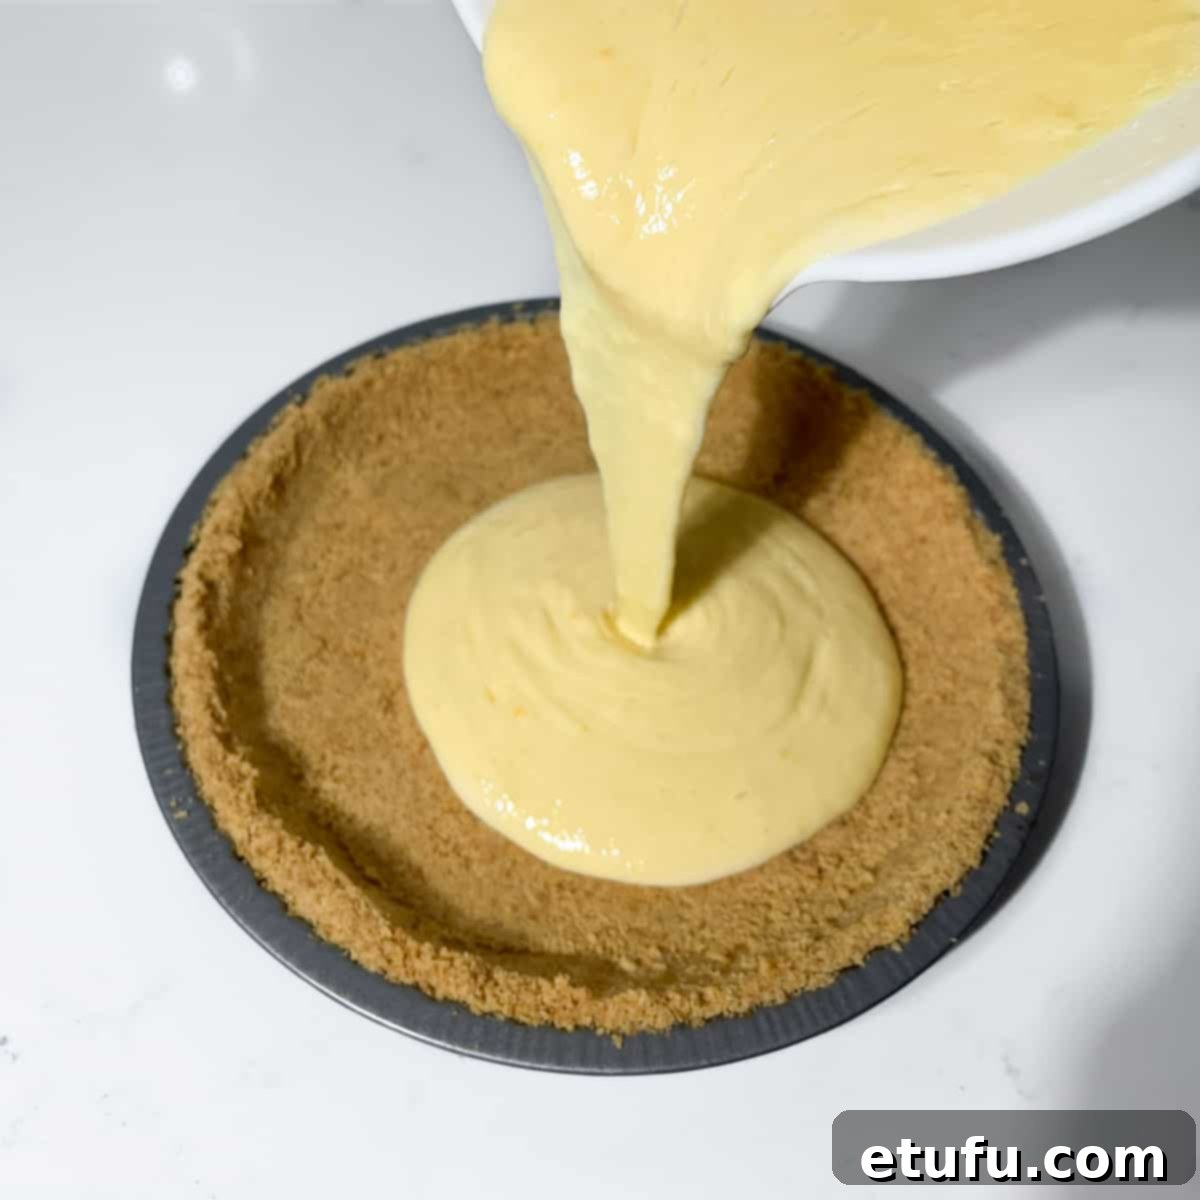
- Retrieve your chilled cookie base from the fridge. Gently pour the tangy lemon filling evenly onto the base. Tilt the tin from side to side very carefully to ensure the filling spreads and levels out completely.
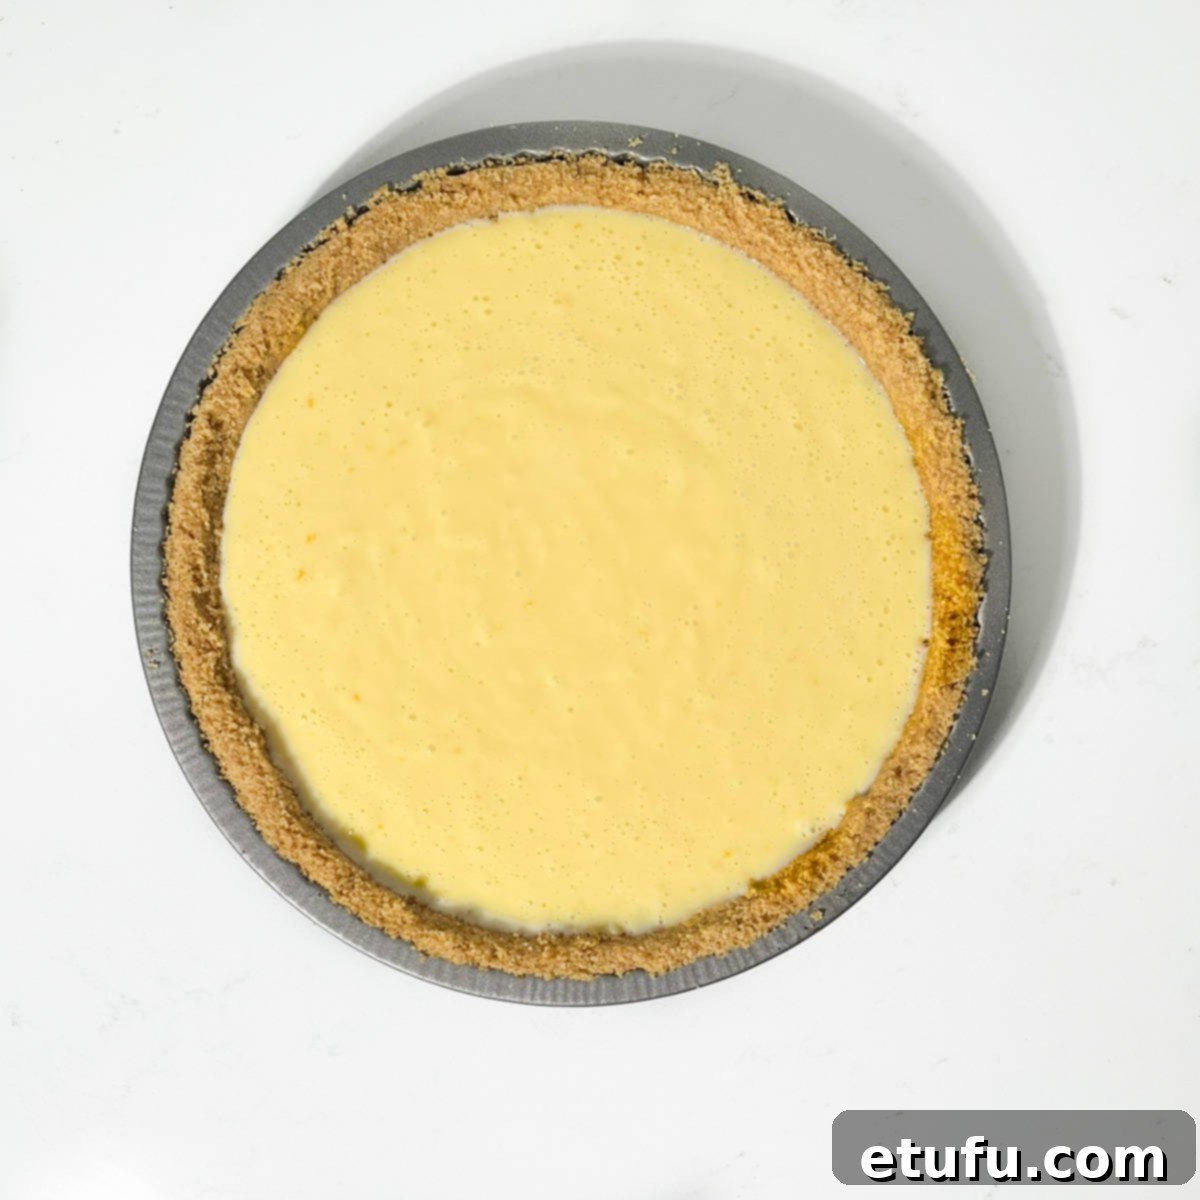
- Bake the pie in your preheated oven for **20-25 minutes**. The pie is ready when the sides appear firm and set, with only a very slight, gentle wobble remaining in the very center. It’s crucial not to underbake, as an underdone tart may not set firm enough, leading to a runny filling.
- Once baked, remove the pie from the oven and allow it to cool completely at room temperature. After cooling, transfer it to the fridge to fully set and chill for at least **4-6 hours**, or ideally, overnight. This chilling period is essential for the filling to achieve its perfect firm yet creamy consistency.
Creating the Cloud-Like Swiss Meringue Topping
Swiss meringue is renowned for its stability, silky texture, and glossy finish – the ideal crown for your lemon pie.
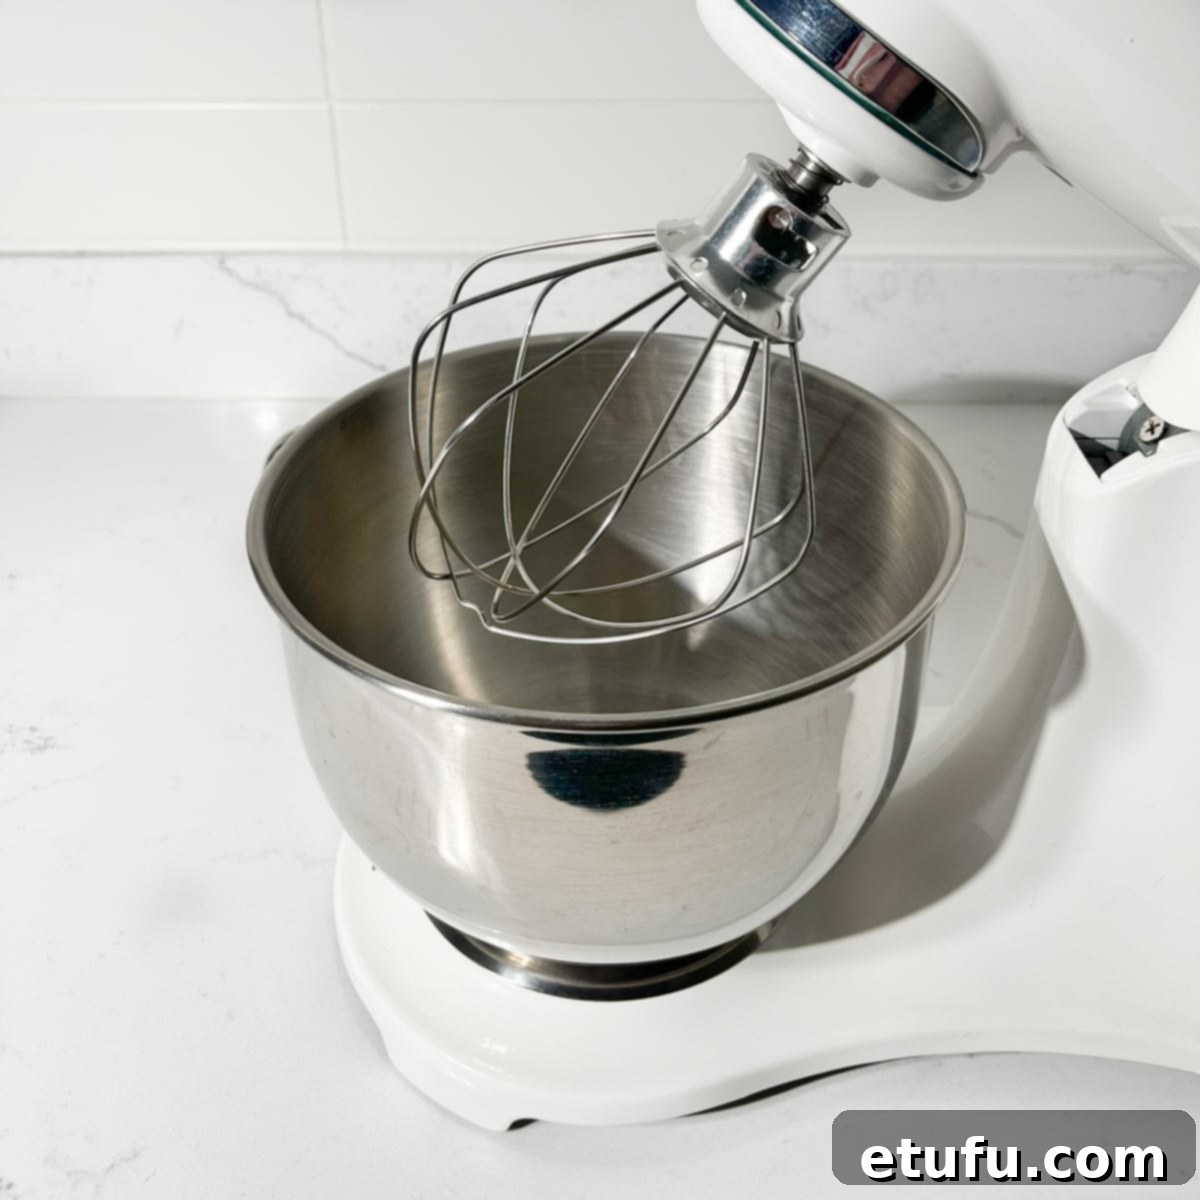
- Ensure your stand mixer is fitted with the whisk attachment, or have your electric hand mixer ready. All equipment, especially the mixing bowl and whisk, must be impeccably clean and grease-free for the meringue to whip correctly.
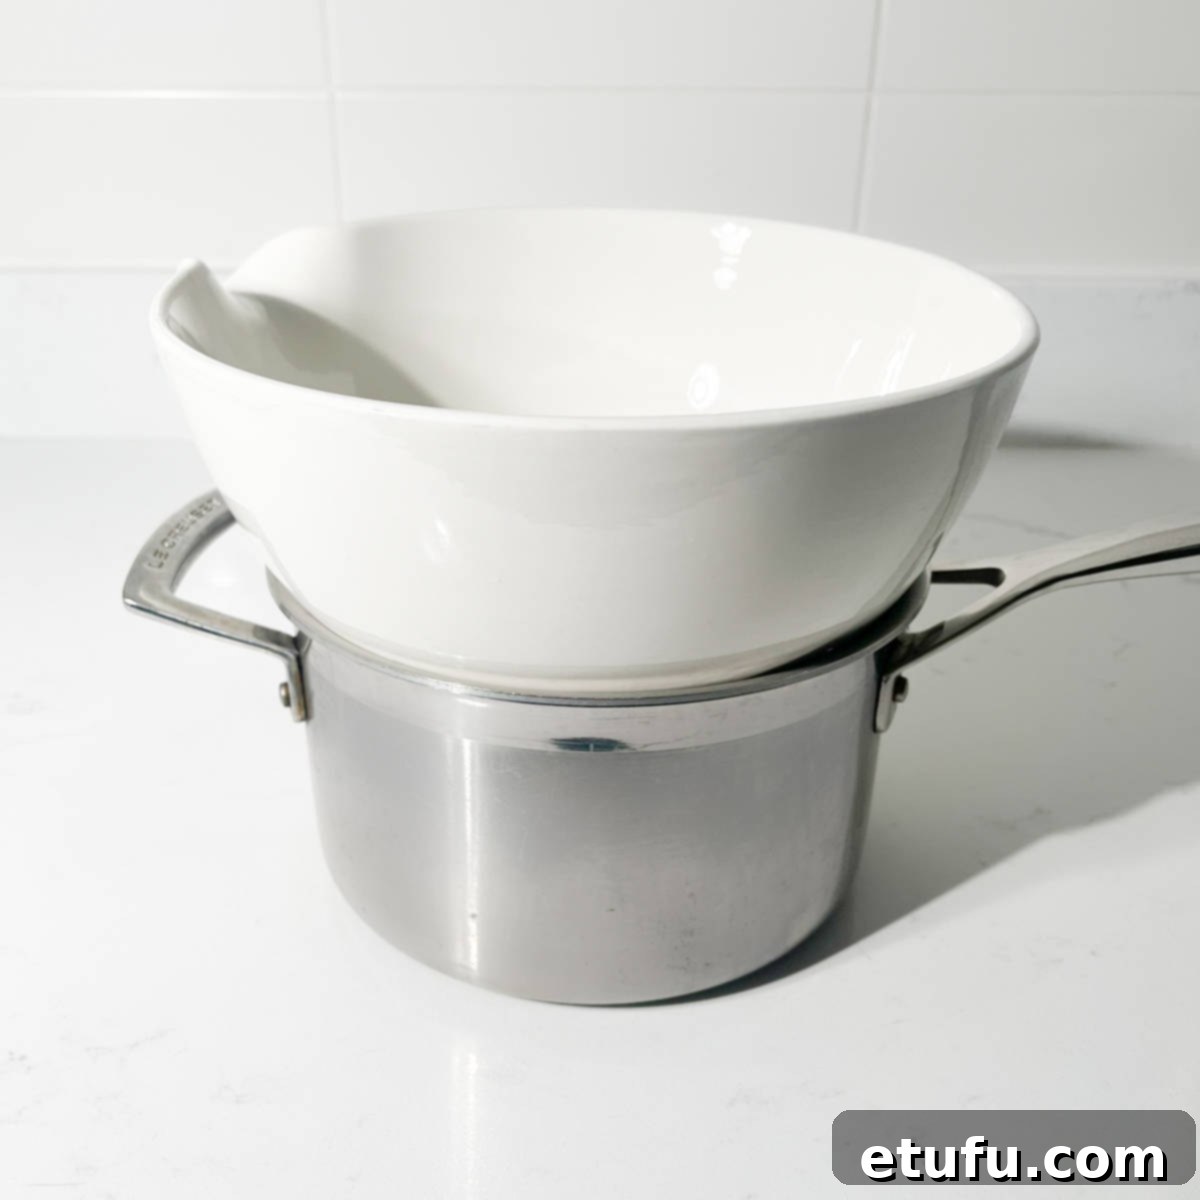
- Fill a medium saucepan with about **5cm (2 inches)** of boiling water. Place a heatproof bowl (preferably metal or glass) on top of the saucepan, ensuring the bottom of the bowl does not touch the simmering water. This creates a double boiler (bain-marie). If you have a dedicated double boiler, use that.
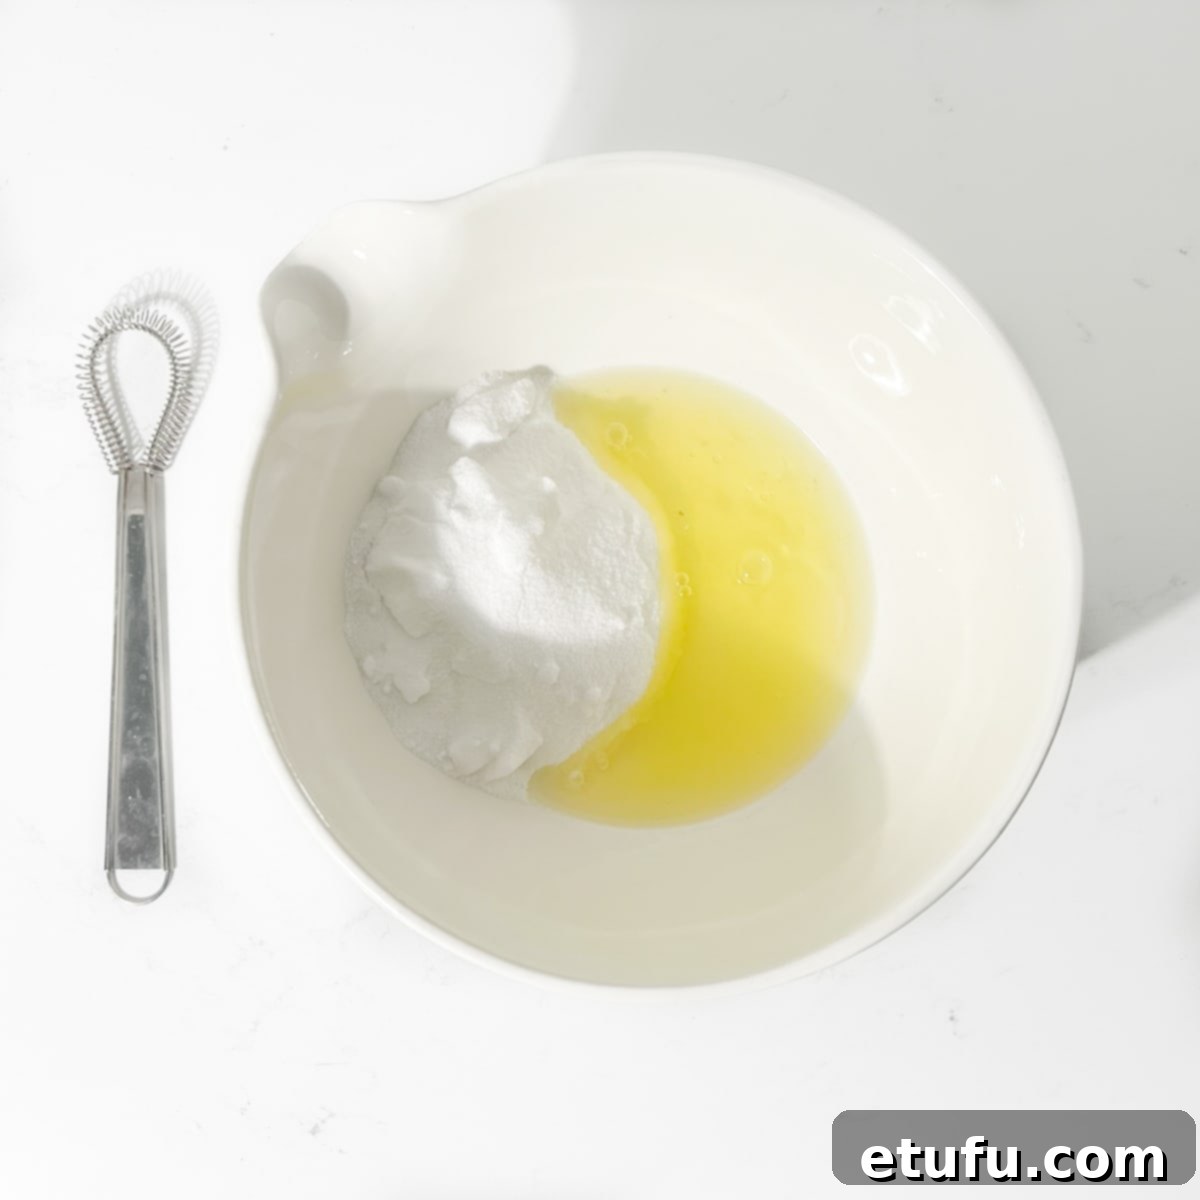
- Add the caster sugar and your separated egg whites to the heatproof bowl. Have a hand whisk ready for constant stirring.
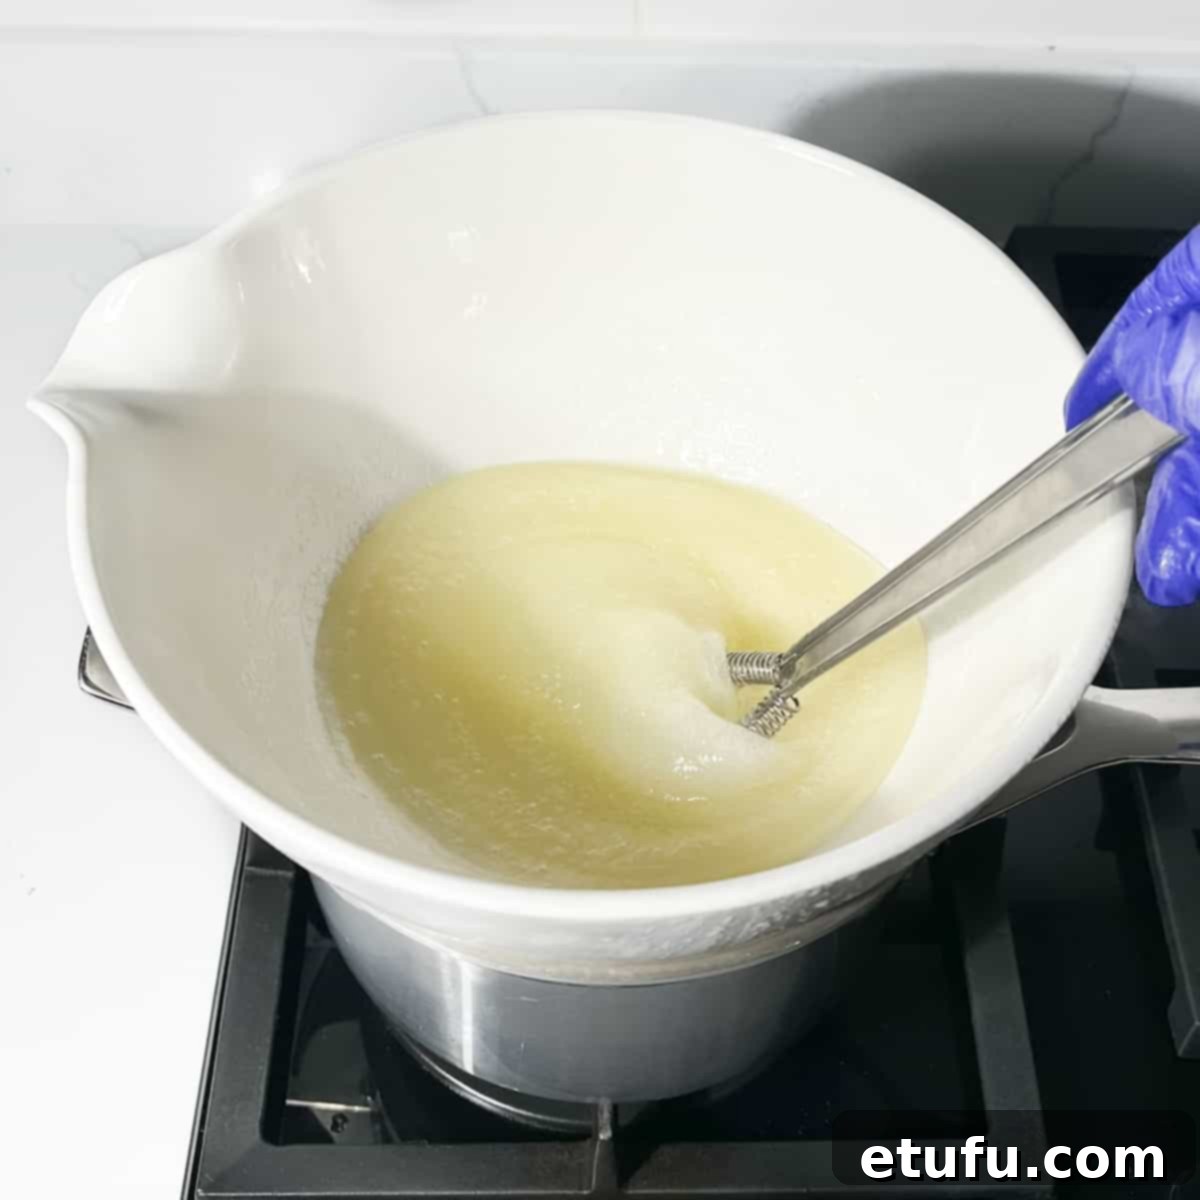
- Over medium heat, continuously whisk the egg white and sugar mixture. This constant motion is key to preventing the eggs from scrambling. Continue whisking until all the sugar granules have completely melted. The mixture will gradually become very foamy and opaque as it heats up.

- To check if the sugar has melted, carefully rub a small amount of the mixture between your fingertips. You should feel no graininess at all. Alternatively, if you have an instant-read thermometer, the temperature should ideally read around **71°C (160°F)**. This heating process typically takes approximately **5 minutes**.
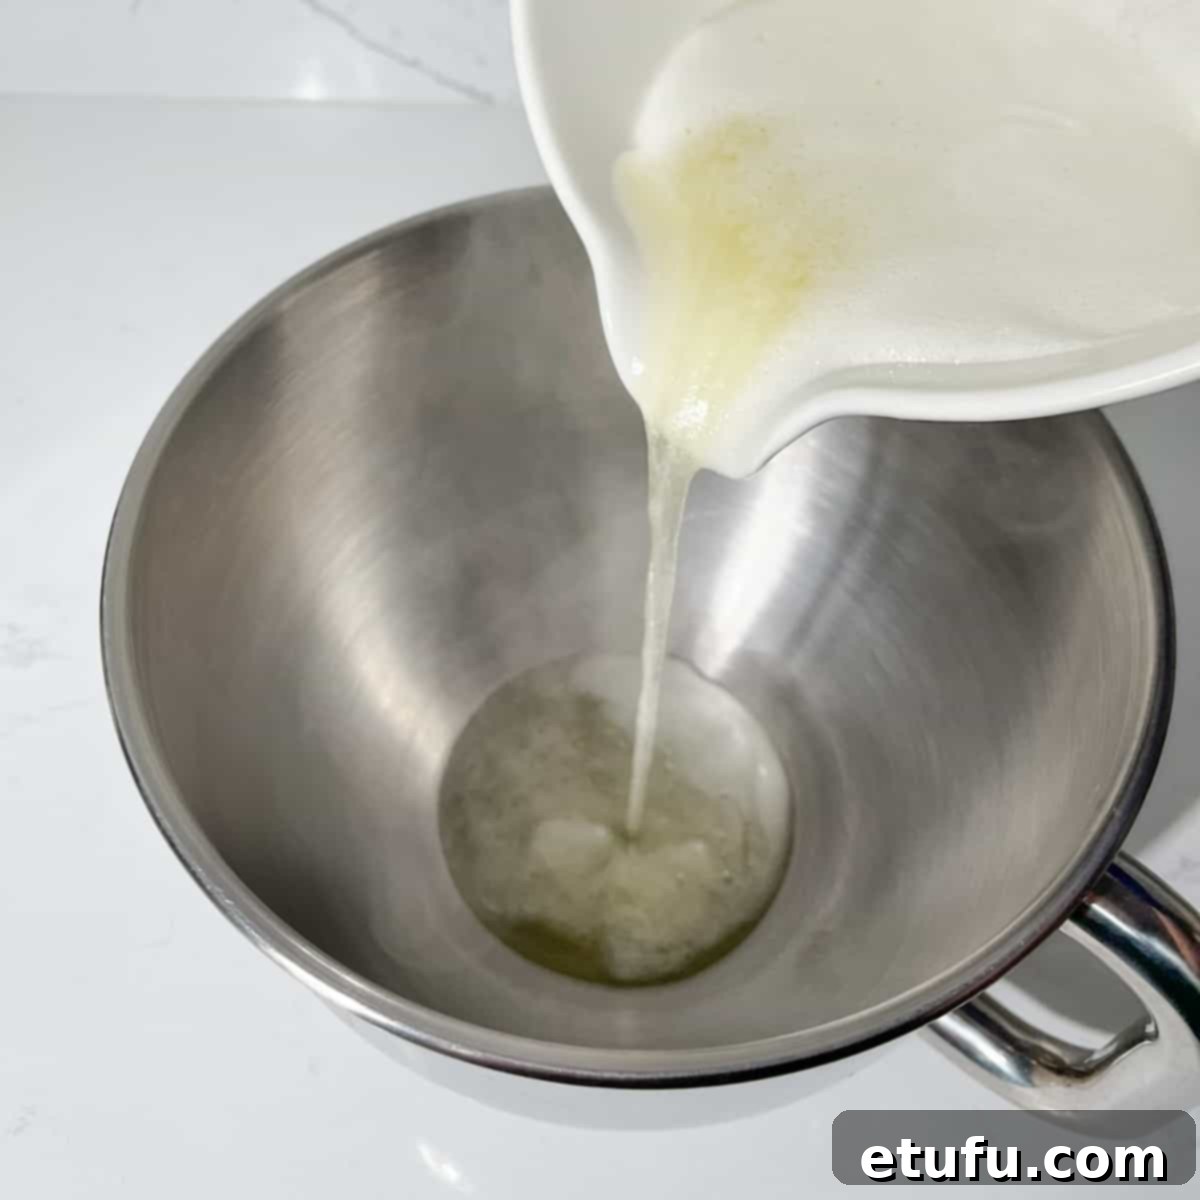
- Once the sugar is dissolved, immediately transfer the hot egg and sugar mixture to the meticulously grease-free bowl of your stand mixer. If you’re using an electric hand mixer, transfer the mixture to a large, immaculately clean, grease-free mixing bowl.
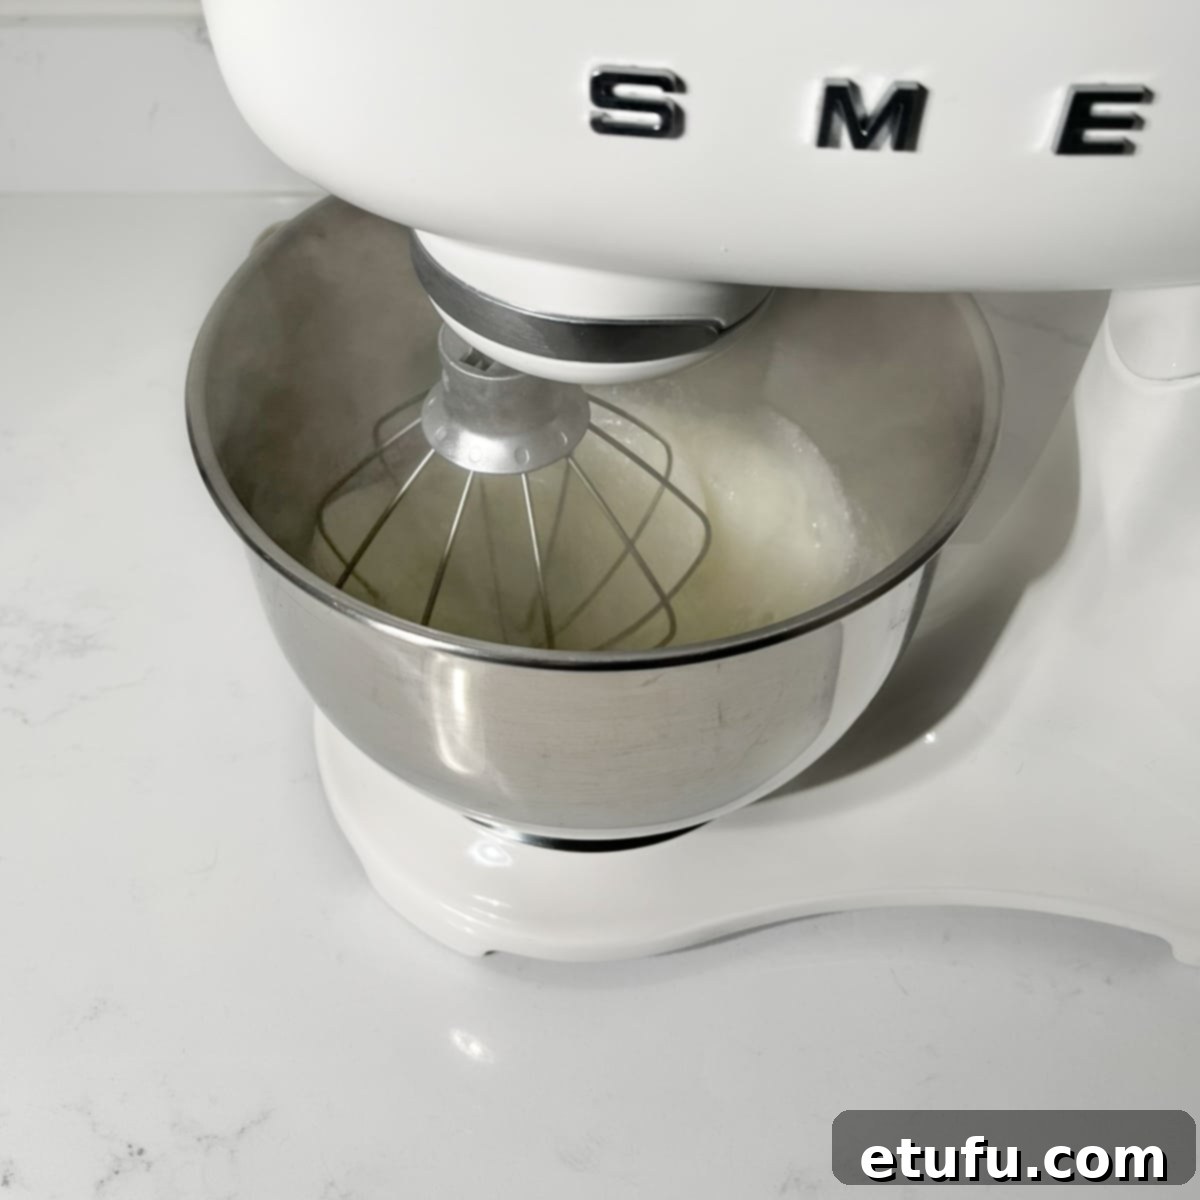
- Begin beating the meringue mixture on medium-high speed. Continue for **1-1.5 minutes** until it starts to build a little volume and becomes foamy. At this point, add the cream of tartar (your meringue’s stabilizer), vanilla extract for flavor, and a generous pinch of salt to enhance the sweetness.
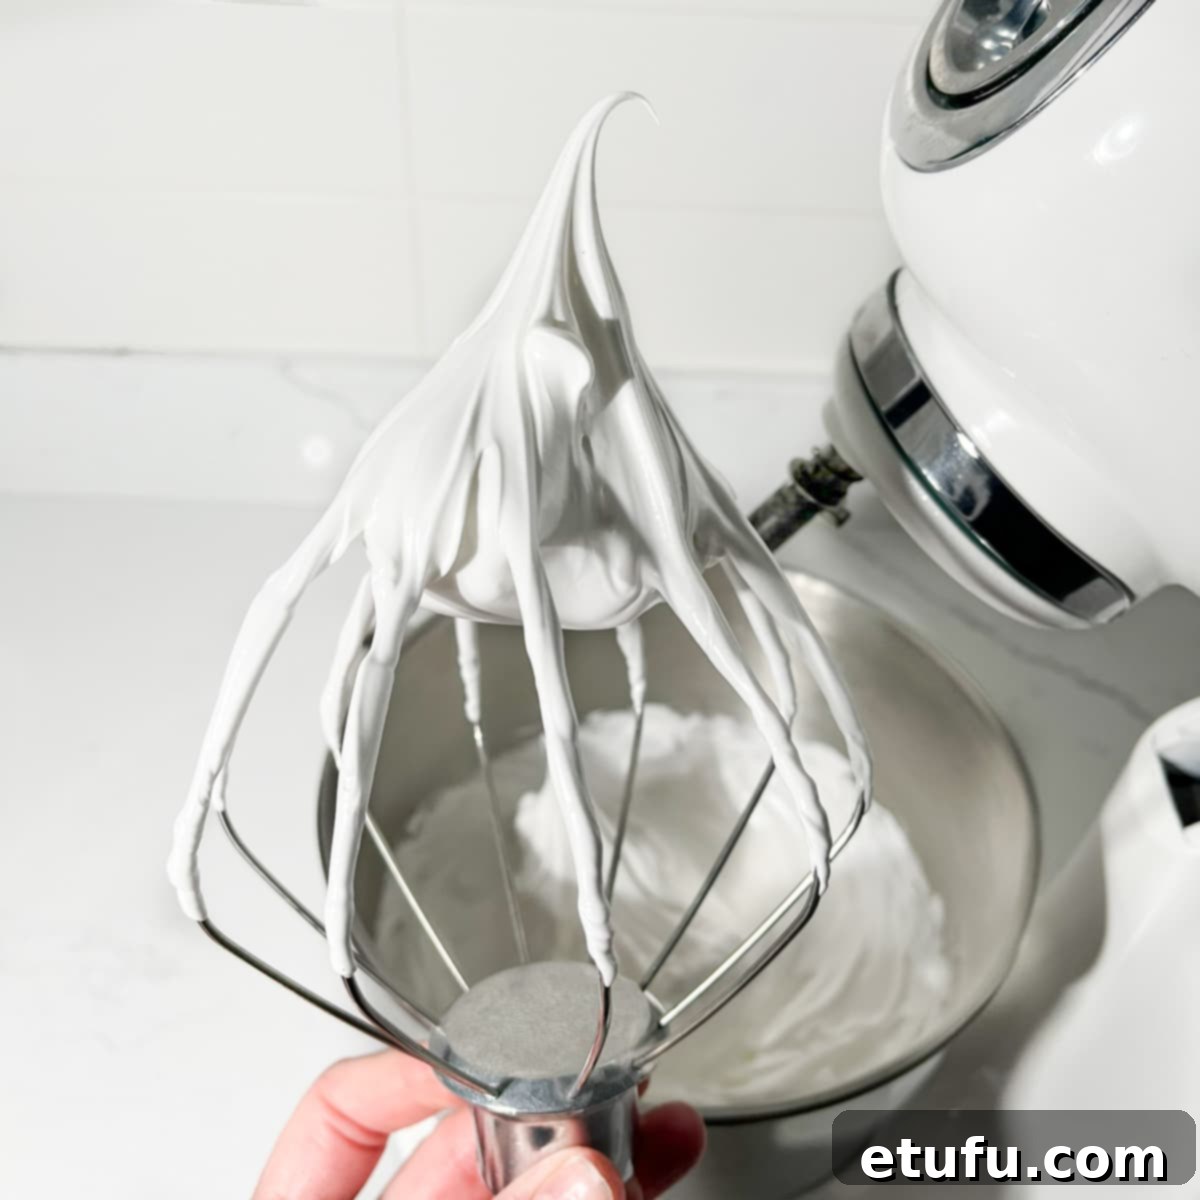
- Continue beating the meringue on medium-high speed. The mixture will gradually transform, turning pure white, becoming incredibly glossy, and forming stiff peaks that hold their shape beautifully when the whisk is lifted. Stop immediately once this stage is reached, as overbeating can cause the meringue to become grainy or lose its structure. This process typically takes approximately **3-4 minutes** with a stand mixer and a little longer with an electric hand mixer. The bowl should feel cool to the touch.
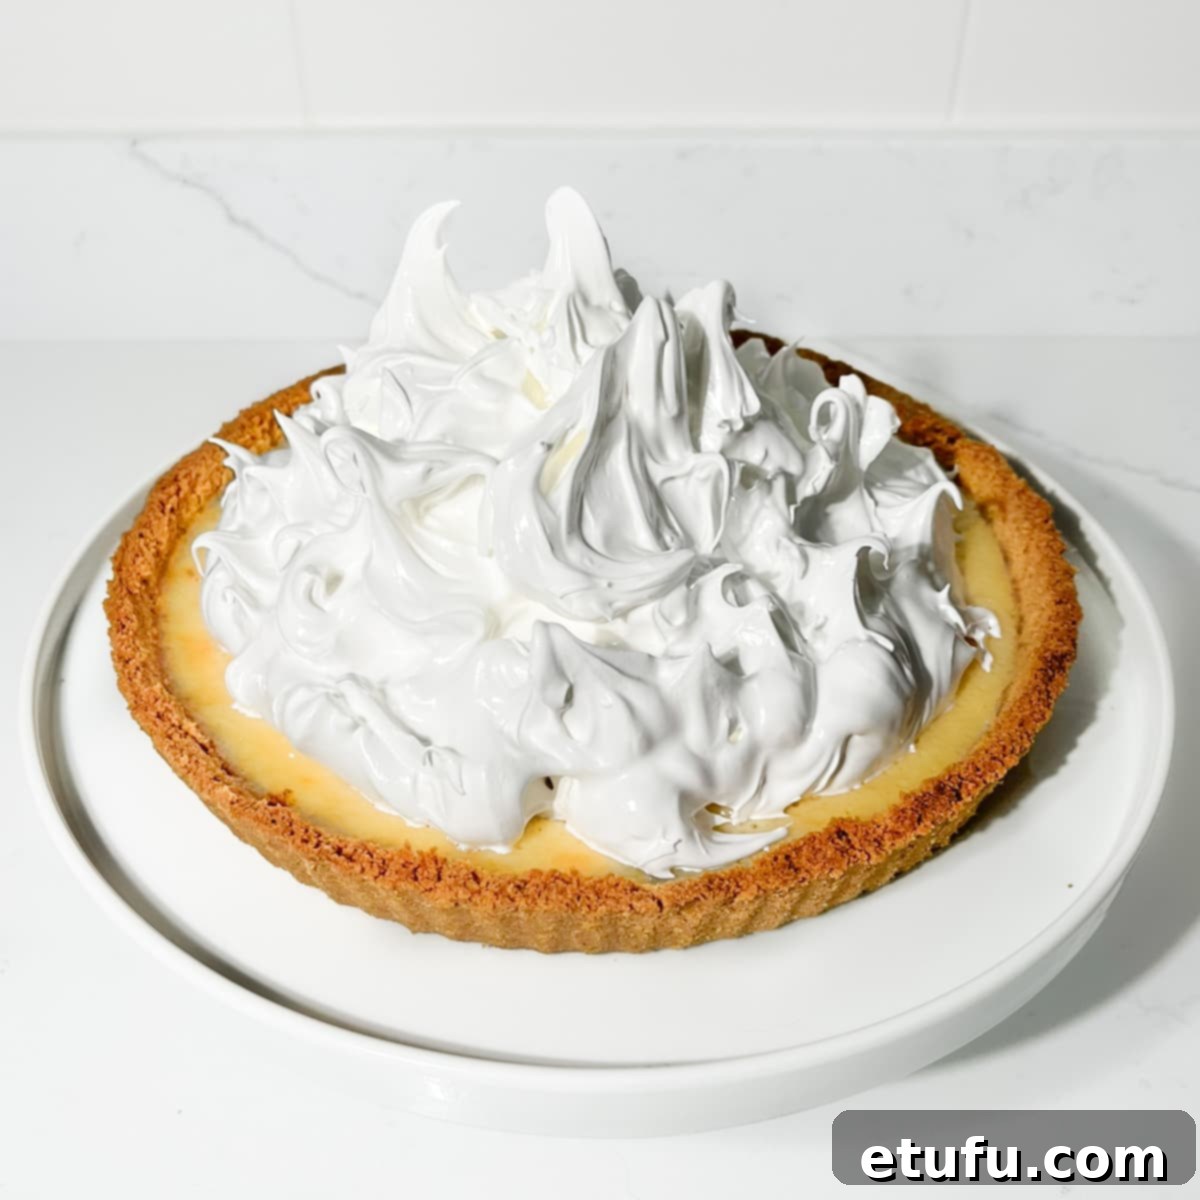
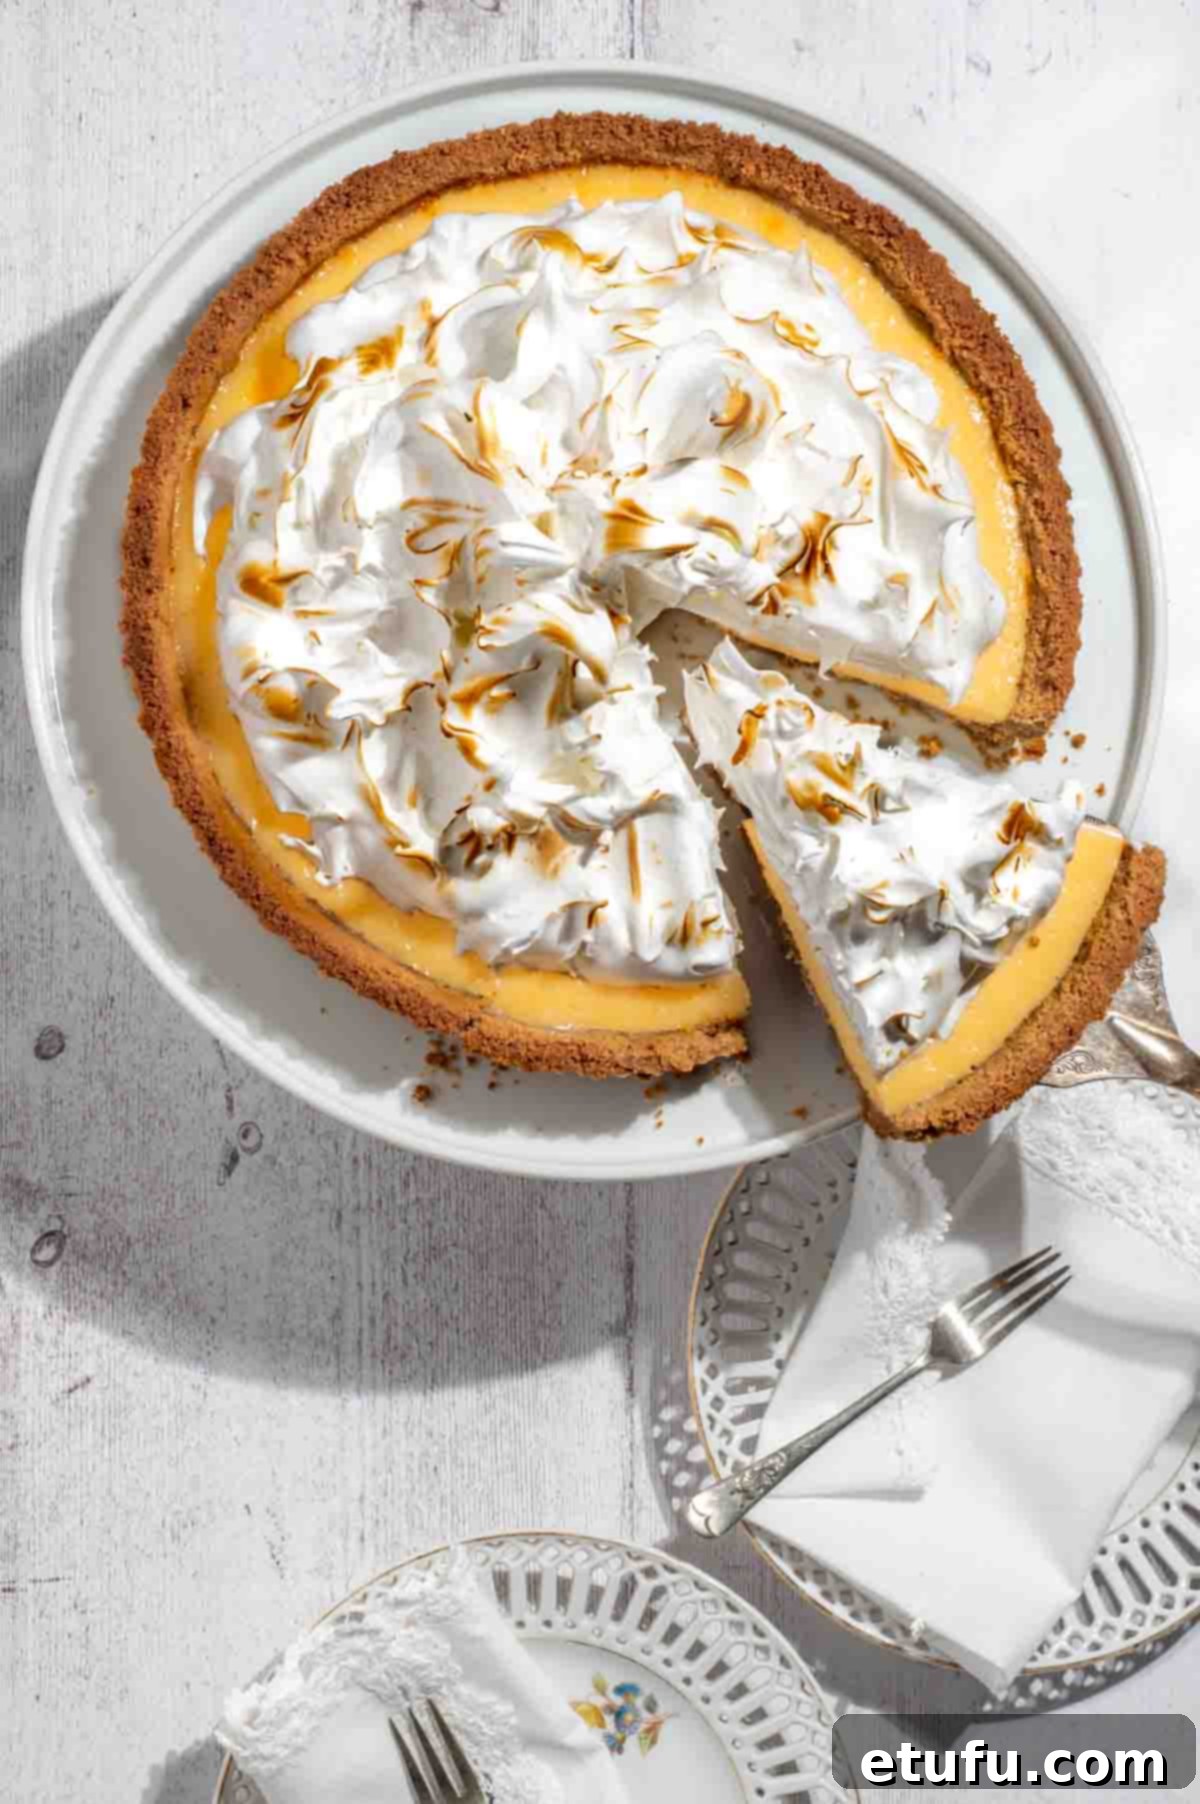
- If your meringue still feels slightly warm after beating, let it rest and cool on its own for about 10 minutes. Once cool, it’s time to adorn your pie! You can spoon generous, billowing meringue clouds on top of the chilled lemon filling for a charmingly rustic finish, or use a piping bag with a decorative tip for a more elegant and fancier presentation.
- For that signature toasted meringue look, use a kitchen blow torch to caramelize the tips and bulges of the meringue until they’re beautifully golden brown. Alternatively, you can briefly place the pie under the broiler in your oven. If using the broiler, ensure the pie is not too close to the heating element, and keep a very watchful eye on it at all times – meringue can brown incredibly quickly!
Expert Tips and Troubleshooting for a Perfect Lemon Meringue Pie
Even the simplest recipes can benefit from a few expert insights. Here are some tips to ensure your **Biscuit Base Lemon Meringue Pie** turns out flawlessly every time, along with solutions for common issues:
- Room Temperature Eggs Are Key: This cannot be stressed enough! Cold eggs are harder to separate, and their whites won’t whip to maximum volume. Take them out of the fridge at least 30 minutes to an hour before you plan to start baking.
- Grease-Free Meringue Equipment: Any trace of fat (from egg yolk, oily hands, or residual butter) will prevent egg whites from whipping into stiff peaks. Ensure your mixing bowl and whisk attachment are immaculately clean and grease-free. Wiping them with a lemon wedge or vinegar before use can help.
- Don’t Rush the Chilling: The chilling time for the lemon filling is crucial. It allows the pie to fully set and achieve that desired firm, yet creamy consistency. Patience here prevents a runny slice.
- Avoid Overbaking the Filling: While you want the filling set, overbaking can lead to a rubbery texture. Watch for the slight wobble in the center; it’s a sign of perfection.
- Testing Sugar Dissolution: For your Swiss meringue, thoroughly dissolving the sugar is critical. If you feel any grittiness between your fingers, continue whisking over the heat. Undissolved sugar can lead to a grainy or unstable meringue.
- Watch the Torch/Broiler: Browning the meringue is the final touch, but it happens very fast. Keep your eye on it constantly to avoid burning. A light golden color is perfect.
- Soggy Crust Prevention: Chilling your biscuit base before adding the filling and baking helps to create a barrier and prevent it from becoming soggy. Ensure all crumbs are thoroughly coated with butter, as butter acts as a protective layer.
Delicious Variations to Customize Your Lemon Meringue Pie
While our classic **Lemon Meringue Pie** is perfect as is, it’s also incredibly versatile. Feel free to unleash your creativity with these delightful variations:
- Zesty Citrus Swap: For a delightful twist, swap out the lemon juice and zest entirely with fresh **lime juice and zest**. This creates a vibrant and aromatic Key Lime Meringue Pie that’s equally refreshing.
- Crust Adventures: Experiment with different cookie bases. As mentioned, rich **Scottish shortbread biscuits** offer a luxurious, buttery foundation, or try the warming spice of **ginger nut cookies** for an intriguing contrast.
- Tropical Coconut Infusion: Add a spoonful or two of finely **desiccated coconut** to your cookie crumbs before mixing with butter. The subtle tropical flavor pairs wonderfully with lemon. You might need a tiny bit more melted butter to ensure the base binds well.
- Fresh Herb Garnish: Elevate the presentation and add a hint of freshness by garnishing your finished pie with a few vibrant **mint leaves**. Their cool aroma provides a beautiful counterpoint to the lemon.
- Passionfruit Zing: For an exotic touch, drizzle a little fresh **passionfruit syrup or purée** over the meringue just before serving. The tartness and tropical notes of passionfruit are a heavenly match for lemon.
- Meringue Mastery: If you’re feeling adventurous and want to explore other meringue styles, consider making an Italian meringue instead of Swiss Meringue. Italian meringue is made with hot sugar syrup, offering a super stable and glossy result.
Serving Suggestions for Your Homemade Lemon Meringue Pie
Presentation and accompaniment can elevate your **Lemon Meringue Pie** from delicious to truly unforgettable. Here are some ideas to serve your masterpiece:
- Always serve your **Lemon Meringue Pie chilled**. The cold temperature enhances the refreshing tang of the lemon filling and ensures the meringue remains perfectly set.
- For an extra touch of indulgence, serve each slice with a generous dollop of freshly **whipped cream**. The creaminess beautifully complements the tart lemon and sweet meringue.
- Brighten up each serving with a light sprinkle of fresh **lemon zest** just before bringing it to the table. This adds a burst of fresh aroma and a pop of color.
- Add a touch of elegant simplicity by dusting a light sprinkle of fine **powdered sugar** (confectioners’ sugar) over the meringue. This subtle sweetness and delicate appearance are always a hit.
Storage and Freezing Tips for Lemon Meringue Pie
Ensuring your **Lemon Meringue Pie** remains fresh and delicious is key to enjoying it over time. Here’s how to properly store and, if necessary, freeze your creation:
Optimal Storage
For optimal freshness and to maintain its delightful texture, always store your **Lemon Meringue Pie** in the fridge. It’s best to cover it securely with plastic wrap, ensuring it doesn’t touch the meringue (you can use toothpicks to create a dome), or place it gently in an airtight container. Stored properly, your pie should remain fresh and delicious for up to **2-3 days**.
It’s important to remember that meringue, particularly Swiss meringue, may soften over time and can develop some “weeping” (small droplets of syrup) or “beading” (tiny sugar beads forming on the surface) when refrigerated for extended periods. While this phenomenon is primarily cosmetic and won’t affect the taste or safety of the pie, it’s a natural occurrence. For the most pristine appearance, the pie is truly at its best when served within 24 hours of being made.
Freezing Your Lemon Meringue Pie
If you plan to freeze your **Lemon Meringue Pie**, it’s crucial to do so **without the meringue topping**. The delicate structure of meringue tends to weep significantly and completely change its texture when frozen and thawed, compromising its lovely fluffiness.
To freeze the lemon-filled base, ensure it’s completely cooled and set. Wrap the pie tightly first in plastic wrap, then with a layer of heavy-duty aluminum foil to protect it from freezer burn. For the best taste and texture, it’s advisable to freeze the pie for no more than **2-3 months**.
When you’re ready to enjoy it, thaw the pie slowly in the fridge overnight. Once fully thawed, you can then prepare a fresh batch of Swiss meringue to adorn the tart, torch it, and serve. This method ensures you always have a beautiful and delicious pie, even from the freezer!
More Irresistible Desserts Using Condensed Milk
If you’ve fallen in love with the creamy magic of condensed milk in this Lemon Meringue Pie, you’re in for a treat! This versatile ingredient is a secret weapon in many easy and delicious desserts. Explore these other fantastic recipes:
- Rice Pudding with Condensed Milk: Easy & No-Bake
- Easy Marshmallow Tart: A No-Bake Delight
- Apple Crumble Tart: Comfort in Every Bite
- Peppermint Crisp Tart with a Twist: A South African Favorite
- Quick Cassata Ice Cream: Simple & Elegant
- No-Churn Dark Chocolate Ice Cream: Rich & Decadent
Recipe Card: Effortless Biscuit Base Lemon Meringue Pie

Biscuit Base Lemon Meringue Pie
Print Recipe
Equipment
- 1 23cm/9″ pie dish/fluted tart tin
- 1 saucepan
- 1 heatproof bowl (for bain-marie)
- Electric hand mixer or stand mixer with whisk attachment
- Food processor (optional, for crushing biscuits)
- Instant-read thermometer (optional, for meringue)
Ingredients
For the Biscuit Base
- 250 grams (9 oz) digestives biscuits/graham crackers – or other plain cookies like Marie biscuits or shortbread
- 100 grams (1 US stick) unsalted butter, melted
For the Creamy Lemon Filling
- 4 egg yolks – (from large, room temperature eggs)
- 400 grams (14 oz) condensed milk – (usually 1 standard tin)
- 120 millilitre (½ US cup) fresh lemon juice
- zest from one lemon – (based on a medium-sized lemon)
For the Fluffy Swiss Meringue Topping
- 220 grams (8 oz) white caster sugar – (or fine granulated white sugar)
- 4 egg whites – (from large, room temperature eggs)
- ½ teaspoon cream of tartar
- 1 teaspoon vanilla extract
- ¼ teaspoon salt – (or a good pinch)
Instructions
- Preheat your oven to 180°C (350°F).
Making the Biscuit Base
- Add the biscuits into the bowl of a food processor and whizz until you get fine, even crumbs. Alternatively, place biscuits into a sturdy plastic bag and crush them thoroughly with a rolling pin.250 grams (9 oz) digestives biscuits/graham crackers
- Melt the butter in the microwave or a small saucepan. Pour it over the biscuit crumbs and mix until well combined, ensuring all crumbs are coated.100 grams (1 US stick) unsalted butter, melted
- Transfer the crumb mixture into a 23cm (9″) tart tin or pie dish.
- Press the crumbs very firmly into the dish, covering the bottom and reaching up the sides. Use the back of a spoon or bottom of a glass to compact.
- Place the prepared tart base in the fridge until needed to firm up.
Making the Lemon Filling
- Separate the room temperature eggs, ensuring no egg yolk enters the whites (for the meringue).
- In a large bowl, combine the egg yolks, condensed milk, lemon juice, and lemon zest.4 egg yolks, 400 grams (14 oz) condensed milk, 120 millilitre (½ US cup) fresh lemon juice, zest from one lemon
- Whisk the mixture thoroughly with an electric or hand whisk for about 1-2 minutes until fully incorporated and slightly thickened.
- Gently pour the lemon filling into the chilled biscuit base and tilt to level.
- Bake for 20-25 minutes, until sides are firm and there’s only a very slight wobble in the middle. Do not underbake.
- Cool completely, then refrigerate for at least 4-6 hours or overnight to fully set.
Making the Swiss Meringue
- Attach the whisk attachment to your stand mixer (or prepare electric hand mixer). Ensure equipment is grease-free.
- Fill a saucepan with about 5cm (2″) of boiling water. Place a heatproof bowl on top, ensuring it doesn’t touch the water.
- Add the caster sugar and egg whites to the bowl. Have a hand whisk ready.4 egg whites, 220 grams (8 oz) white caster sugar
- Over medium heat, continuously whisk the egg white and sugar mixture until all sugar has melted and it’s foamy (about 5 minutes).
- Test for graininess with fingertips, or check for a temperature of 71°C (160°F) with an instant-read thermometer.
- Transfer the hot mixture to your stand mixer bowl (or large mixing bowl for hand mixer).
- Beat on medium-high speed for 1-1.5 minutes. Add cream of tartar, vanilla extract, and salt.½ teaspoon cream of tartar, 1 teaspoon vanilla extract, ¼ teaspoon salt
- Continue beating until the meringue is pure white, glossy, and forms stiff peaks. Stop immediately to avoid graininess. This takes approx. 3-4 minutes with a stand mixer. The bowl should feel cool.
- If warm, let cool for 10 minutes. Spoon generous meringue clouds onto the chilled pie, or use a piping bag.
- Caramelize meringue tips with a kitchen blow torch or briefly under the oven broiler (watch carefully!).
**Nutritional Data Disclaimer**
Please keep in mind that the nutritional information provided below is an estimate calculated by a third party and we cannot guarantee its absolute accuracy. We strive to offer the most precise information possible, but we do not take responsibility for any potential errors. Furthermore, the nutritional value of the recipe may vary depending on the exact brands and products used for your ingredients. For personalized advice on your dietary needs, we recommend consulting with a qualified healthcare professional or a registered dietitian.
Nutrition
For food safety advice, including guidance on food allergies
