The Ultimate Guide to Baking Classic Eggless Peanut Butter Cookies: An American Delight
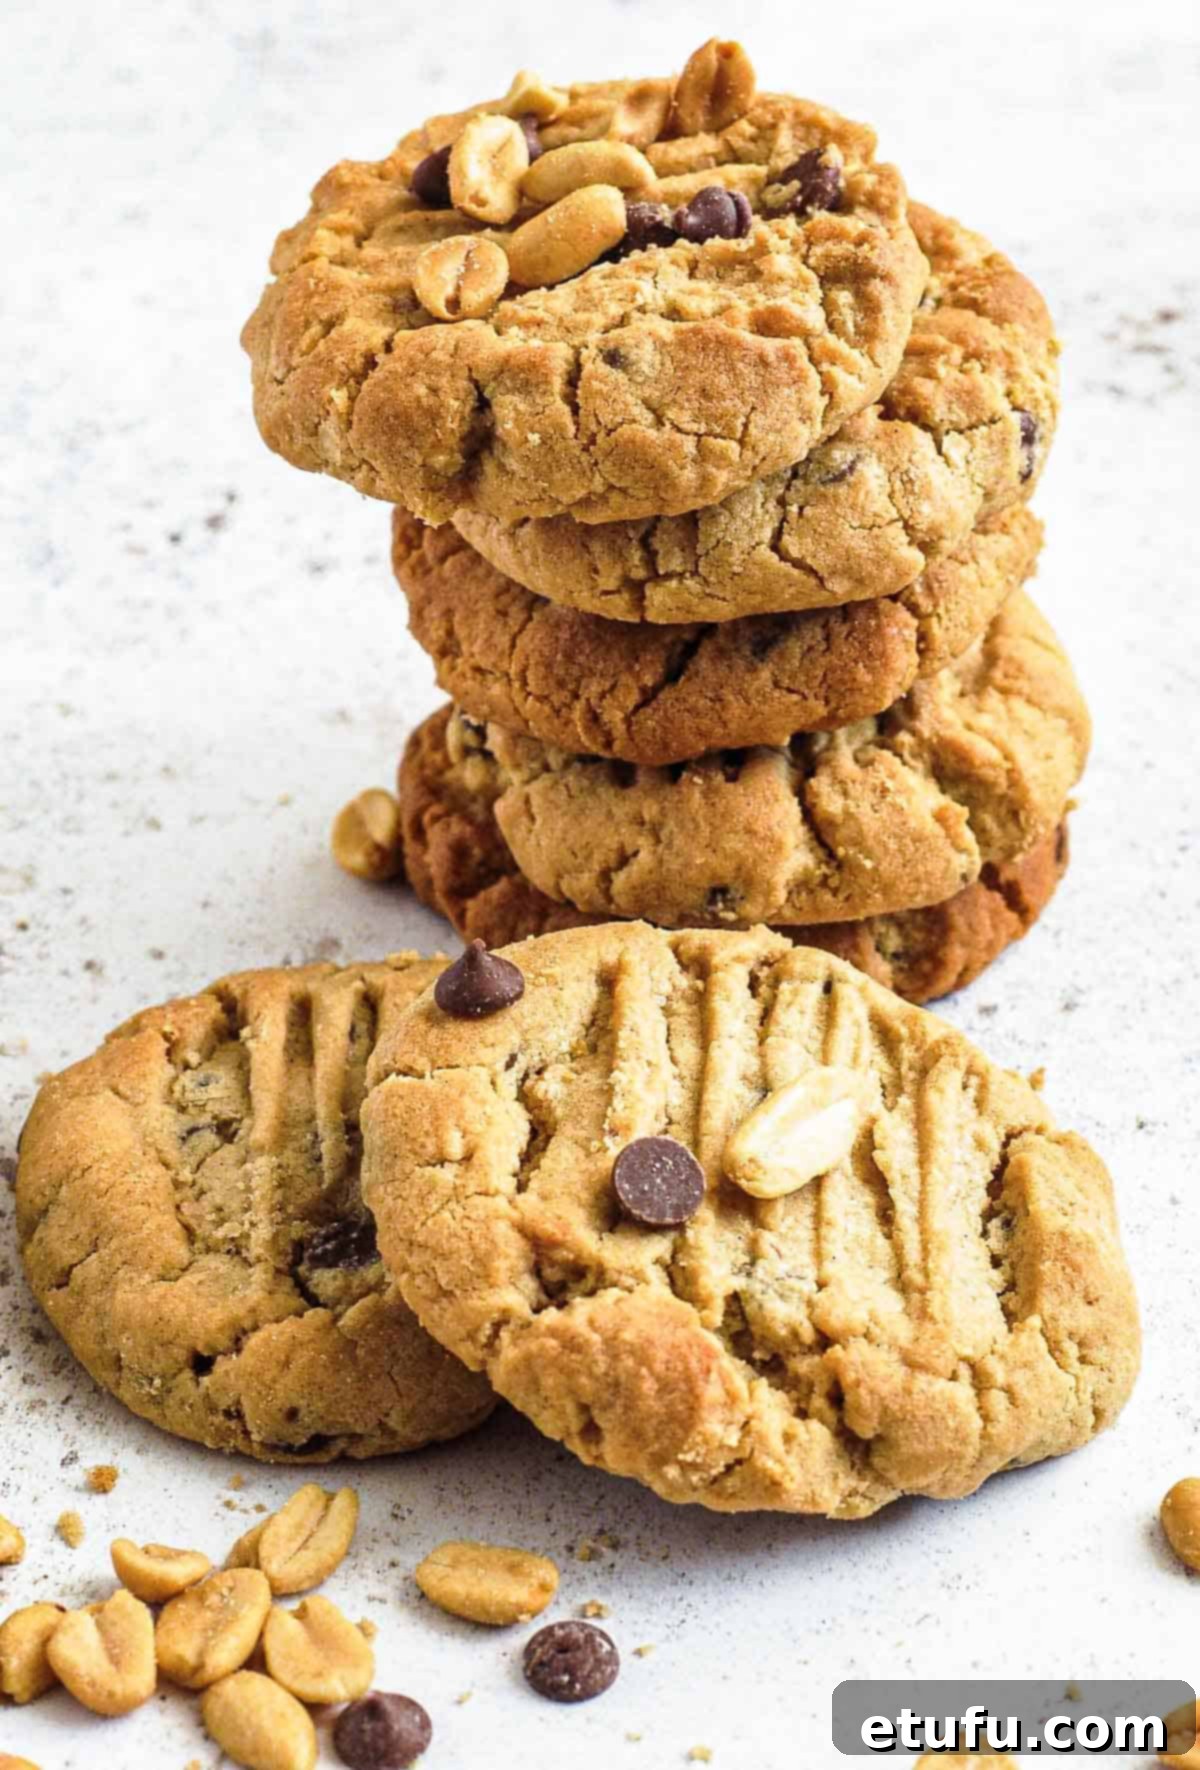
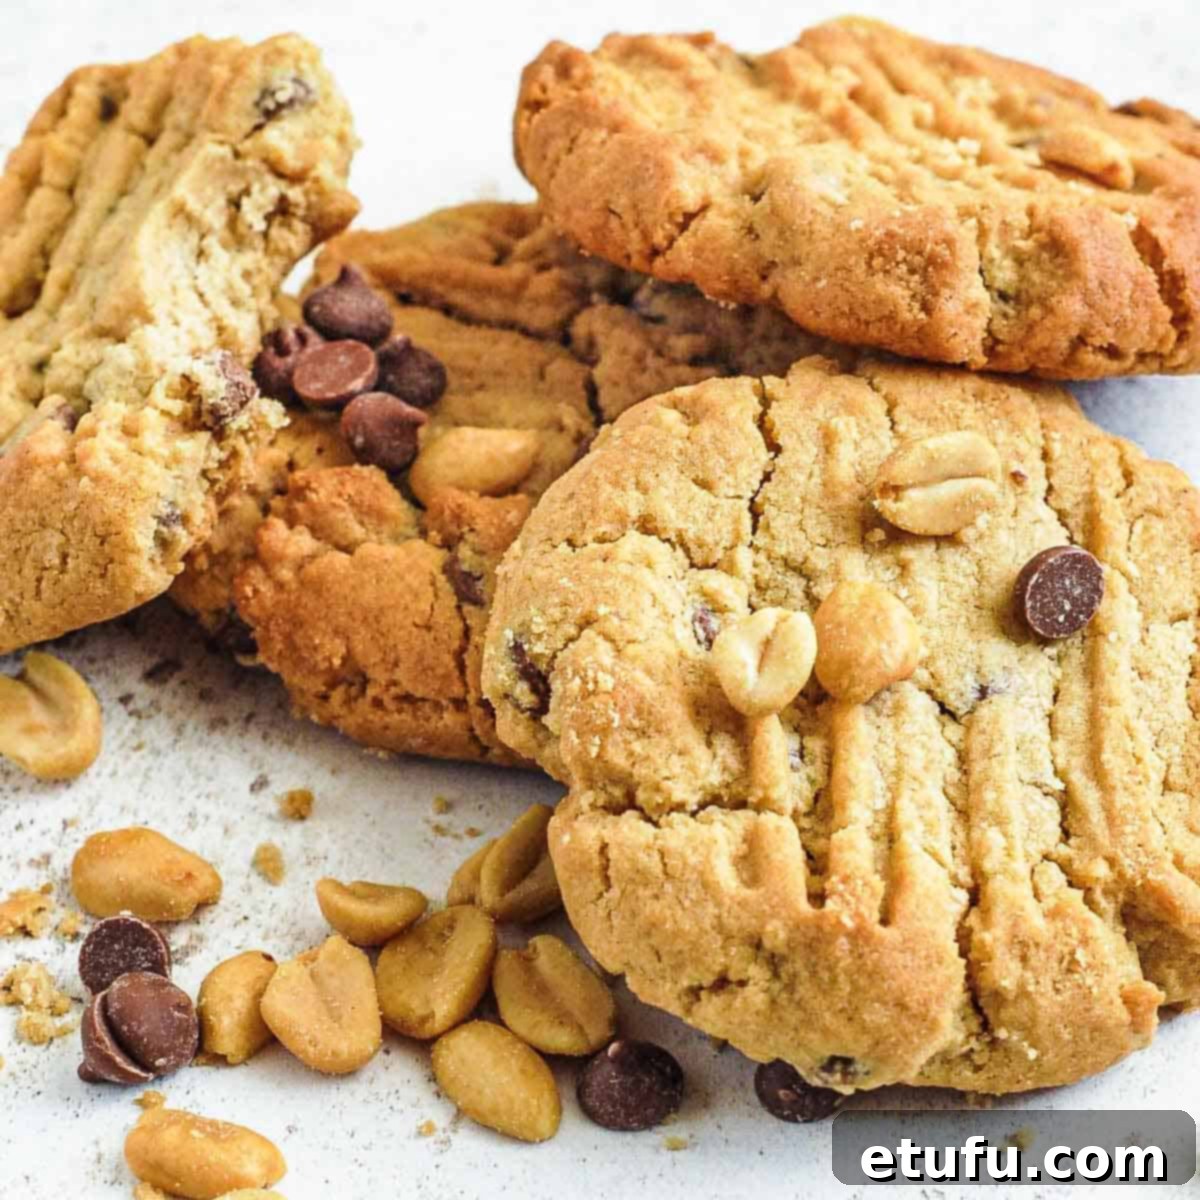
Embark on a delightful culinary journey to the heart of American baking with this incredible recipe for old-fashioned, eggless peanut butter cookies. These aren’t just any cookies; they are a testament to simple ingredients yielding extraordinary results. Imagine sinking your teeth into a cookie that’s wonderfully velvety, melts effortlessly in your mouth, and offers a perfect balance of sweet and salty notes. Each bite promises a nostalgic experience, marrying a slight crispness with a tender, chewy interior – a texture that’s truly “in-between” and utterly irresistible.
The peanut butter cookie holds a special place in the annals of American culinary history. Born in the early 1900s, alongside a burgeoning national craze for peanut butter, this iconic treat quickly became a household staple. It’s a tribute to the ingenuity of early American cooks who discovered the magical pairing of rich, creamy peanut butter with a simple cookie dough. While today’s baking landscape boasts endless variations, from stuffed to frosted, nothing quite captures the pure, comforting essence of an old-fashioned peanut butter cookie in all its glorious, nutty simplicity. So, to America, we extend our heartfelt thanks for introducing the world to these truly delicious and enduring peanut butter delights!
For those eager to explore more cookie creations, consider delving into these decadent coffee cookies, or perhaps travel to South Africa with these delightful condensed milk cookies. And if you ever find yourself out of brown sugar, fear not! Our ingenious chocolate chip cookies without brown sugar recipe comes to the rescue.

Fast Facts – United States of America: Home of the Peanut Butter Cookie
Beyond being the birthplace of our beloved peanut butter cookies, the United States is a land of vast landscapes, diverse cultures, and fascinating facts. Let’s take a quick look at some key information about this influential nation.

| Location | The United States of America is strategically located in North America, sharing its northern border with Canada and its southern border with Mexico. It also has maritime borders with Russia and Cuba. |
| Capital | Washington D.C. (District of Columbia), a federal district and the capital city of the United States. |
| Language | English is the predominant and de facto national language spoken across the United States. However, reflecting its rich tapestry of immigrants and diverse communities, numerous other languages, including Spanish, Chinese, French, and Tagalog, are widely spoken, particularly in urban centers and specific cultural enclaves. |
| Population | The estimated population stands at approximately 331 million people, making it the third-most populous country in the world. |
| Trivia | Crater Lake in Oregon proudly holds the title of the deepest lake in the United States and ranks as the ninth deepest worldwide. With an astonishing depth of 592 meters (1,943 feet), it’s deep enough to completely submerge six stacked Statues of Liberty, with room to spare! Its pristine, deep blue waters are a breathtaking sight. |
Why You’ll Adore This Eggless Peanut Butter Cookie Recipe
This recipe isn’t just about baking cookies; it’s about creating joy, simplicity, and pure deliciousness. Here’s why these eggless peanut butter cookies will quickly become a cherished favorite in your kitchen:
- Universal Appeal: These easy peanut butter cookies are guaranteed crowd-pleasers. Their familiar flavor and satisfying texture make them a reliable staple for any biscuit tin, party, or family gathering. You’ll find everyone reaching for seconds!
- Effortlessly Simple & Foolproof: Say goodbye to complicated baking! This is a straightforward recipe utilizing common pantry ingredients, making it perfect for novice bakers or for involving children in the fun of baking. The steps are intuitive, ensuring success every time.
- No Fuss, No Mess: Forget about flouring your work surface or wrestling with cookie cutters. The beauty of this recipe lies in its simplicity. Just roll the dough into uniform balls and use a fork to create that iconic criss-cross pattern, reminiscent of classic Pillsbury-style cookies. It’s a method that’s both easy and yields charmingly rustic results.
- Egg-Free Perfection: This recipe is naturally egg-free, making it an ideal treat for individuals with egg allergies or those following an egg-restricted diet. You don’t compromise on flavor or texture; these cookies are every bit as rich and satisfying.
- Irresistible Texture: Experience the best of both worlds with a cookie that boasts a delightfully crunchy exterior while remaining wonderfully velvety and soft on the inside. This “in-between” texture provides a satisfying bite that’s hard to beat.
- Substantial & Satisfying: Thanks to the protein-rich peanut butter, these cookies aren’t just a sweet indulgence; they’re substantial and remarkably filling. They make for a great snack that tides you over.
- Generous Yield: This recipe delivers a generous batch of approximately 24 regular-sized cookies. That’s plenty to share with friends and family – assuming you can resist the temptation of the raw cookie dough first!
Key Ingredient Notes and Smart Substitutions for Perfect Cookies
Every ingredient plays a crucial role in achieving the perfect peanut butter cookie. Understanding their function and knowing a few smart substitutions can elevate your baking game.
**For the complete list of ingredients with precise measurements, please refer to the detailed recipe card at the bottom of this page.
Unsalted Butter: The Foundation of Flavor
We highly recommend using unsalted butter in this recipe. This allows you to have precise control over the overall saltiness of your cookies, especially since peanut butter naturally contains varying amounts of salt. If salted butter is all you have on hand, simply reduce the amount of added salt in the recipe by half to maintain a balanced flavor profile.
For optimal creaming with the sugars, it’s absolutely essential that your butter is at a soft, room temperature consistency before you begin. Butter that is too cold won’t cream properly, leading to a denser cookie.
Pro Tip for Softening Butter: Forgot to take your butter out in advance? No problem! Quickly soften hard butter directly from the fridge by heating a glass bowl with about an inch of water in the microwave until the water boils. Carefully pour out the hot water, then invert the warm bowl over your stick of butter for a few minutes. The residual heat will gently soften the butter without melting it.
Sugars: The Sweetness and Texture Enhancers
This recipe calls for an equal blend of caster sugar (also known as superfine sugar) and soft brown sugar. Caster sugar contributes to a finer crumb and helps with crispness, while brown sugar adds moisture, chewiness, and a delightful caramel-like depth of flavor. If caster sugar isn’t readily available, you can easily substitute it with regular granulated white sugar without significantly altering the outcome.
DIY Caster Sugar: You can create your own caster sugar in a flash! Simply pulse regular granulated sugar in a food processor for a few seconds. The goal is a consistency somewhere between granulated sugar and very fine icing sugar (powdered sugar). Be careful not to over-process, or you’ll end up with powdered sugar.
Peanut Butter: The Star of the Show
The type of peanut butter you choose will influence the final texture and flavor of your cookies. We personally prefer a crunchy, natural peanut butter (ideally without palm oil) for added texture and a more pronounced peanut flavor. However, feel free to use your favorite variety! Smooth peanut butter works equally well, yielding a uniformly creamy interior. The key is to use a good quality peanut butter that you genuinely enjoy.
Additional Variations (Optional Add-ins)
While these cookies are fantastic on their own, a few additions can take them to the next level:
- Chocolate Chip Delight: Stir in 100g (approximately ⅔ cup) of milk, white, or dark chocolate chips for an extra layer of sweetness and a delightful textural contrast. Peanut butter and chocolate are a match made in heaven!
- Extra Nutty Crunch: For even more peanut flavor and crunch, fold in 50g (approximately ½ cup) of finely chopped roasted peanuts into the dough.
Crafting Dairy-Free Peanut Butter Cookies
One of the fantastic aspects of this recipe is that it’s already completely egg-free! To effortlessly transform these into a fully dairy-free treat, simply replace the unsalted butter with your preferred plant-based butter alternative. Most plant-based butters are designed to perform similarly to dairy butter in baking, ensuring your cookies retain their delicious flavor and texture.
Step-by-Step Guide: Baking Your Perfect Peanut Butter Cookies
Follow these detailed instructions carefully to achieve beautifully baked, melt-in-your-mouth eggless peanut butter cookies.
Step 1: Creaming the Wet Ingredients
In a large mixing bowl, combine the softened room-temperature unsalted butter, caster sugar, soft brown sugar, and a teaspoon of high-quality vanilla extract. Using an electric hand mixer or a stand mixer fitted with the paddle attachment, beat these ingredients together until the mixture is visibly lightened in color and takes on a wonderfully fluffy, airy texture. This creaming process incorporates air, which contributes to the cookies’ light structure.
Next, add your chosen peanut butter (crunchy or smooth) to the creamed mixture. Continue beating until the peanut butter is thoroughly incorporated, and the mixture is smooth and uniform in consistency, ensuring no streaks remain.
Step 2: Preparing the Dry Ingredients
In a separate, medium-sized bowl, sift together your dry ingredients: all-purpose flour, bicarbonate of soda (baking soda), and salt. Sifting helps to aerate the flour and prevents lumps, ensuring an even distribution of leavening agents. If you’re opting for the additional chocolate chips or chopped peanuts, now is the time to gently stir them into the dry mixture. Coating them in flour slightly can help prevent them from sinking to the bottom of the cookies.
Step 3: Combining Wet and Dry
Gradually add the sifted dry mixture to the creamed wet ingredients. Using a sturdy rubber spatula or a wooden spoon, gently stir the ingredients together. Be patient, as the dough will initially be quite stiff. Continue mixing until all traces of flour have completely disappeared and a cohesive, thick cookie dough has formed. Avoid overmixing at this stage, as it can lead to tough cookies.
Step 4: Forming the Cookie Balls
Prepare two large baking sheets by lining them with parchment paper or silicone baking mats. This prevents sticking and ensures even baking. Using a cookie scoop (approximately 1.5-2 tablespoons) or simply a tablespoon, measure out spoonfuls of dough and roll them into uniform balls, slightly smaller than a golf ball. Consistency in size ensures even baking. Arrange the cookie dough balls evenly across the prepared trays, leaving about 3 inches (approximately 7-8 cm) of space between each to allow ample room for them to expand during baking.
Step 5: The Signature Criss-Cross Pattern
Take a fork and gently press down on the top of each cookie dough ball, creating indentations. Then, rotate the fork 90 degrees and press again perpendicularly to create that classic, signature criss-cross pattern. This traditional marking isn’t just for aesthetics; it helps the dense peanut butter cookie dough bake more evenly and prevents it from spreading too much.
Important: Be careful not to press too hard, as this can make the cookies too flat and compromise their texture. A gentle but firm press is all that’s needed.
Step 6: Chilling and Baking
For the best possible results, and to prevent excessive spreading, place the prepared cookie sheets in the refrigerator for at least 10 minutes. Chilling the dough allows the butter to firm up, which helps the cookies hold their shape better in the oven. You can chill them for longer if time permits. While the cookies are chilling, preheat your oven to 180°C (356°F / Gas Mark 4).
Once chilled, transfer the cookie sheets to the preheated oven and bake for approximately 13 minutes. Keep a close eye on them during the last few minutes of baking, as oven temperatures can vary. You’re looking for a beautiful light golden-brown color around the edges and a slightly set, but still soft, center. Overbaking will lead to dry cookies.
Step 7: Cooling for Perfection
Once baked, remove the cookies from the oven and allow them to cool slightly on their baking trays for about 10 minutes. This crucial resting period allows the cookies to firm up and prevents them from breaking when transferred. After 10 minutes, carefully transfer the warm cookies to a wire cooling rack to cool down completely. They will continue to set and develop their perfect texture as they cool.
Expert Tips for Your Best Peanut Butter Cookies
Achieving bakery-quality peanut butter cookies at home is entirely possible with a few insider tricks:
- The Rustic Look vs. Picture Perfect: These classic peanut butter cookies inherently possess a charmingly rustic, homemade appearance. However, if your goal is perfectly round cookies with smooth edges, gently pinch together any small cracks that may form on the sides as you press down with the fork. This helps create a more uniform shape.
- Don’t Overbake: This is perhaps the most critical tip for chewy cookies. Peanut butter cookies continue to bake slightly even after they’ve been removed from the oven. Pull them out when the edges are just set and lightly golden, and the centers still look a little soft. They will firm up as they cool.
- Room Temperature Ingredients: Ensure your butter is properly softened to room temperature. This significantly impacts the creaming process and the final texture of your cookies.
- Use a Cookie Scoop: For consistently sized cookies, which ensures even baking, a cookie scoop is your best friend.
- Quality Peanut Butter Matters: Invest in a good quality peanut butter. Its flavor will shine through in your cookies.
- Chill the Dough: Don’t skip the chilling step! It helps prevent the cookies from spreading too much and allows the flavors to meld, resulting in a more flavorful and perfectly shaped cookie.
Creative Decoration & Irresistible Serving Suggestions
These delightful peanut butter cookies are fantastic on their own, but they also lend themselves beautifully to various decorative touches and serving ideas to elevate the experience:
- Chocolate Drizzle: Melt your favorite chocolate (milk, dark, or white) and drizzle it artfully over the cooled cookies for a simple yet elegant finish and an extra boost of flavor.
- Half-Dipped Indulgence: For a more decadent treat, dip half of each cooled cookie into melted chocolate, then place them on parchment paper to set. This creates a striking visual and a delightful contrast.
- Nutty Topping: Before baking, sprinkle a few chopped peanuts over the tops of the cookie dough balls. Gently press them down lightly with your fingers or the back of a spoon to ensure they adhere to the cookie as it bakes.
- Ice Cream Sandwich Dream: Transform these cookies into an epic dessert by spreading a generous scoop of your favorite ice cream (vanilla, chocolate, or even more peanut butter!) between two freshly baked and cooled peanut butter cookies to create an irresistible ice cream cookie sandwich.
- Classic Pairings: Serve these cookies with a tall, frosty glass of cold milk – the ultimate classic pairing. For adult palates, a nice, strong, freshly brewed cup of coffee or a comforting mug of hot tea makes a perfect accompaniment.
Smart Storage for Lasting Freshness
To ensure your homemade peanut butter cookies stay fresh and delicious for as long as possible, proper storage is key:
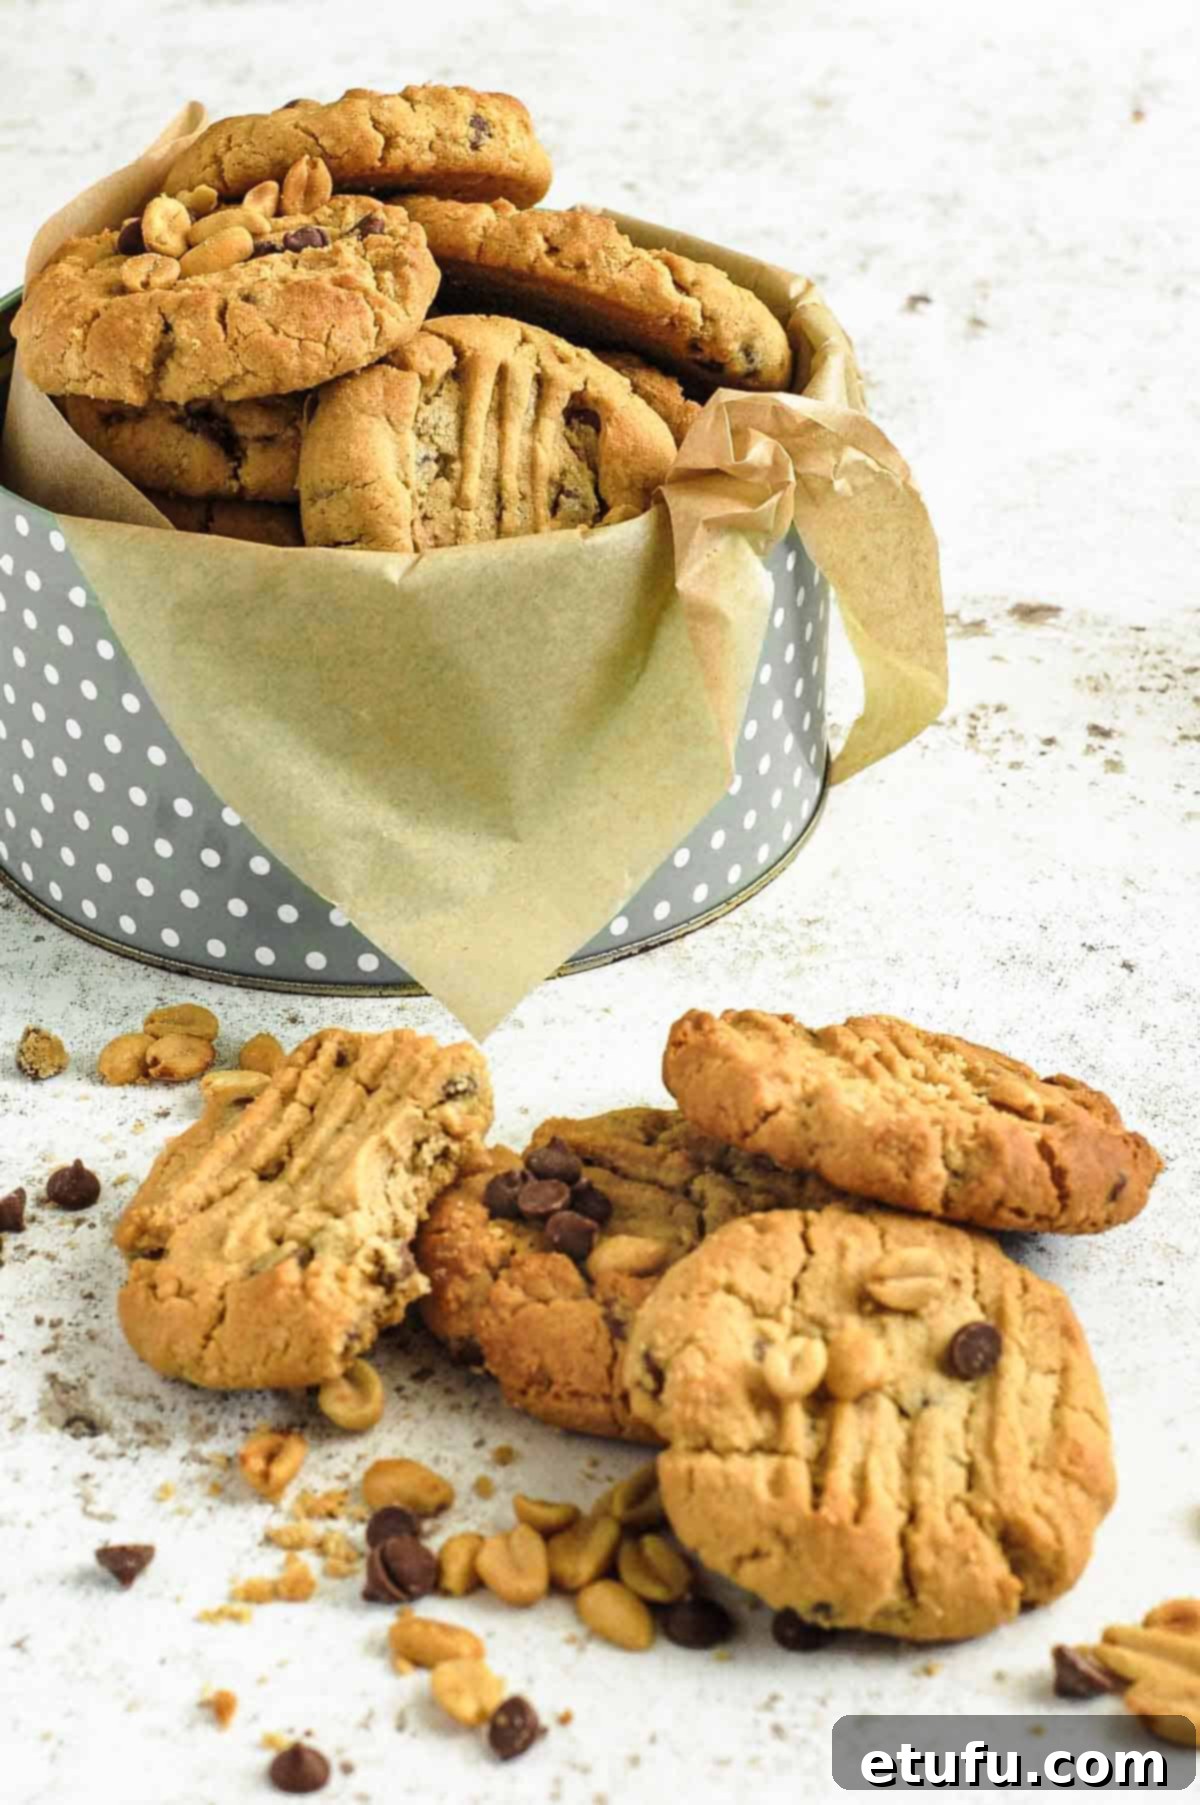
Airtight Container: Store cooled cookies in an airtight container at room temperature. They will maintain their freshness and delightful texture for up to a month. For best quality, consume within 1-2 weeks.
Freezing for Later: These cookies freeze exceptionally well, allowing you to enjoy a homemade treat whenever the craving strikes. To freeze, arrange cooled cookies in a single layer on a baking sheet and freeze until solid (about 1-2 hours). Once solid, transfer them to an airtight freezer-safe container or a heavy-duty freezer bag, separating layers with parchment paper to prevent sticking. They can be frozen for up to 3 months.
Defrosting: To defrost, simply remove the desired number of cookies from the freezer and let them thaw at room temperature for a few hours. For a warm, freshly baked feel, you can gently reheat them in a low oven (around 150°C/300°F) for a few minutes until warmed through.

Frequently Asked Questions About Peanut Butter Cookies
Why do you put fork marks on peanut butter cookies?
The classic criss-cross pattern made with a fork on peanut butter cookies isn’t just a traditional decorative touch; it serves a practical purpose. Peanut butter cookie dough is typically quite dense and rich. The fork marks help to flatten the dough slightly and create grooves, which allows for more even heat distribution during baking. This ensures the cookies bake uniformly through the center and prevent them from becoming too dome-shaped or spreading unevenly.
Why did my peanut butter cookies turn out hard?
Hard peanut butter cookies are usually a result of over-mixing the dough or over-baking. When you combine the dry ingredients with the wet mixture, only mix until the flour streaks have just disappeared and the ingredients are combined. Overworking the dough can develop the gluten in the flour too much, leading to a tough, hard texture. For this step, we recommend using a spatula or wooden spoon for hand mixing, as electric mixers can easily overwork the dough and might even be damaged by the stiff consistency.
Should I really refrigerate the cookies before baking?
Yes, we strongly recommend chilling the cookie dough balls before baking. This step is often referred to as “chilling the dough” or “resting the dough.” Refrigerating the dough for at least 10 minutes allows the butter to firm up, which significantly helps the cookies maintain their shape and prevents them from spreading too much in the oven, resulting in a thicker, chewier cookie. Chilling also allows the flavors to meld and deepen, leading to a more delicious end product.
Can I use natural peanut butter with oil separation?
Absolutely! Natural peanut butter often separates, with oil rising to the top. Just be sure to stir it very thoroughly before measuring to re-incorporate the oil. This ensures a consistent texture and fat content, which is important for the cookie dough’s consistency.
What’s the best way to measure peanut butter?
Peanut butter can be tricky to measure accurately. For precise results, especially for recipes measured by weight (grams), use a kitchen scale. If measuring by volume (cups/tablespoons), spray your measuring cup or spoon with a little non-stick cooking spray before scooping the peanut butter; it will slide out much more easily.
Explore More Delicious Recipes Featuring Peanuts
If you’re a fan of the rich, nutty flavor of peanuts, you’ll love these other peanut-centric recipes from our collection:
Pé de Moleque – Brazilian Peanut Brittle
Creamy Peanut Butter Oatmeal Porridge
Discover More American-Inspired Recipes
From comforting classics to modern favorites, the United States offers a diverse culinary landscape. Try your hand at these other popular American recipes:
Learn How to Make the Classic American Club Sandwich
Condensed Milk Chocolate Chip Cookies
Raspberry and White Chocolate Blondies
Chocolate Chip Cookies – Without Brown Sugar
Perfect 4-Ingredient Banana Bread
Gigi Hadid Pasta – The Viral Spicy Vodka Pasta Recipe
How to Make Marshmallow Fluff Without Corn Syrup
More Irresistible Cookie Recipes You Might Enjoy
If your cookie cravings are still not satisfied, explore our extensive collection of delightful cookie recipes:
- Cookies on Sticks – Valentine’s Sugar Cookies
- Chocolate Chip Cookies Without Brown Sugar
- Cheerful Smartie Cookies
- Chocolate Chip Coffee Cookies
Recipe Card: Old Fashioned Eggless Peanut Butter Cookies

Old Fashioned Peanut Butter Cookies (Eggless)
There are so many good things to say about this eggless, old-fashioned peanut butter cookie recipe; velvety, melt-in-the-mouth, easy to make and just a touch of saltiness for depth. These cookies have that perfect in-between texture, somewhere between crunchy and soft.
Course: Dessert
Cuisine: International
Prep Time: 10 minutes
Cook Time: 13 minutes
Fridge Time: 10 minutes
Total Time: 33 minutes
Servings: 24 cookies
Calories: 140 kcal per cookie
Author: Maretha Corbett
Ingredients
- 125 gram unsalted butter – room temperature
- 90 gram caster sugar
- 90 gram soft brown sugar
- 1 teaspoon vanilla extract
- 200 gram peanut butter – crunchy or smooth
- 200 gram plain flour
- 1 teaspoon bicarbonate of soda
- 1 teaspoon salt – only add half a teaspoon if you’re using salted butter
- 100 grams chocolate chips – optional
- 50 grams chopped peanuts – optional
Instructions
- Thoroughly cream together the butter, caster sugar, brown sugar, and vanilla extract until completely lightened in color and fluffy in texture. You can use an electric hand mixer or a stand mixer for this step.
- Add the peanut butter and continue beating until fully incorporated and smooth.
- In a separate bowl, sift together the flour, bicarbonate of soda, and salt. Optional: Gently combine with the chocolate chips or chopped peanuts if using.
- Add the dry mixture to the creamed wet ingredients and stir together with a spatula or wooden spoon until thoroughly combined. The dough will be quite stiff; keep stirring until all traces of flour have been fully incorporated.
- Prepare two baking sheets by lining them with parchment paper or silicone mats.
- Roll spoonfuls of dough into balls slightly smaller than a golf ball. Evenly space them across the trays, leaving about 3 inches between each cookie to allow room to expand.
- Use a fork to press down on each ball, making indentations. Press again perpendicularly to create a crisscross pattern. Avoid pressing too hard, or they will become too flat.
- Chill the trays in the fridge for at least 10 minutes so the cookies firm up – longer is fine.
- Pre-heat the oven to 180°C / 356°F / Gas Mark 4.
- Once the cookies are chilled, bake for 13 minutes in the preheated oven. All ovens are different, so keep an eye on them in the last few minutes. You’re looking for a light golden top.
- Remove the cookies from the oven and leave them to rest on the trays for 10 minutes. After 10 minutes, carefully transfer them to a wire rack to cool completely.
Notes
Top Tip for Appearance
These cookies have a rustic, homemade look. However, if you want picture-perfect round cookies without cracks on the sides, gently pinch together any cracks that may have formed as you pressed down on them with the fork before baking.
**Nutritional Data Disclaimer**
Please keep in mind that the nutritional information provided below is calculated by a third party, and we cannot guarantee its absolute accuracy. We strive to offer the most precise information possible, but we do not take responsibility for any errors that may be present. Furthermore, the nutritional value of this recipe may vary depending on the exact brands and products used. We highly recommend that you consult with a qualified healthcare professional or a registered dietitian for personalized advice regarding your dietary needs.
Nutrition Facts (per cookie)
Calories: 140 kcal | Carbohydrates: 17g | Protein: 4g | Fat: 7g | Saturated Fat: 1g | Polyunsaturated Fat: 2g | Monounsaturated Fat: 3g | Sodium: 182mg | Potassium: 90mg | Fiber: 1g | Sugar: 9g | Calcium: 11mg | Iron: 1mg
For comprehensive food safety advice, including important guidance on food allergies and allergens, please consult official resources such as Food.gov.uk.
