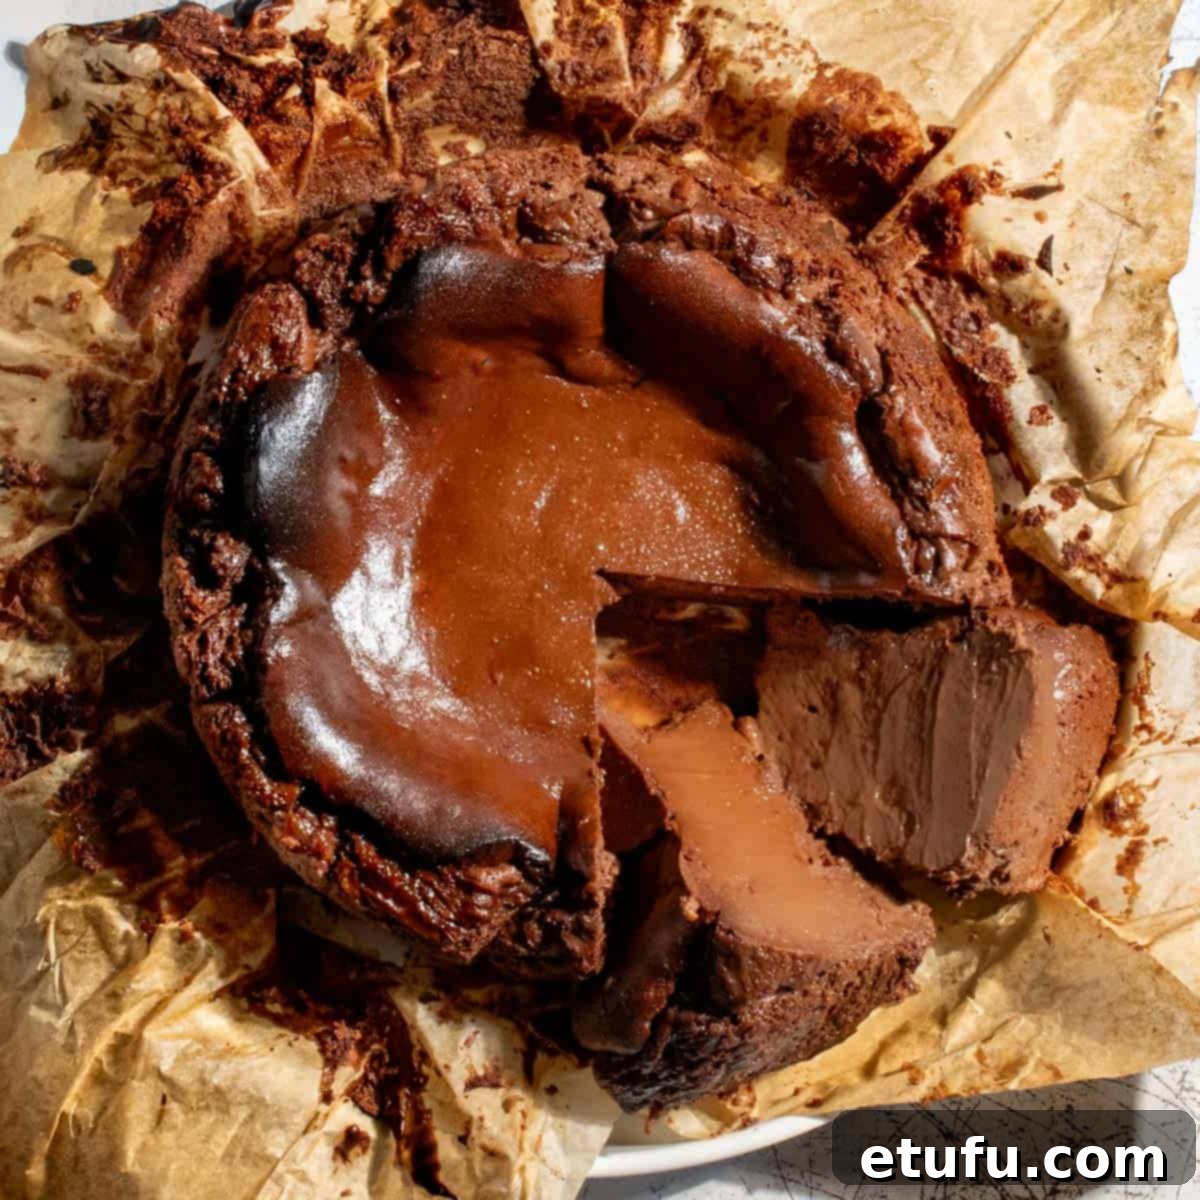
An Epicurean Adventure to: Spain – Crafting the Perfect Chocolate Basque Burnt Cheesecake
Embark on a culinary journey to the heart of Spain with our exquisite Chocolate Basque Burnt Cheesecake. This dessert isn’t just a treat; it’s a testament to the beauty of unapologetic charm and bold flavors. Forget perfection; embrace the rustic elegance of a cheesecake that truly shines through its unique, intentionally “burnt” appearance.
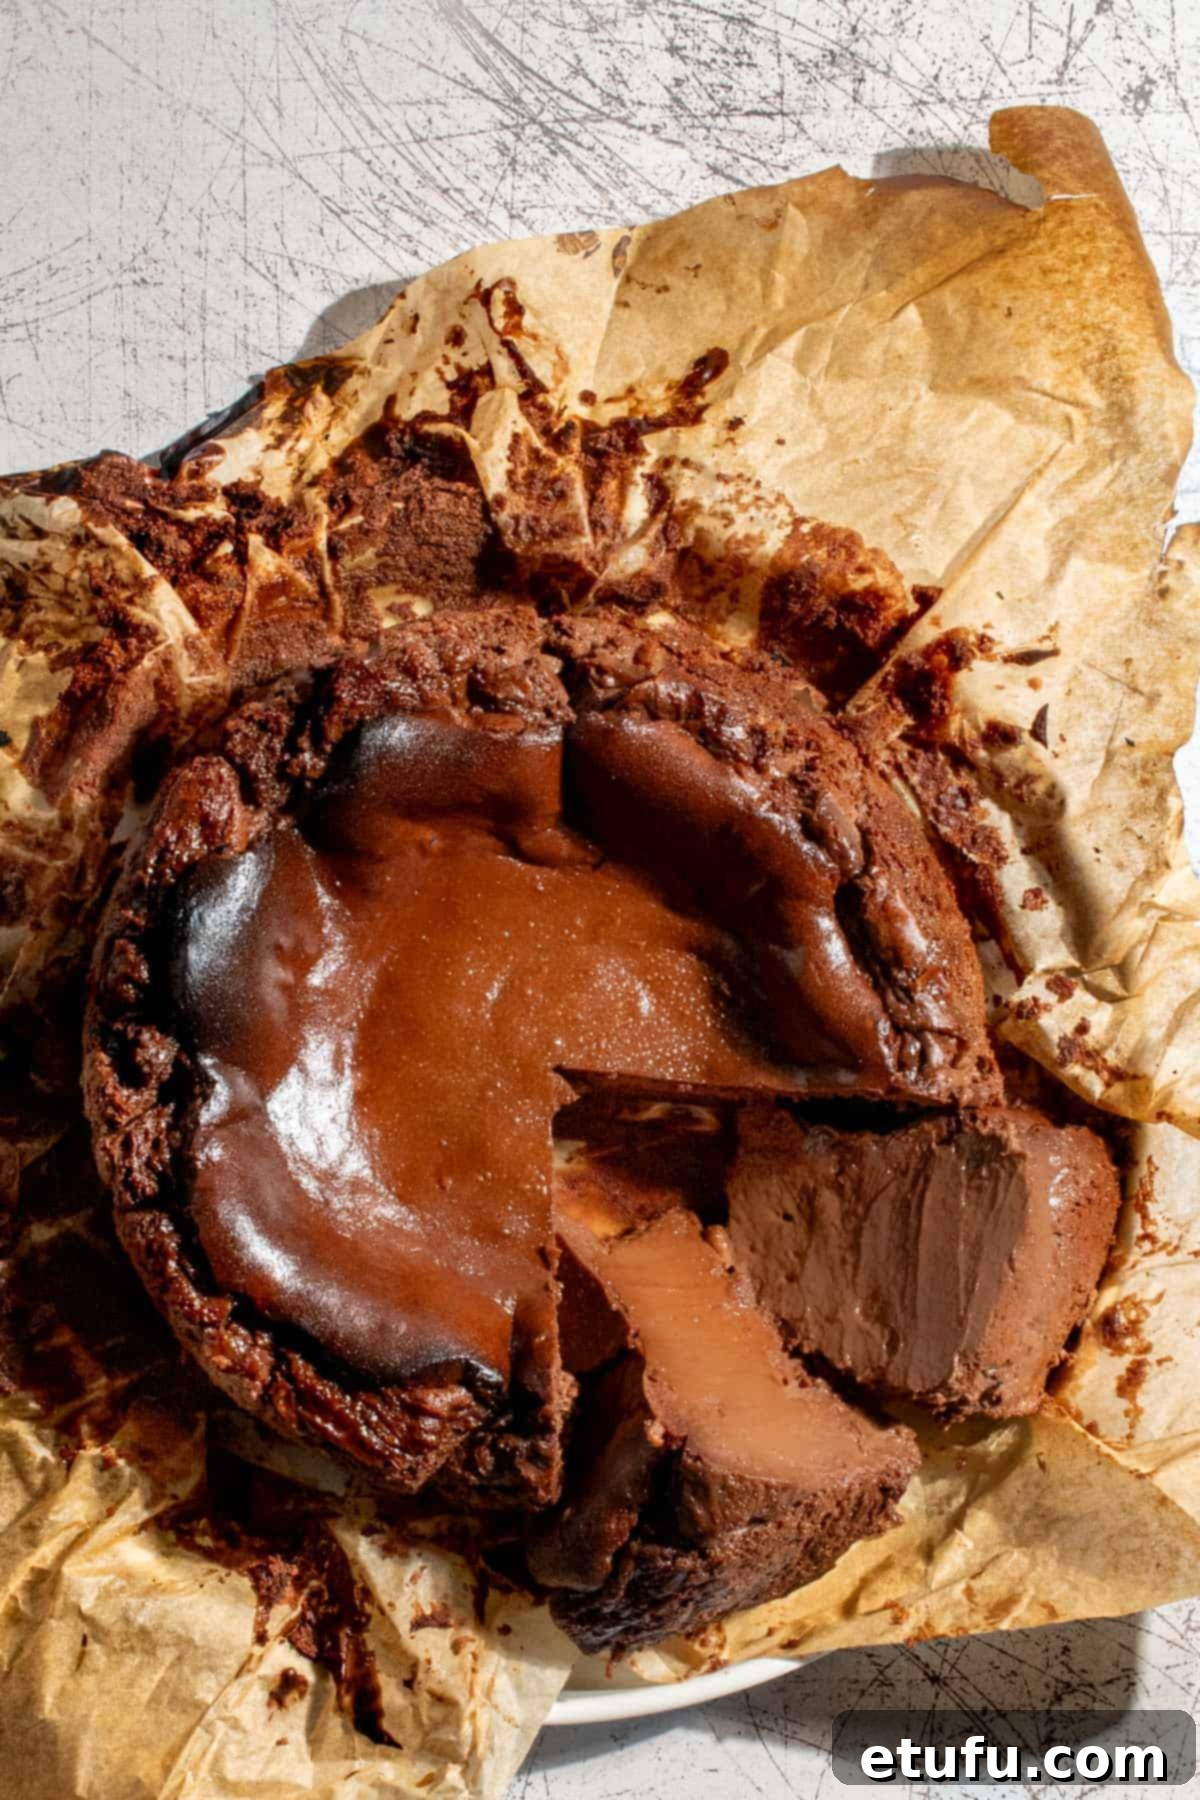
Imagine a masterpiece with a wonderfully charred, caramelized top that tells a story of deep, toasted notes, perfectly contrasting with a dreamily creamy interior. Far from being a flaw, this dark surface is the very essence of its beauty, adding layers of complex flavor that elevate it beyond a traditional cheesecake. It’s an irresistible blend of rich chocolate and a meltingly smooth texture, making every bite an indulgent escape.
The iconic Basque cheesecake, famously known as “tarta de queso” in Spanish, proudly originates from the picturesque Basque Country in northern Spain. Its fame began in the charming coastal town of San Sebastián, specifically at a renowned restaurant called La Viña. This legendary establishment set the standard for a dessert that defies convention, captivating palates with its distinct character.
At La Viña, you can still experience a slice of this globally celebrated cheesecake for a modest 6 euros, a small price for a taste of history and culinary innovation. Our recipe pays homage to this authentic San Sebastián cheesecake, blending its signature simplicity with the luxurious depth of fine chocolate.
This chocolate-infused version is a delicate yet intensely rich creation, offering an effortlessly elegant and beautifully indulgent experience. What makes it even more appealing for home bakers is its straightforward nature: it’s delightfully crustless, eliminating the need for tedious crust preparation, and it bakes without the fuss of a water bath. This simplicity ensures a perfect, show-stopping dessert every time, whether you’re a seasoned baker or just starting your culinary adventures. Get ready to impress with this easy, yet utterly decadent, chocolate Basque burnt cheesecake recipe.
Why You’ll Fall in Love with this Chocolate Basque Burnt Cheesecake Recipe
This isn’t just another cheesecake recipe; it’s an invitation to create a dessert that’s as impressive as it is delightful. Here’s what makes our Chocolate Basque Burnt Cheesecake an absolute must-try:
- Effortless Elegance with Simple Steps: Say goodbye to complicated baking techniques. Our easy-to-follow, step-by-step guide makes this luxurious dessert accessible to everyone, regardless of baking experience. We’ve simplified the process to ensure a smooth, enjoyable baking journey from start to finish.
- Rustic Charm, No Decoration Needed: The true beauty of a Basque burnt cheesecake lies in its naturally rustic, caramelized top. There’s absolutely no need for elaborate frosting or fussy garnishes. Its striking, burnished surface is a statement in itself, offering an authentic, unpretentious elegance that truly stands out.
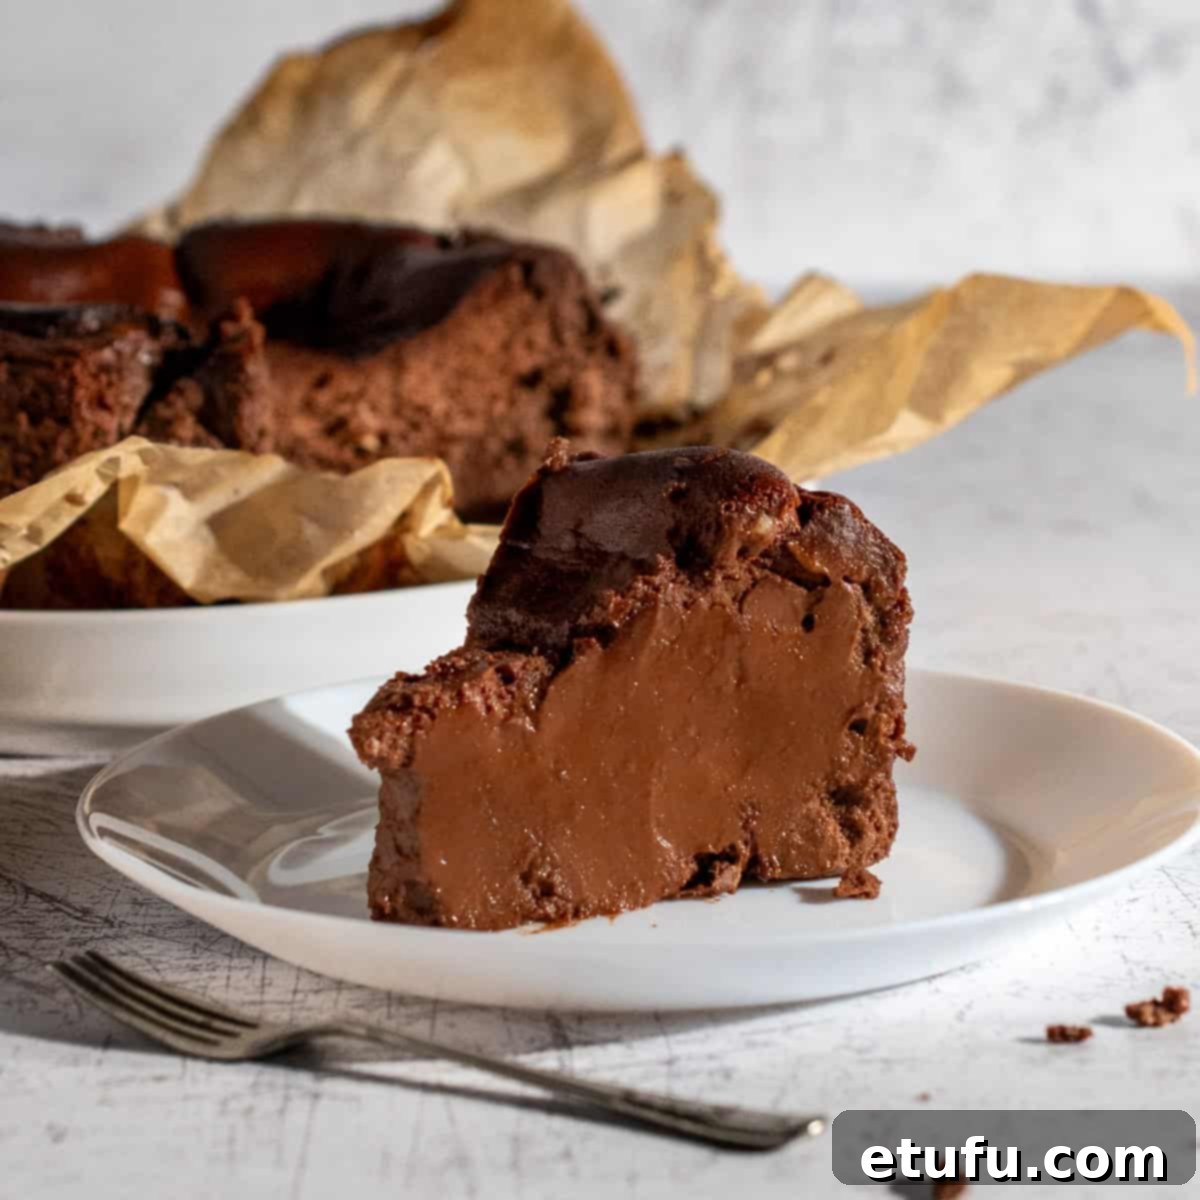
- Luxuriously Rich and Decadent Indulgence: Prepare for an unparalleled taste experience. This cheesecake boasts an incredibly rich, dense, and baked-to-perfection texture that melts in your mouth. The generous infusion of dark chocolate elevates its decadence, making it an extraordinary treat for any occasion, from casual gatherings to formal celebrations.
- Guaranteed Showstopper for Any Gathering: Looking to impress your guests? This chocolate Basque burnt cheesecake is a guaranteed showstopper. Its unique appearance and deeply satisfying flavor profile will earn you rave reviews and leave a lasting impression. It’s the perfect dessert to showcase your baking prowess with minimal stress.
- No Water Bath Required: One of the biggest advantages of this recipe is the complete absence of a water bath. This traditional cheesecake technique can be cumbersome and messy. Our recipe streamlines the baking process, allowing the cheesecake to achieve its signature burnt exterior and creamy interior directly in the oven, saving you time and effort.
- Versatile for Seasonal Celebrations: While perfect year-round, this dessert truly shines during festive seasons. Imagine serving it for Christmas, topped with glistening clusters of sparkly red cranberries. The deep chocolate notes pair beautifully with tart berries, creating a holiday dessert that is both visually stunning and incredibly delicious.
This chocolate Basque burnt cheesecake offers a blend of simplicity, elegance, and profound flavor, making it a beloved choice for any dessert enthusiast.
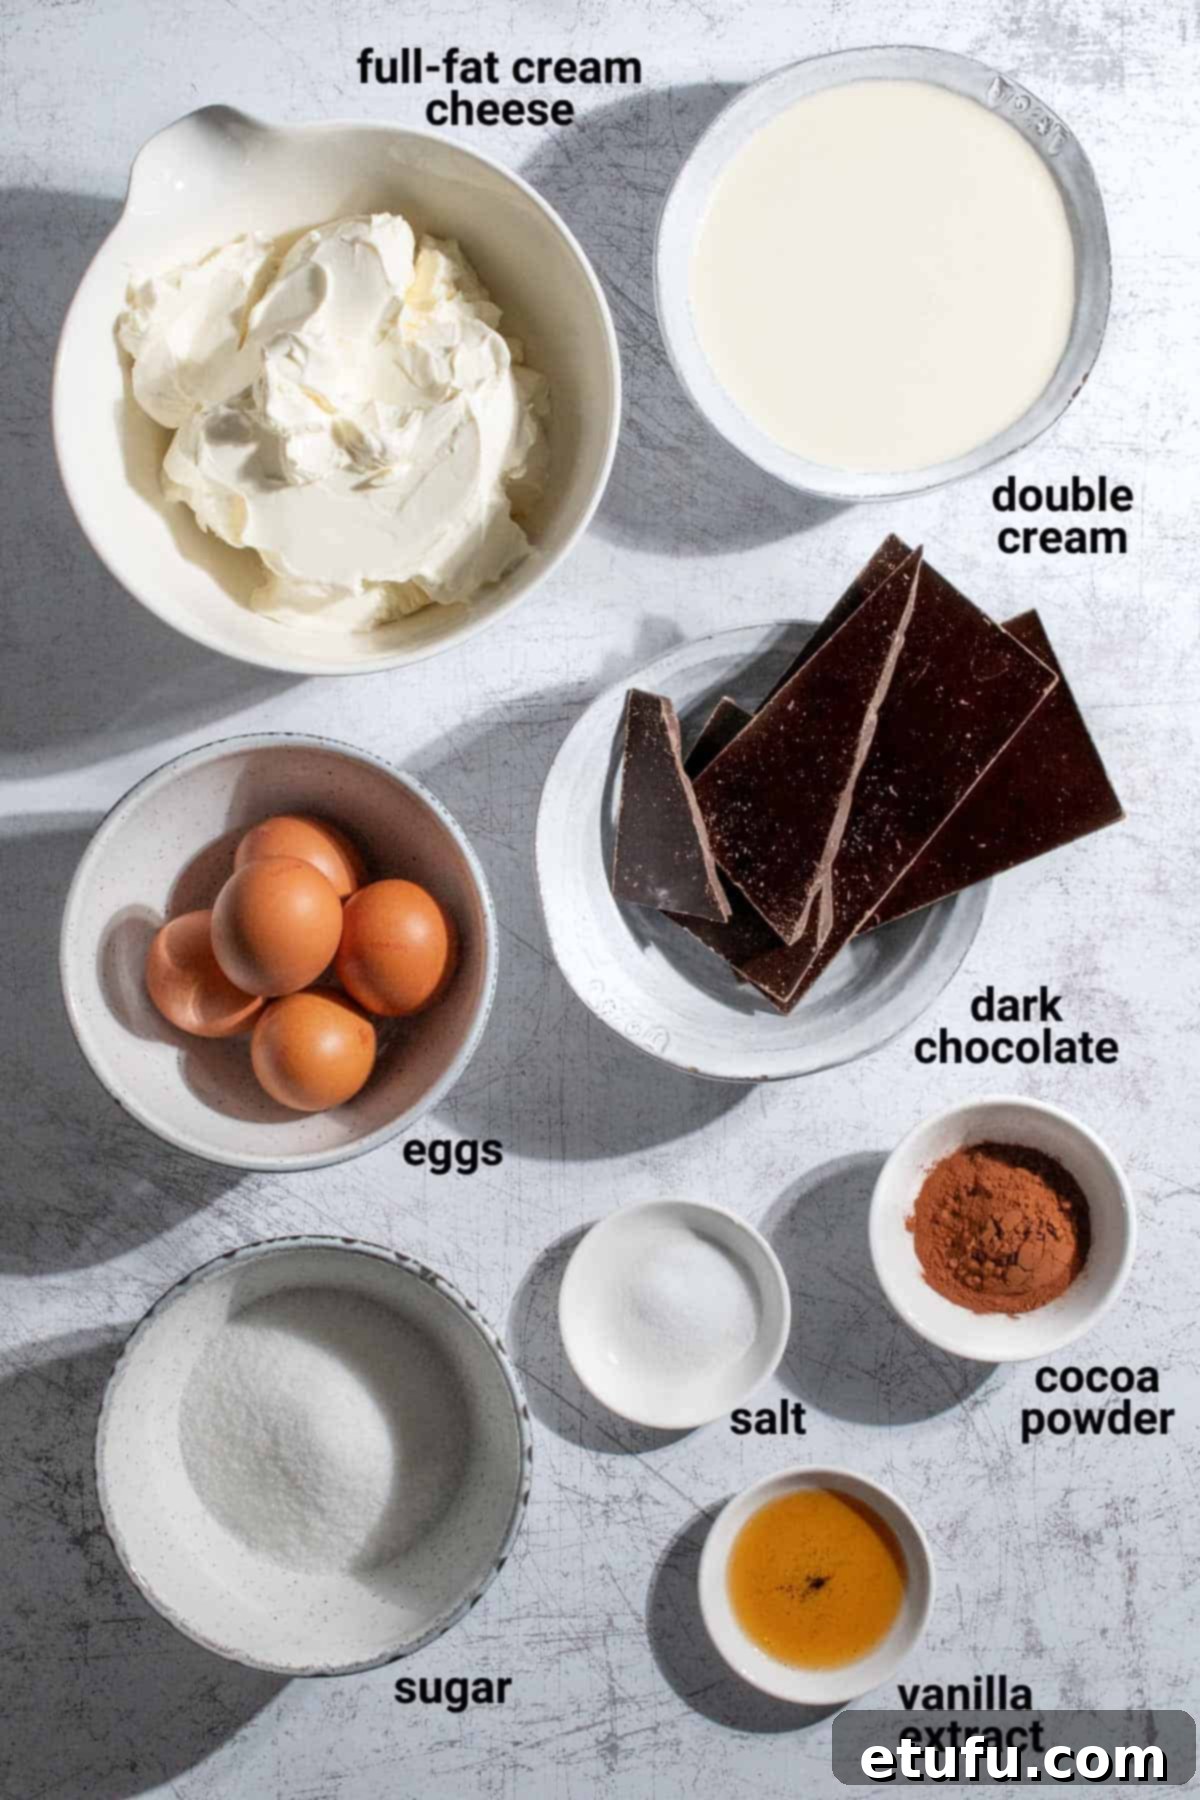
Essential Ingredient Insights for Your Perfect Chocolate Basque Burnt Cheesecake
**For the precise measurements and a comprehensive list of ingredients, please refer to the detailed recipe card conveniently located at the bottom of this post.
Important Pre-Baking Tip: Room Temperature is Key!
For the ultimate smooth, lump-free batter and perfectly integrated flavors, it is absolutely crucial that all your cheesecake ingredients (especially the cream cheese and eggs) are at room temperature before you begin mixing. This ensures a homogenous mixture, contributing significantly to the melt-in-your-mouth texture of your finished cheesecake. Don’t worry about the double cream; we’ll give it a brief warm-up in the microwave later, so its initial temperature isn’t as critical.
Full-Fat Cream Cheese: The Foundation of Creaminess
This is not the time to cut corners with fat-free or low-fat alternatives. For an authentic and incredibly rich Basque cheesecake, full-fat cream cheese is non-negotiable. The high-fat content is what gives this dessert its signature luscious, dense, and unbelievably creamy texture. Anything less will compromise the integrity and decadent experience of this cake. Remember to take your cream cheese out of the fridge at least an hour (preferably two) before you plan to start baking, allowing it ample time to soften properly. Softened cream cheese is much easier to beat smooth, preventing lumps in your batter.
Double Cream (Heavy Cream): The Secret to Silkiness
Similar to cream cheese, the type of cream you use makes a world of difference. Double cream, or heavy cream as it’s known in some regions, is essential for achieving that sought-after luxurious, melt-in-your-mouth consistency. Its high fat content contributes significantly to the cheesecake’s structure and incredibly smooth finish. Opting for a lighter cream will result in a less rich and less decadent final product, missing the true indulgence this Basque burnt cheesecake promises. Do not skimp on this vital ingredient!
Dark Chocolate: The Heart of the Flavor
To ensure a profound and balanced chocolate flavor that stands up to the richness of the dairy, we highly recommend using dark chocolate with a cocoa content of at least 70%. This percentage provides a deep, complex chocolate note without being overly bitter. High-quality dark chocolate will melt smoothly and integrate beautifully into the batter, creating a sophisticated and intense chocolate experience that truly elevates this Basque cheesecake.
Cocoa Powder: Enhancing the Chocolate Depth
We are firm advocates for using high-quality cocoa powder to further deepen the chocolate flavor profile of this cheesecake. If possible, seek out Dutch-processed, unsweetened cocoa powder. Dutch-processed cocoa has been treated to reduce its acidity, resulting in a darker color and a mellower, richer chocolate flavor that blends seamlessly. However, if Dutch-processed is unavailable, your regular unsweetened cocoa powder will still yield delicious results. Just ensure it’s fresh and of good quality for the best flavor outcome.
Selecting the Perfect Baking Tin for Your Basque Burnt Cheesecake
The choice of baking tin is more important than you might think for this unique dessert. You’ll need an 8″ (20cm) round baking tin that is at least 4″ (10cm) deep. This specific height is absolutely essential for supporting the cheesecake’s naturally tall structure as it bakes and rises dramatically, before gracefully sinking to create its characteristic “burnt” top and creamy center. A shallow tin simply won’t suffice for achieving the iconic look and texture of an authentic Basque burnt cheesecake.
You have the flexibility to use either a classic plain round tin or a convenient springform tin. Both will work perfectly, as the parchment paper lining acts as the primary release mechanism for the crustless cheesecake.
Step-by-Step Instructions: Crafting Your Chocolate Basque Burnt Cheesecake
Follow these detailed instructions to create a flawless and incredibly delicious Chocolate Basque Burnt Cheesecake:
1. Begin by preheating your oven to a high temperature of 200°C (390°F). This high heat is crucial for achieving the characteristic “burnt” exterior of the Basque cheesecake.
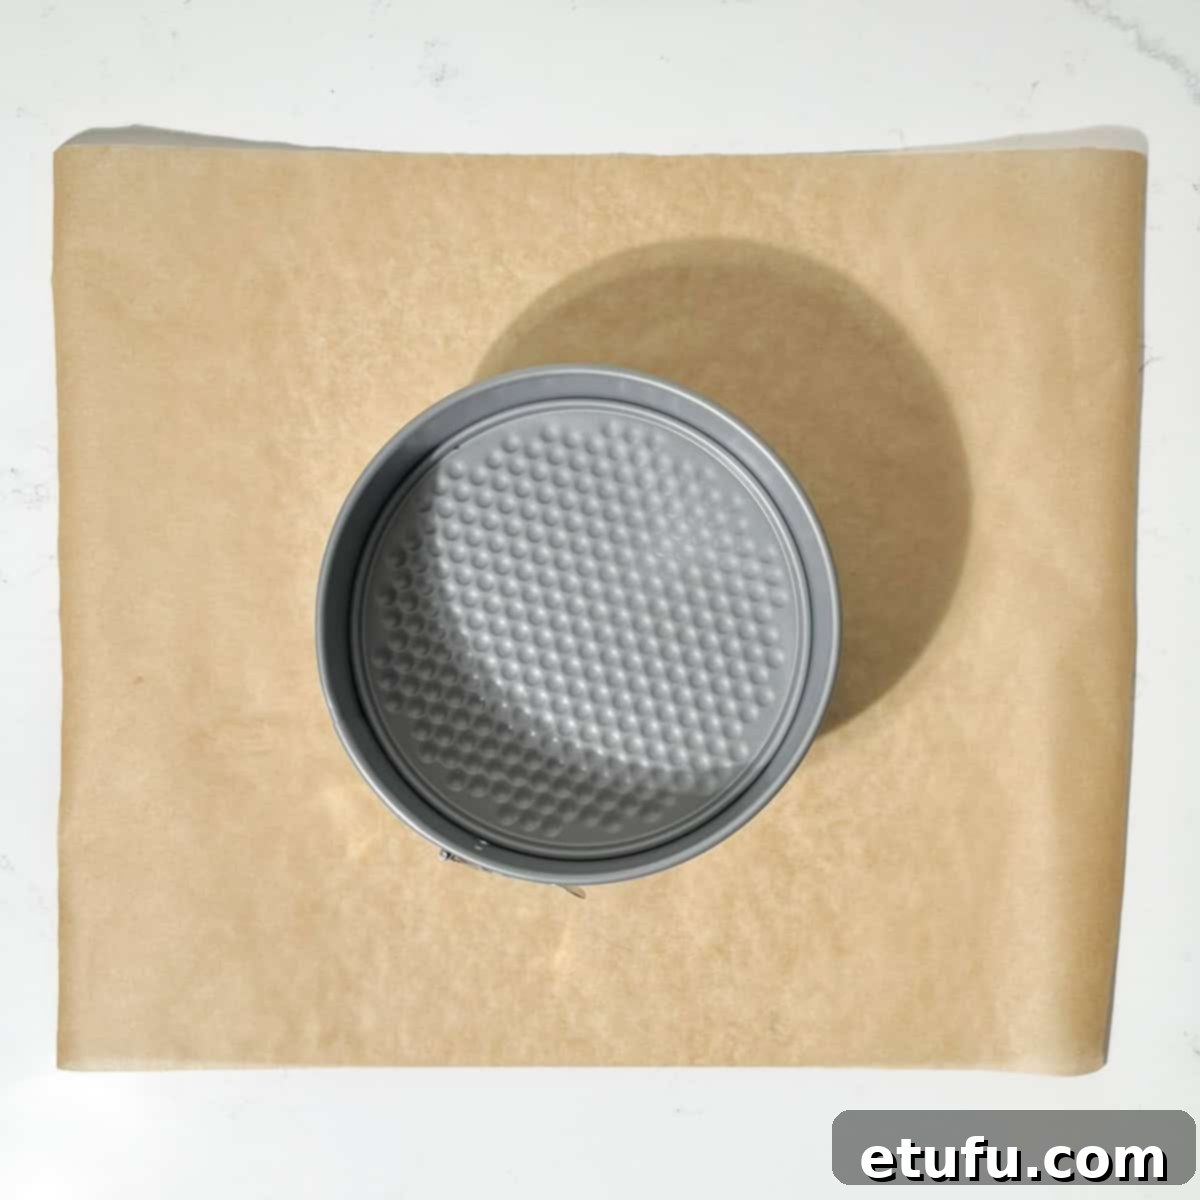
2. Prepare your baking tin by cutting a generous piece of baking paper. Ensure it’s large enough to extend approximately 7cm (3″) above the sides of the tin once it’s lined. This extra height will accommodate the cheesecake’s rise during baking and prevent overflow.
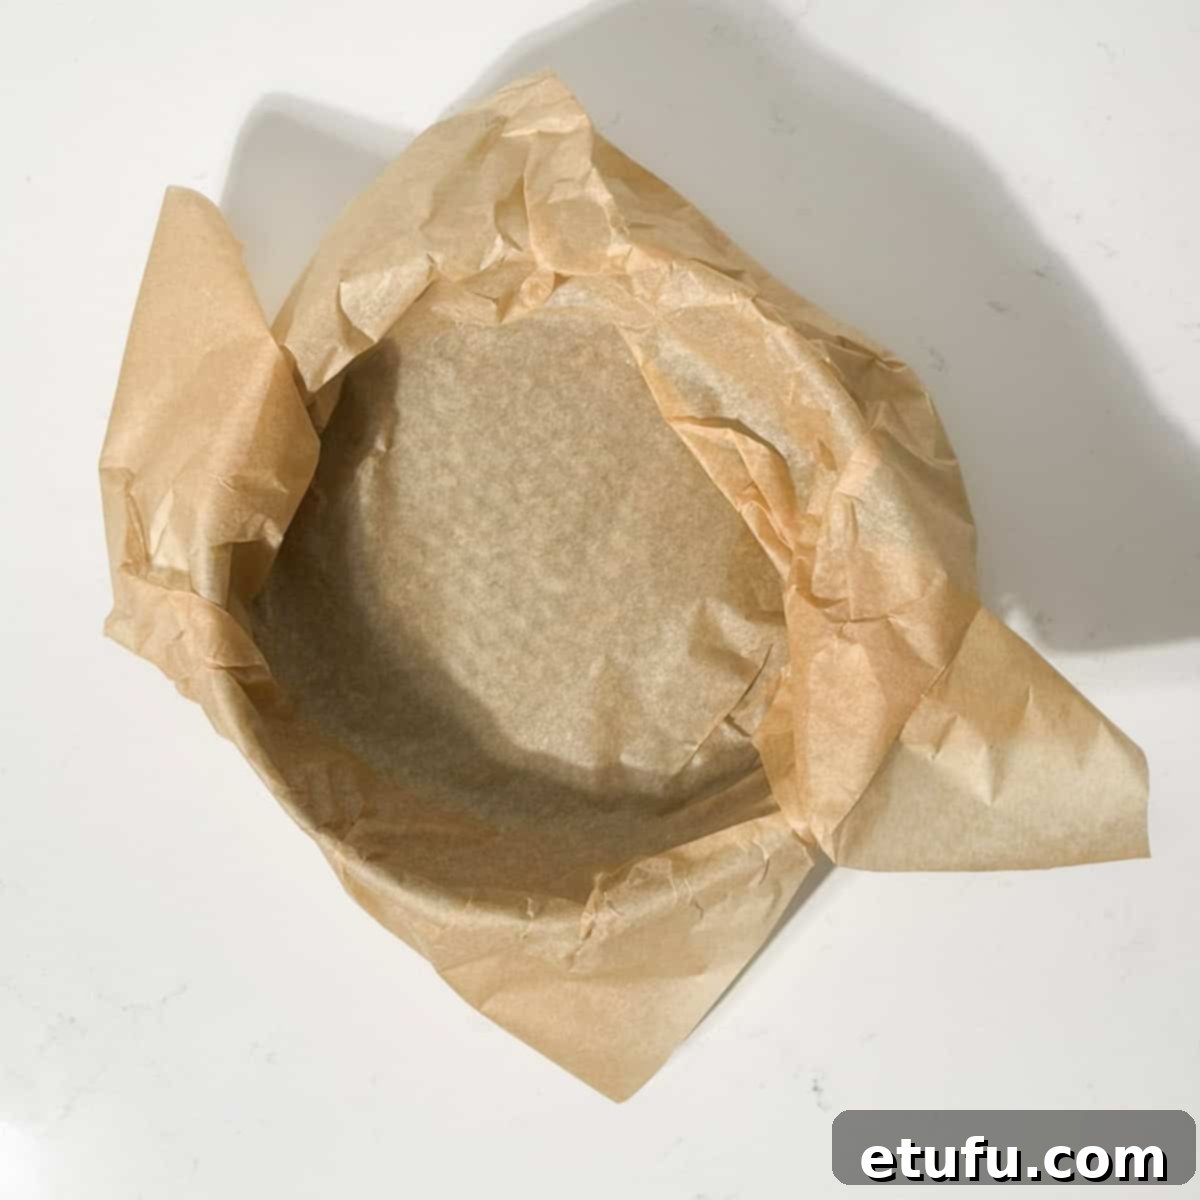
3. Gently scrunch the baking paper into the tin, pressing it firmly into all the corners and sides. The crumpled texture is intentional and contributes to the rustic aesthetic of the finished cheesecake. Fold any excess paper neatly over the edges of the tin.
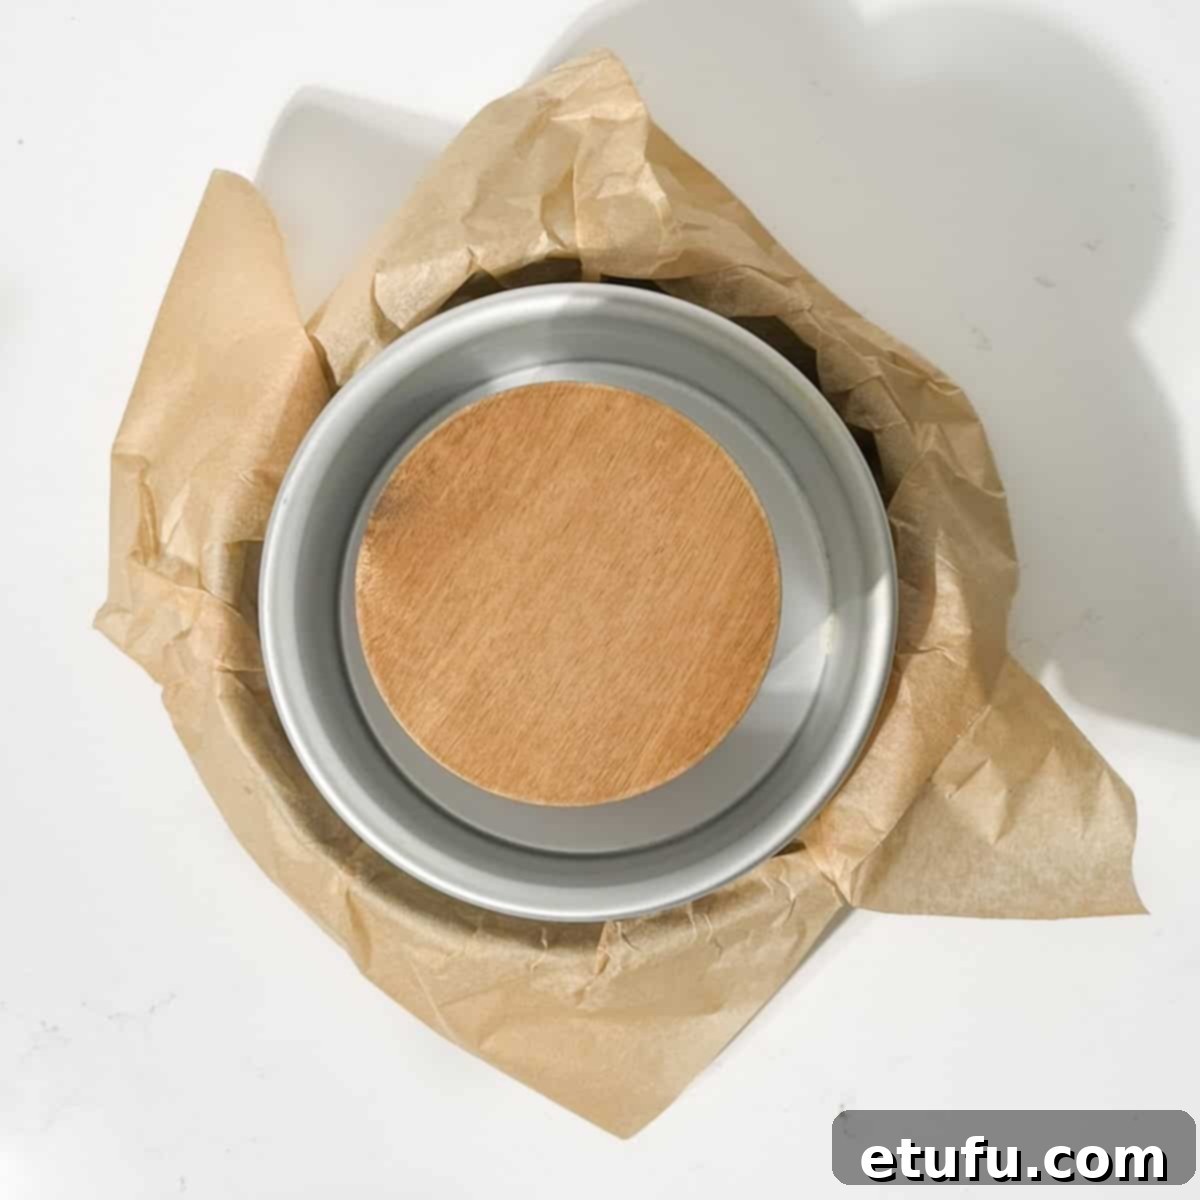
4. If the baking paper doesn’t stay in place easily, you can temporarily place something heavy, such as a can or a small bowl, inside the tin to hold it down while you prepare the cheesecake batter.
5. Break the dark chocolate into small, manageable pieces. Melt it either in the microwave in short bursts (stirring frequently) or over a double boiler until it’s completely smooth and liquid. Set the melted chocolate aside to cool slightly while you prepare the rest of the batter.
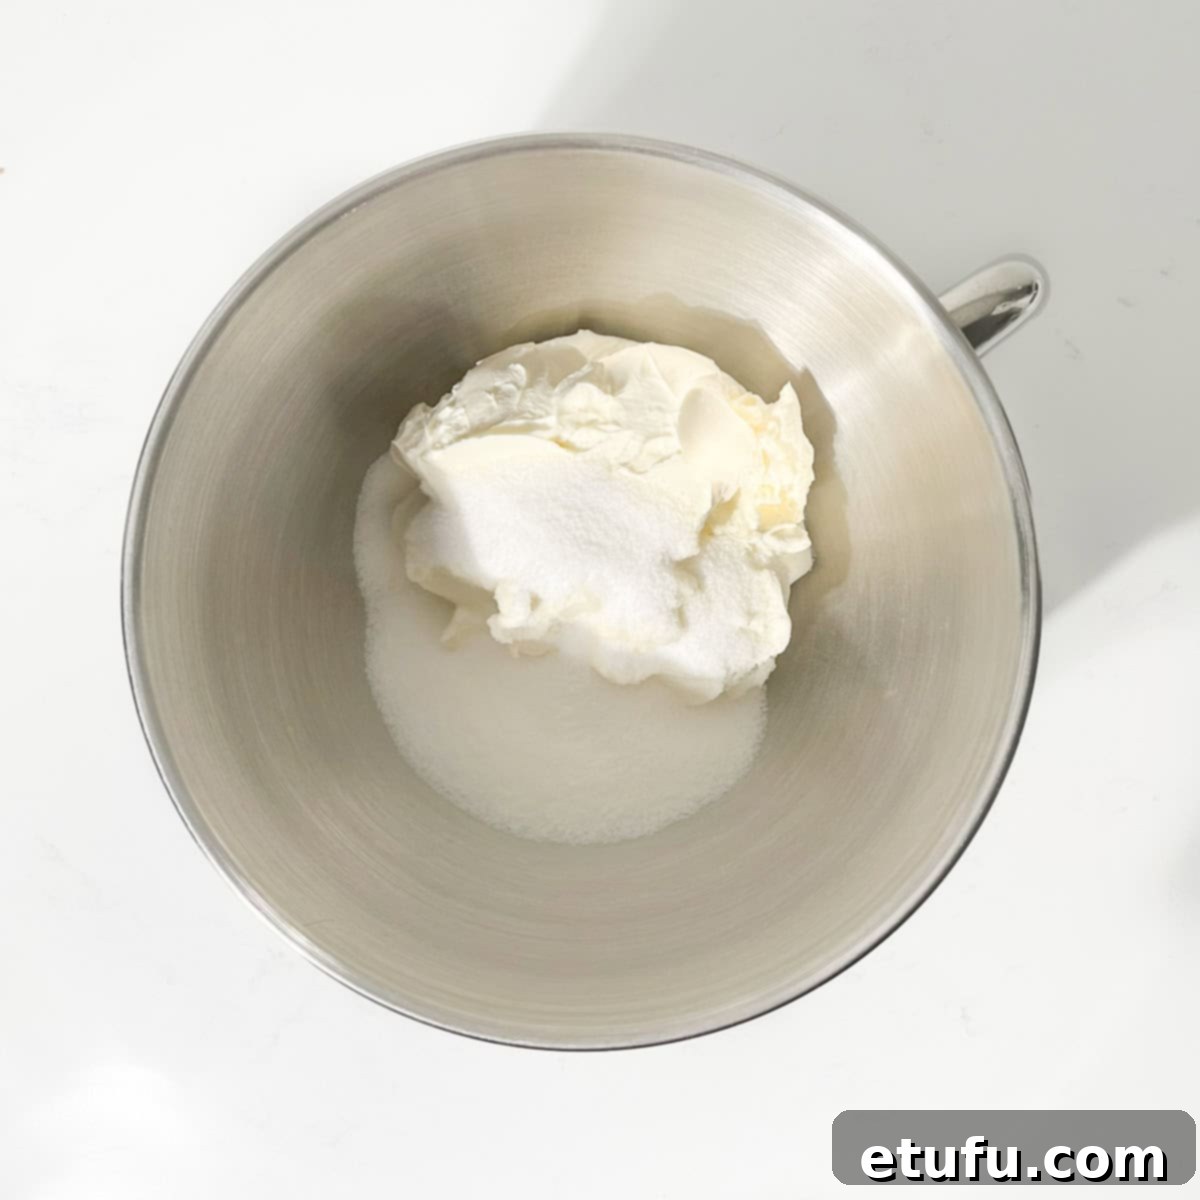
6. In the large bowl of a stand mixer fitted with the paddle attachment (avoid using the whisk attachment for this recipe as it incorporates too much air), combine the room-temperature full-fat cream cheese and white sugar. Beat the mixture on medium speed until it becomes incredibly smooth, light, and creamy, which typically takes at least 3 minutes. This step is crucial for a lump-free cheesecake.
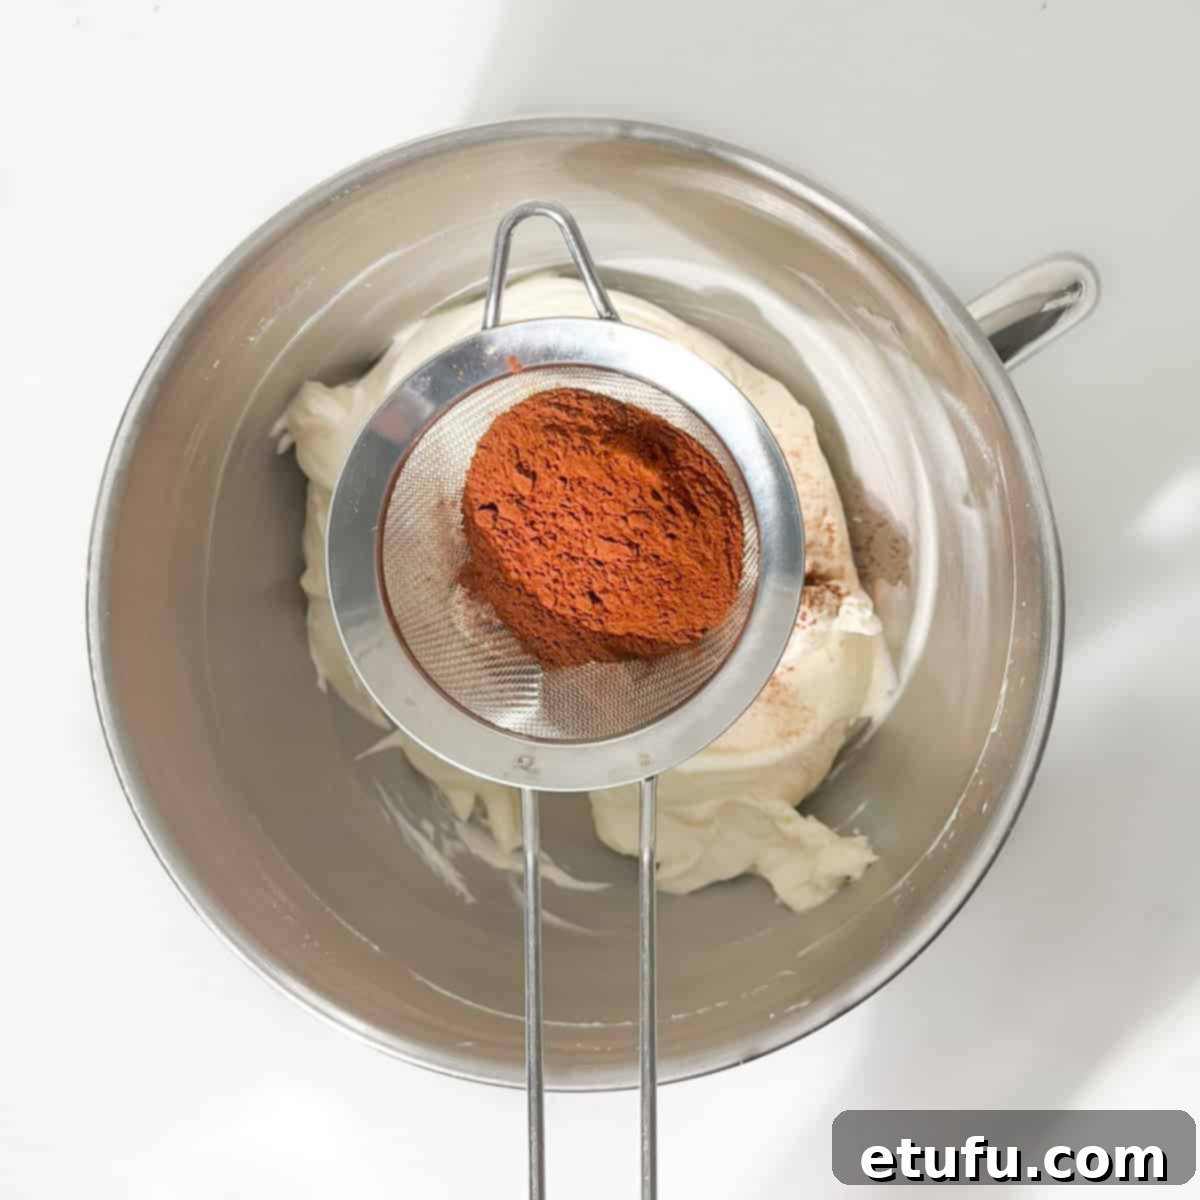
7. To ensure an ultra-smooth texture and prevent any gritty bits, sift the cocoa powder directly into the cream cheese mixture in the bowl. This helps to break up any clumps and distributes the cocoa evenly. While you’re at it, add the vanilla extract and salt to the bowl as well.
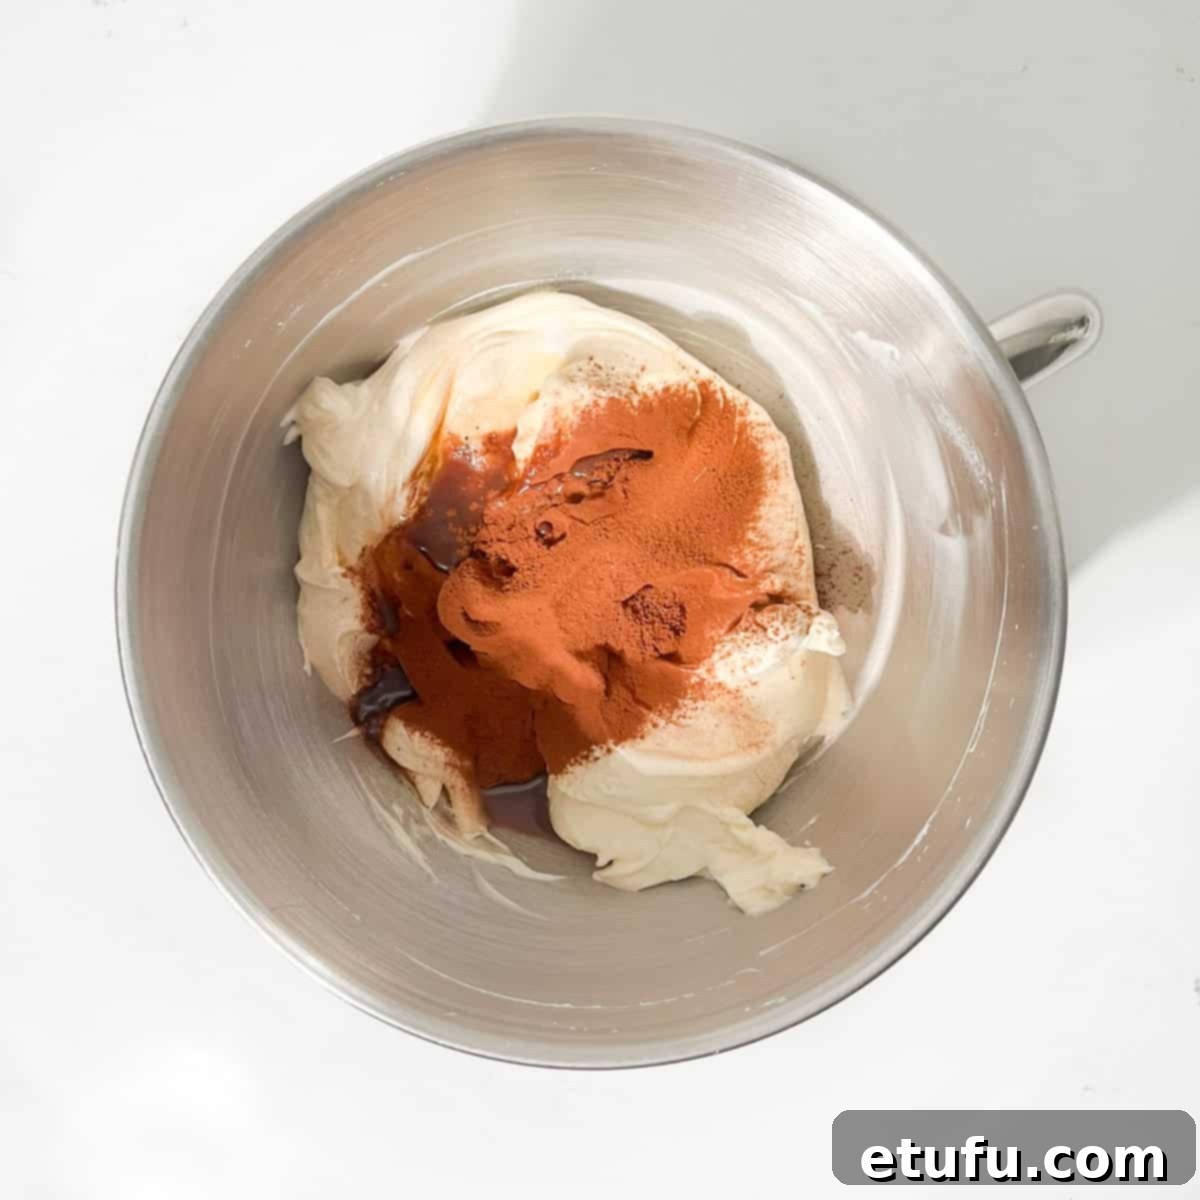
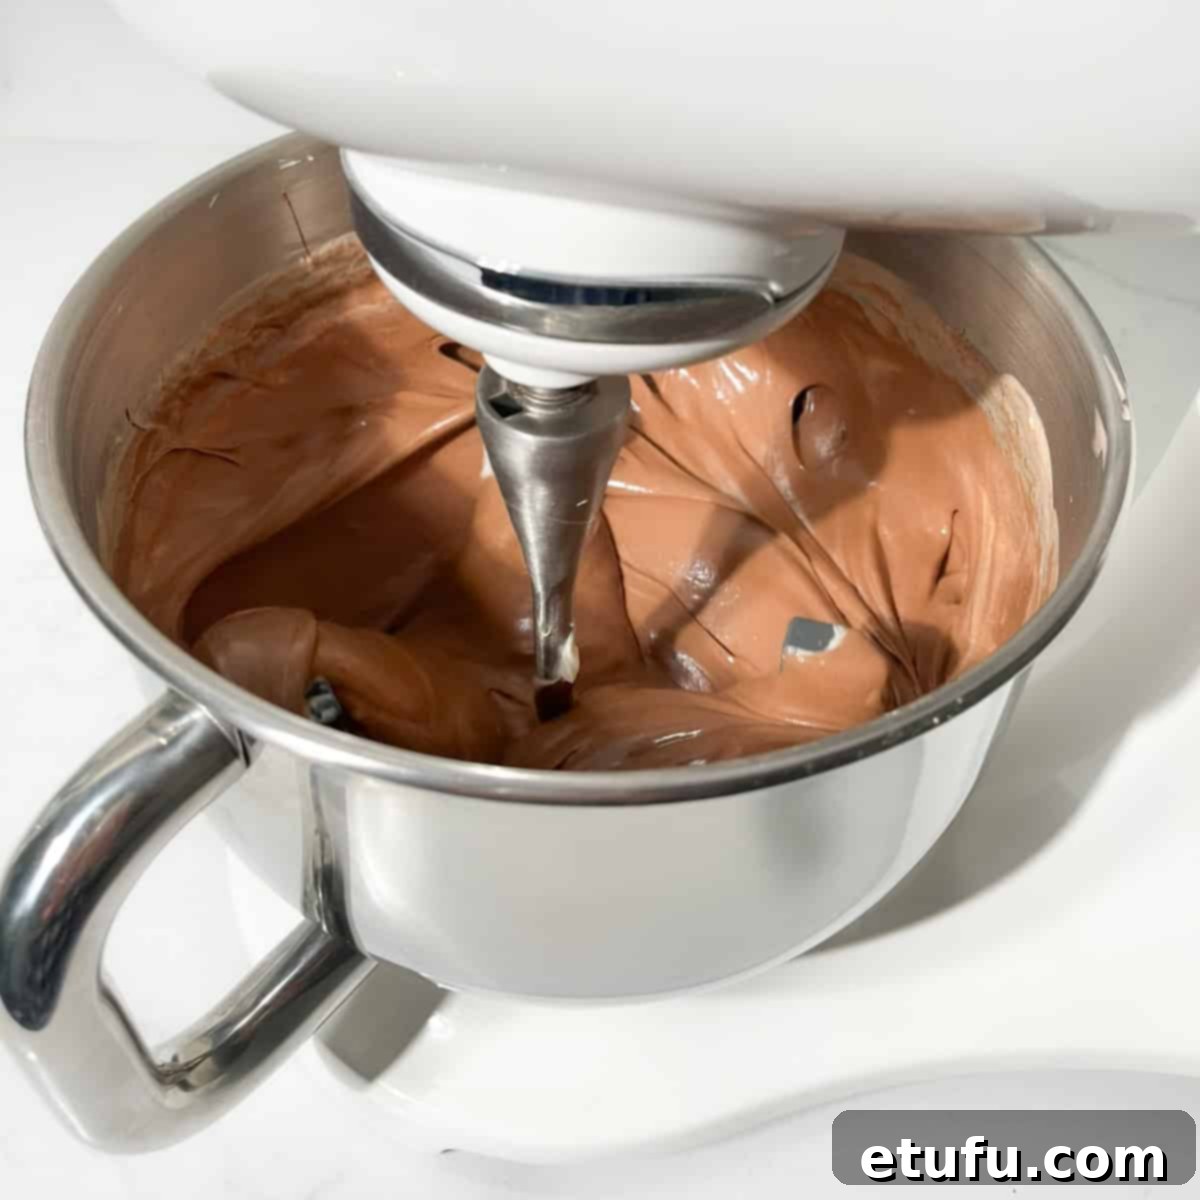
8. Continue beating the mixture until all the newly added ingredients are thoroughly combined and the batter is smooth. This should take approximately 1-2 minutes, ensuring no streaks of cocoa powder remain.
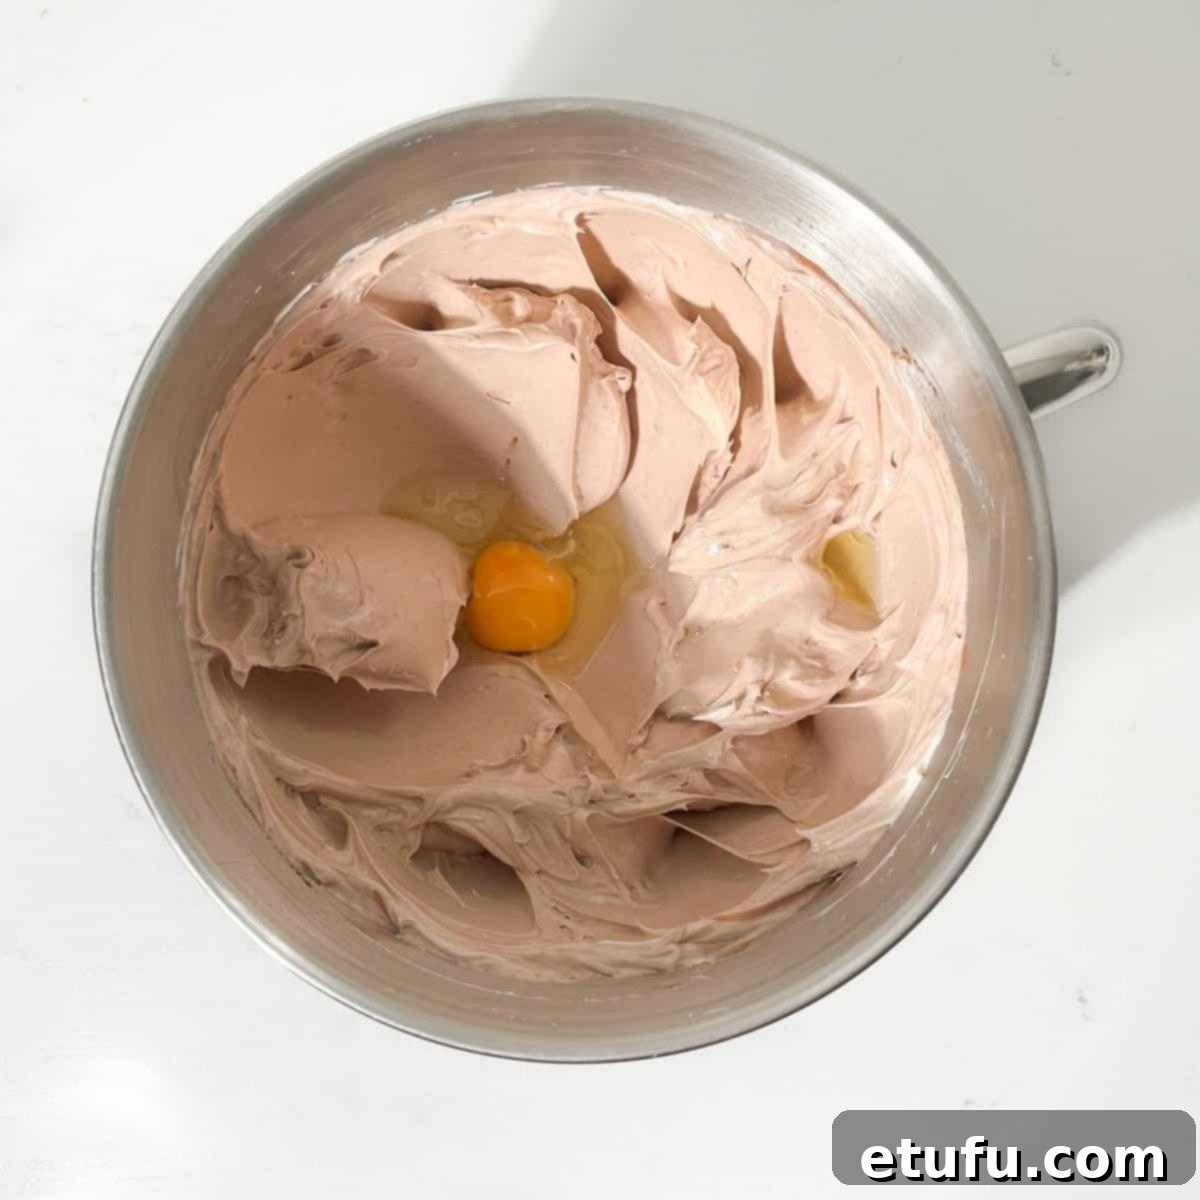
9. Incorporate the room-temperature large eggs into the batter one at a time. After each egg addition, beat the mixture thoroughly until the egg is fully incorporated before adding the next. This method helps to create a stable emulsion and a consistently smooth batter.
10. Pour the previously melted and slightly cooled dark chocolate into the cheesecake mixture. Beat again until the chocolate is fully combined, transforming the batter into a rich, uniform chocolate hue.
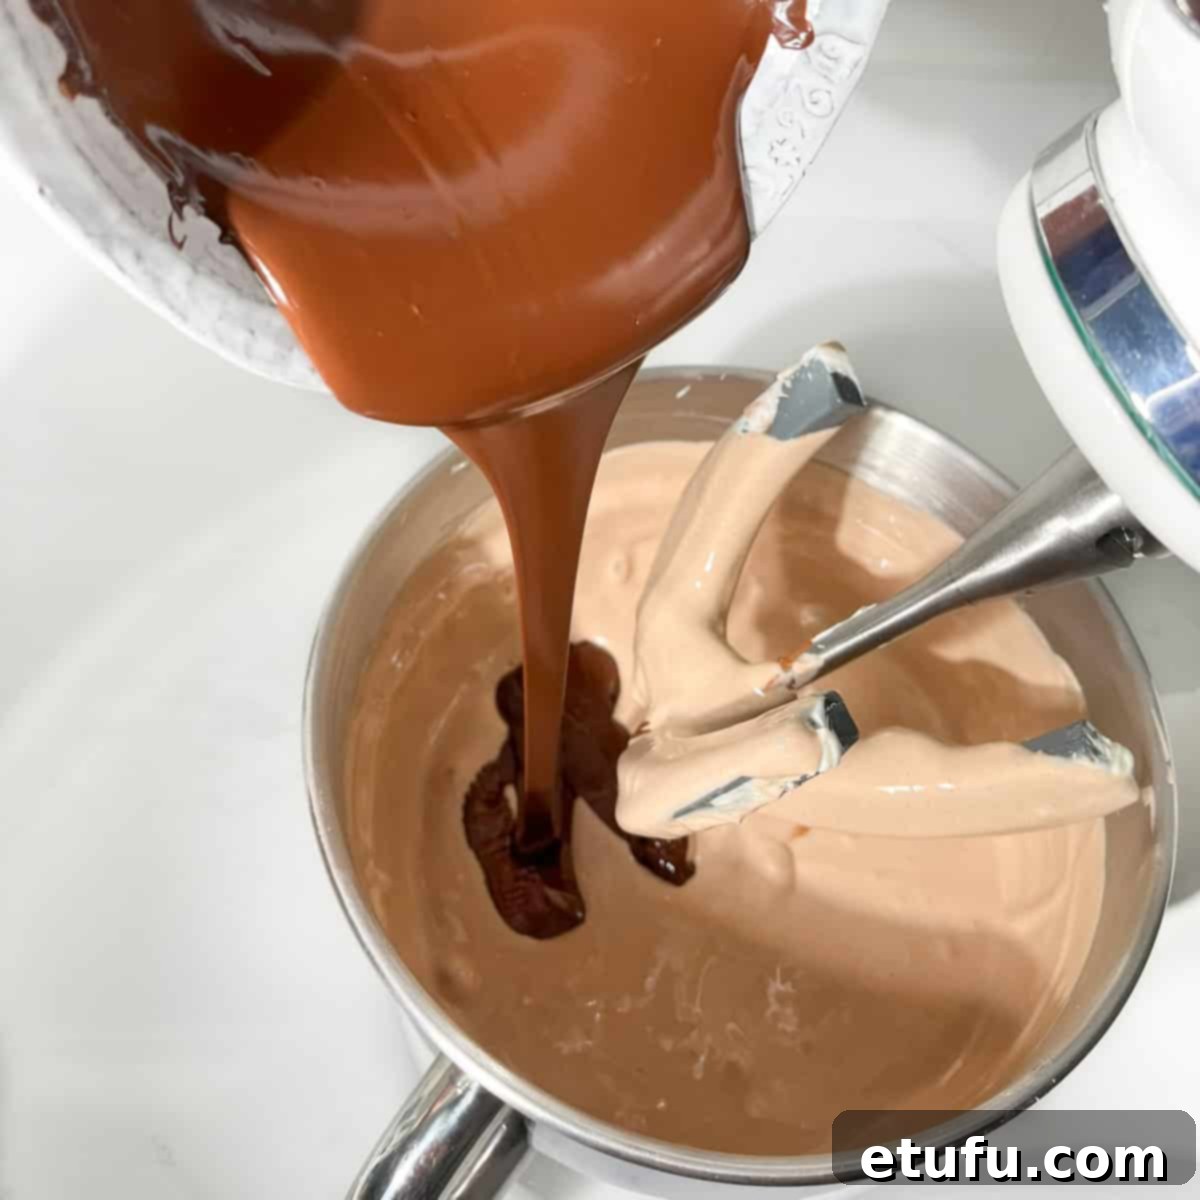
11. Carefully remove the bowl from the stand mixer. Using a spatula, gently fold the mixture by hand to scrape down the sides and bottom, ensuring that no ingredients are clinging to the bowl and everything is perfectly incorporated. Then, return the bowl to the mixer.
12. Briefly warm the double cream in the microwave until it is just warm to the touch, ideally around 50°C (120°F), but certainly not hot or boiling. This step typically takes about 1 minute, but adjust according to your microwave’s power. Warming the cream helps it integrate smoothly without shocking the batter.
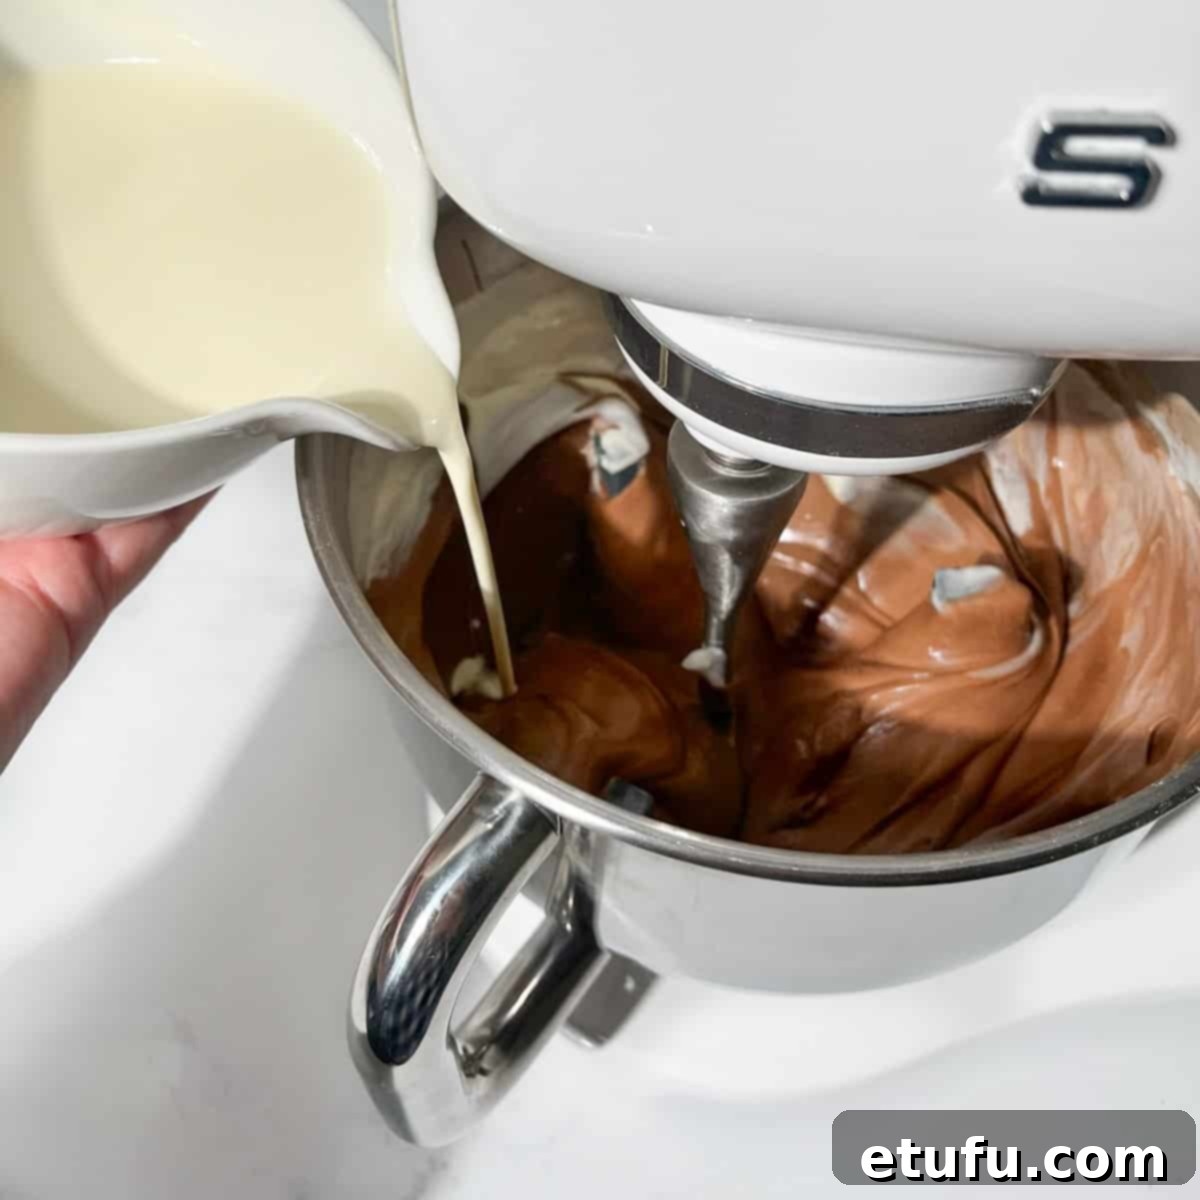
13. With the mixer running on its lowest speed, slowly and steadily pour in the lightly warmed cream. Once all the cream has been added, continue to beat for an additional 30 seconds to ensure it is fully combined into the rich chocolate batter, creating a smooth and pourable consistency.
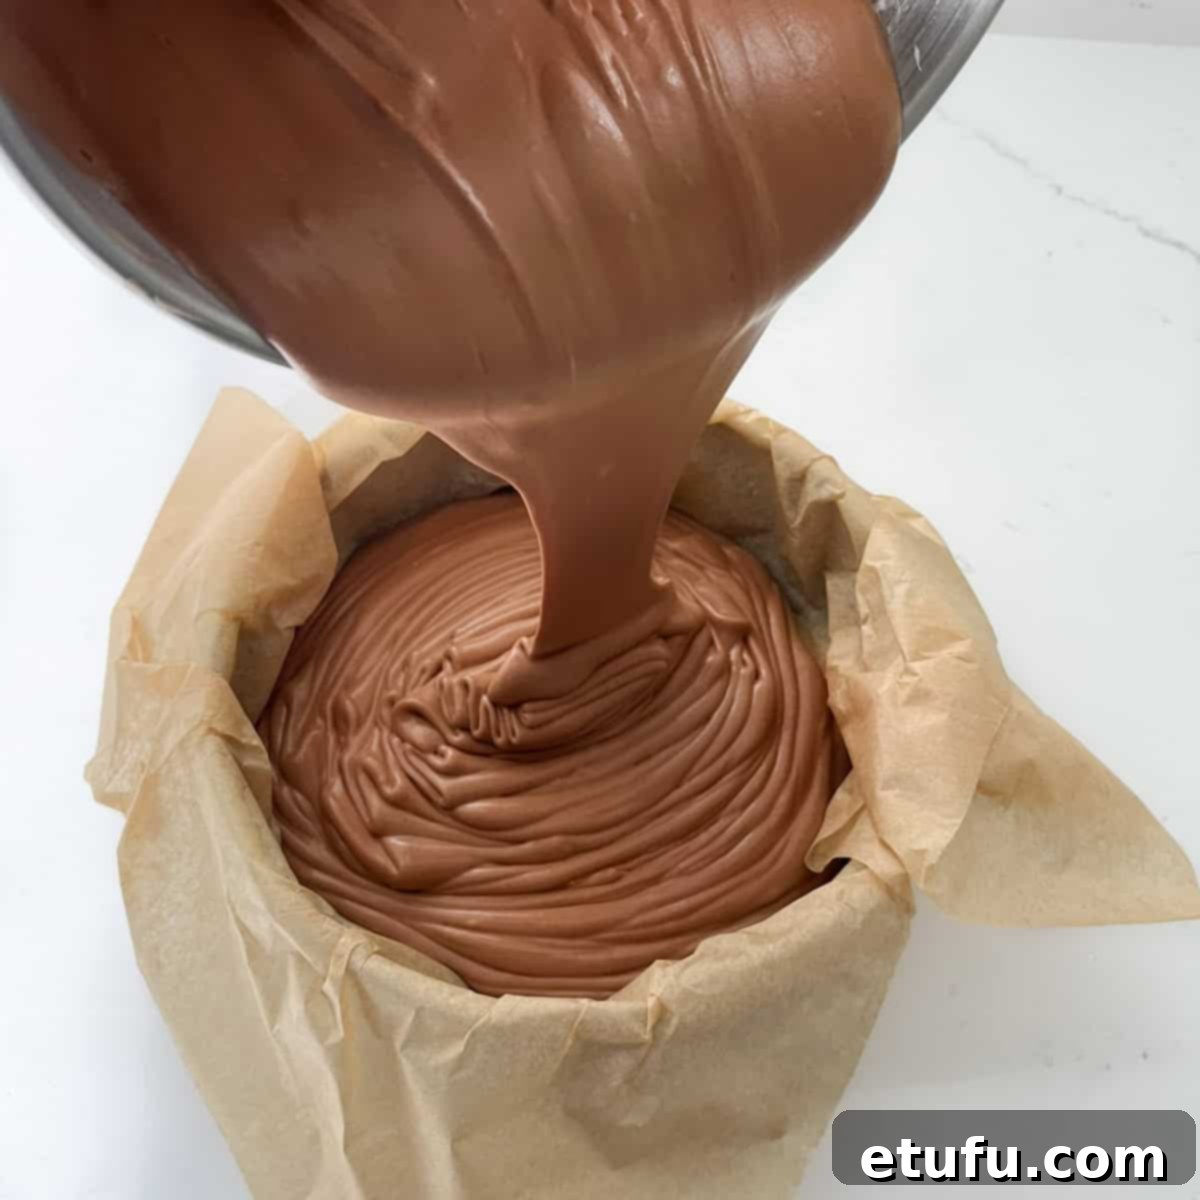
14. Carefully pour the smooth chocolate cheesecake mixture into your prepared, parchment-lined baking tin.
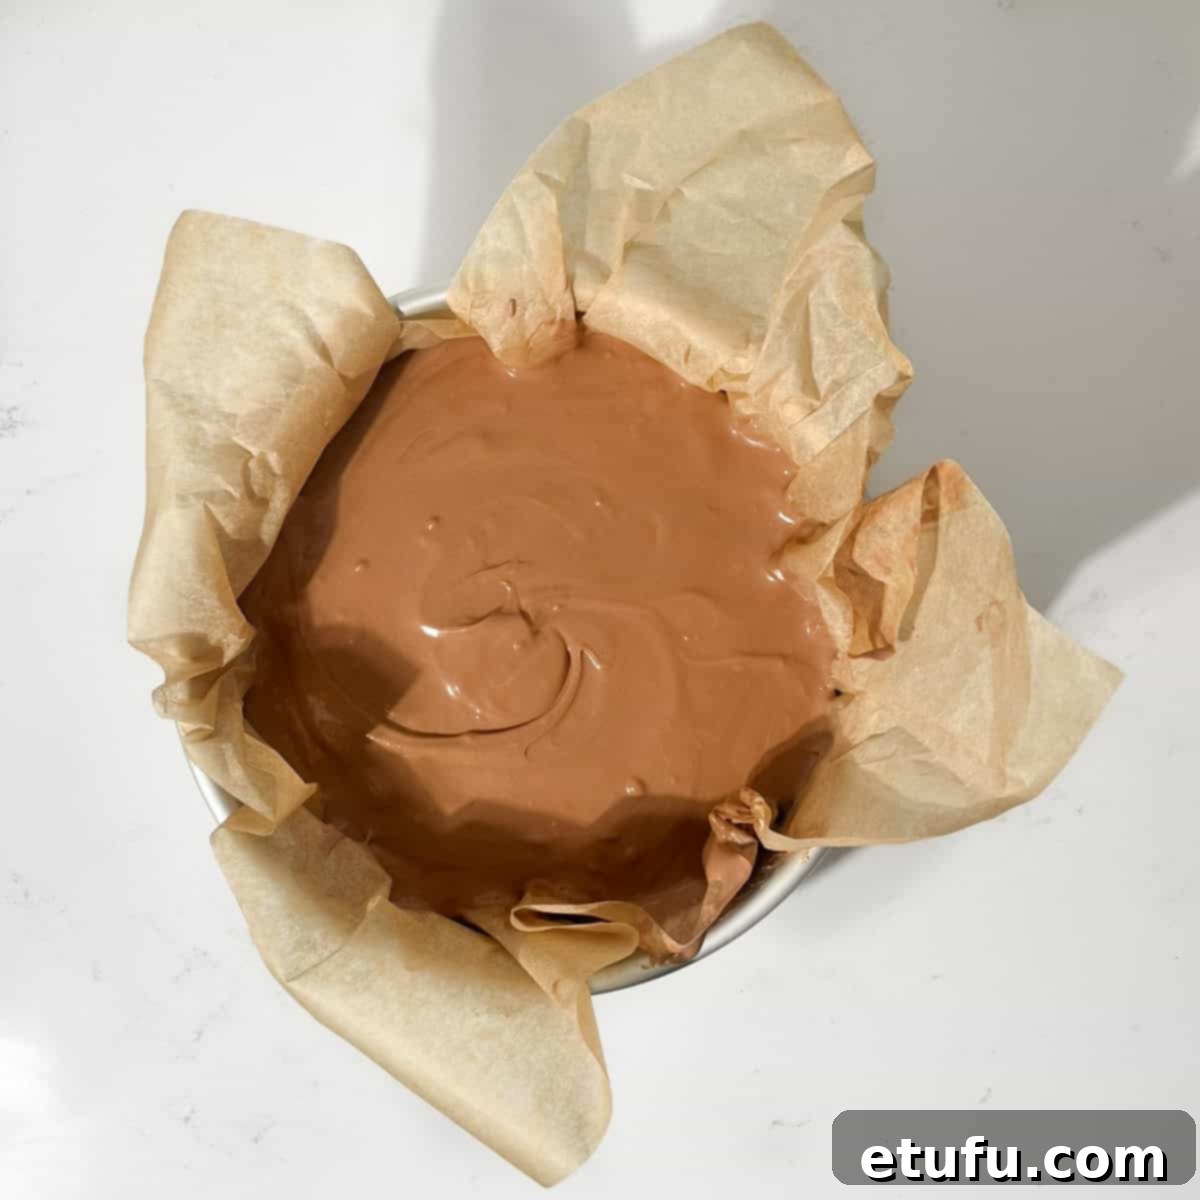
15. Gently smooth the top of the batter with a spatula if needed, then give the tin a few gentle taps on your counter. This helps to release any trapped air bubbles, ensuring a denser and more uniform interior texture.
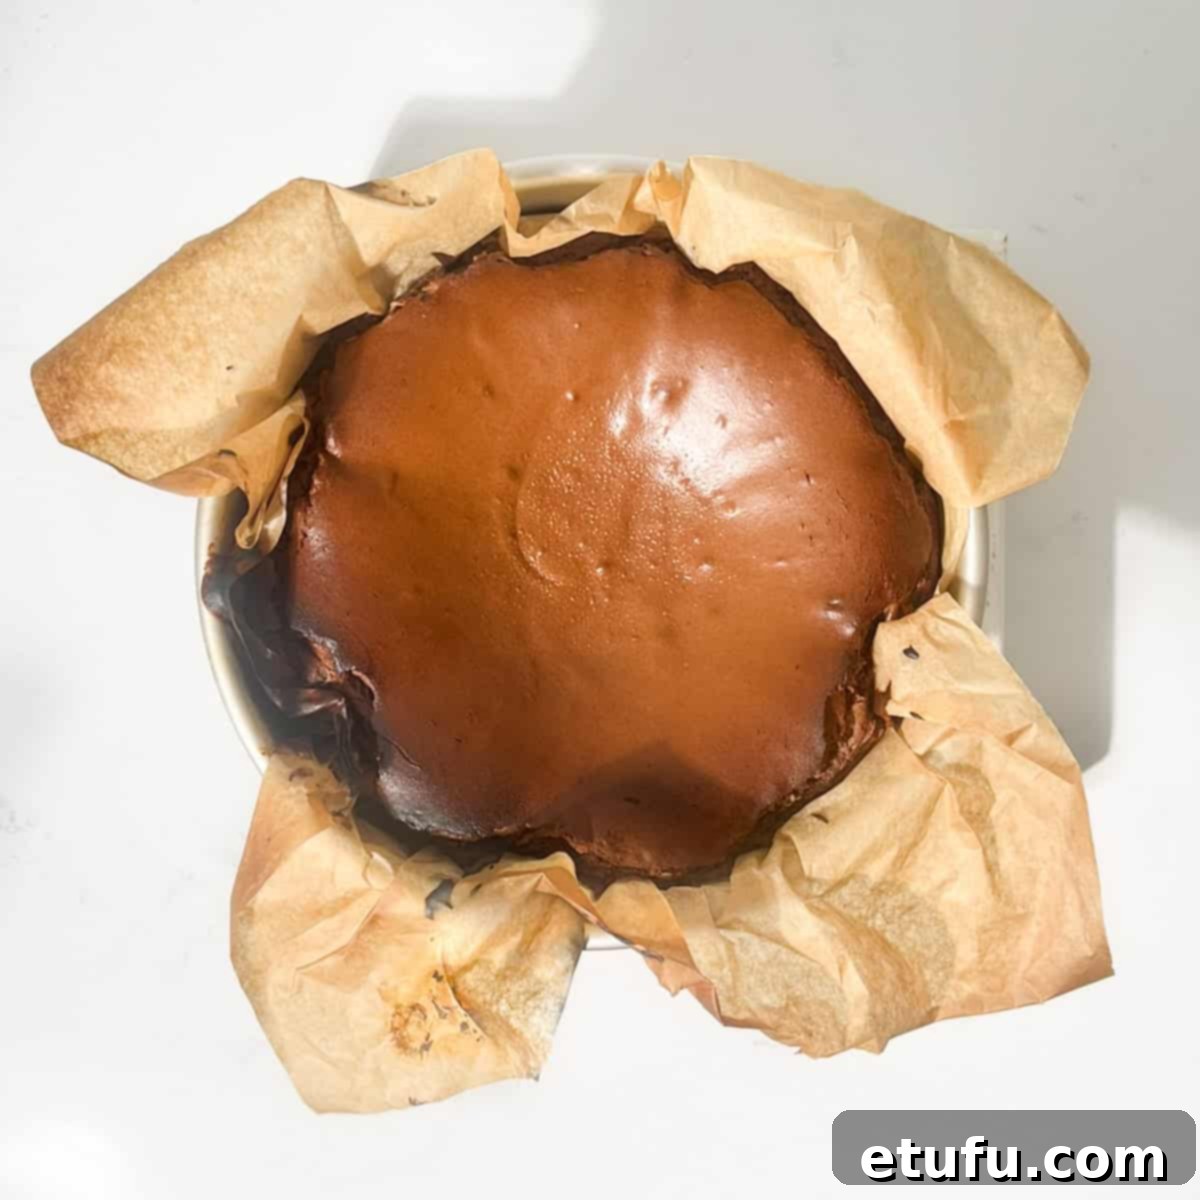
16. Bake the cheesecake in your preheated oven for approximately 45-50 minutes. Start checking around the 45-minute mark: the edges should appear firm, visibly burnished, and dark brown, while the center should still have a noticeable jiggly movement when gently shaken. This jiggly center indicates a perfectly creamy interior.
17. Once baked, remove the chocolate Basque burnt cheesecake from the oven and allow it to cool at room temperature for about 10 minutes. Following this initial cool-down, it is critical to transfer the cheesecake directly to the fridge and chill for a minimum of 4 hours, or ideally overnight, before attempting to slice and serve. This rapid chilling process is absolutely crucial for the cheesecake to properly set, firm up its structure, and develop its signature dense, creamy texture.
Elevate Your Chocolate Basque Burnt Cheesecake Experience
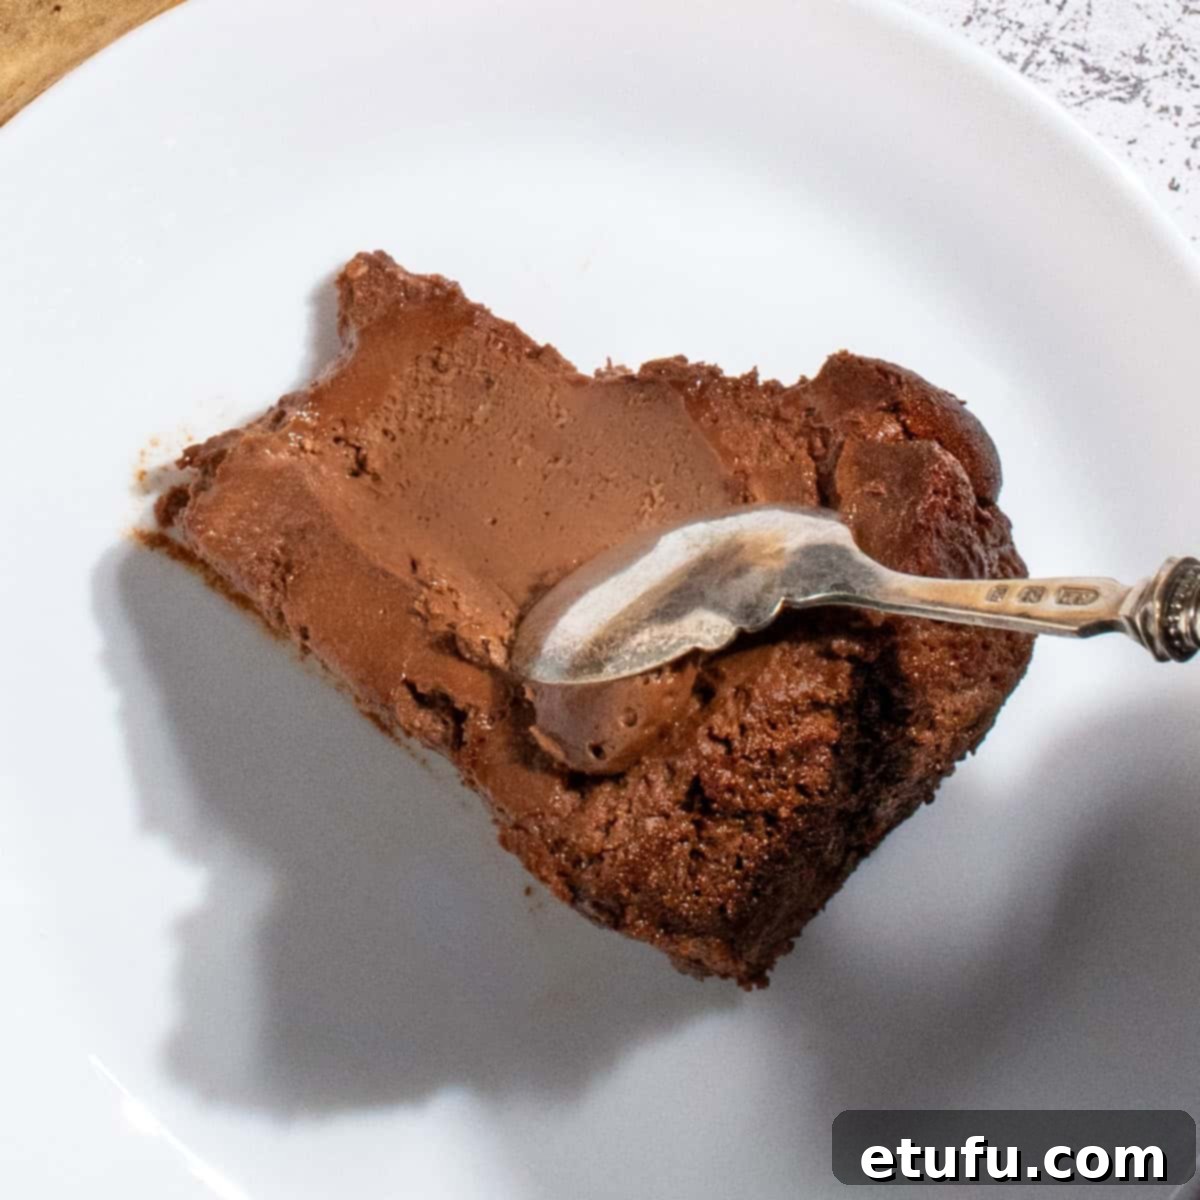
While our Chocolate Basque Burnt Cheesecake is truly magnificent on its own, showcasing its rustic beauty and intense flavor, there are countless ways to enhance your serving experience. Here are a few delightful ideas to dress it up, adding an extra layer of indulgence and visual appeal:
- Chantilly Whipped Cream: A dollop of light, airy Chantilly cream (sweetened with vanilla) offers a beautiful contrast to the cheesecake’s richness and burnt notes.
- Mascarpone Cream: For an even more luxurious pairing, a spoonful of rich mascarpone cream adds a delicate sweetness and a silky texture that perfectly complements the decadent chocolate.
- Fresh Summer Fruits: Bright, juicy berries such as raspberries, strawberries, or blueberries provide a welcome burst of freshness and a tart counterpoint to the deep chocolate.
- Clusters of Cranberries (Especially for Christmas): For a festive touch, especially during the holidays, vibrant red cranberries offer a beautiful visual and a lovely tartness that cuts through the richness.
- Shaved Chocolate: A sprinkle of delicate dark or milk chocolate shavings on top adds another layer of chocolatey goodness and an elegant finish.
- Dusting of Cocoa Powder: A light dusting of high-quality cocoa powder enhances the chocolate aroma and adds a sophisticated, understated elegance.
- Edible Flowers: For a truly stunning presentation, delicately placed edible flowers can add a pop of color and an artistic touch, making it perfect for special occasions.
- Caramel Drizzle: A luscious drizzle of homemade or store-bought caramel sauce introduces a buttery, sweet note that harmonizes beautifully with the burnt sugar flavors.
- Fresh Mint Leaves: A few fresh mint leaves offer a refreshing aroma and a subtle hint of coolness, providing a lovely garnish that brightens the plate.
- Crushed Nuts: Toasted crushed hazelnuts, almonds, or pecans can add a delightful crunch and nutty flavor, providing textural contrast.
- A Sprinkle of Sea Salt: A tiny pinch of flaky sea salt can wonderfully enhance the chocolate’s depth and balance the sweetness, creating a sophisticated sweet and salty profile.
Optimal Storage for Your Chocolate Basque Burnt Cheesecake
To preserve the exquisite taste and texture of your chocolate Basque burnt cheesecake, proper storage is essential. For short-term enjoyment, simply place the cheesecake in an airtight container and store it in the refrigerator. It will maintain its delicious freshness and creamy consistency for up to 3 days. Ensure the container is truly airtight to prevent the cheesecake from absorbing any ambient odors from your fridge.
For longer storage options, this cheesecake freezes beautifully. To prevent freezer burn and maintain its quality, wrap the cooled cheesecake tightly first in plastic wrap, ensuring it’s completely sealed, and then in a layer of aluminum foil. You can freeze the cheesecake whole or in individual slices for convenience. When properly wrapped, it can be stored in the freezer for up to 2 months. When you’re ready to enjoy it, simply transfer the frozen cheesecake to the refrigerator and allow it to thaw slowly overnight for the best texture and flavor.
Discover More Decadent Chocolate Indulgences
If you’ve fallen in love with the rich flavors of this chocolate Basque burnt cheesecake, you’ll surely enjoy exploring more of our deeply satisfying chocolate recipes. Dive into these other “death-by-chocolate” delights:
Chocolate Orange Cake (SUPER moist!)
Triple Chocolate Muffins
Dark Chocolate Ice Cream (No-Churn)
Chocolate Chip Coffee Cookies
Chocolate Tiffin (No-Bake Scottish Fridge Cake)
Recipe Card
Chocolate Basque Burnt Cheesecake
Print Recipe
Save Recipe
Equipment
- 1 8″ x 4″ (20cm x 10cm) round baking tin – please note that this is a deep baking tin, essential for the cheesecake’s structure.
Ingredients
- 300 grams (10.5oz) dark chocolate – broken into small chunks (minimum 70% cocoa)
- 750 grams (26.5oz) full-fat cream cheese – at room temperature
- 160 grams (5.6oz) white sugar
- 2 tablespoons cocoa powder – preferably Dutch-processed, unsweetened
- 2 teaspoons vanilla extract
- ½ teaspoon salt
- 5 large eggs – at room temperature
- 400 millilitre (13.5 fl oz) double cream – (heavy cream)
Instructions
- Preheat the oven to 200°C (390°F). This high temperature is key for the cheesecake’s signature burnt top.
- Cut a piece of baking paper so that it extends about 7cm (3″) above the sides of the tin when lined. This extra height will contain the cheesecake as it rises.
- Scrunch the paper into the tin, pressing it into the corners, and fold the extra paper over the edges of the tin. The crumpled look is part of its charm.
- If the paper is unruly, place something heavy inside the tin to hold it down while you prepare the cheesecake batter.
- Break the chocolate into small pieces and melt it in the microwave or over a double boiler until smooth and liquid. Set aside to cool slightly.300 grams (10.5oz) dark chocolate
- In the bowl of a stand mixer, combine the room-temperature cream cheese and white sugar. Use the paddle attachment (not the whisk) to beat the mixture until very smooth and creamy, at least 3 minutes, scraping down the sides as needed.750 grams (26.5oz) full-fat cream cheese, 160 grams (5.6oz) white sugar
- Sift the cocoa powder into the bowl to avoid any rough granules and maintain the super smooth texture of the cheesecake. Also add the vanilla extract and salt to the bowl.2 tablespoons cocoa powder, 2 teaspoons vanilla extract, ½ teaspoon salt
- Beat until well combined and smooth, about 1-2 minutes, ensuring all ingredients are fully integrated.
- Add the room-temperature eggs one at a time, beating well after each addition until fully incorporated. This helps maintain a smooth, emulsified batter.5 large eggs
- Pour the melted chocolate into the mixture and beat until fully combined, creating a rich, even chocolate batter.
- Remove the bowl from the mixer and gently fold the mixture with a spatula to ensure no ingredients are stuck at the bottom or sides. Then return the bowl to the mixer.
- Briefly warm the cream in the microwave until it’s just warm (about 50°C), not hot. This should take around 1 minute, depending on your microwave, and helps with smooth incorporation.400 millilitre (13.5 fl oz) double cream
- With the mixer running on low speed, slowly pour in the lightly warmed cream, then beat for an additional 30 seconds until fully combined and the batter is smooth and pourable.
- Pour the velvety cheesecake mixture into the lined tin, ensuring an even distribution.
- Smooth the top of the batter with a spatula and gently tap the tin a few times on the counter to release any trapped air bubbles, promoting an even bake.
- Bake in the preheated oven for 45-50 minutes. Around the 45-minute mark, check: the edges should be firm and deeply burnished, while the center should still be quite jiggly, indicating its creamy interior.
- Remove the cheesecake from the oven and let it cool for 10 minutes at room temperature. Then, immediately transfer it to the fridge and chill for at least 4 hours before slicing.
Placing the cheesecake in the fridge soon after baking is absolutely crucial for its structure, allowing it to fully set and achieve its characteristic rich, dense, and creamy texture.
Recipe Notes
Crucial Reminders for a Perfect Bake
All ingredients for this chocolate Basque burnt cheesecake must be at room temperature before you start mixing. This ensures a smooth, lump-free batter and perfect emulsification, leading to the signature creamy texture. The only exception is the double cream, which will be briefly warmed in the microwave during the process, so its initial temperature is less critical.
Choosing the Right Baking Tin
For this recipe, you will need an 8″ (20cm) round baking tin that is at least 4″ (10cm) deep. This specific depth is vital as it provides the necessary support for the cheesecake’s characteristic tall rise and subsequent dramatic fall during baking, contributing to its distinct texture and appearance.
You can confidently use either a plain round baking tin or a springform tin. Both types will work perfectly, as the cheesecake is crustless and relies on the parchment paper lining for easy removal, rather than the tin’s bottom.
**Nutritional Data Disclaimer**
Please keep in mind that the nutritional information provided below is an estimate calculated by a third party, and we cannot guarantee its absolute accuracy. While we strive to offer the most precise information possible, we do not take responsibility for any errors that may be present. Additionally, the nutritional value of this recipe can vary depending on the exact brands and specific products used. For personalized advice regarding your dietary needs, we highly recommend consulting with a qualified healthcare professional or a registered dietitian.
Nutrition Information
For essential food safety advice, including comprehensive guidance on food allergies, please refer to the Food Standards Agency.
