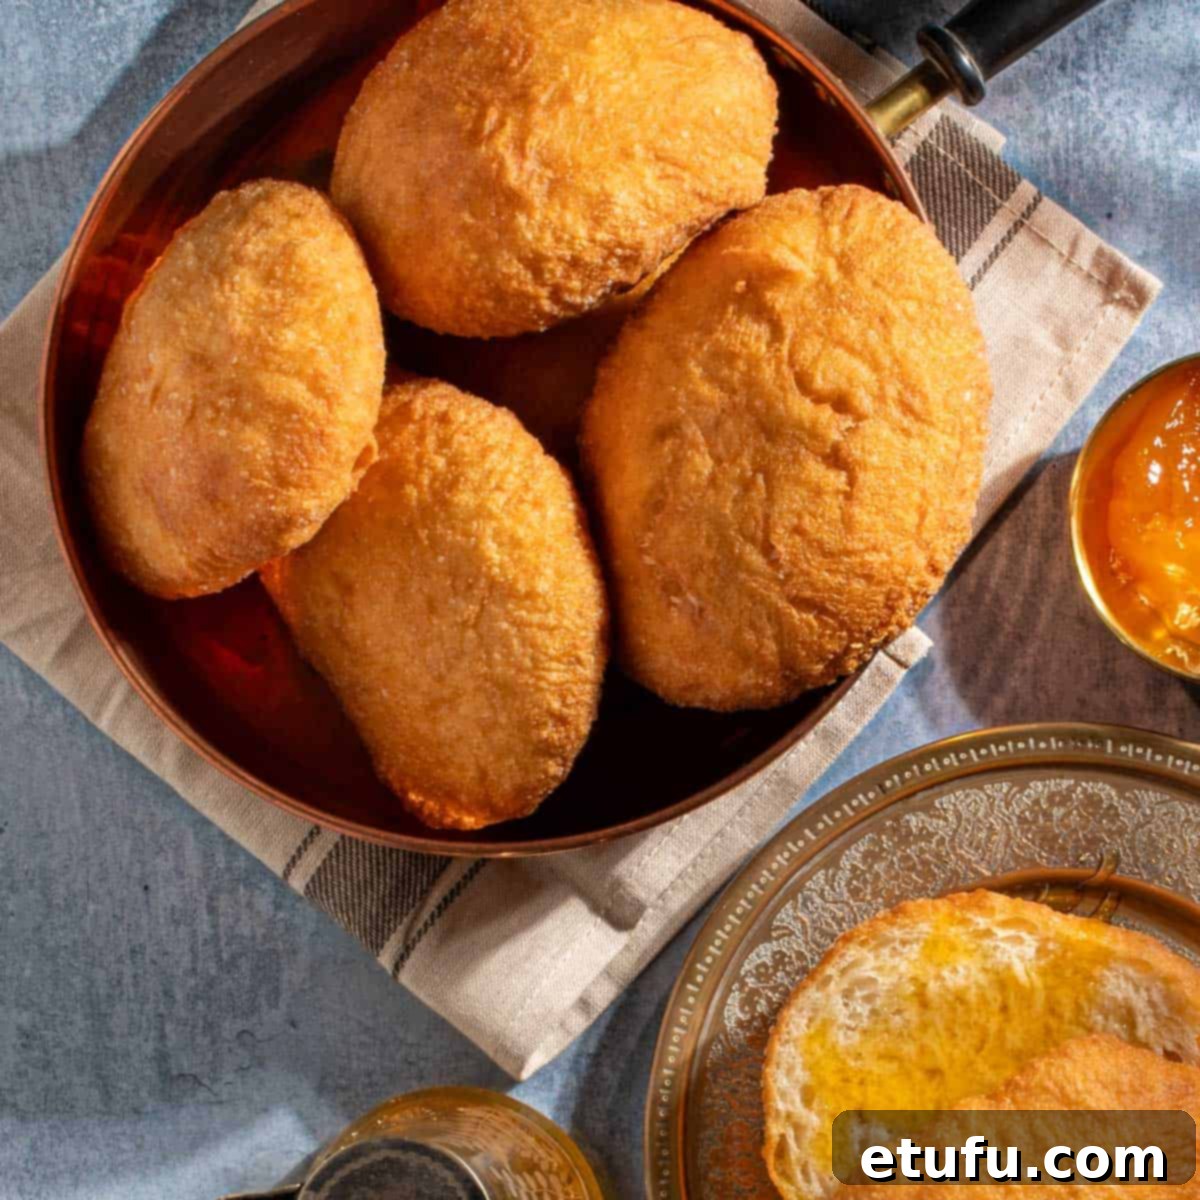
Discover South Africa’s Beloved Vetkoek: The Ultimate Deep-Fried Dough Recipe
Embark on a culinary journey to the heart of South Africa and meet Vetkoek, a truly iconic deep-fried dough that holds a special place in the nation’s heart. More than just a snack, Vetkoek embodies a rich cultural heritage, evoking a sense of home, warmth, and shared experiences for most South Africans. It stands proudly alongside other national symbols like biltong, the Springboks rugby team, and the Bafana Bafana soccer team, deeply woven into the fabric of identity and tradition.
Known by various affectionate names, such as amagwinya in Zulu-speaking regions or sometimes simply referred to as “puff-puff,” the Afrikaans word “vetkoek” literally translates to “fat cake” in English. This delightful description perfectly captures the essence of this golden-brown treat.
At its core, Vetkoek is a soft, yeasted bread dough, resembling a round doughnut but without the characteristic hole. Its wonderfully pillowy interior and slightly crispy exterior make it an ideal canvas for an extraordinary array of delicious toppings and fillings, both sweet and savory. Whether enjoyed as a comforting breakfast, a hearty lunch, or a delightful afternoon snack, Vetkoek promises a taste experience that is uniquely South African.
This comprehensive guide is crafted specifically for those new to the art of making Vetkoek. If you’re a first-timer, we highly recommend reading through the entire post before you begin your delicious adventure. This will ensure you have all the essential tips and tricks for a perfect batch.

While Vetkoek shares some family resemblances with other beloved fried doughs from around the globe – such as the Caribbean Johnny cake, Dutch oliebollen, Mexican sopaipillas, and Ghanian bofrot – it possesses a distinct charm and texture all its own. What truly sets Vetkoek apart is its versatility and the traditional fillings that have made it a culinary legend in South Africa.
The undisputed reigning champion among Vetkoek fillings is the savory curry mince. This flavorful, often subtly spiced ground meat mixture is so popular that when served inside a Vetkoek, it’s affectionately known as a ‘curry bunny‘ in the vibrant Cape Town region. The combination of warm, fluffy dough with a rich, aromatic curry mince is nothing short of soul-satisfying.
Beyond the savory, sweet options are equally cherished. A generous drizzle of golden syrup or a spread of apricot jam paired with a slice of cheese are also incredibly popular choices, offering a delightful balance of sweetness and tang. And, for many South Africans, myself included, there’s a simple, undeniable pleasure in sneaking a piece of plain, cold Vetkoek straight from the fridge – a testament to its inherent deliciousness even without embellishments!
Fast Facts – Discovering South Africa
Before we delve deeper into the delicious world of Vetkoek, let’s take a moment to appreciate the fascinating country from which this culinary gem originates. South Africa, a nation of unparalleled natural beauty and cultural diversity, offers a captivating backdrop to its vibrant cuisine.

| Location | Situated at the southernmost tip of the African continent, South Africa is bordered by Namibia, Botswana, Zimbabwe, Mozambique, Eswatini (formerly Swaziland), and entirely encircles the independent kingdom of Lesotho. |
| Capital | Pretoria serves as the administrative capital, while Cape Town is the legislative capital, and Bloemfontein is the judicial capital, reflecting the country’s unique governance structure. |
| Languages | South Africa boasts an impressive 11 official languages, celebrating its rich linguistic tapestry. These include English, Afrikaans, Zulu, Xhosa, Sotho, Tswana, Pedi, Venda, Tsonga, Swati, and Ndebele. English is widely used in business and urban areas, while Zulu and Xhosa are the most commonly spoken indigenous African languages. |
| Population | With a diverse population of approximately 60.2 million people, South Africa is a true “rainbow nation,” known for its rich mix of cultures and traditions. |
| Trivia | Nestled within a distinctive geographical zone, South Africa is renowned for its dynamic and often challenging weather patterns, particularly along its extensive coastline and the adjacent waters. These unique atmospheric and oceanic factors have dramatically contributed to the astonishing presence of over 3,000 shipwrecks scattered along its shores, some with historical roots stretching back as far as 500 years! This speaks volumes about the powerful forces of nature at play in this extraordinary region. |
Why You’ll Love This Homemade Vetkoek Recipe
Preparing Vetkoek at home is a rewarding experience, and this recipe is designed to make it as enjoyable and successful as possible. Here’s what makes it truly special:
- Simple, Accessible Ingredients: You likely have most, if not all, of the necessary ingredients in your pantry right now. This recipe relies on common, everyday staples, making it easy to whip up a batch whenever the craving strikes.
- A Therapeutic Culinary Experience: There’s a calming, almost meditative quality to making Vetkoek. From the tactile pleasure of mixing and kneading the soft dough to the satisfying sight of it puffing up beautifully in the hot oil, each step offers a joyful engagement in the cooking process.
- Ultimate Crowd-Pleasing Comfort Food: Vetkoek is the quintessential comfort food, guaranteed to bring smiles and satisfaction to any table. Its warm, fluffy texture and endless topping possibilities make it a versatile treat perfect for family gatherings, casual brunches, or simply a cozy night in.
- A Versatile Base for Endless Creativity: This deep-fried dough is a blank canvas for your culinary imagination. Whether you prefer rich, savory fillings like curried mince, or sweet indulgences like jam and syrup, Vetkoek adapts beautifully, allowing you to customize each bite.
- Effortlessly Scalable: Planning a small snack or a large feast? This recipe is incredibly easy to adjust. You can effortlessly scale it up or down to suit the number of servings you need, making it perfect for any occasion.
Essential Ingredients: Tips for Success
Understanding the role of each ingredient is key to achieving perfect, fluffy Vetkoek. Here are some detailed notes and helpful tips for the core components of this recipe.
**For the precise quantities of each ingredient, please refer to the detailed recipe card at the bottom of this post.
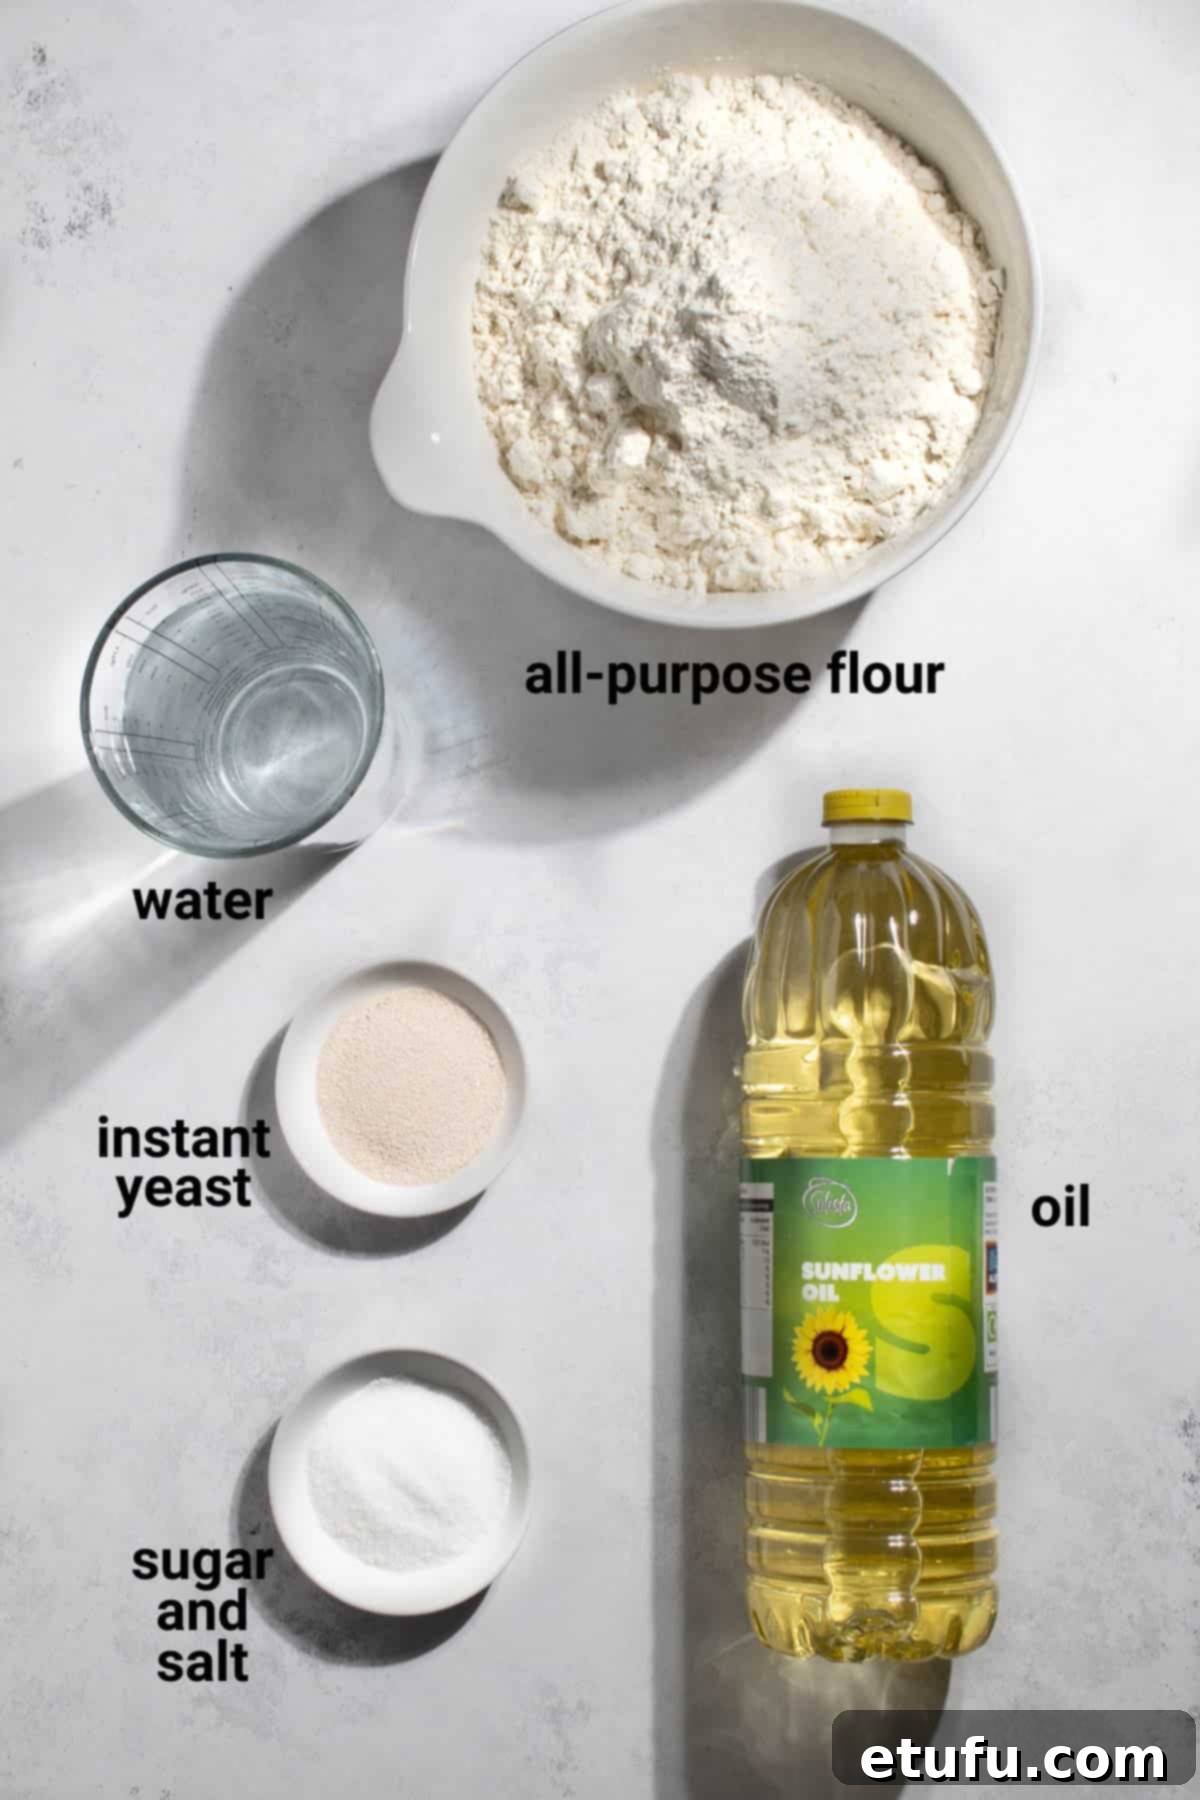
Plain Flour (All-Purpose Flour)
The choice of flour is crucial for Vetkoek. This recipe specifically calls for plain (all-purpose) flour. It’s essential not to substitute it with self-raising flour, as the yeast is the primary leavening agent responsible for making the dough rise and creating that desirable light, airy texture. Using self-raising flour would result in an over-risen, potentially dense, or strangely textured Vetkoek due to excessive leavening.
Sugar
Beyond simply adding a touch of sweetness to the dough, sugar plays a vital functional role in this recipe. It acts as nourishment for the instant yeast, providing the necessary energy for it to activate and multiply. As the yeast consumes the sugar, it produces carbon dioxide gas, which is what causes the dough to beautifully rise and develop its characteristic fluffy structure. Therefore, sugar is not an optional ingredient; please do not omit it.
Instant Yeast
When working with yeast-based recipes, you might often encounter instructions referring to a “packet of instant yeast.” However, the weight of these packets can vary significantly depending on the country and brand. For instance, a standard packet in the UK might contain 7g of yeast, while in South Africa, it’s typically 11g. To eliminate any guesswork and ensure consistent results, this recipe specifies three level teaspoons of instant yeast. This measurement provides the ideal amount for a perfectly risen dough, regardless of regional packet sizes.
Lukewarm Water
The temperature of your water is paramount for successful yeast activation. Yeast thrives in a lukewarm environment – too hot, and it will be killed, rendering it ineffective; too cold, and it won’t activate properly, resulting in a dough that fails to rise. Ideally, lukewarm water should feel neither hot nor cold to the touch, with a temperature range between 36°C and 40°C (96°F and 105°F).
For a simple way to achieve the perfect lukewarm temperature, combine one part boiling water with two parts tap water. For example, if you need 500ml of lukewarm water, mix approximately 170ml of boiling water with 330ml of cold tap water. Always take a moment to test the water with a clean fingertip before adding it to your yeast, just to be sure it’s not too hot.
Oil for Frying
Choosing the right oil is critical for deep-frying Vetkoek to perfection. Opt for a neutral-flavored oil with a high smoking point, such as sunflower oil, canola oil, or vegetable oil. These oils can withstand high temperatures without breaking down or imparting undesirable flavors to your Vetkoek.
Avoid using olive oil for deep-frying; it’s generally more expensive, has a lower smoke point, and its distinct flavor will not complement Vetkoek. You’ll need at least 5cm (about 2 inches) of oil in your pot. This depth is essential to allow the Vetkoek to “float” freely and cook evenly on all sides, resulting in a beautiful golden-brown color and a perfectly puffed shape. If the oil is too shallow, the dough may rest on the bottom of the pan, leading to dark, unevenly cooked spots. If you’re mindful of oil usage, consider using a smaller, deeper pot and frying fewer Vetkoek at a time to maintain the necessary oil depth.
Essential Tips Before You Begin Making Vetkoek
While this recipe provides clear instructions, remember that baking can sometimes be more of an art than an exact science. Treat this Vetkoek recipe as a reliable guideline, understanding that minor adjustments may be needed based on your environment and ingredients:
- Dough Consistency is Key: Factors such as the specific type of flour you use, the ambient room temperature, and the humidity in your kitchen can all influence the precise amount of water needed for your dough.
- Add Water Gradually: It’s crucial not to add all the recommended water at once. Instead, incorporate it slowly, mixing as you go, until you achieve a dough that is soft and slightly sticky, yet still manageable and kneadable.
- Aim for Softness: Vetkoek dough should ideally be softer and wetter than the dough you would typically prepare for a loaf of regular bread. A stiffer dough will result in denser, less fluffy Vetkoek, so embrace the slight stickiness!
- Forgiving Dough: Don’t fret too much about minor inconsistencies – Vetkoek dough is surprisingly forgiving! If you accidentally add too much water and the dough becomes overly sticky, simply mix in a little more flour until the desired consistency is reached. Conversely, if your dough feels too dry or stiff from too much flour, gradually add a small amount of water until it softens up.
How to Make Perfect Vetkoek: A Step-by-Step Guide
Follow these detailed steps to create delicious, fluffy Vetkoek at home. Precision in each stage will lead to the best results.
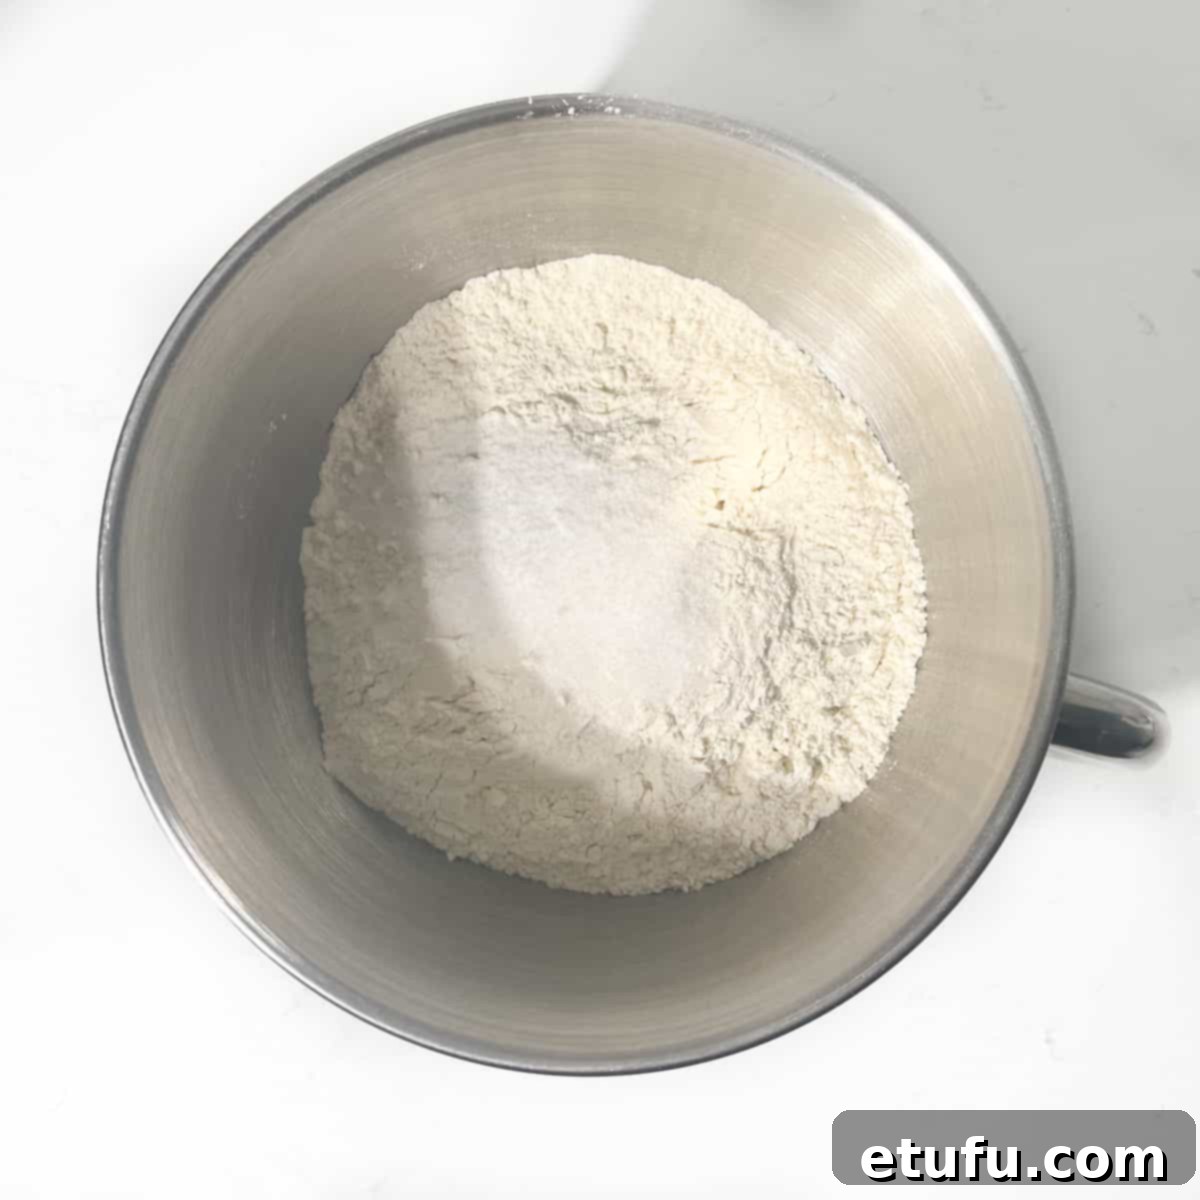
1. In a large mixing bowl, or the bowl of a stand mixer, combine the plain flour, sugar, and salt. Stir these dry ingredients thoroughly until well blended.
Note: It is vital to ensure that the salt is evenly distributed throughout the flour mixture. Direct contact between yeast and concentrated salt can inhibit the yeast’s activity, reducing its ability to make the dough rise effectively.
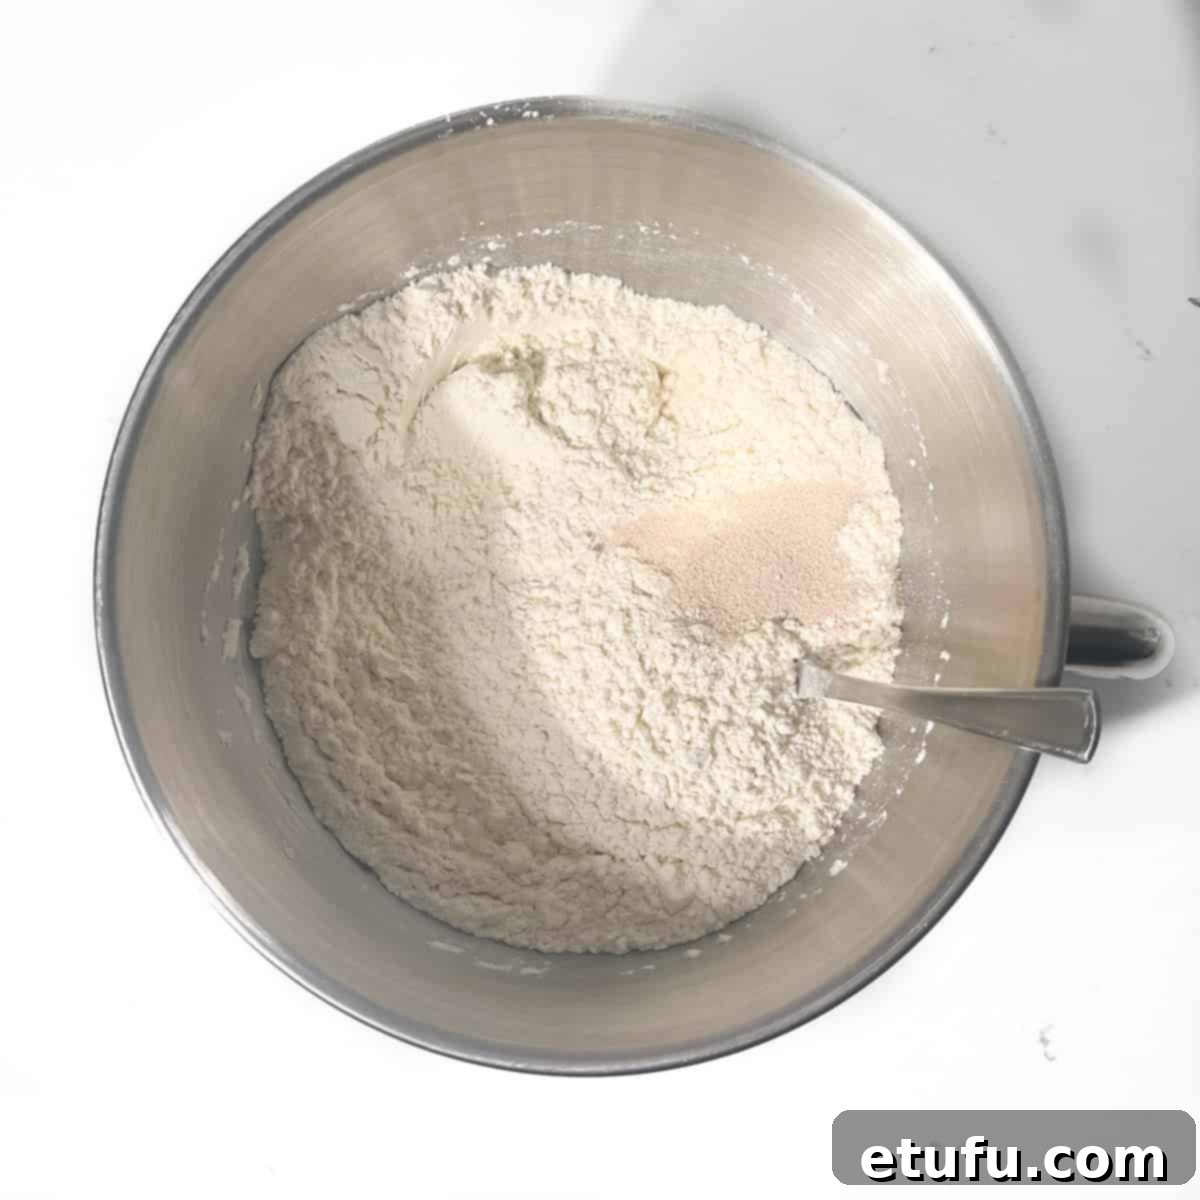
2. Add the instant yeast to the flour mixture. Mix well again to ensure the yeast is thoroughly incorporated with all the dry ingredients.
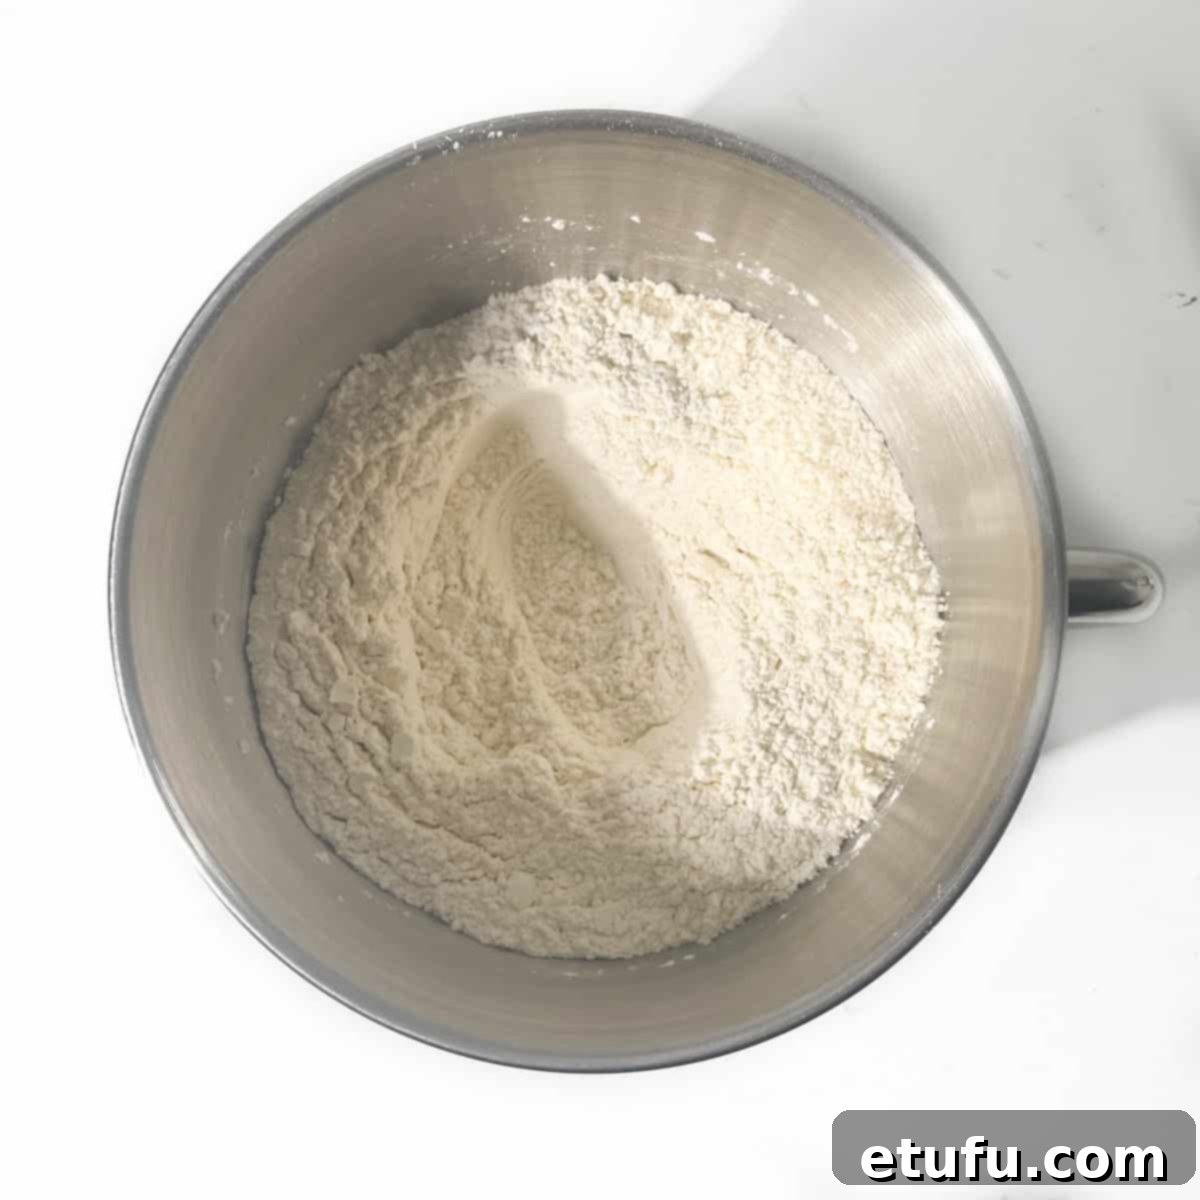
3. Create a small well in the very center of your combined flour mixture. This is where you will begin to add the liquid.
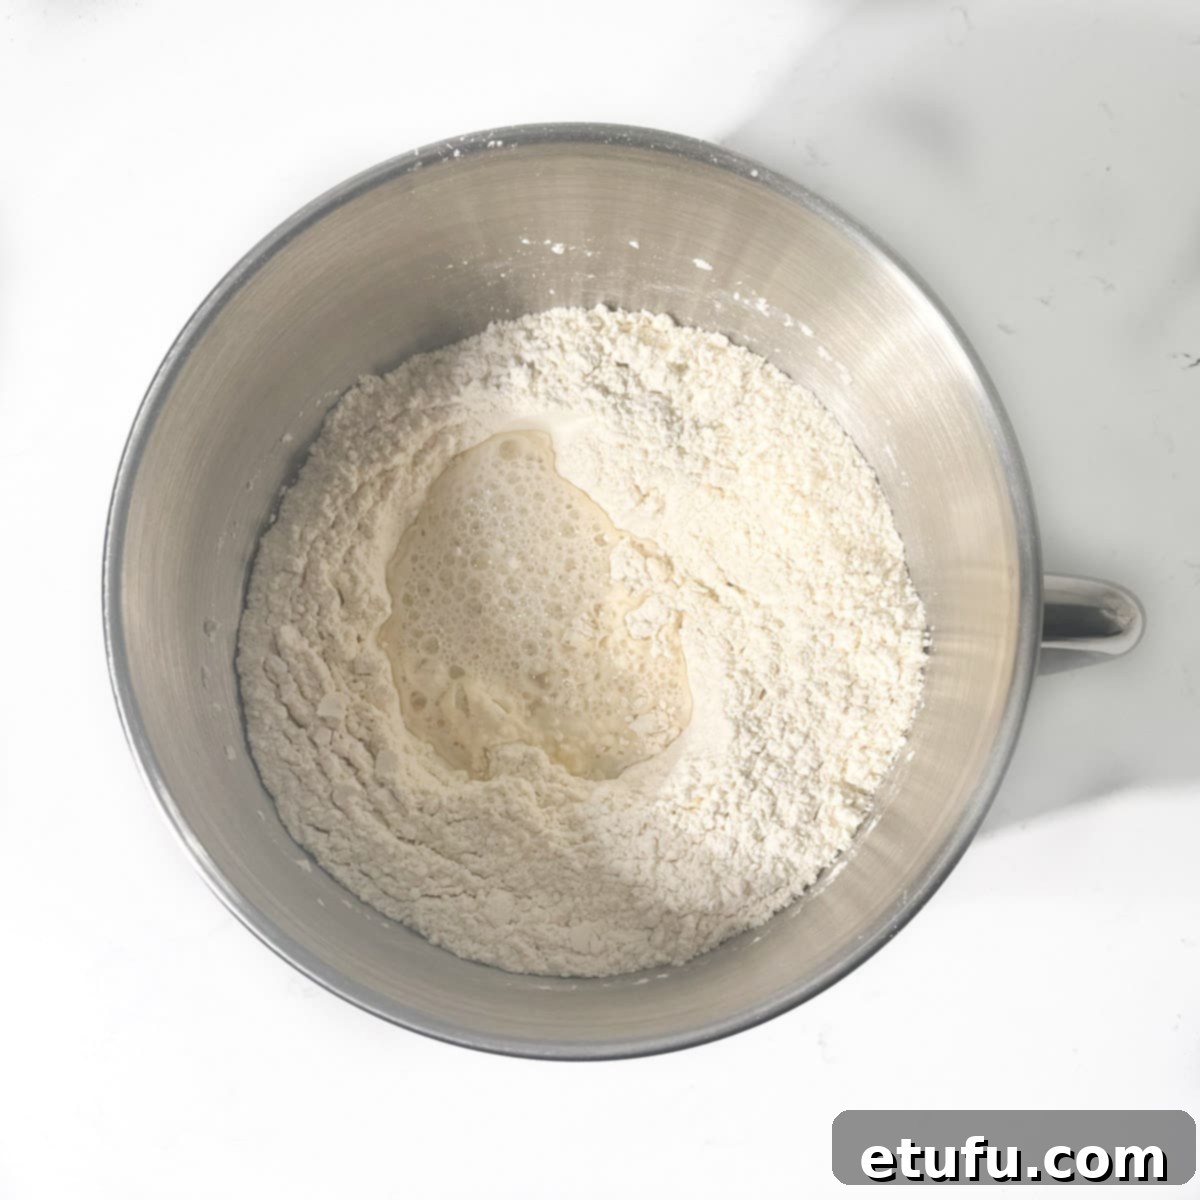
4. Begin to gradually pour in the lukewarm water into the well, adding a small amount at a time. After each addition, stir the mixture, drawing flour from the sides into the liquid, until it starts to come together.
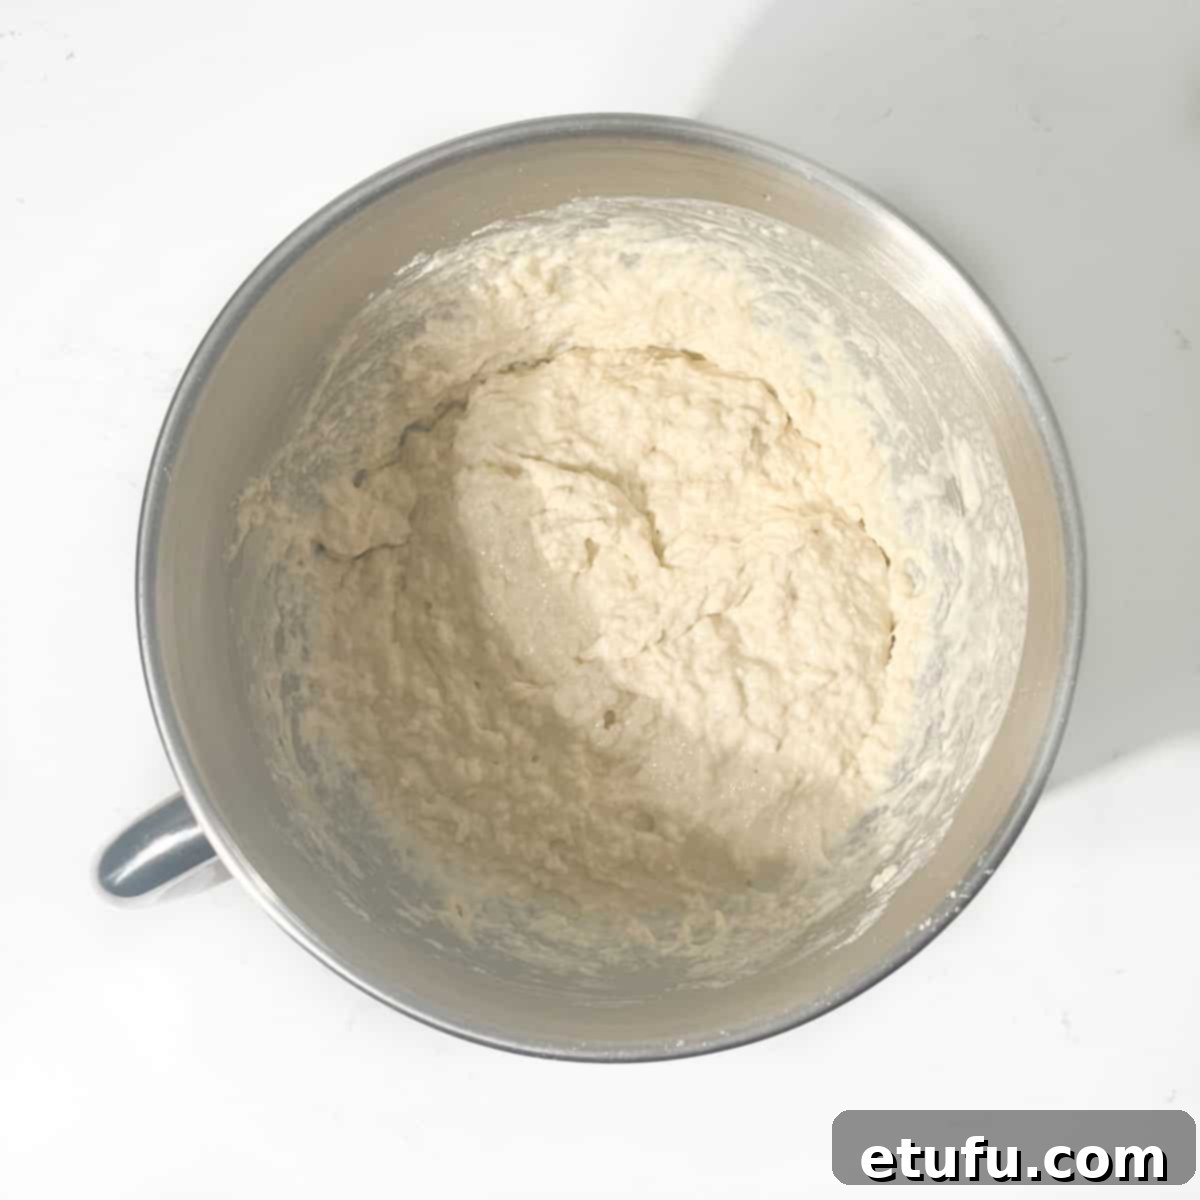
5. Continue adding water in small increments and stirring until you achieve a soft, pliable, and slightly sticky dough. You might not need to use all of the specified water; adjust as necessary based on the dough’s consistency.
6. Kneading the Dough:
By hand: If you’re kneading by hand, you can either do it directly in the large mixing bowl to minimize mess, or transfer the dough to a lightly floured work surface. Knead the dough for approximately 10 to 15 minutes. During this time, the dough should transform into a smooth, elastic, and stretchy consistency. As needed, sprinkle a very small amount of extra flour onto your hands or the surface to prevent excessive sticking, but avoid adding too much, as this can stiffen the dough.
With a stand mixer: If using a stand mixer, attach the dough hook. Knead the dough on a low speed for about 10 minutes. The dough will be ready when it becomes smooth, soft, and visibly stretchy.
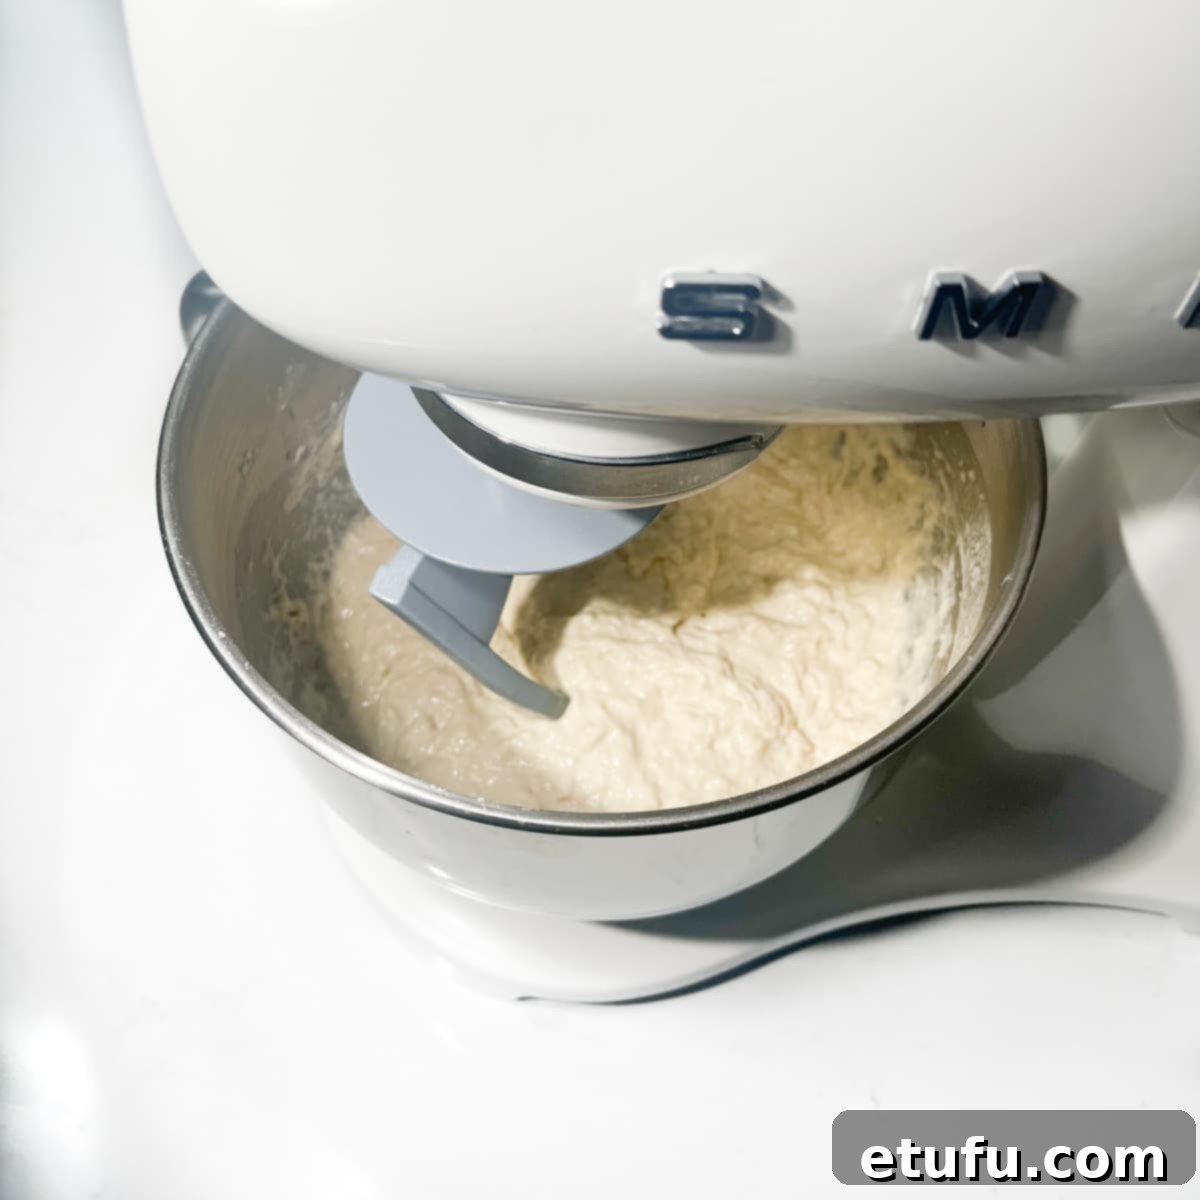
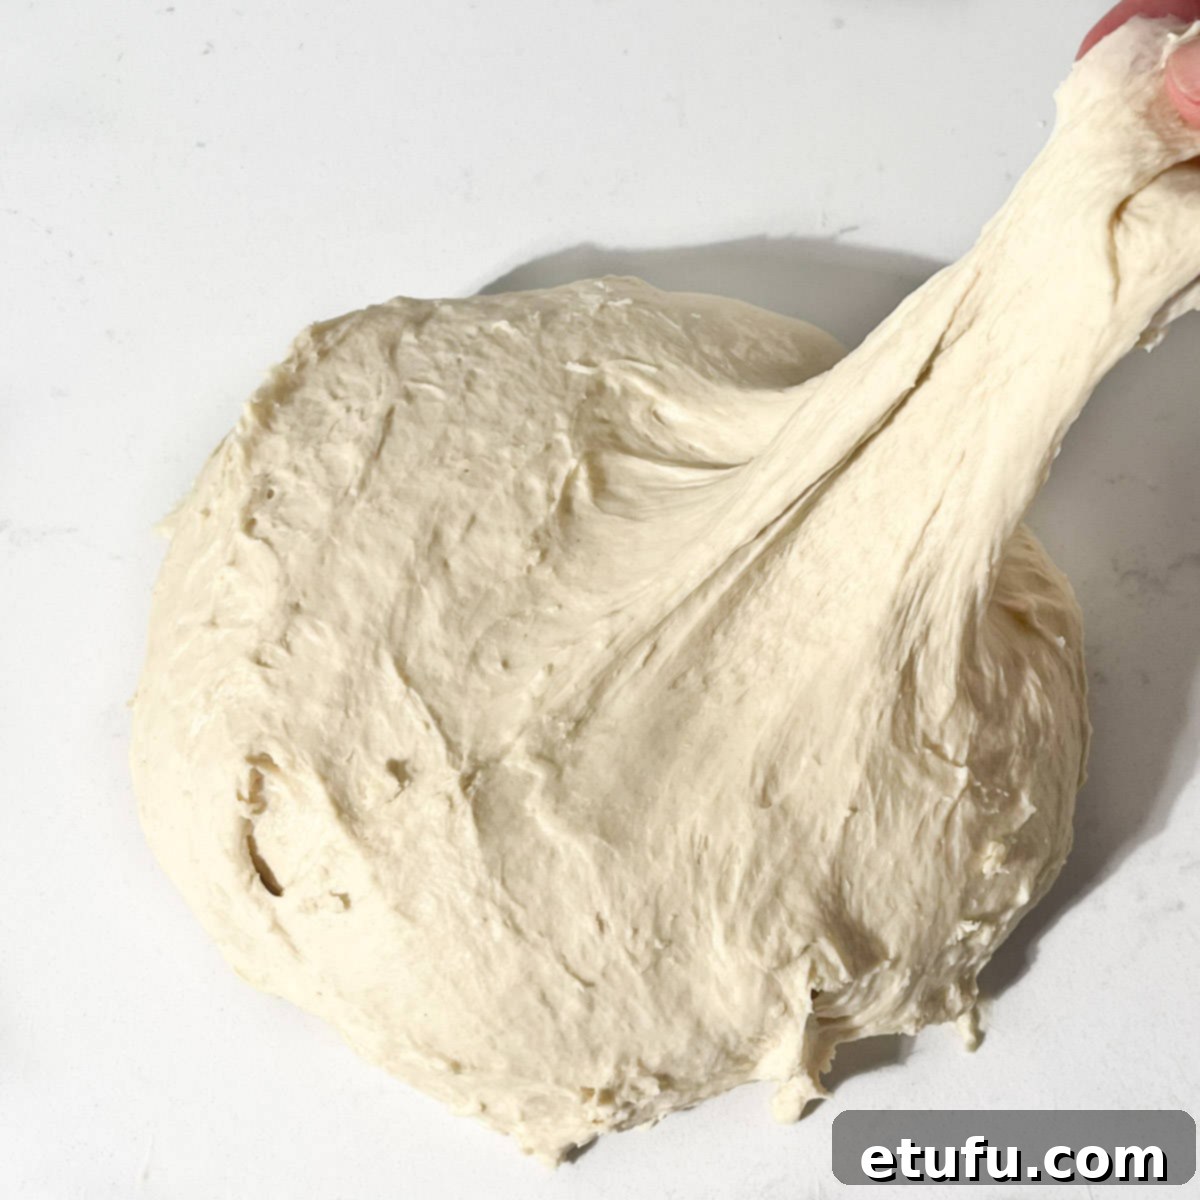
7. Lightly coat the inside walls of a large, clean bowl with a thin layer of cooking oil. This will prevent the dough from sticking as it rises.
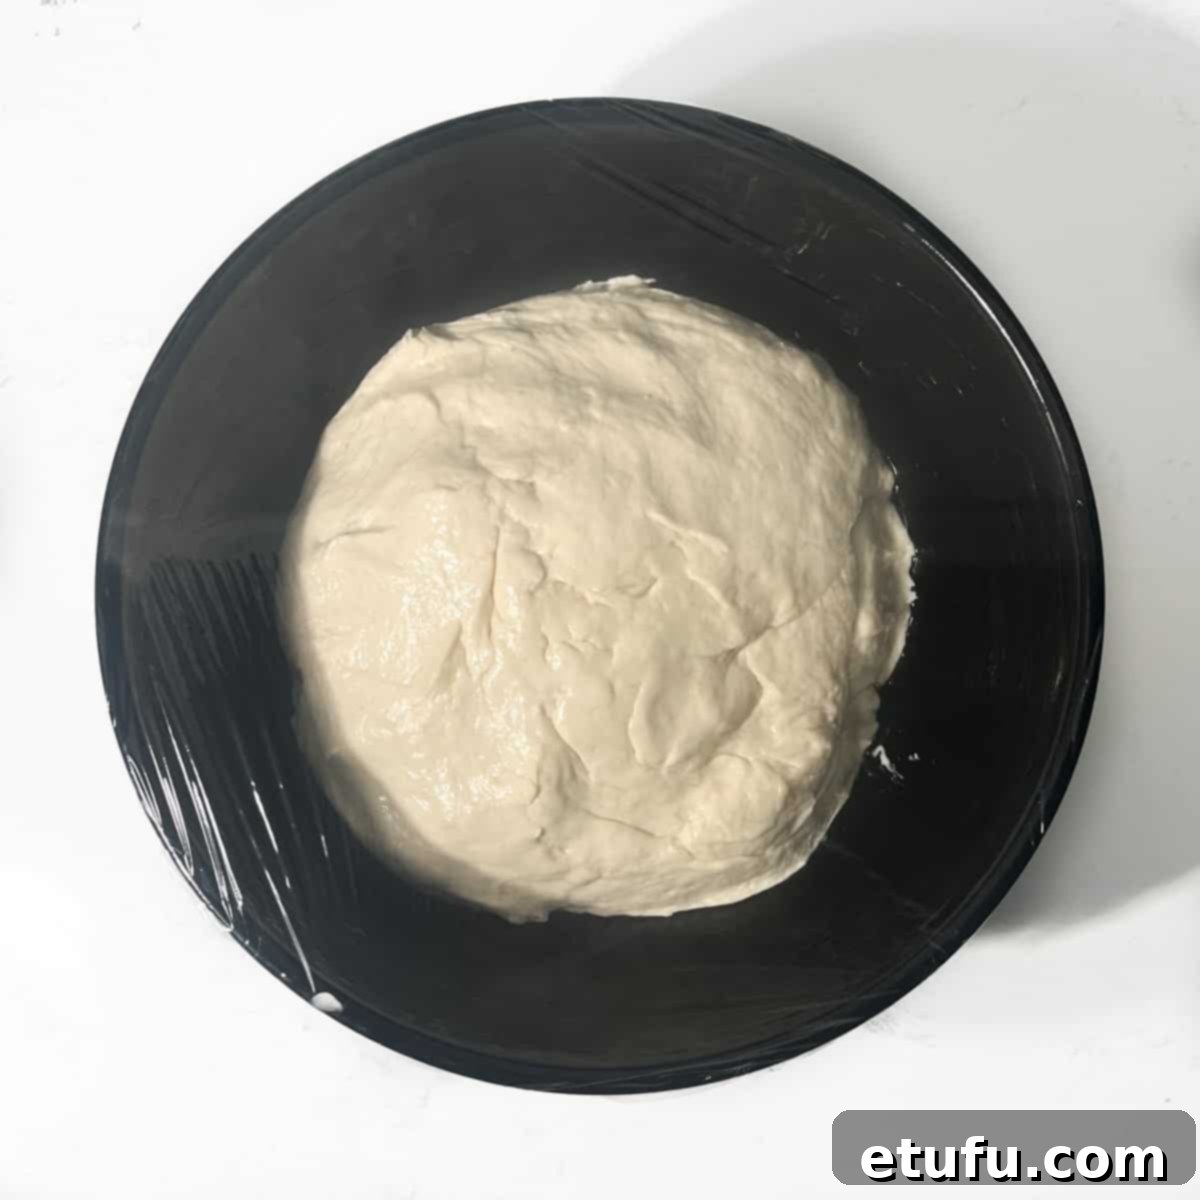
8. Transfer the kneaded dough into the oiled bowl. Lightly brush or rub a tiny amount of oil over the surface of the dough itself to prevent a dry skin from forming. Cover the bowl securely with clingfilm (plastic wrap) or a clean kitchen towel.
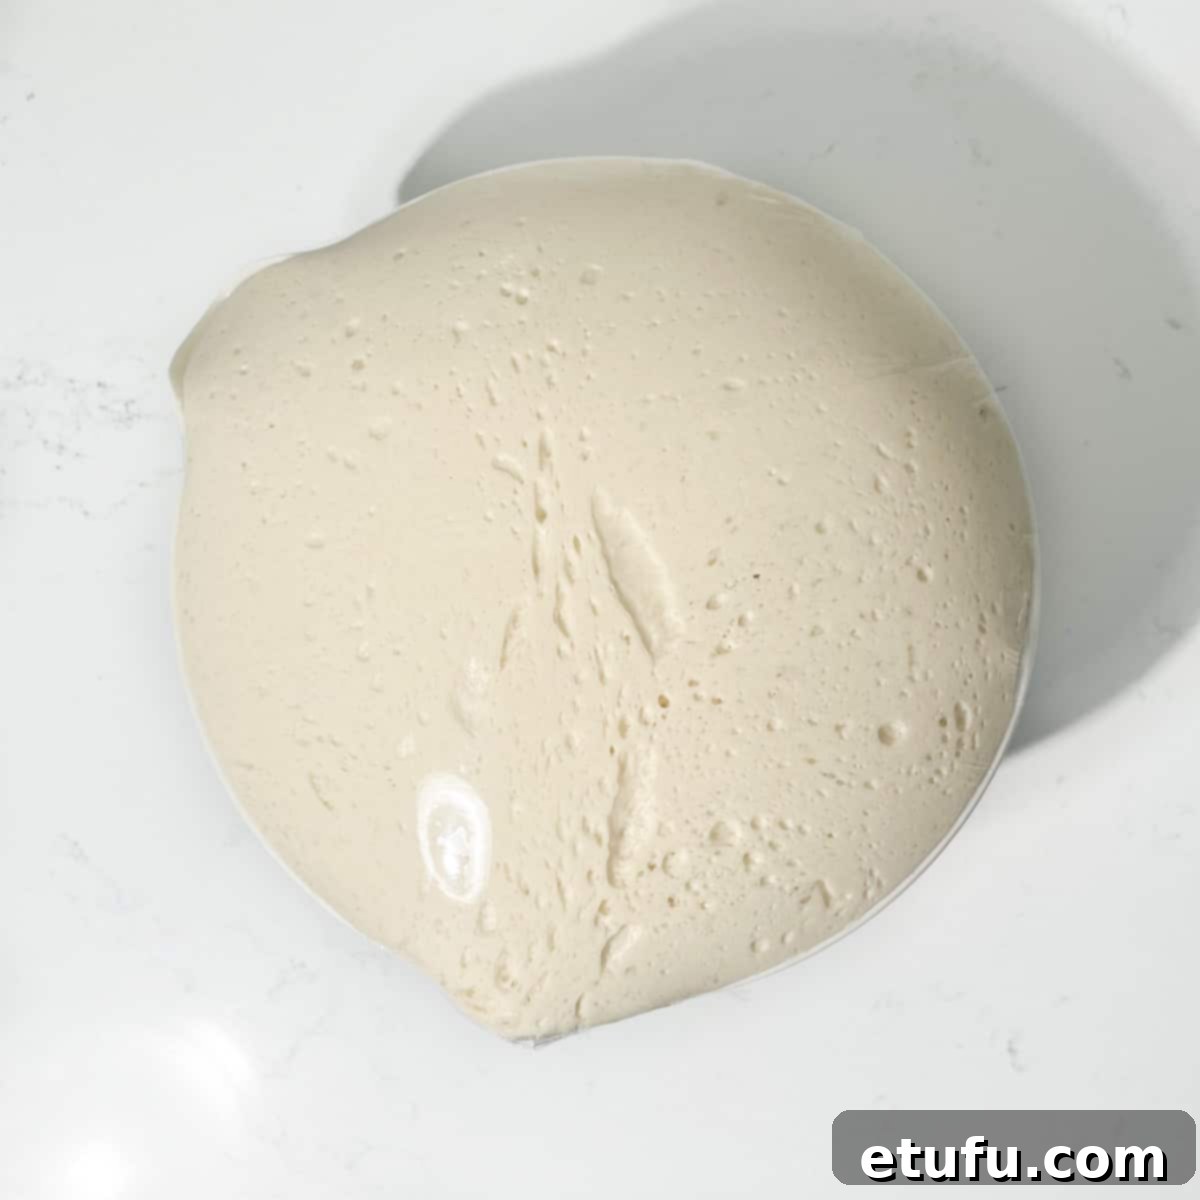
9. Place the covered bowl in a warm, draft-free spot. Allow the dough to rise for approximately 1 hour, or until it has visibly doubled in volume. This proofing stage is crucial for achieving light and airy Vetkoek.
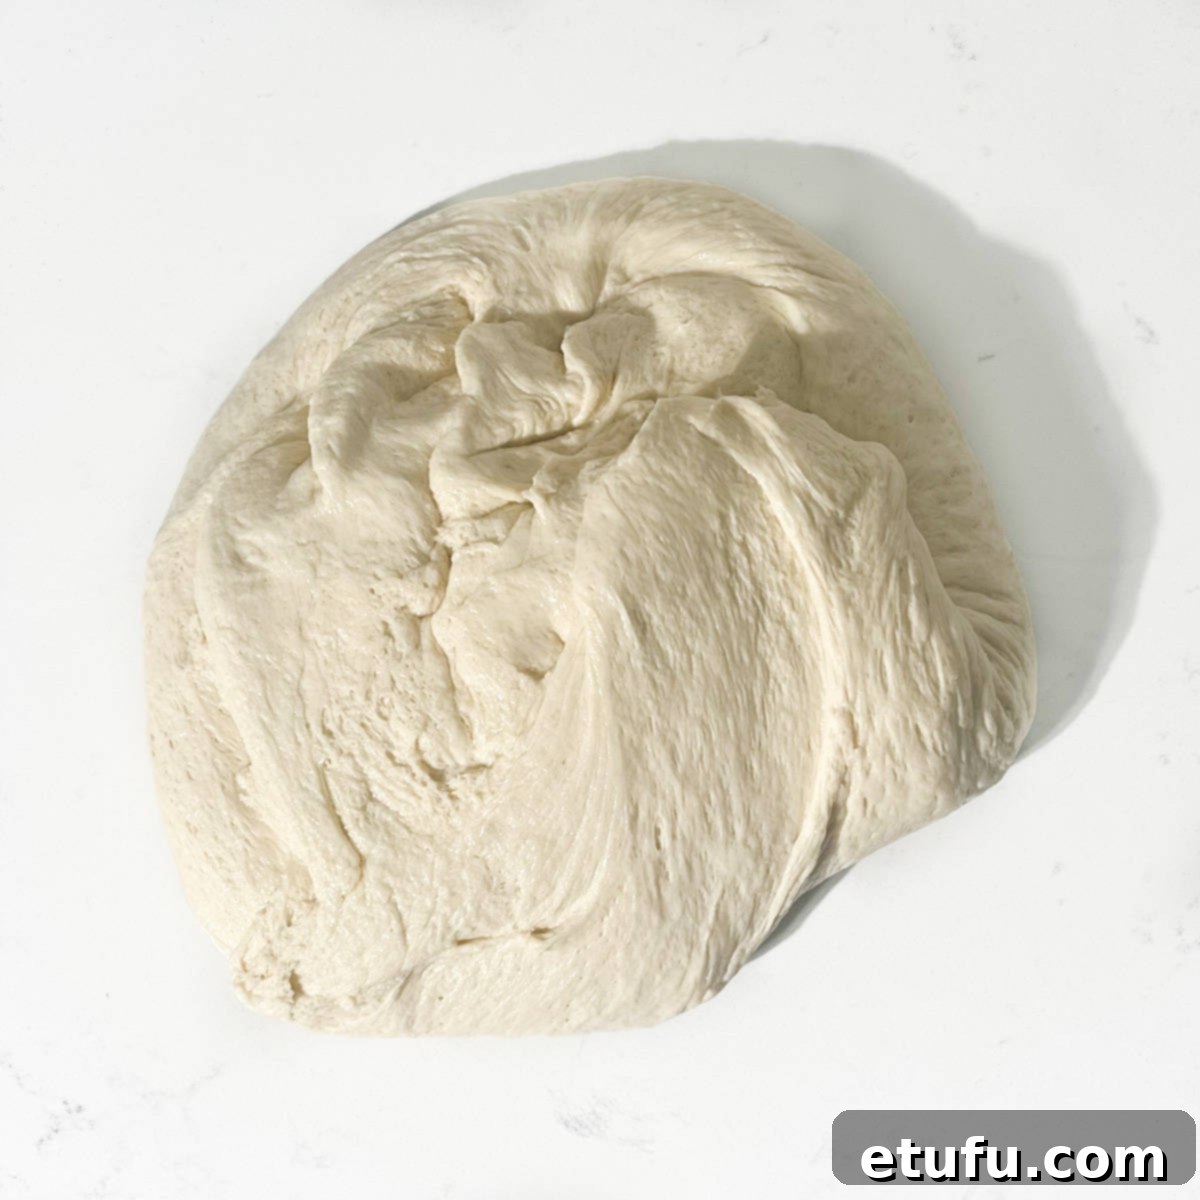
10. Once the dough has risen, lightly oil your work surface and your hands. Gently transfer the dough from the bowl onto the oiled surface.
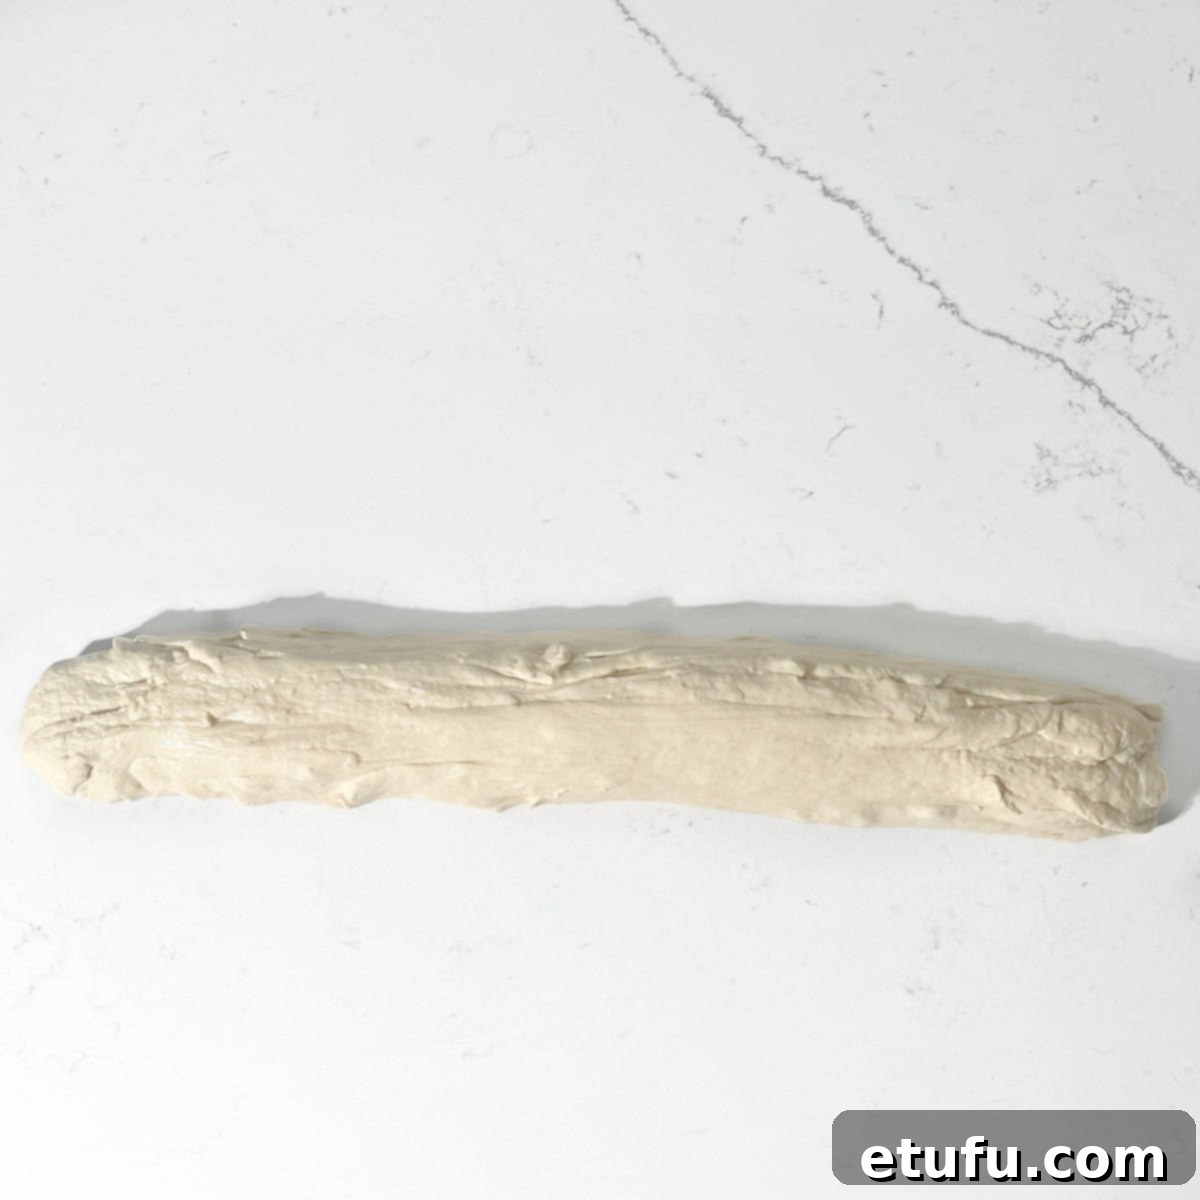
11. Gently shape the dough into a long, uniform log. Using a sharp knife, divide the log into equal portions. For this recipe, dividing the dough into 150g portions will yield eight generously sized Vetkoek. The exact number can vary depending on desired size.
Pro Tip: When portioning the dough, press the knife straight down through the dough rather than using a sawing motion. This technique helps to “seal” the edges of each dough portion, preventing ragged tears and promoting even rising.
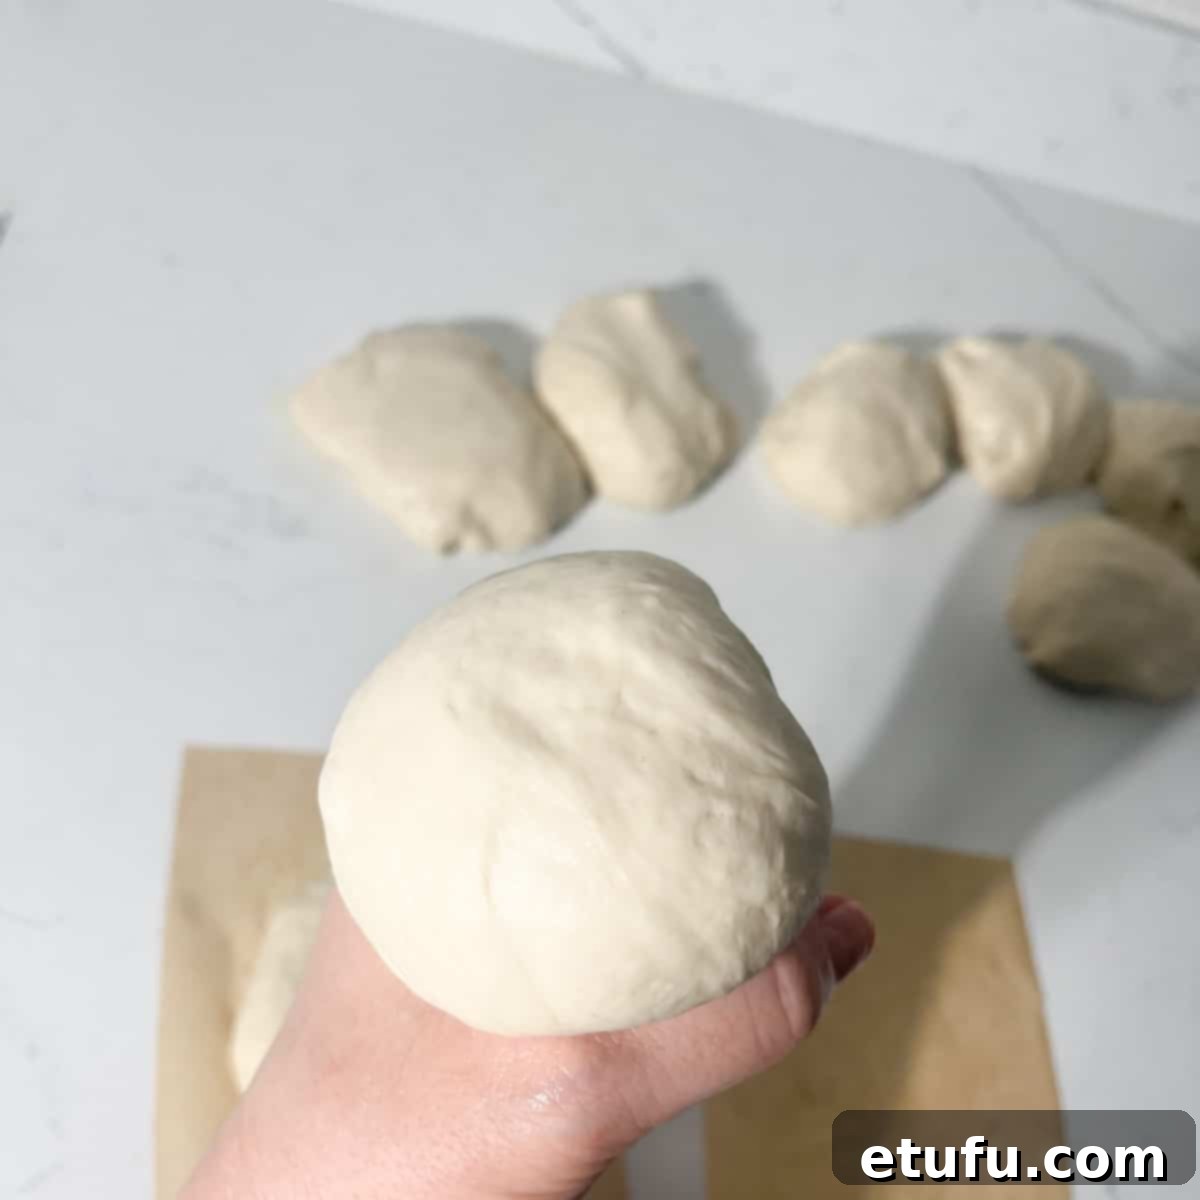
12. To shape each portion into a smooth, round Vetkoek, cup the dough in your palm and gently squeeze it between your thumb and index finger while rotating. This action creates a taut surface and a beautiful, even ball.
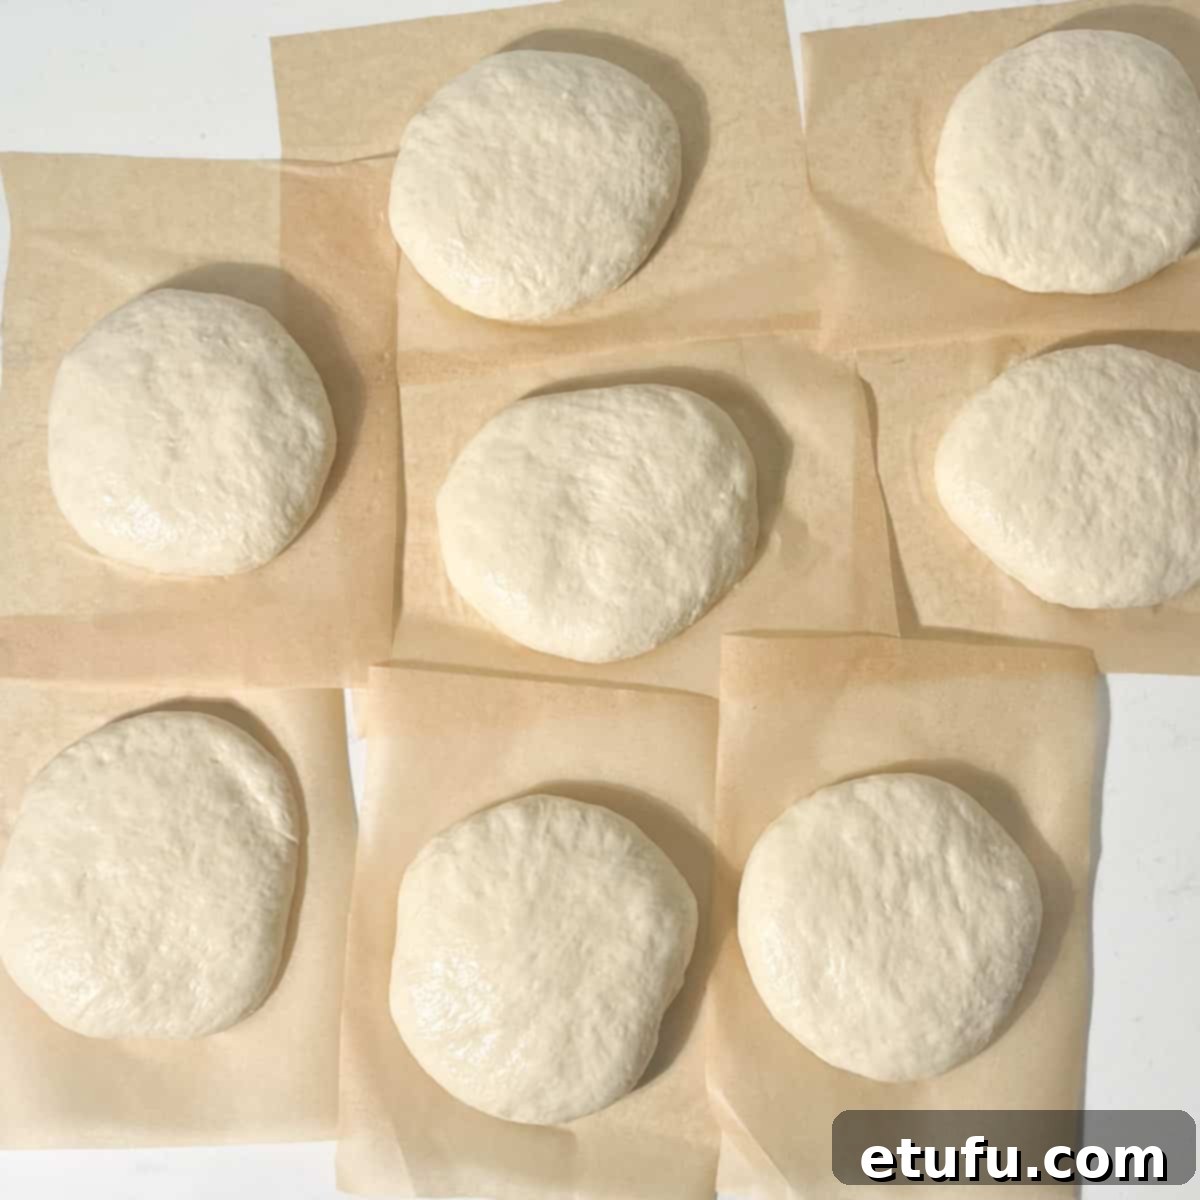
13. (Optional but recommended for ease) Cut individual squares of baking paper, each large enough to comfortably hold one dough ball. This step makes transferring the delicate dough into the hot oil much simpler, maintaining its shape.
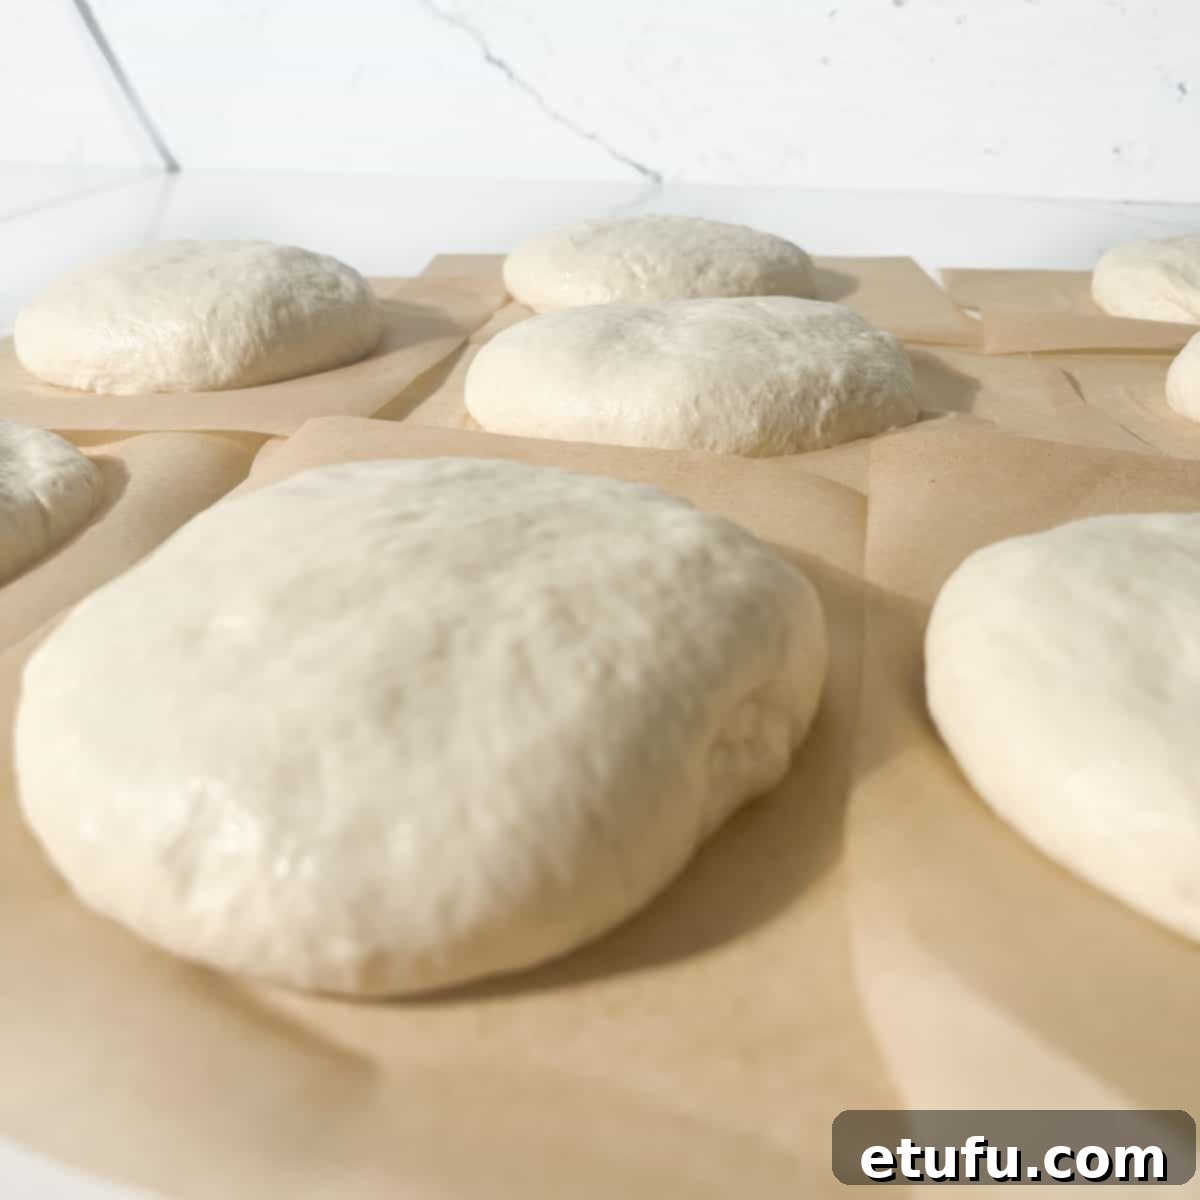
14. Place each shaped dough ball onto its baking paper square. Using the palm of your hand, gently flatten each ball until it is approximately 2.5cm (1 inch) thick. Alternatively, you can choose to leave them in their original round ball shape if preferred.
15. Allow the shaped Vetkoek to rest briefly while you prepare and heat the frying oil. This short resting period allows the dough to relax slightly.
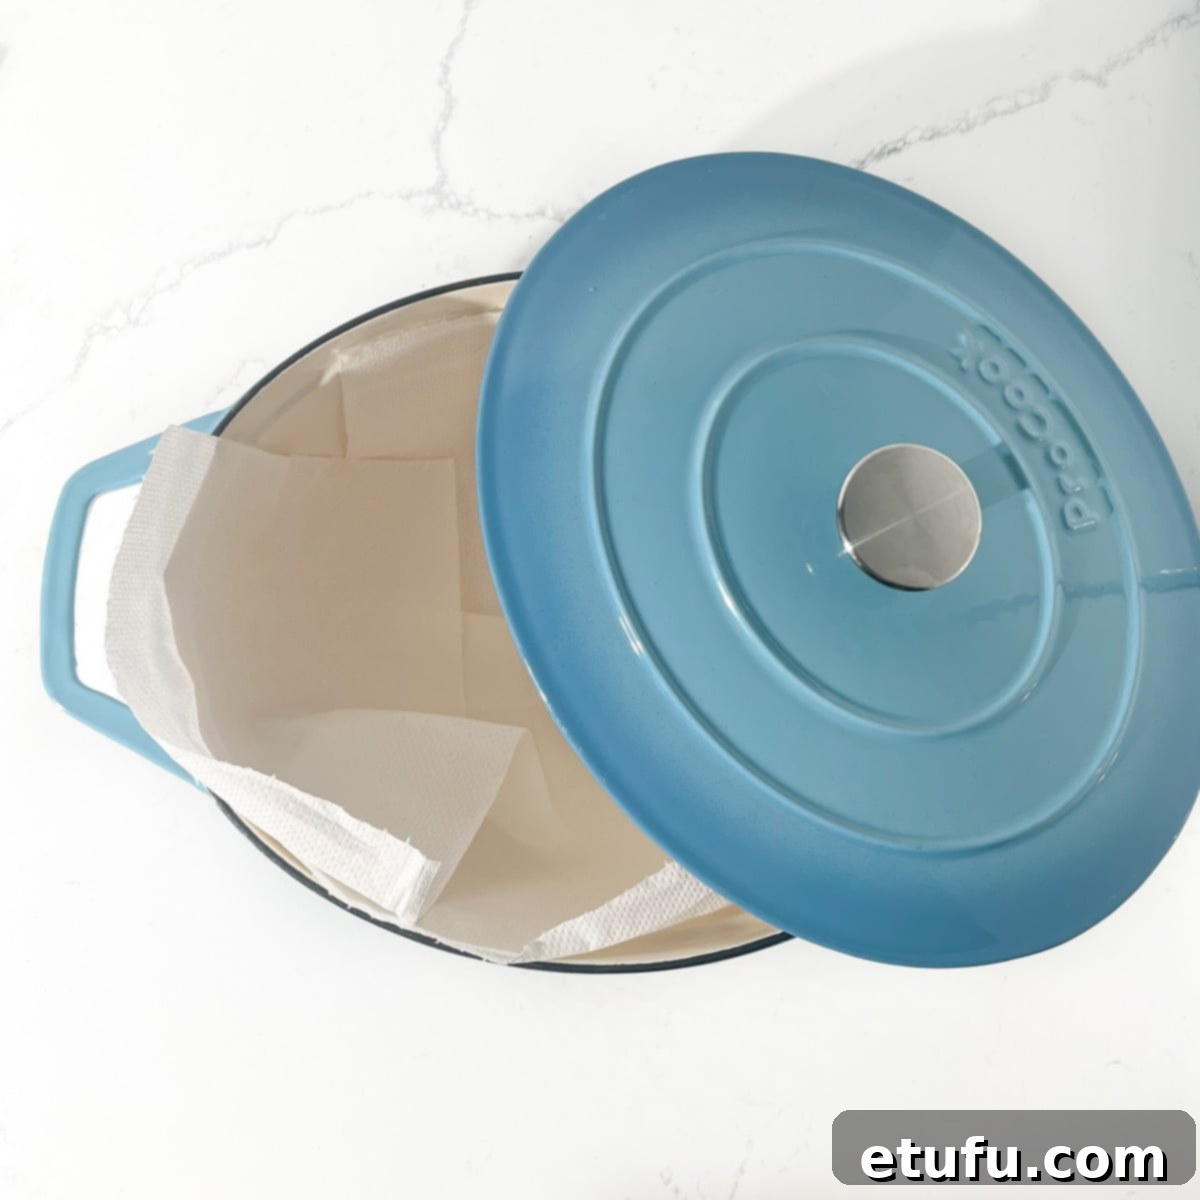
16. Set up a separate pot or container, preferably with a lid, and line it with paper towels. This will be used to drain any excess oil from the cooked Vetkoek and keep them warm while you fry the remaining batches.
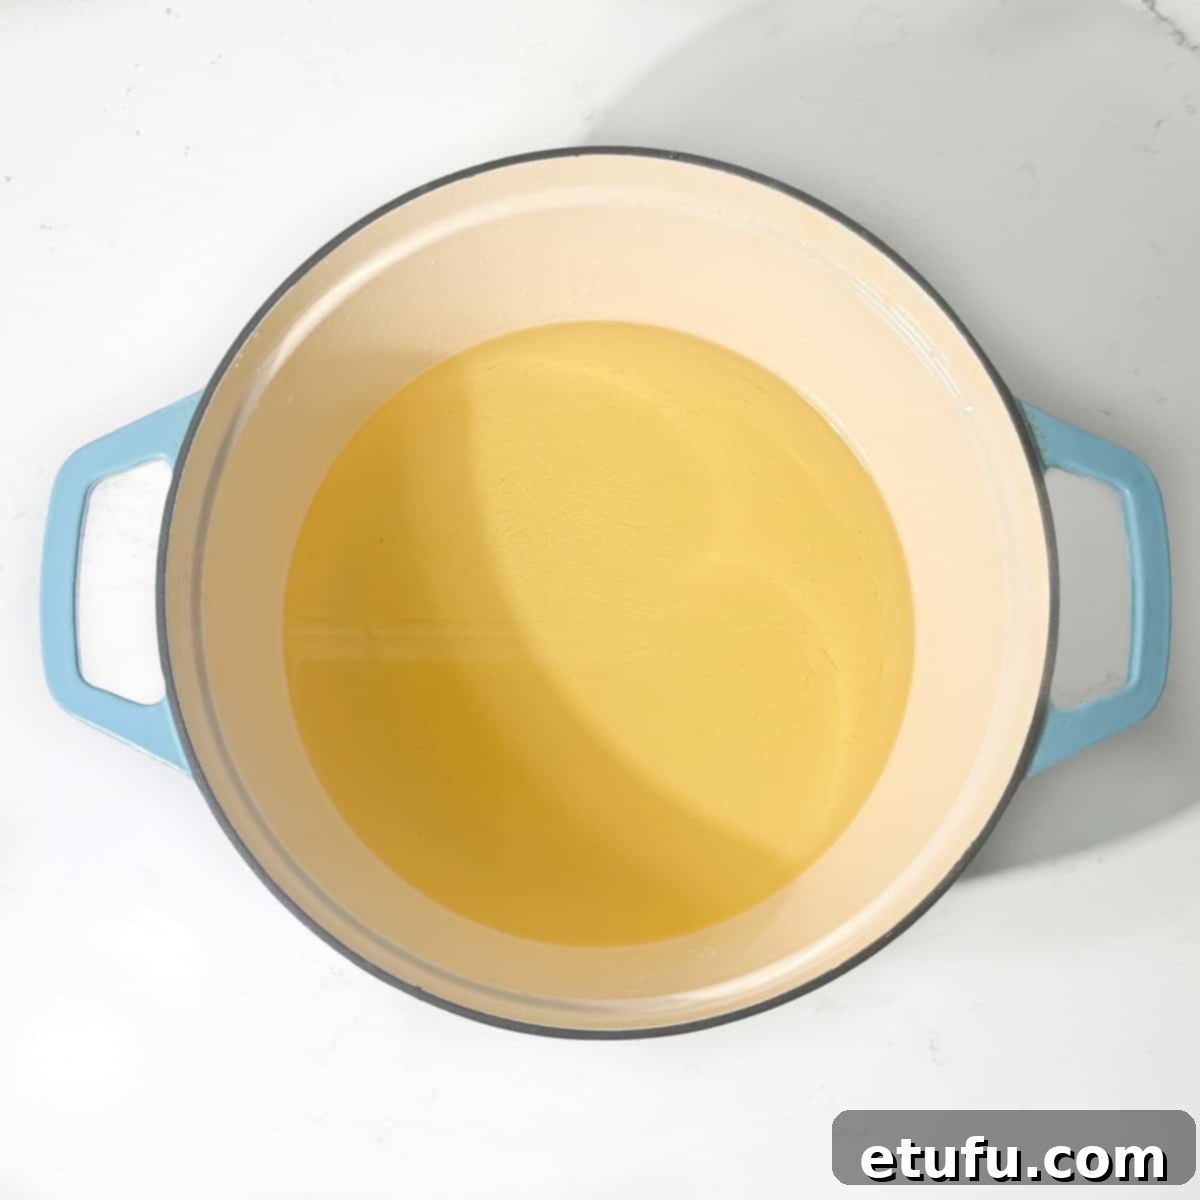
17. Pour your chosen frying oil into a large, deep saucepan or Dutch oven. Ensure the oil reaches a minimum depth of 5cm (approximately 2 inches). This depth is crucial for even cooking.
18. Place the saucepan over medium-high heat and begin heating the oil. Allow it to heat gradually to the correct temperature.
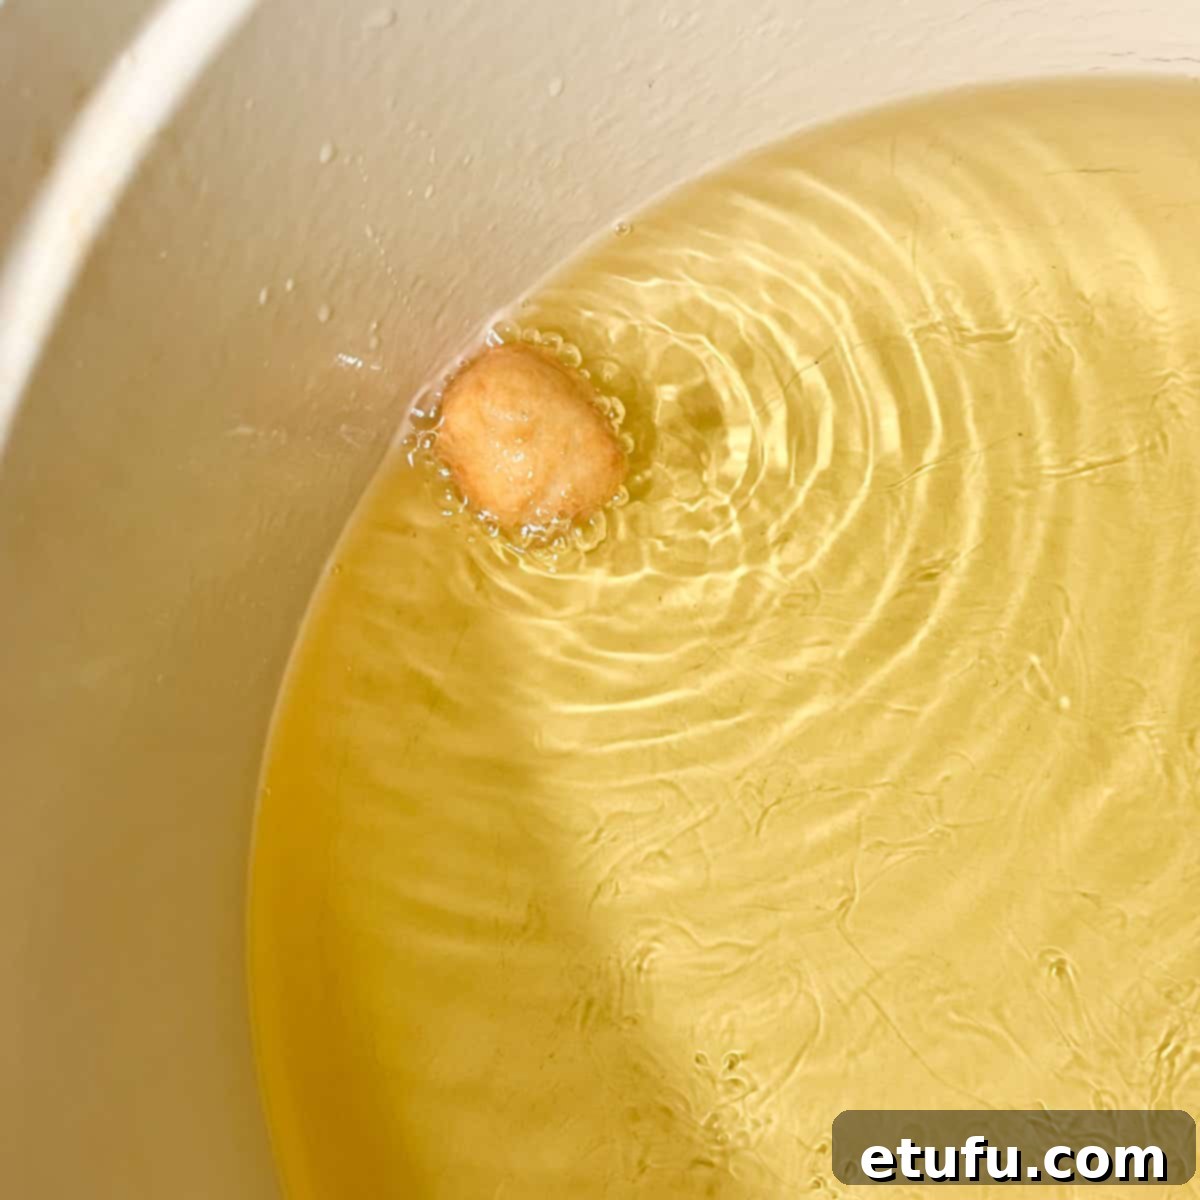
19. To test if the oil is sufficiently hot, drop a tiny piece of leftover dough into it. If the dough sizzles immediately and quickly floats to the surface, the oil is ready for frying. Once the desired temperature is reached, reduce the flame to a steady medium heat to prevent the Vetkoek from burning on the outside before cooking through.
Pro tip: Fry this small test piece of dough until it’s golden brown on all sides. This extra step provides definitive confirmation that your oil is truly at the optimal temperature for frying your first Vetkoek successfully.
20. Carefully lift a piece of dough, either directly with oiled hands or by using the baking paper square as a carrier. Gently tip or slide the dough into the hot oil. Always drop the dough *away* from you to minimize the risk of hot oil splashing in your direction.
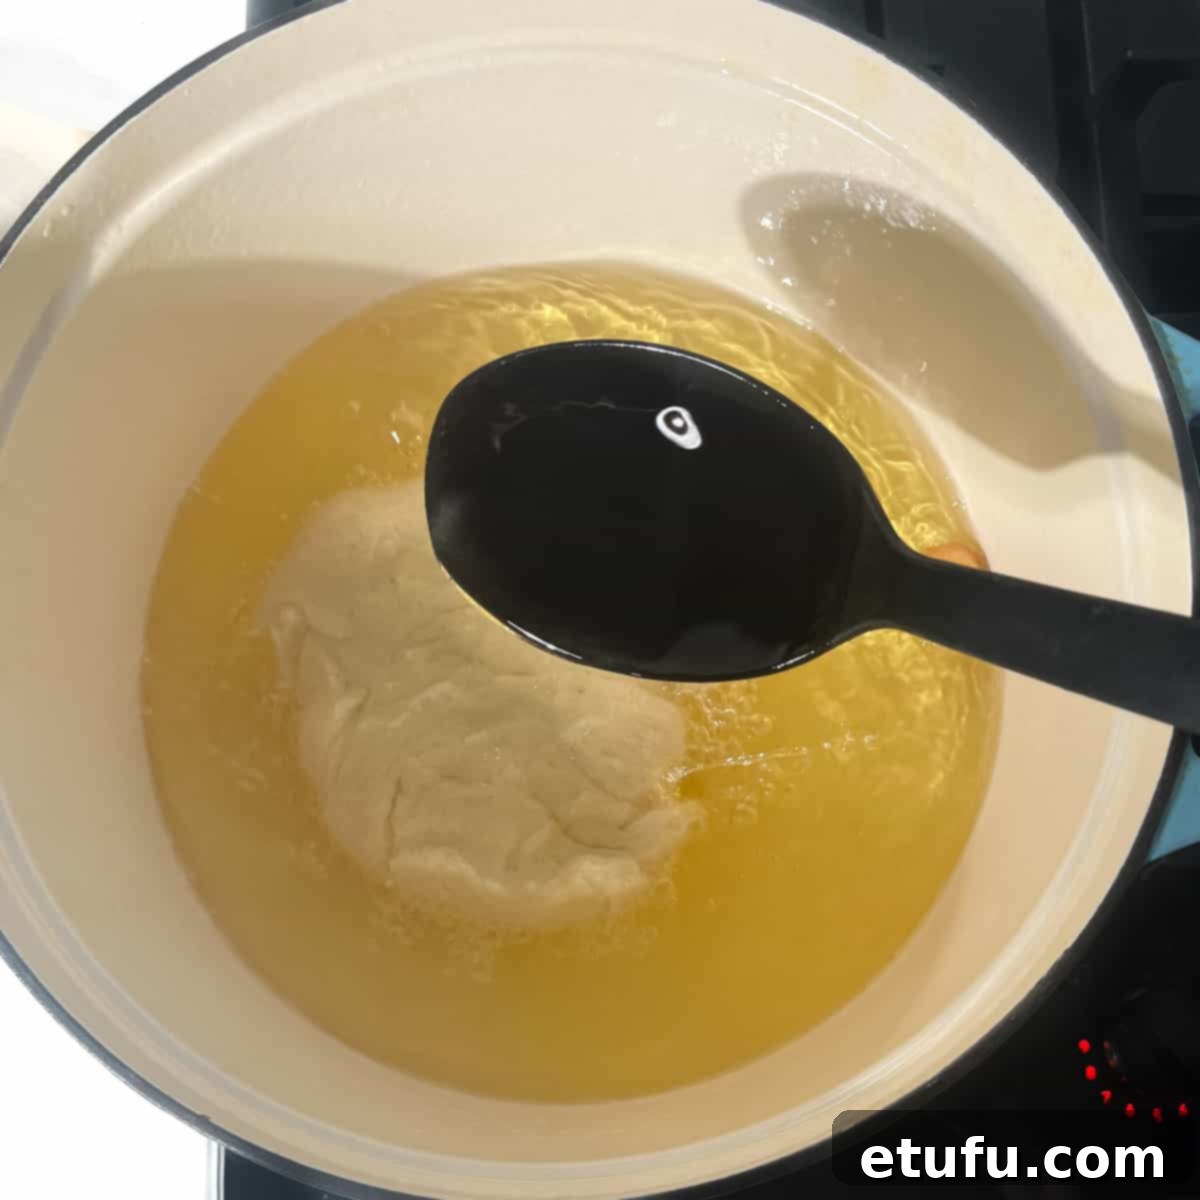
21. Immediately after dropping the Vetkoek into the oil, use a large, heat-proof spoon (metal or wood, avoid plastic) to gently spoon hot oil over the top surface of the dough. This crucial step helps the Vetkoek to puff up beautifully and evenly, creating that desired light and airy texture.
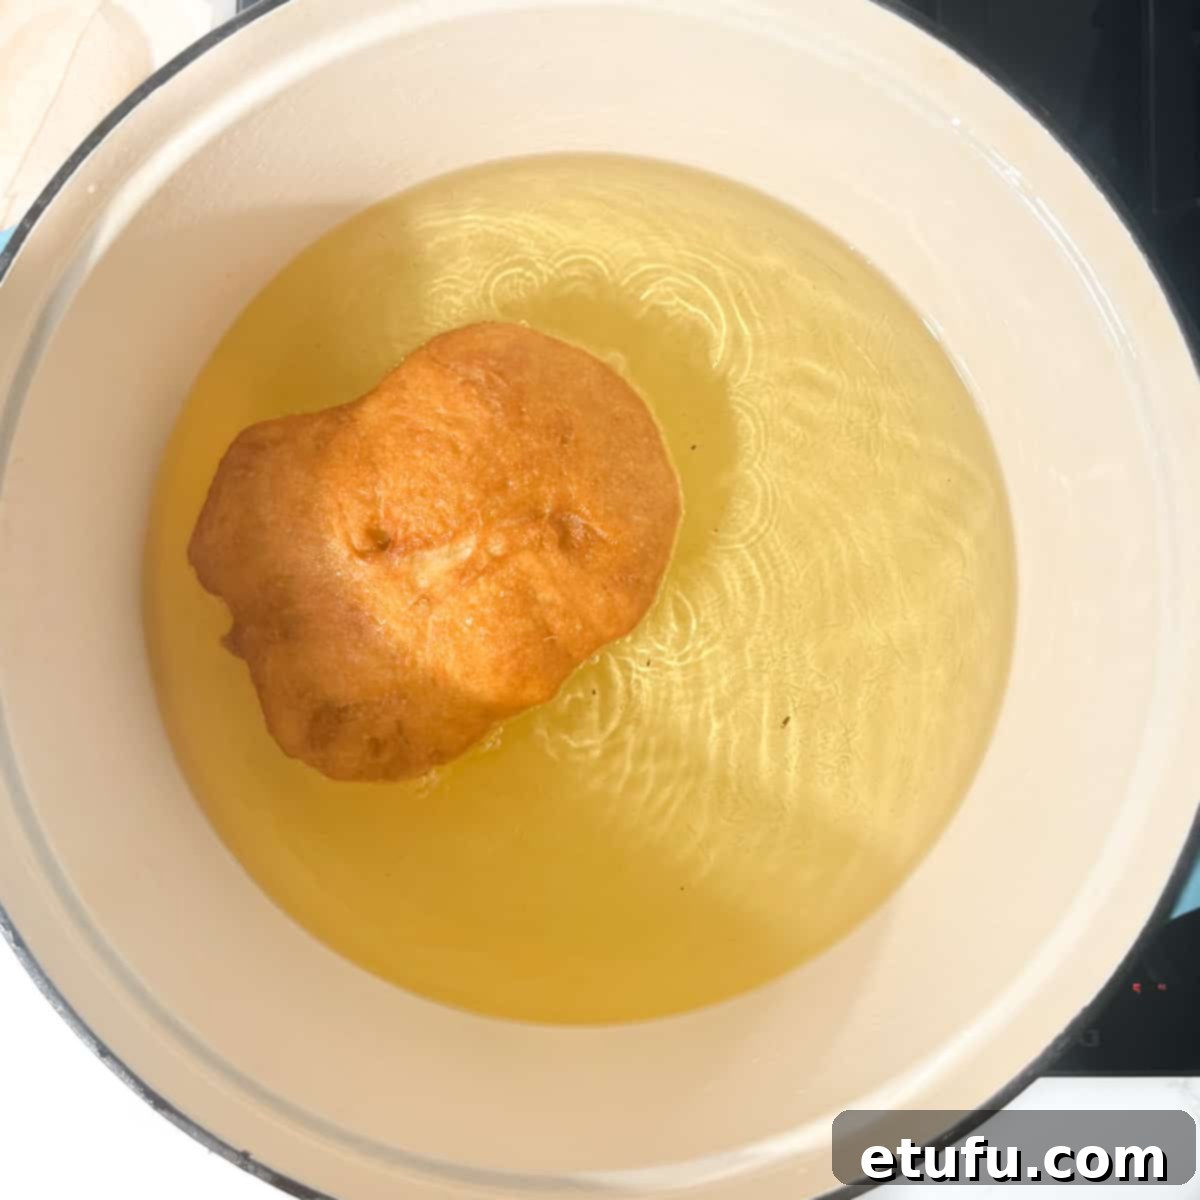
22. Once the top of the Vetkoek has puffed up and appears slightly golden, carefully flip it over using tongs or a slotted spoon. Fry this side until it develops a rich, golden-brown color. Then, flip it back again to cook the first side until its color matches the bottom, ensuring even cooking and browning throughout.
23. If you notice the Vetkoek browning too quickly, or if the oil is bubbling too aggressively, slightly reduce the heat. The goal is a steady, medium heat that cooks the dough through without burning the exterior.
Pro tip: It’s normal for the oil to bubble vigorously when you first drop a new piece of dough into it. However, after about 2 minutes, the bubbling will typically calm down significantly. Do not be tempted to increase the heat, thinking it’s not hot enough; this reduction in bubbling is expected and means the oil is working efficiently.
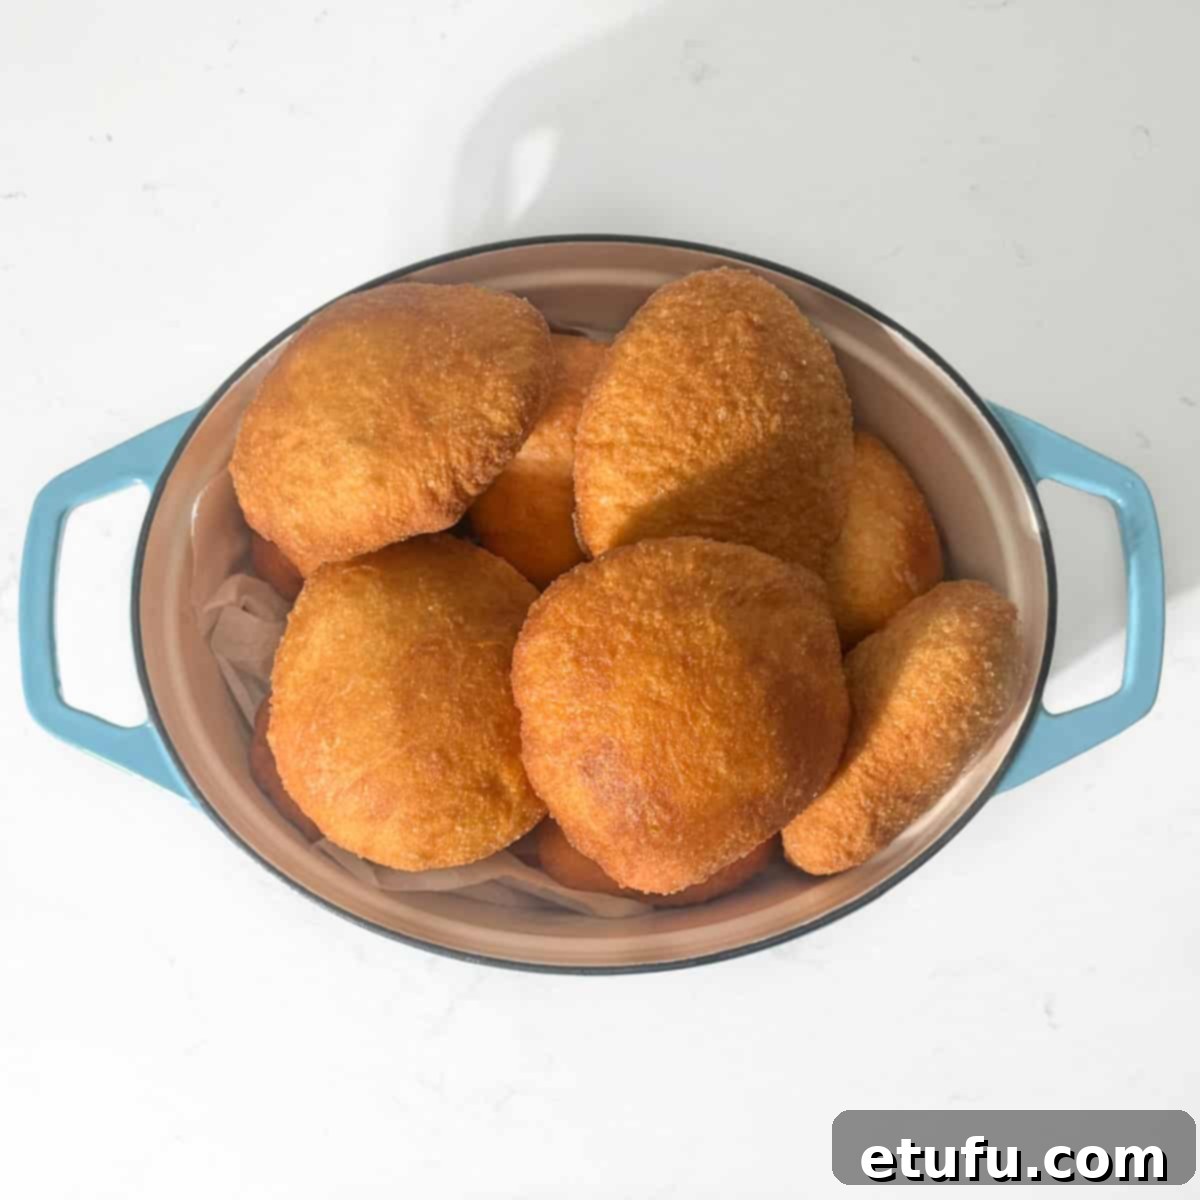
24. Once cooked to a deep golden brown, carefully remove the Vetkoek from the oil and transfer it to your prepared paper-towel-lined pot. Place the lid on to keep them warm while you continue frying the rest of the batch.
25. Serve your freshly fried, warm Vetkoek immediately with your choice of delicious fillings, such as savory curried mince, sweet golden syrup, or a classic combination of jam and cheese. Enjoy!
Top Tips for Perfect Vetkoek Every Time
Achieving consistently delicious Vetkoek is easy with these expert tips:
Protect the Yeast from Salt
Yeast is sensitive to direct contact with salt, which can inhibit its activity. To ensure your dough rises beautifully, always mix the salt thoroughly with the flour first. Only after the salt is well dispersed should you add the instant yeast to the mixture, allowing it to activate effectively.
Ensure Fresh Yeast and Optimal Water Temperature
The vitality of your yeast is paramount. Always check that your instant yeast is fresh and well within its expiry date. Equally important is the water temperature: it must be lukewarm (ideally between 36°C and 40°C / 96°F and 105°F). Water that is too hot will kill the yeast, while water that is too cold will prevent it from activating, both leading to a dough that won’t rise.
Add Water Incrementally
Dough consistency is key and can be affected by various factors. Avoid adding all the water specified in the recipe at once. Instead, gradually incorporate the lukewarm water into your dry ingredients, mixing after each addition. Stop adding water when you achieve a soft, pliable, and slightly sticky dough that is easy to knead. You might find you don’t need the full amount of water.
Stand Mixer vs. Hand Kneading
While a stand mixer with a dough hook can significantly simplify and speed up the kneading process, it’s by no means essential. If you’re kneading by hand and prefer to minimize mess, you can effectively knead the dough directly inside a large, sturdy mixing bowl instead of on an open work surface.
Moderate Flour Use When Hand Kneading
If your dough becomes excessively sticky during hand kneading, you can lightly dust your hands or the dough surface with a small amount of extra flour. However, exercise caution: too much added flour can make the dough stiff and result in dense Vetkoek. The goal is to maintain a soft, elastic, and slightly sticky consistency.
Create a Warm Environment for Proofing
Yeast doughs thrive in warmth. If your kitchen is on the cooler side, you can easily create an ideal proofing environment. Preheat your oven to its lowest setting, typically around 40°C (105°F), then immediately turn it off. Place your covered bowl of dough inside the warm, switched-off oven, allowing it to rise undisturbed.
Use Oil, Not Flour, for Dough Handling
When it’s time to portion and shape your proofed dough into individual Vetkoek balls, use a light coating of oil on your work surface and hands instead of dry flour. Flour on the exterior of the uncooked dough can burn quickly in hot oil, leading to an unpleasant taste and appearance.
Aim for Smooth Dough Balls
For the most appealing and evenly cooked Vetkoek, ensure each dough portion is shaped into a smooth ball free from any visible cracks or rough edges. A smooth surface promotes even browning and helps the Vetkoek puff up beautifully.
Oil Depth is Essential for Even Frying
Always use a deep saucepan or pot and ensure the frying oil has a minimum depth of 5cm (about 2 inches). This generous depth allows the Vetkoek to float freely in the oil, ensuring they cook evenly on all sides without touching the bottom of the pan, which could cause them to burn or cook inconsistently.
Baking Paper for Easy Transfer (Optional)
To make the transfer of delicate dough balls into hot oil effortless and to preserve their perfect shape, consider placing each shaped Vetkoek on an individual square of baking paper. You can then gently slide the dough off the paper into the oil, or carefully lower the paper and dough together, removing the paper once the dough is safely in the oil. This prevents finger indentations and maintains the dough’s structure.
The Secret to Perfectly Puffed-Up Vetkoek
For gorgeously inflated Vetkoek, immediately after you place a piece of dough into the hot oil, begin spooning hot oil over its top surface. This consistent basting helps the dough expand and puff up dramatically, creating a light and airy interior. Remember to use a heat-resistant spoon, such as one made of wood or metal, as plastic can melt in the high heat of the frying oil.
Keeping Vetkoek Crispy and Warm
After frying, transfer the cooked Vetkoek to a pot or container lined with paper towels and equipped with a lid. Covering them helps to retain their delicious crispy exterior while keeping the fluffy interior warm and soft until all batches are ready to serve.
Delicious Ways to Serve Vetkoek
The beauty of Vetkoek lies in its incredible versatility. It pairs wonderfully with a myriad of fillings, catering to both savory and sweet palates. Here are some of the most popular and delightful ways to enjoy your homemade Vetkoek:
- Traditional Curried Mince: The ultimate classic! A warm, spicy, and deeply flavorful curried mince filling is the quintessential pairing. For an extra touch, add a slice of fresh tomato inside for a burst of freshness.
- Jam and Cheese: A beloved sweet and savory combination. Spread your favorite jam (apricot is a popular choice) and add a slice of cheddar cheese. The melting cheese with the sweet jam and warm dough is pure comfort.
- Golden Syrup: For those with a sweet tooth, a generous drizzle of sticky, golden syrup over a freshly fried Vetkoek is a simple yet incredibly satisfying treat.
- Preserved Figs: A more gourmet, yet traditional, option. The rich sweetness of preserved figs offers a sophisticated pairing that’s both elegant and delicious.
- Chicken Mayo: A popular, creamy, and savory filling. A simple chicken and mayonnaise mixture makes for a delightful and easy lunch option.
- Breakfast Vetkoek: Transform Vetkoek into a hearty breakfast by filling it with crispy bacon and a fried or scrambled egg. It’s an indulgent way to start the day.
Storage & Reheating for Freshness
To enjoy your Vetkoek at its best, it’s ideal to consume them fresh. However, if you have leftovers or wish to prepare ahead, here’s how to store and reheat them:
Store any leftover cooked Vetkoek in sealed plastic bags at room temperature for up to 2 days. Be aware that their characteristic crispiness will naturally diminish over time, and they will become softer.
For longer preservation, cooked Vetkoek freezes exceptionally well. Place them in an airtight freezer-safe container, optionally lined with kitchen paper to absorb any residual moisture, and they can be stored for up to 6 months.
To reheat, for a quick solution, use the microwave. While convenient, microwaved Vetkoek will be soft and will not regain their original crisp exterior. For a better texture, reheat them in a preheated oven at 180°C (350°F) for about 10 minutes, or until warmed through and slightly crisp.
Frequently Asked Questions About Vetkoek
Several factors can prevent your Vetkoek from rising properly, with the yeast usually being the culprit. Common reasons include using expired or inactive yeast, adding water that was either too hot (which kills the yeast) or too cold (which fails to activate it), or if the yeast came into direct contact with salt before being thoroughly mixed with the flour, thus inhibiting its activity.
If your Vetkoek is cooked on the exterior but remains raw or doughy in the center, it’s a clear indication that your frying oil was too hot. The high temperature caused the outside to brown rapidly and form a crust before the heat could penetrate and cook the interior. Alternatively, even if the oil temperature was correct, the Vetkoek might simply not have been cooked for a sufficient amount of time. Ensure both sides are a rich, deep golden brown color, indicating they are cooked all the way through.
Yes, Vetkoek dough freezes very well and can be stored for up to 6 months. To defrost, transfer the frozen dough to the refrigerator and allow it to thaw overnight. Once thawed, proceed with portioning, shaping, and frying the dough according to the recipe instructions, just as you would with fresh dough.
Recipe

Traditional South African Vetkoek
There’s a special magic in Vetkoek that excites every South African, much like biltong, the Springboks and Bafana Bafana. It’s part of who you are. This yeasted bread dough, similar to a doughnut without a hole, serves as the perfect canvas for a myriad of delicious toppings.
5 from 42 votes
Print Recipe
Save
Course: Main Course, Snack
Cuisine: South African
Prep Time: 15 minutes
Cook Time: 20 minutes
Proofing time: 1 hour
Total Time: 1 hour 35 minutes
Servings: 8 servings
Calories: 319kcal
Author: Maretha Corbett
Ingredients
- 5 cups plain flour (250ml cups) – 1250ml in total
- 1 tablespoon sugar – 15ml
- 1 teaspoon salt – 5ml
- 3 teaspoons instant yeast – 10g-11g of instant yeast
- 2 cups lukewarm water (250ml cups) – 500ml in total
- Oil for frying – depending on the size of the pot, you will roughly need 1-1.5 litres of oil
Instructions
Add the flour, sugar and salt to a large mixing bowl, or the bowl of a stand mixer. Give it a good stir. Note: Ensure that the salt blends evenly with the flour. When yeast directly meets salt, it might lose some of its oomph.
Add the instant yeast to the flour mixture and combine well.
Make a well in the centre of the flour mixture.
Start adding some lukewarm water to the flour, a little at a time. Stir after each addition.
Keep adding water until you have a soft, sticky dough. You might not need all the water.
Kneading by hand: You can do it inside the bowl if your bowl is big enough (less mess) or on a lightly floured surface. Knead for about 10-15 minutes until it’s smooth and stretchy. Sprinkle a bit of flour on your hands or the surface as needed to prevent sticking. Kneading with stand mixer: If you’re using a stand mixer for kneading, attach the dough hook to the machine. In the stand mixer, knead the dough on low speed for 10 minutes or until it becomes smooth and stretchy.
Lightly coat the inside walls of a large bowl with oil.
Place the dough in the bowl and lightly oil the surface of the dough to prevent it from drying out. Cover the bowl with clingfilm or a clean kitchen towel.
Put the dough in a warm spot to rise for about 1 hour until it doubles in volume.
Lightly oil the work surface and your hands. Then, transfer the dough onto the oiled surface.
Shape the dough into a long log-shape. Using a sharp knife, divide it into equal portions. For this recipe, dividing it into 150g portions will yield eight Vetkoek of a good size. Pro Tip: When dividing the dough, push the knife down into the dough instead of ‘sawing’ through. This helps “seal” each portion of dough.
Shape each portion of Vetkoek dough by squeezing it into a ball through your thumb and index finger. This will give you a nice, smooth, round Vetkoek.
Cut squares of baking paper large enough to hold each dough ball individually (this is optional but helpful for easy transfer to the oil).
Place each ball of dough onto its square of baking paper and flatten it with the palm of your hand until it’s about 2.5cm thick. You can also choose to leave them round.
Leave the Vetkoek to rest whilst you heat the oil.
Prepare an extra pot or container with a lid, lined with paper towels, to absorb excess oil and keep the Vetkoek warm while you cook the rest.
Add the oil to a large saucepan, ensuring that the oil reaches a minimum depth of 5cm.
Begin heating the oil over medium-high heat.
To check if the oil is hot enough, drop a small piece of dough into it. If it sizzles and quickly rises to the surface, the oil is ready. Turn the flame down to a medium heat. Pro tip: Fry the small piece of dough until it’s browned on all sides before adding your first Vetkoek. This confirms that the oil is truly ready.
Lift a piece of dough with its baking paper and carefully tip or slide it into the hot oil. Drop it *away* from you to prevent any oil from splashing towards you.
Using a large heat-proof spoon, immediately start spooning hot oil onto the top of the Vetkoek. This will help it puff up beautifully.
When the top of the Vetkoek puffs up, flip it over and fry until the bottom is a rich, golden brown. Flip it back and cook the top until it matches the color of the bottom.
If the Vetkoek browns too quickly and the oil is bubbling too ferociously, turn the heat down slightly. Pro tip: You may notice the oil will bubble a lot when you drop a new piece of dough into it and then quiet down to very few bubbles after about 2 minutes. This is expected, don’t be tempted to turn the heat up thinking it’s not hot enough.
Enjoy your freshly baked Vetkoek with curried mince, golden syrup or jam and cheese.
Notes
PLEASE NOTE: The oil used for frying is not included in the nutritional values provided for this recipe.
Don’t add all the water at once
Gradually add water to the dry ingredients, mixing until you get a soft, sticky dough that’s easy to knead.
You might not need all the water, so add it slowly and stop when the dough reaches the right consistency.
Use fresh yeast and lukewarm water
Make sure your instant yeast is fresh and within its use-by date. Additionally, ensure the water is lukewarm, neither too hot nor too cold.
Oil depth matters
Use a saucepan with a minimum of 5cm depth of oil. This depth allows the Vetkoek to float while frying. If they touch the bottom, they might burn.
Don’t kill the yeast with salt
To protect the yeast, avoid placing it directly on top of the salt. First, mix the salt with the flour and then add the yeast to the mixture.
A stand mixer is handy but not necessary
A stand mixer simplifies kneading, but if you don’t have one and want less mess, knead by hand inside a large bowl instead of on a work surface.
Use a little flour when kneading by hand
If the dough is too sticky, you can add a small amount of extra flour to your hands or directly to the dough.
However, be cautious not to overdo it, the goal is to maintain a soft, pliable dough.
Create a warm spot for proofing
If your kitchen is on the colder side, create a warm environment for the dough to rise.
Preheat your oven to 40°C and then turn it off. Place the bowl with the dough inside to allow it to proof.
Don’t use flour when portioning and shaping the dough
When shaping the dough into balls, it’s best to use oil on your work surface rather than dry flour.
Dry flour on the outside of the uncooked Vetkoek can burn in the hot oil.
Shape smooth dough balls
Ensure your dough balls are smooth without any breaks or cracks for an attractive, even-looking Vetkoek.
Use baking paper (optional)
Use pieces of baking paper to transfer dough balls into the oil easily. Slide the dough off the paper into the oil, or lower it in on the paper and then remove the paper.
This helps keep the Vetkoek’s shape intact and free from finger indentations.
Keeping Vetkoek crispy
After frying, place the cooked Vetkoek in a pot with a lid. This step helps preserve their crispy exterior while keeping the interior soft and fluffy.
The secret to perfectly puffed-up Vetkoek
As you lower the Vetkoek into the hot oil, immediately spoon hot oil over the top to help it puff up. Use a heat-resistant spoon, such as wood or metal, as plastic can melt in the hot oil.
**Nutritional data disclaimer**
Please keep in mind that the nutritional information provided below is calculated by a third party and we cannot guarantee the accuracy. We try our best to give you the most accurate information, but we do not take responsibility for errors that may be present. Also, the nutritional value of the recipe may change depending on the exact brands and products used. We recommend that you consult with a qualified healthcare professional or registered dietitian for personalised advice on your dietary needs.
Nutrition
Calories: 319kcal | Carbohydrates: 63g | Protein: 12g | Fat: 2g | Saturated Fat: 0.2g | Polyunsaturated Fat: 1g | Monounsaturated Fat: 0.3g | Sodium: 302mg | Potassium: 126mg | Fiber: 3g | Sugar: 2g | Vitamin A: 2IU | Vitamin C: 0.01mg | Calcium: 16mg | Iron: 1mg
For food safety advice, including guidance on food allergies
More Delicious Recipes from South Africa
If you’ve enjoyed making Vetkoek, delve further into the vibrant and diverse flavors of South African cuisine with these other fantastic recipes:
- Pikkie’s Melkkos
- No-Bake Milk Tart with Condensed Milk
- Curry Noodle Salad
- Bunny Chow with Chicken Curry
- Easy South African Bobotie
- Basmati Yellow Rice for Bobotie
- Peppermint Crisp Tart
- Rock Shandy
- Trinchado: Portuguese-Inspired South African Beef Stew
- Prego Steak Rolls
- Decadent Bar-One Sauce
