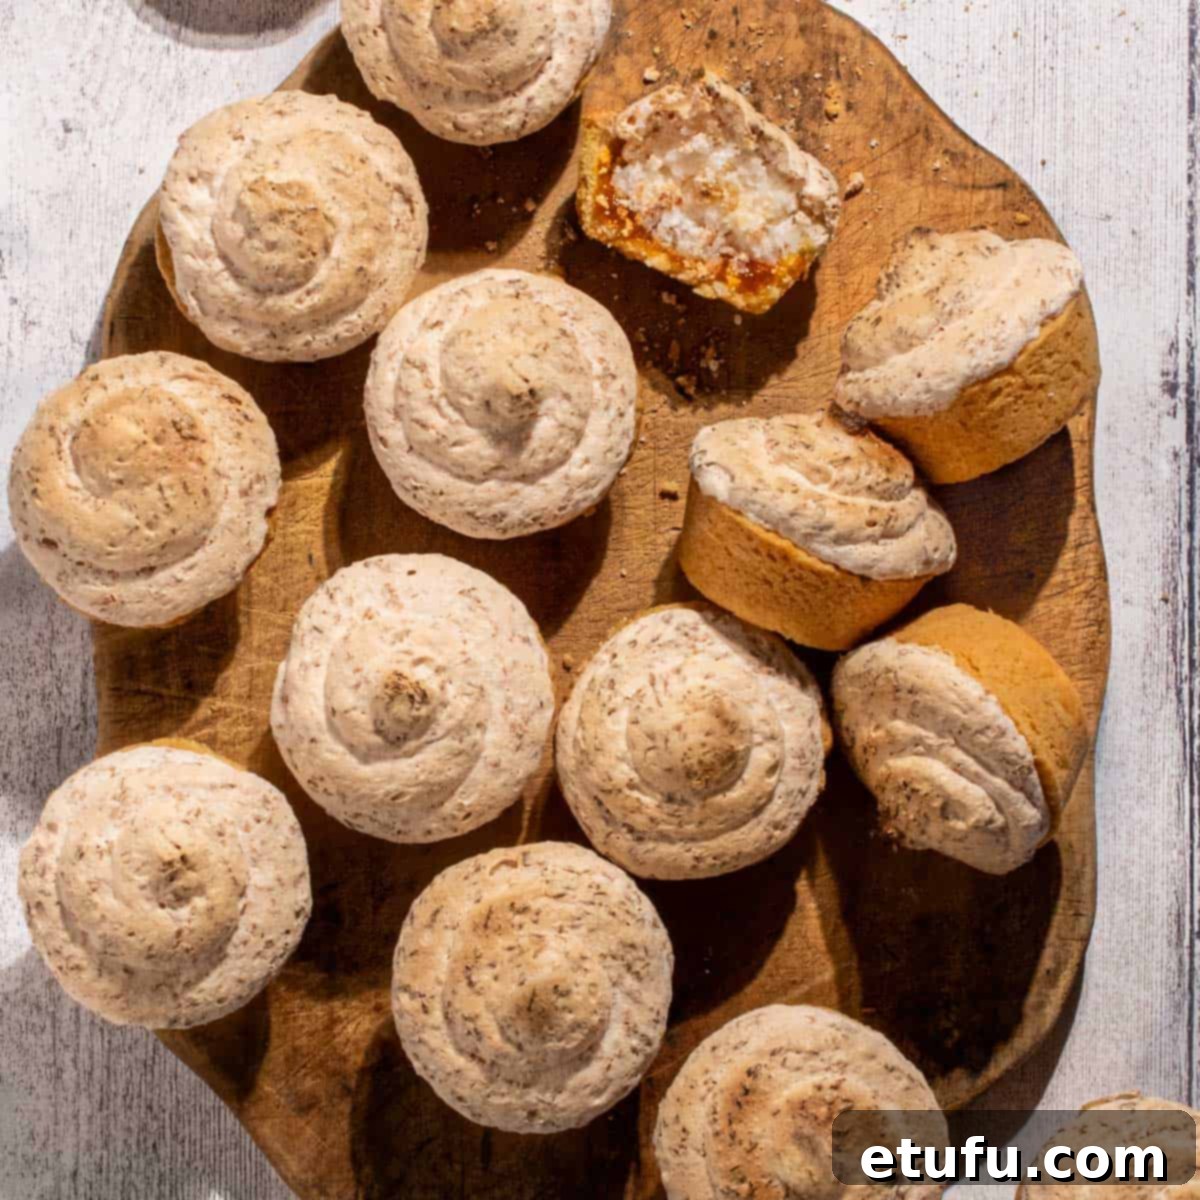
Hertzoggies: A Culinary Journey Through South Africa’s Beloved Jam and Coconut Tartlets
Embark on a delightful epicurean adventure to South Africa with Hertzoggies, truly iconic jam and coconut tartlets that capture the heart of the nation’s baking traditions. These irresistible treats feature a delicate, buttery shortbread pastry, cradling a luscious dollop of sweet apricot jam, crowned with a cloud-like, golden coconut meringue. Each bite offers a harmonious blend of textures and flavors – the crumbly pastry, the tangy sweetness of the jam, and the chewy, toasted notes of the meringue – making them a universally cherished South African dessert. They are not merely pastries; they are a taste of history, culture, and homely comfort.
This hugely popular South African delicacy is often savored with a warm cup of tea, serving as a perfect accompaniment to afternoon gatherings or festive occasions. Hertzoggies hold particular significance within the vibrant Cape Malay community, where they are a staple during Eid celebrations. The art of baking these tartlets is often passed down through generations, embodying a rich culinary heritage.
Beyond home kitchens, Hertzoggies are commonly found in local markets and through small, independent businesses known locally as a tuisnywerheid. These charming cottage industries specialize in homemade delights, offering Hertzoggies alongside other beloved South African favorites such as the syrupy, braided koeksisters and the creamy, cinnamon-dusted milk tart. Supporting a tuisnywerheid means not just indulging in a treat, but also connecting with the heart of South African culinary entrepreneurship and community spirit.
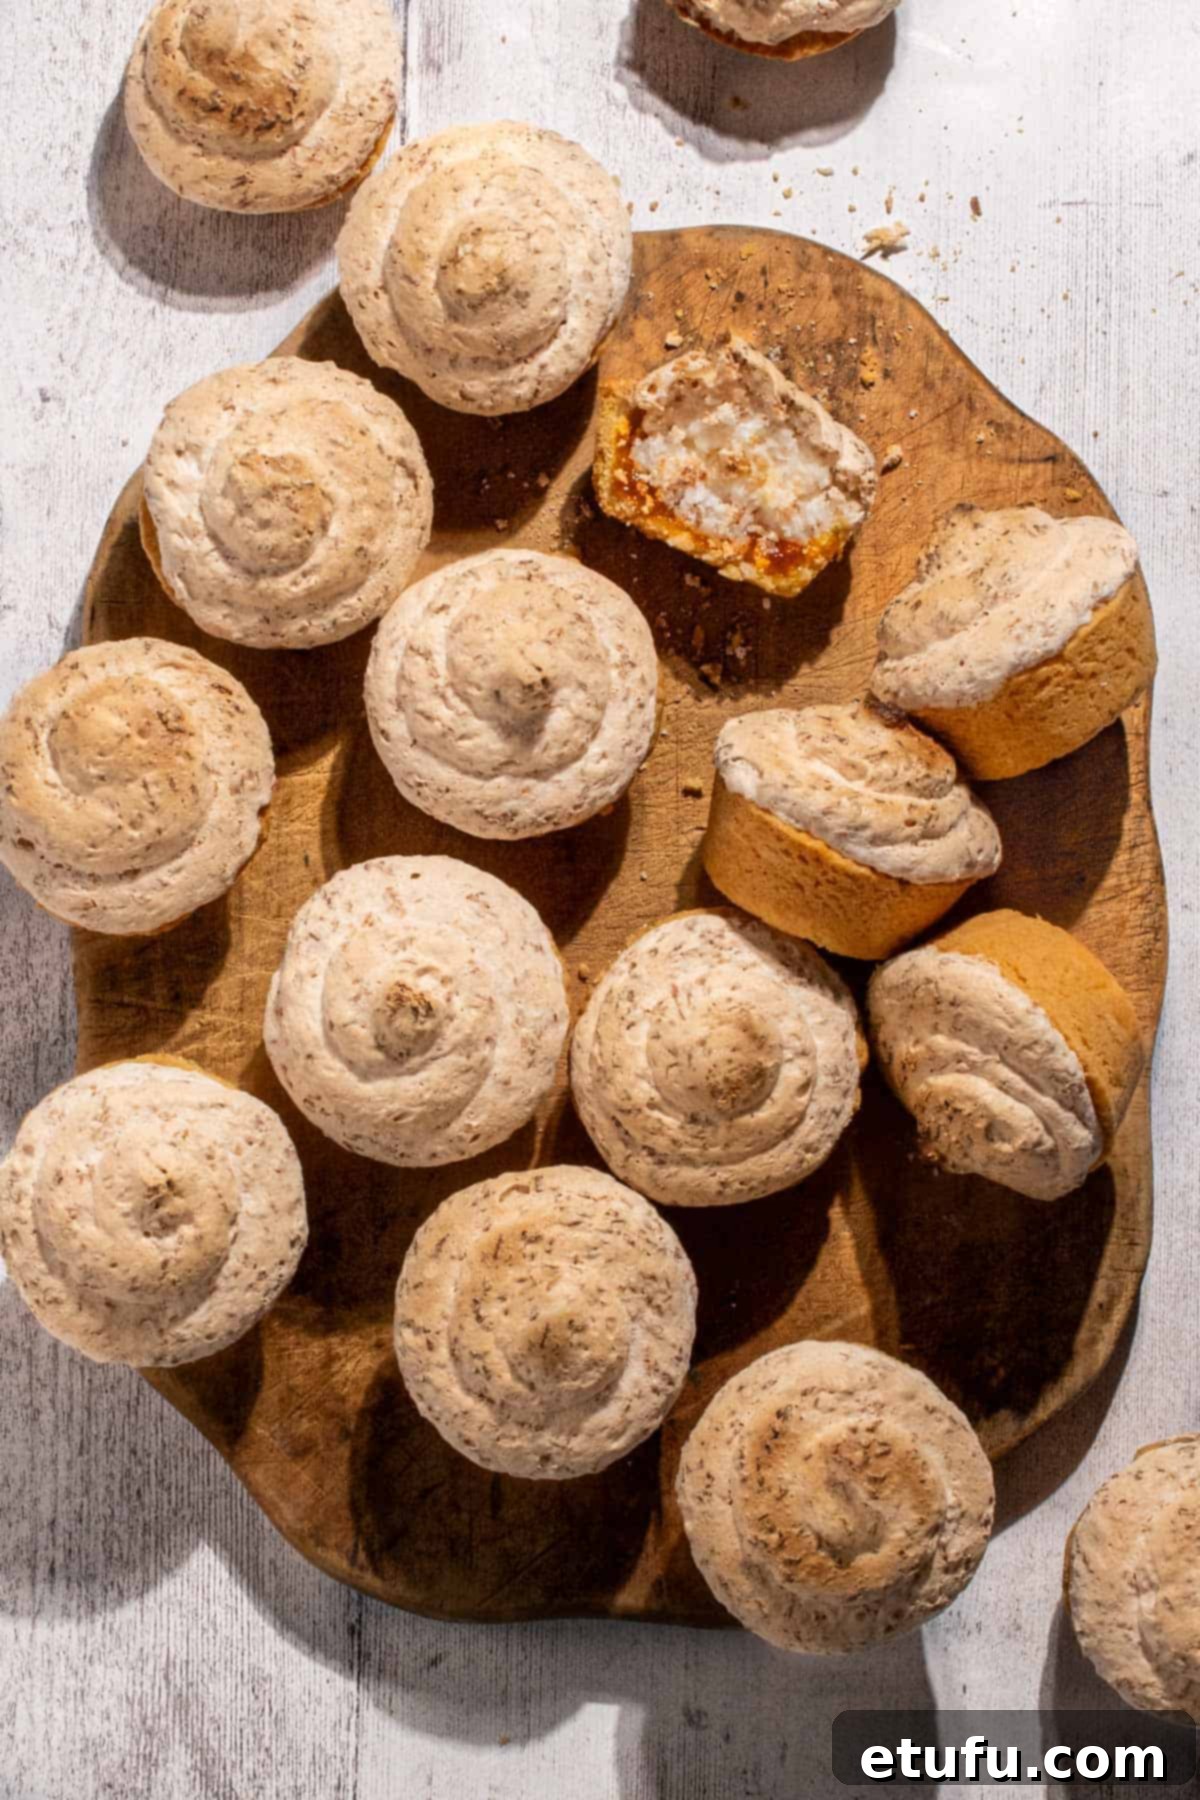
Did You Know? The Intriguing History of Hertzoggies
The Hertzoggie cookie carries a fascinating history, deeply entwined with South African politics and community spirit. These delightful tartlets are named after General J.B.M. Hertzog, a prominent figure in South African history who served as Prime Minister and was a distinguished Boer War general. It is widely believed that Hertzog himself was a great admirer of these particular tartlets, which contributed to their widespread popularity and enduring name.
The story takes an interesting turn with the Cape Malay community. During Hertzog’s political campaigns, he made a significant promise to the women of the Cape Malay community: that he would grant them the right to vote and ensure equal rights. In a gesture of support and anticipation of his promise, the community lovingly baked these very treats for him. Their culinary efforts were a tangible expression of hope and political engagement.
However, when Hertzog failed to fulfill his promise to the community, their response was both creative and deeply symbolic. They continued to bake the cookies, but with a deliberate alteration: they adorned them with distinct brown and pink icing. These re-imagined tartlets were then affectionately (and pointedly) dubbed “twee gevreetjies.” In Afrikaans, “twee gevreetjies” translates to “two-faced” or “hypocrite,” a subtle yet powerful culinary protest against the unkept promise. This poignant anecdote not only highlights the political consciousness of the Cape Malay community but also imbues the Hertzoggie with a rich layer of cultural and historical significance, making each tartlet a bite of living history.
Key Ingredient Notes and Substitutions for Perfect Hertzoggies
Crafting the perfect Hertzoggie requires attention to a few key ingredients, most of which are readily available pantry staples. However, understanding their specific roles and potential substitutions can elevate your baking experience. Please refer to the detailed recipe card at the bottom of this post for the full list of ingredients and precise measurements.
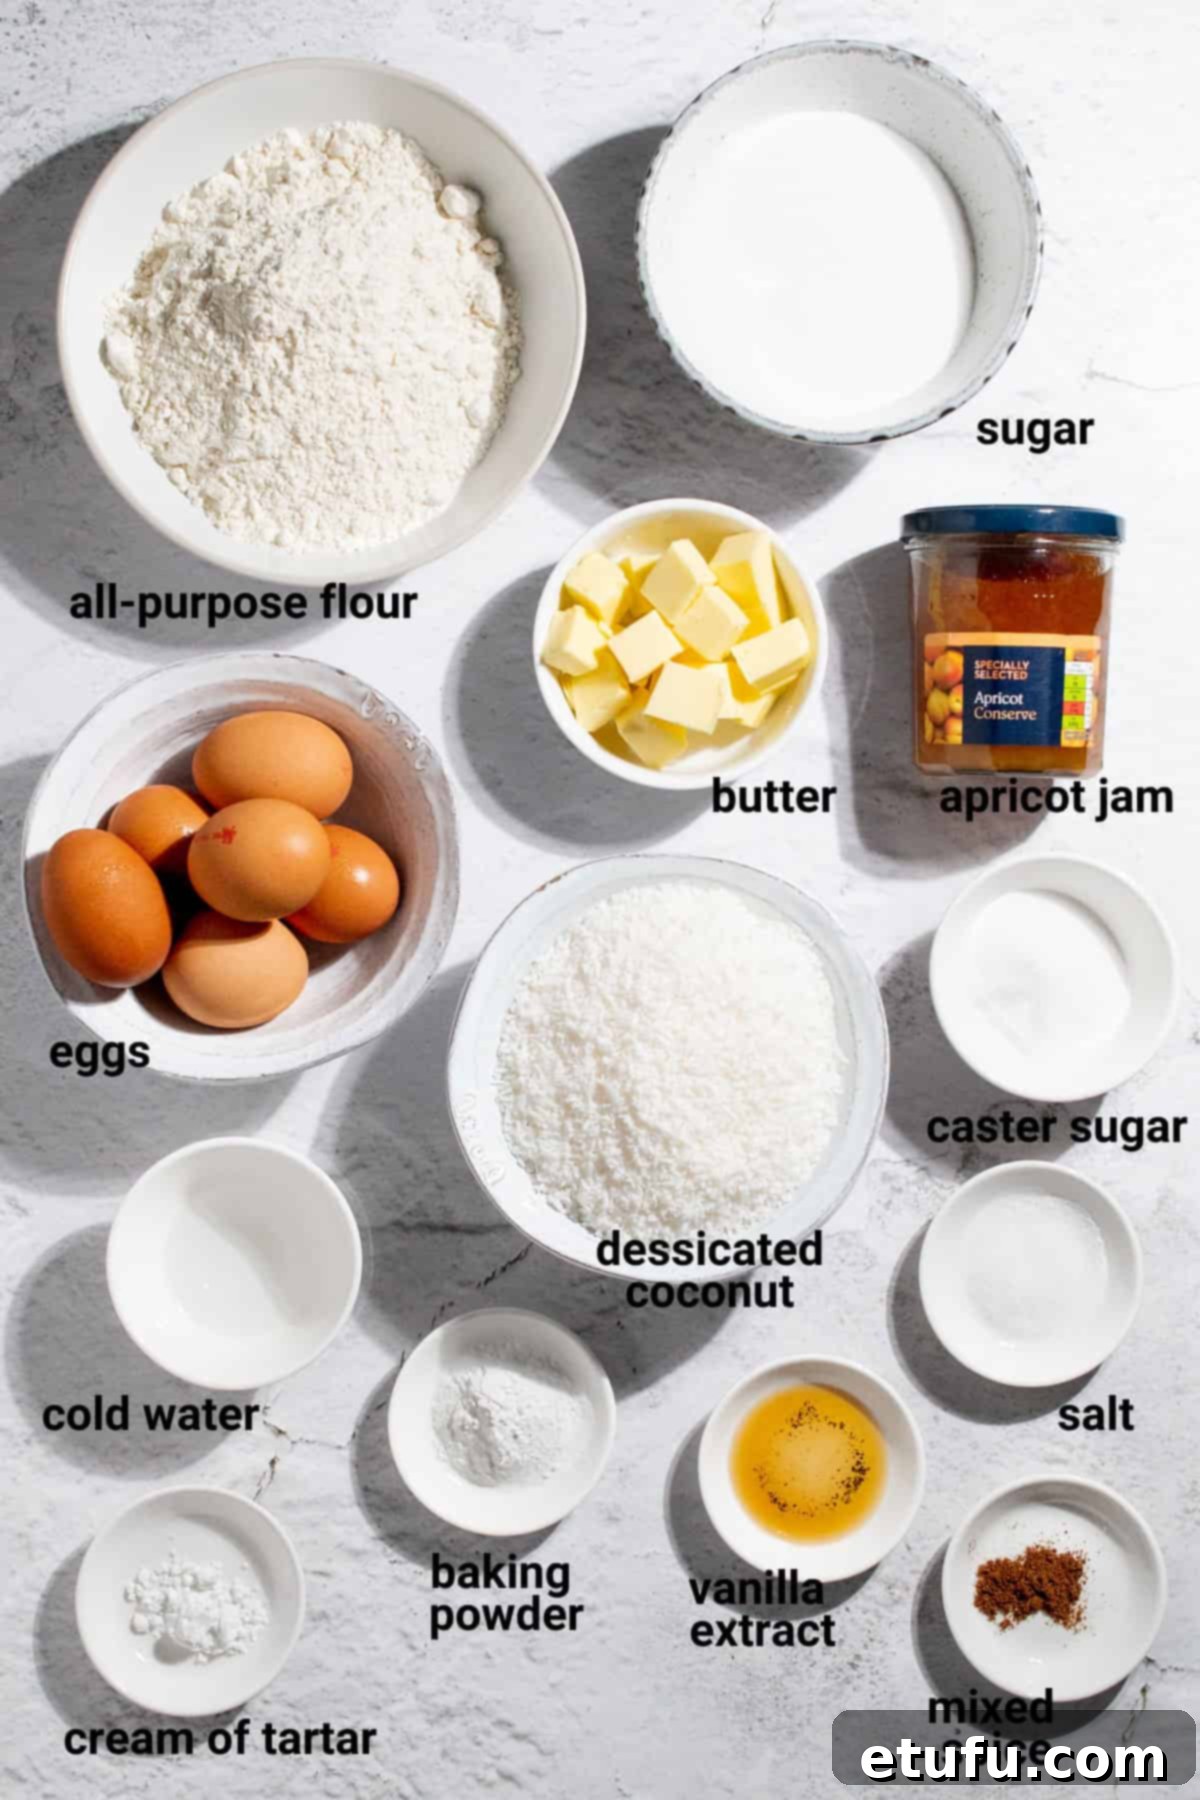
Here are some essential notes on the crucial components:
Butter: The Foundation of Flaky Pastry
For the pastry, you can use either salted or unsalted butter, but the most critical aspect is its temperature. The butter should be at room temperature – not too soft that it’s oily, and not too firm that it’s difficult to incorporate. Ideally, it should be soft enough to leave a slight dent when you gently press your finger into it.
Using room-temperature butter is vital for achieving a tender, flaky crust. It allows the butter to blend evenly with the flour, forming a smoother dough that is easier to handle and roll out. This consistent distribution of fat creates steam during baking, separating the layers of dough and resulting in that desirable delicate texture.
Eggs: Separating for Success
Conveniently, this Hertzoggie recipe makes efficient use of eggs, requiring three egg yolks for the pastry and three egg whites for the meringue topping. This ensures that nothing goes to waste, making the recipe both economical and practical.
When separating the eggs, exercise extreme caution. Even a tiny speck of egg yolk in the whites can prevent the meringue from whipping up properly. Egg yolks contain fat, which interferes with the protein structure needed for stiff, stable peaks. Use separate bowls for separation to minimize risk, transferring each white to your mixing bowl only once you’re certain it’s yolk-free.
Apricot Jam: The Sweet and Tangy Core
Apricot jam is the traditional and quintessential filling for Hertzoggies. Its bright, tangy-sweet flavor perfectly complements the rich pastry and the fluffy coconut meringue. Opt for a good quality apricot jam, preferably one with real fruit pieces for added texture and authentic flavor. The quality of your jam will significantly impact the overall taste of your tartlets.
While apricot is classic, you could experiment with other fruit preserves like peach or fig jam for a slight variation, though purists will always lean towards apricot.
Desiccated Coconut: The Meringue’s Signature Topping
Desiccated coconut is what gives the meringue its unique texture and tropical aroma. It should be finely shredded and dry to ensure it folds into the meringue smoothly and toasts beautifully during baking. The sweet, nutty flavor of coconut is indispensable for the authentic Hertzoggie experience.
Ensure your coconut is fresh; stale coconut can have an off-flavor that will affect your tartlets. No direct substitution truly replicates the desiccated coconut’s role in this recipe.
Mixed Spice: A Hint of Warmth
For our recipe, we enjoy adding a subtle touch of mixed spice to the dry ingredients for an extra layer of warm, aromatic flavor in the pastry. This blend typically includes cinnamon, nutmeg, and allspice, adding depth without overpowering the other elements.
However, this is an optional addition. Feel free to omit it if you prefer a simpler pastry, or swap it with a pinch of your favorite warm spices, such as pure cinnamon, a small amount of nutmeg, or even a hint of cardamom for a more exotic twist. Adjust to your personal taste preferences.
Essential Equipment for Baking Perfect Hertzoggies
Having the right tools makes baking Hertzoggies a much smoother and more enjoyable process. Here’s a list of the key equipment you’ll need to create these delightful South African tartlets:
- 2 x 12-hole standard muffin pans or mini tart pans (patty pans):
This recipe is designed to yield approximately 18 Hertzoggies when utilizing a standard muffin pan. If you opt for smaller or shallower mini tart pans (also known as patty pans), you might get a few more tartlets, depending on their exact size. Using a standard muffin pan will result in Hertzoggies that are larger, roughly the size of a shallow cupcake, providing a more generous treat. Ensure your pans are clean and ready for preparation. - 1 x 8cm cookie cutter:
For perfectly sized pastry circles to line each hole of a standard muffin pan, an 8cm cookie cutter is ideal. This size allows for enough pastry to fit snugly into the cavities without being too thin or too bulky. If you’re using mini tart pans, you will need a slightly smaller cookie cutter, typically in the range of 5-6cm, to match the reduced size of the tartlets. - 1 x stand mixer or electric hand mixer:
While it’s technically possible to beat the meringue by hand, we highly recommend using an electric stand mixer or a powerful electric hand mixer. This significantly reduces the effort and time required to achieve the necessary thick, glossy, and stable texture for your coconut meringue. Hand whisking can be laborious and may not yield the desired stiff peaks essential for a successful topping. - Basic baking tools:
Additionally, ensure you have common kitchen tools such as mixing bowls (various sizes), a sifter for dry ingredients, measuring cups and spoons, a rubber spatula for folding, a rolling pin for the pastry, and a wire rack for cooling. These tools will facilitate a smooth baking process from start to finish.
Step-by-Step Instructions: Baking Authentic Hertzoggies
Follow these detailed steps to create delicious, authentic Hertzoggies right in your kitchen. Precision and care at each stage will ensure a perfect outcome.
Preparing the Pastry: The Delicate Base
The shortbread pastry is the foundation of our Hertzoggies, providing a tender and buttery contrast to the sweet filling and topping.
- Prepare your muffin or tartlet pans (patty pans) by lightly coating them with a non-stick cooking spray or by gently greasing them with a thin layer of butter or oil. This crucial step prevents the tartlets from sticking and ensures easy removal after baking.
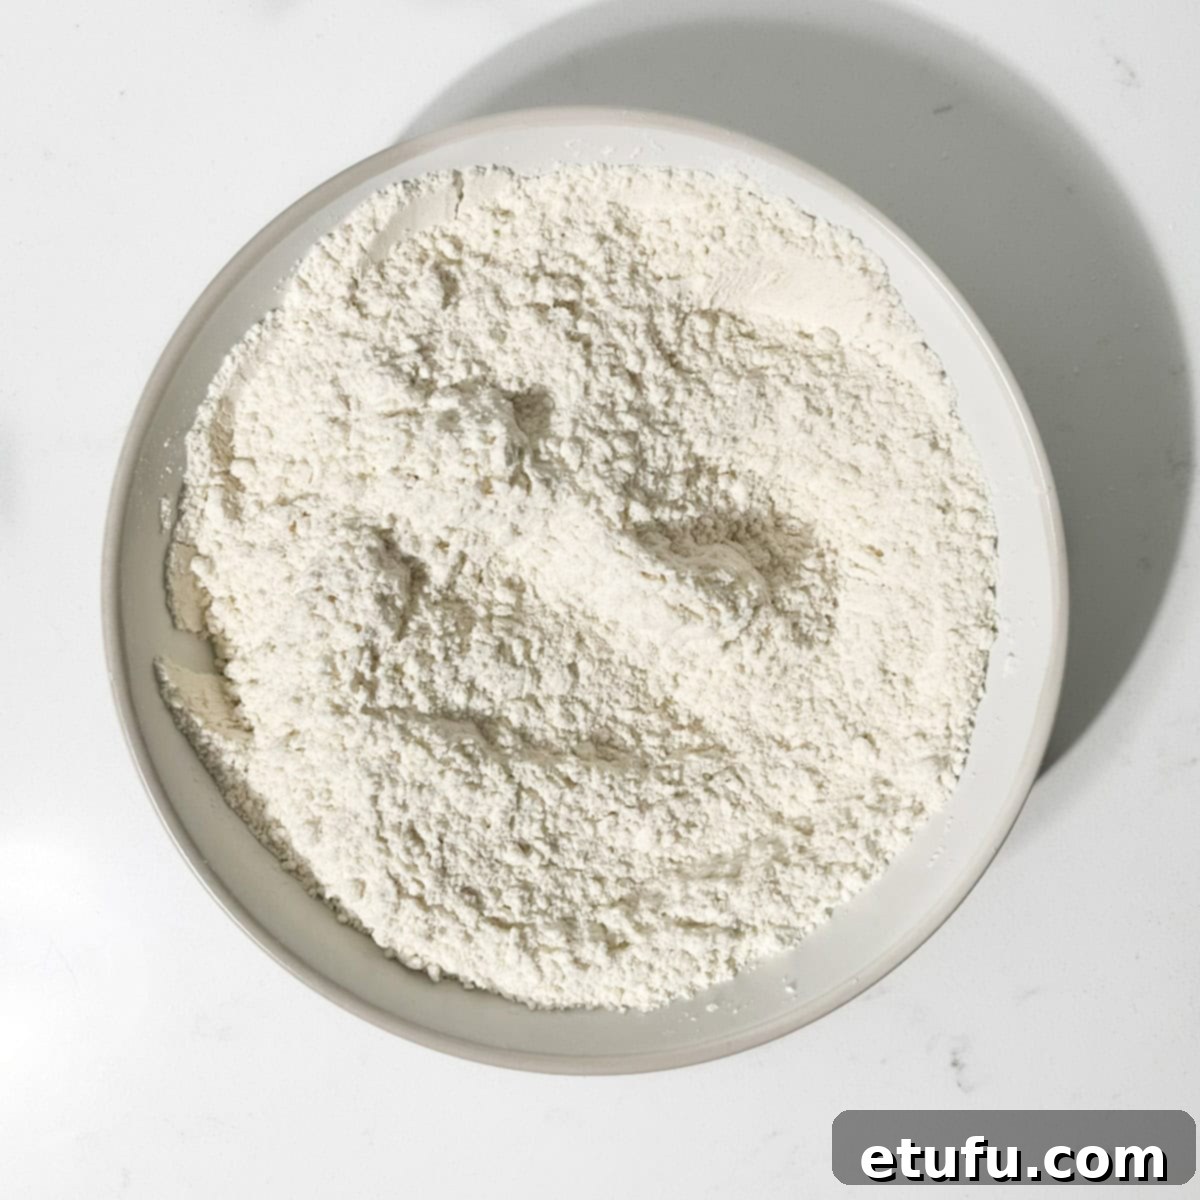
- In a medium-sized bowl, sift together the all-purpose flour, caster sugar, baking powder, mixed spice (if using), and salt. Sifting helps to aerate the dry ingredients and removes any lumps, ensuring a smooth and consistent pastry texture.
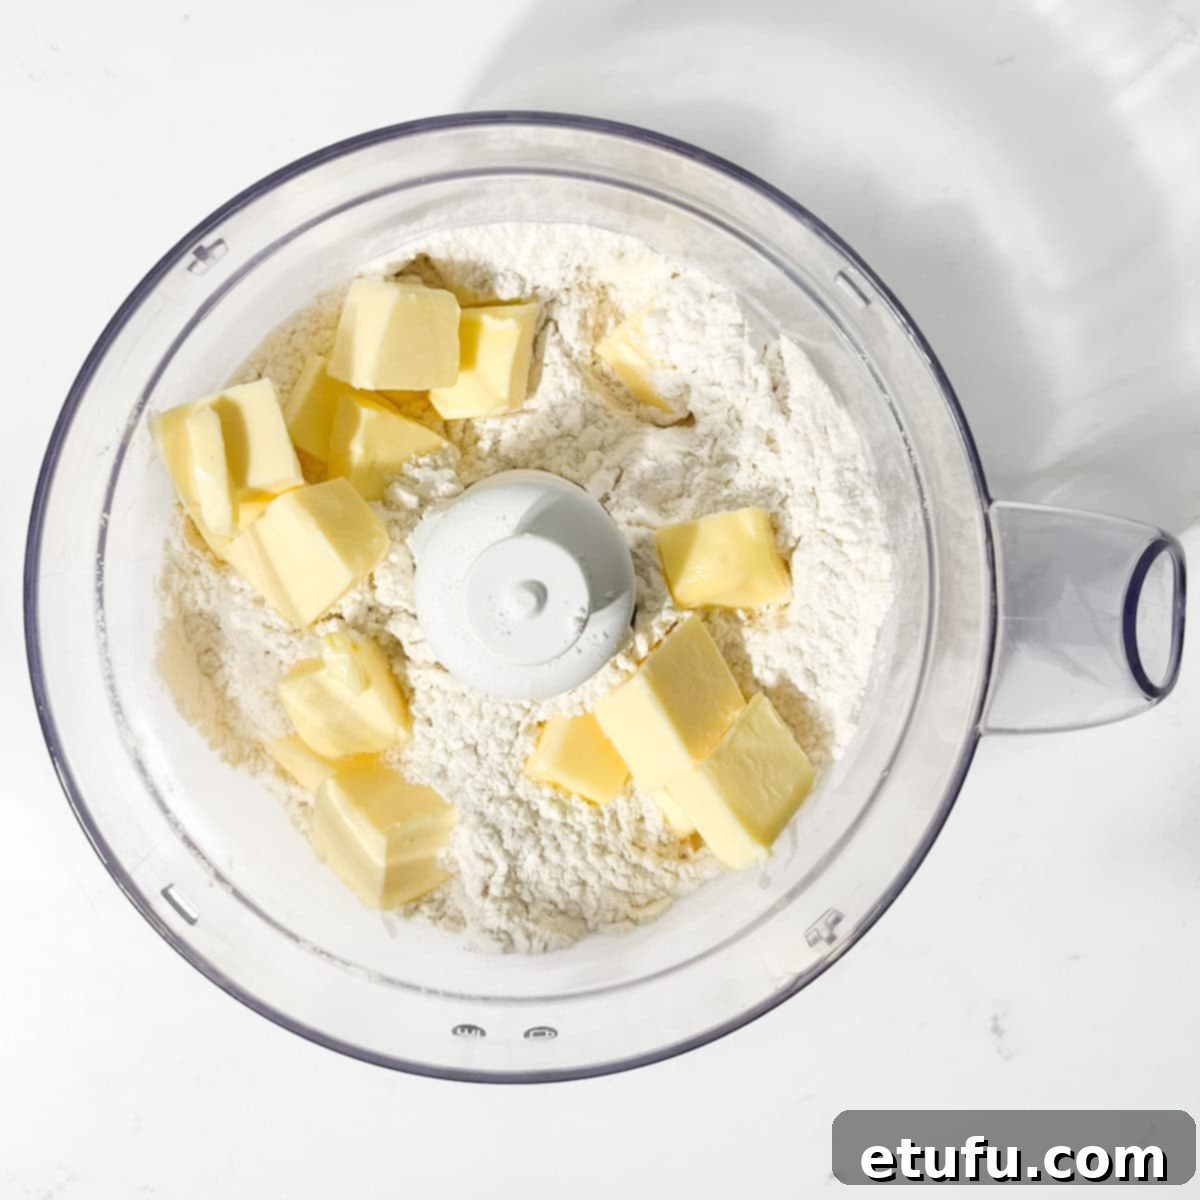
- Add the cubed, room-temperature butter to the bowl of a food processor along with the sifted dry ingredients. Alternatively, you can perform this step by hand, rubbing the butter into the flour mixture with your fingertips until it resembles coarse breadcrumbs. This method prevents overworking the dough, which can lead to a tough pastry.
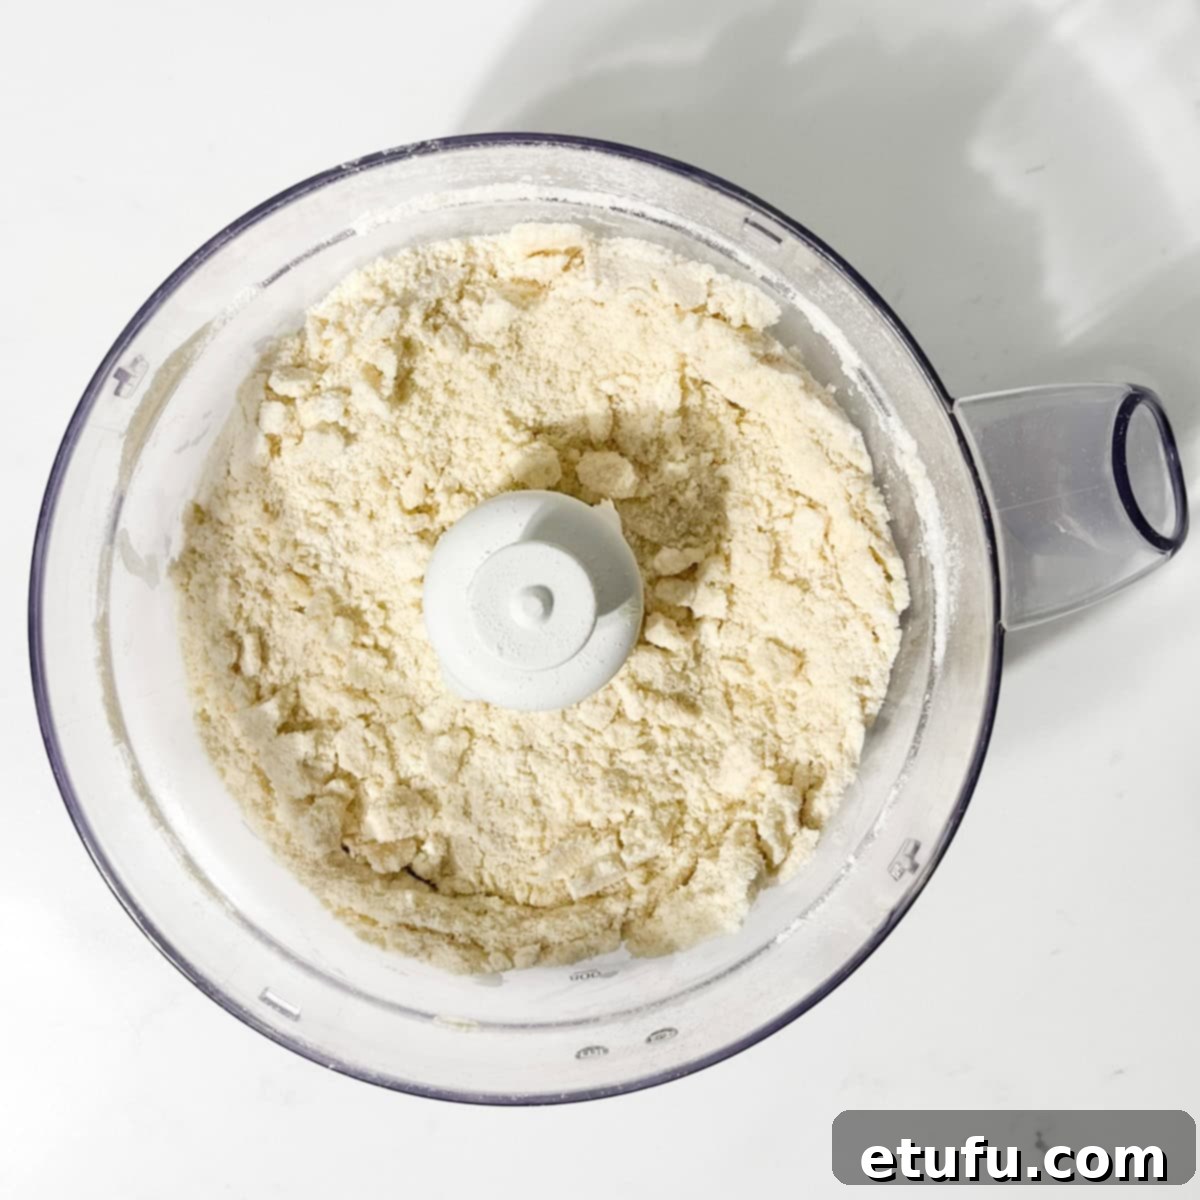
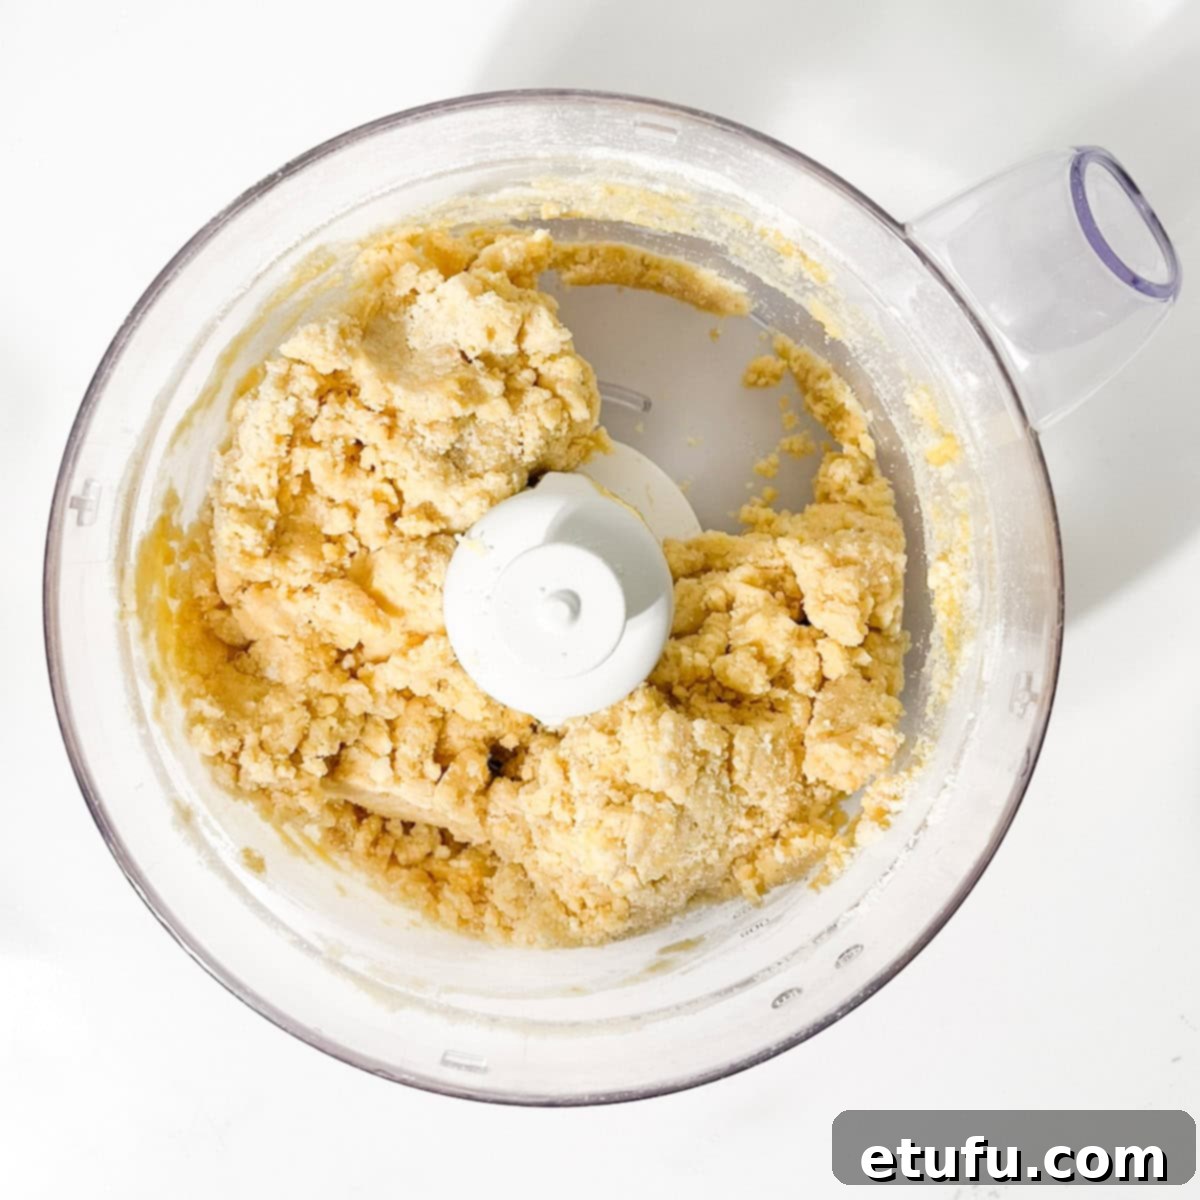
- Process the mixture briefly in the food processor until it takes on the appearance of fine breadcrumbs. Be careful not to over-process at this stage, as it can make the pastry tough.
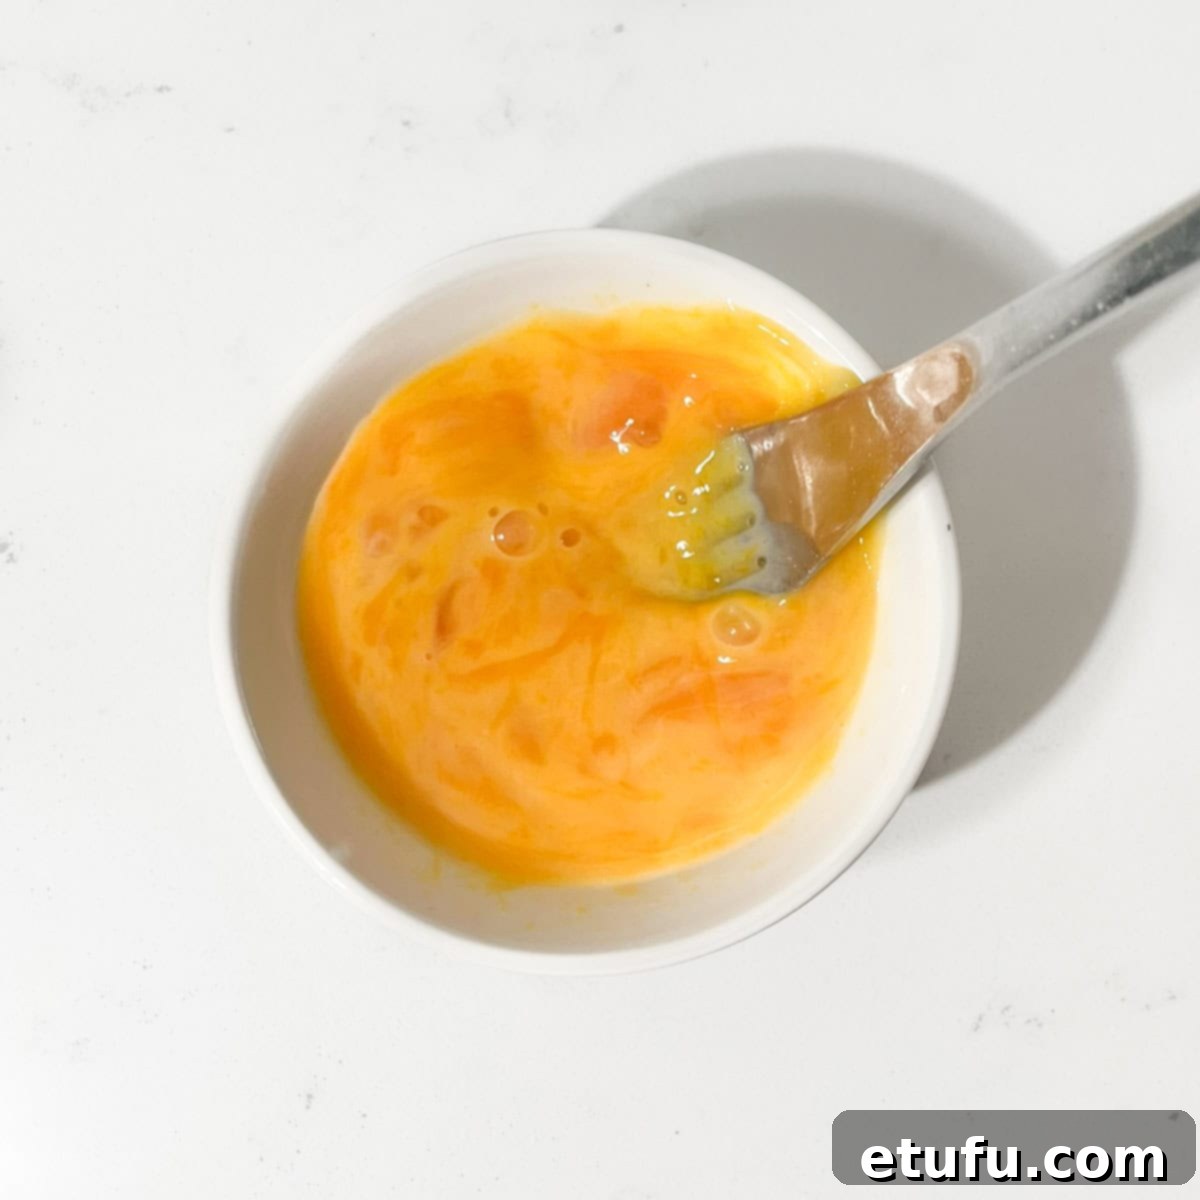
- In a separate small bowl, whisk together the egg yolks and cold water until well combined. This liquid mixture will help bind the pastry dough.
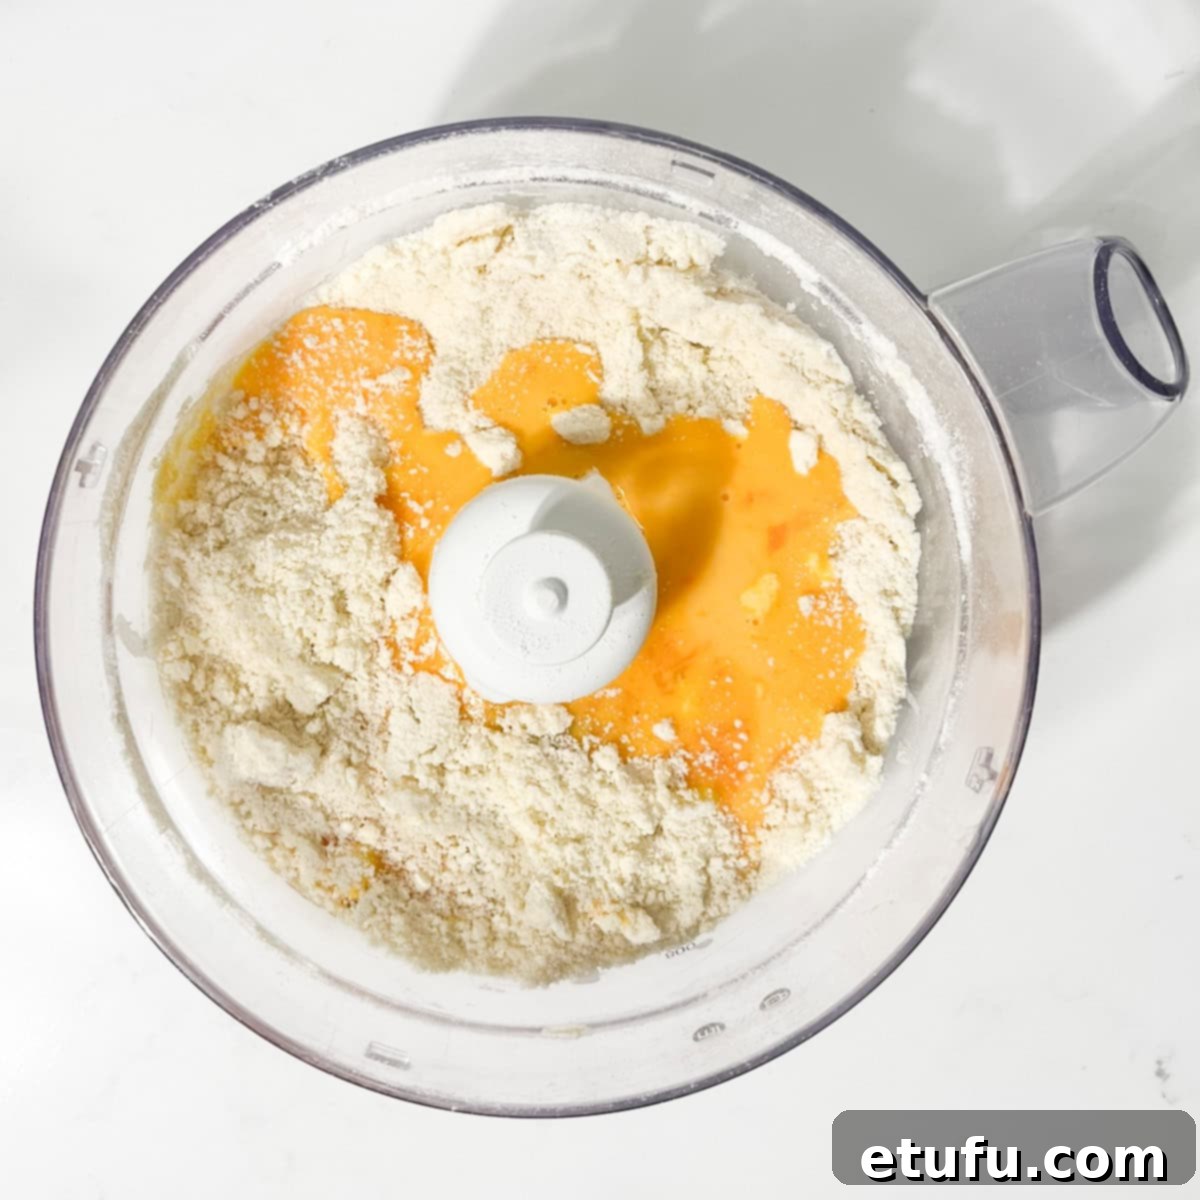
- Pour the egg mixture into the butter and flour mixture in the food processor.
- Process briefly, using short pulses, until the pastry just begins to clump together and form a cohesive ball. Stop as soon as it comes together to avoid developing the gluten too much.
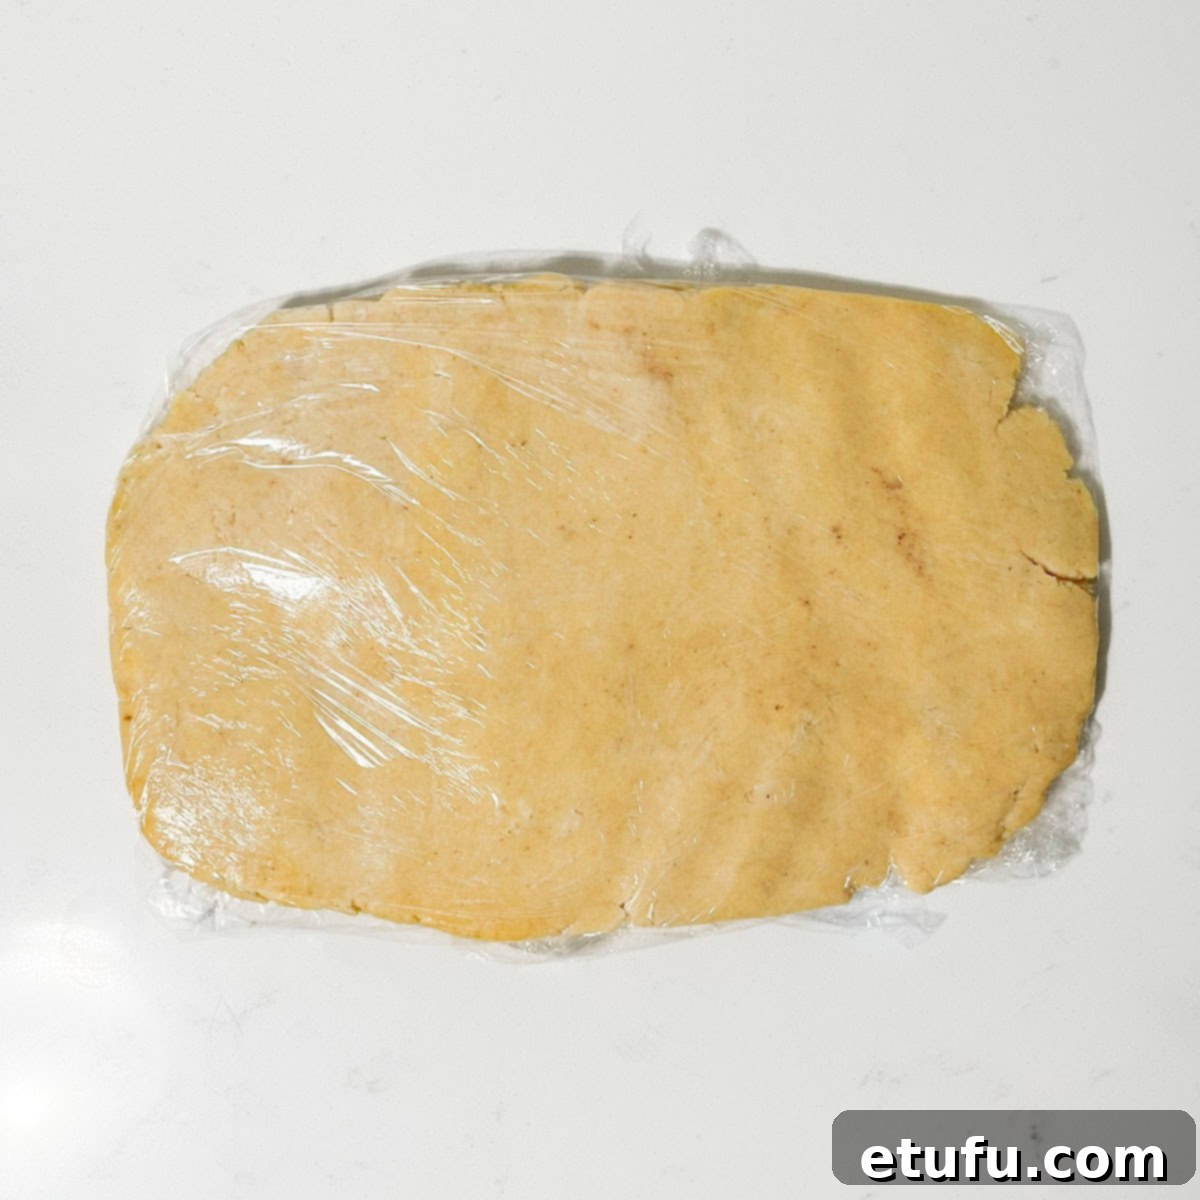
- Transfer the pastry dough onto a piece of cling film. Gently gather the pastry together and flatten it into a disk about 1.5cm (approximately 0.6 inches) thick. Wrap it securely in the cling film and refrigerate for at least 20 minutes. Chilling the dough helps to firm up the butter, making the pastry easier to roll and preventing it from shrinking excessively during baking.
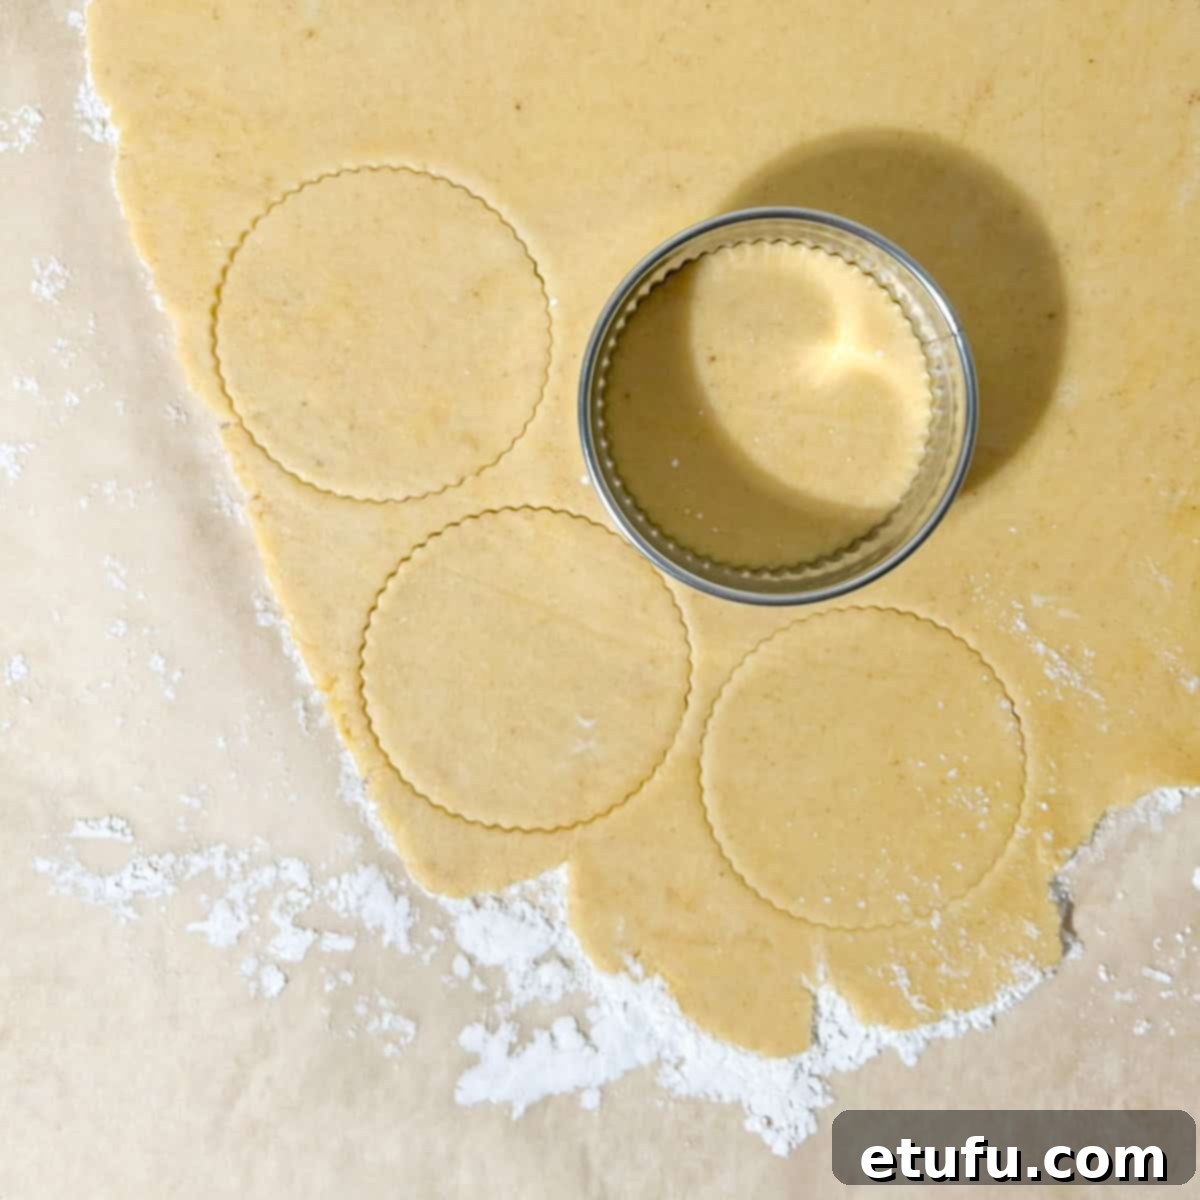
- Once the pastry has firmed up from refrigeration, lightly flour your work surface or roll the dough between two sheets of baking paper. Roll it out evenly to a thickness of 3-5mm (approximately 0.12-0.2 inches).
- Using your chosen cookie cutter (8cm for muffin pans, 5-6cm for mini tart pans), cut out circles large enough to comfortably fit into the holes of your muffin or tart tin.
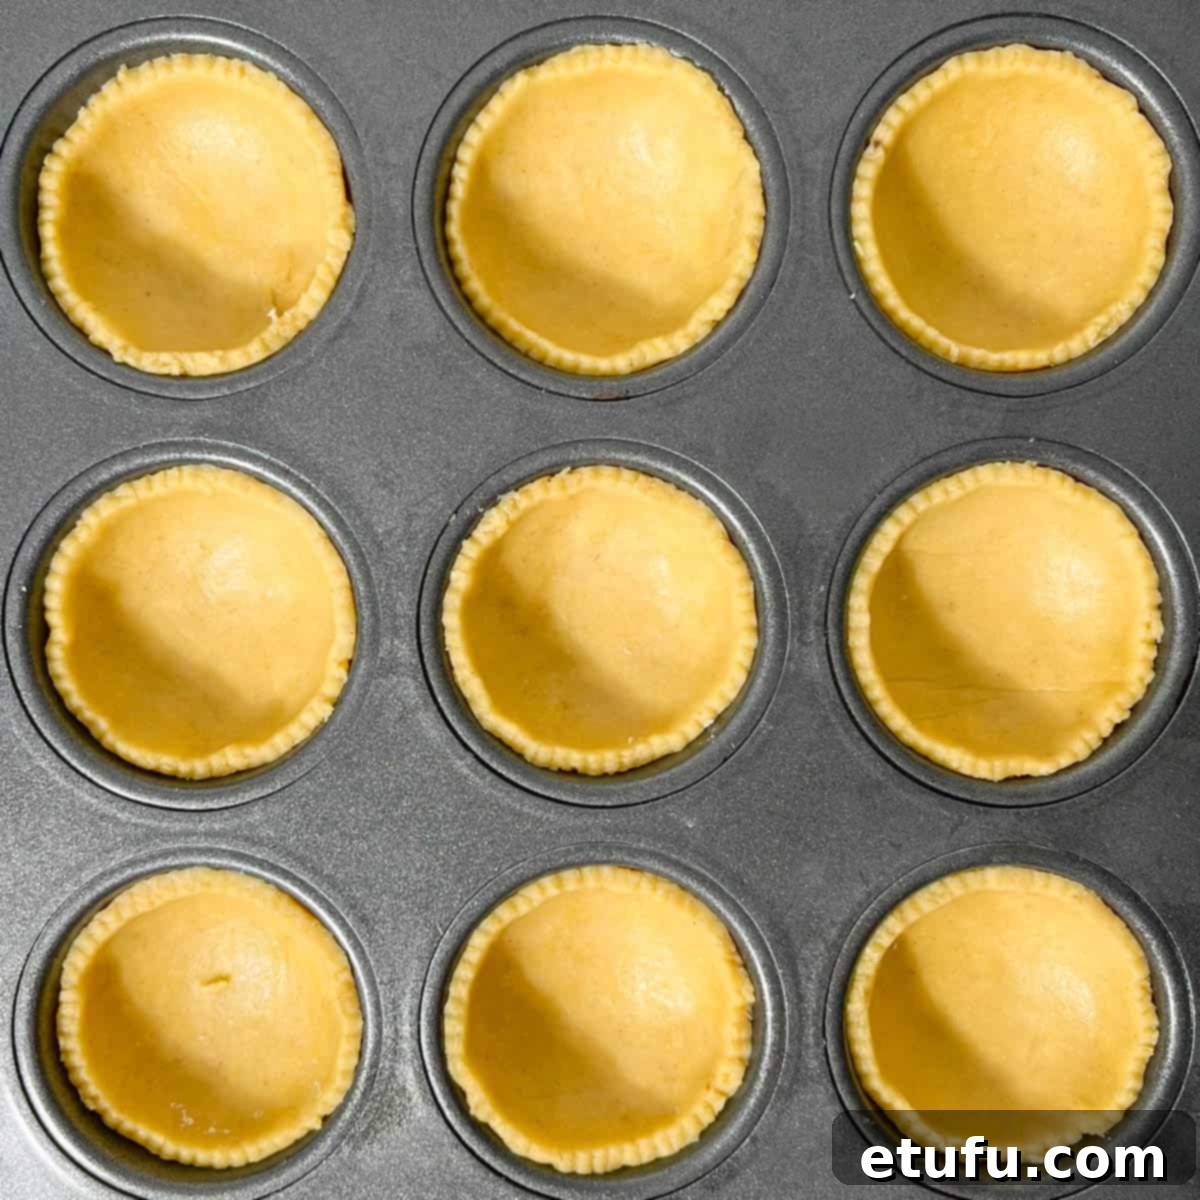
- Carefully line each hole of your prepared pan with the pastry circles. Press them gently into the bottom and up the sides. If the pastry accidentally tears, don’t worry! Simply pinch the torn edges back together or patch it with a small piece of extra pastry.
Adding the Apricot Jam Filling
The sweet and tangy apricot jam provides a delightful burst of flavor in the center of each Hertzoggie.
- Scoop 1-2 teaspoons of apricot jam into each pastry-lined hollow. The exact amount can vary based on your preference for how much jam you desire in each tartlet. However, it’s important to avoid overfilling, as the jam can bubble over and make a mess during baking, potentially sticking to the pan or burning.
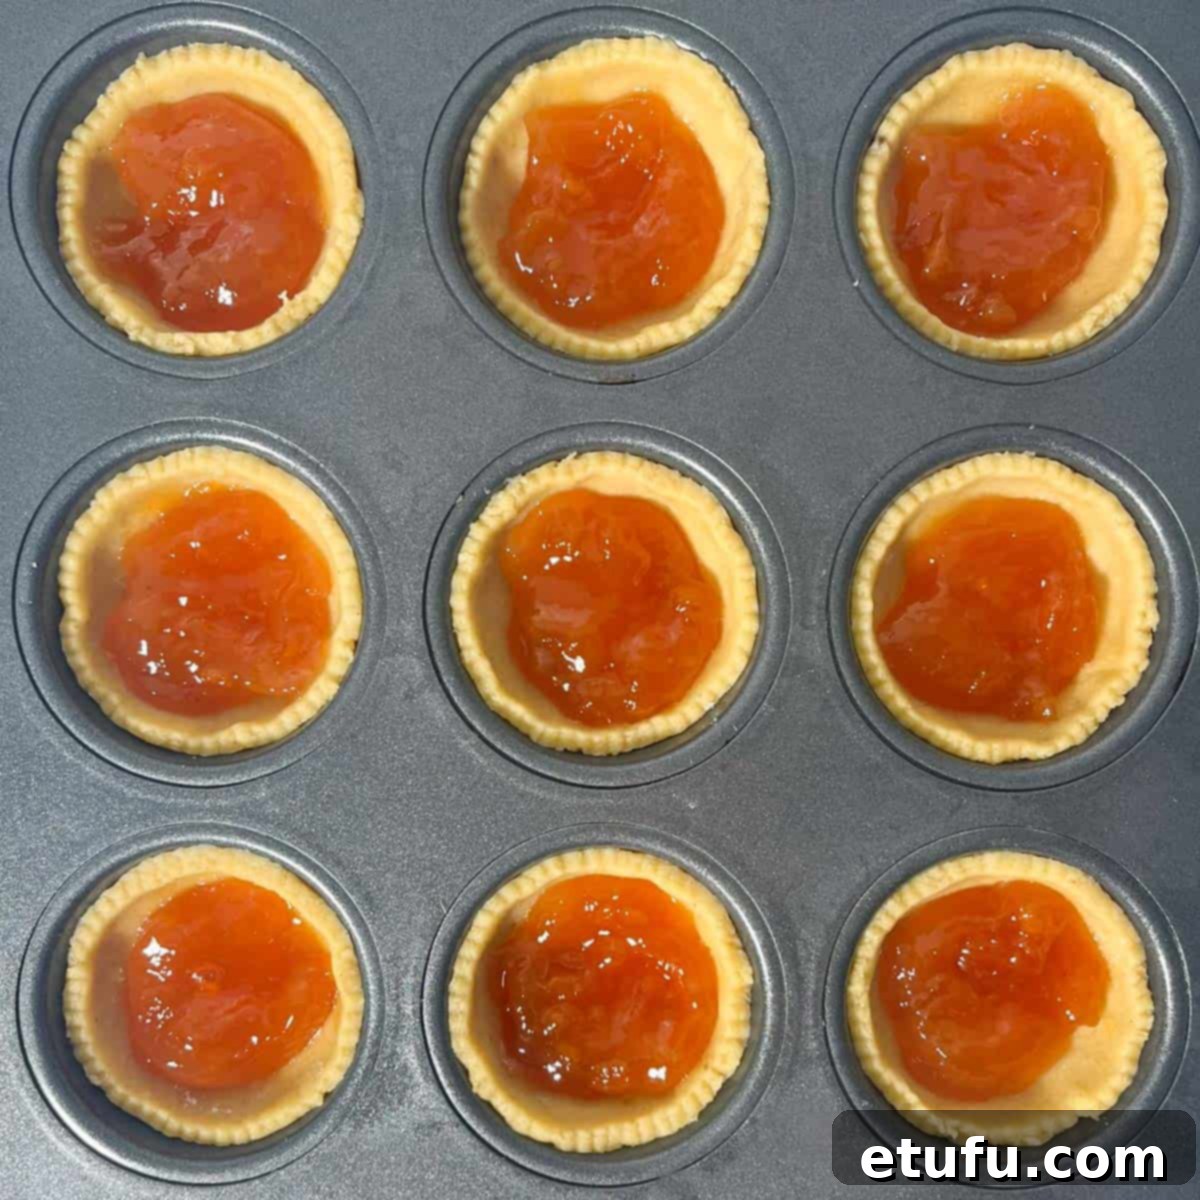
Preparing the Meringue Topping: The Cloud-Like Crown
The airy, sweet coconut meringue is the signature element of a Hertzoggie, adding both texture and visual appeal.
- Preheat your oven to 180C/355F (or 160C/325F for fan/convection ovens). This ensures the oven is at the correct temperature when your tartlets are ready to bake, allowing for even cooking and a beautifully golden meringue.
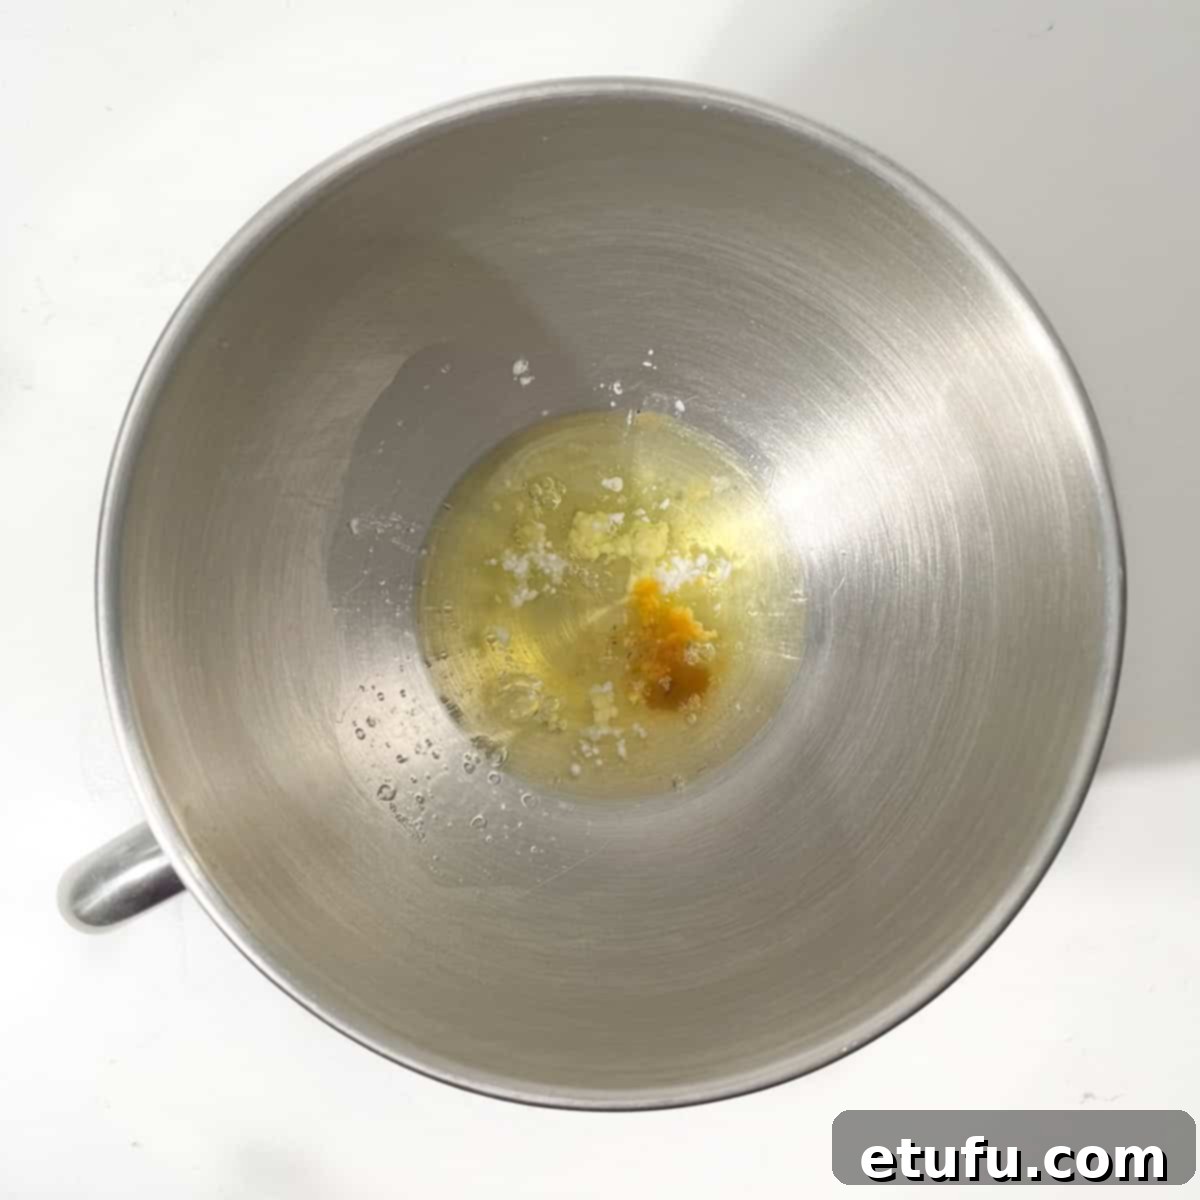
- In a meticulously clean and grease-free bowl of a stand mixer (or a large bowl if using a hand mixer), add the egg whites, vanilla extract, and cream of tartar. The cream of tartar acts as a stabilizer, helping the egg whites whip up faster and maintain their volume.
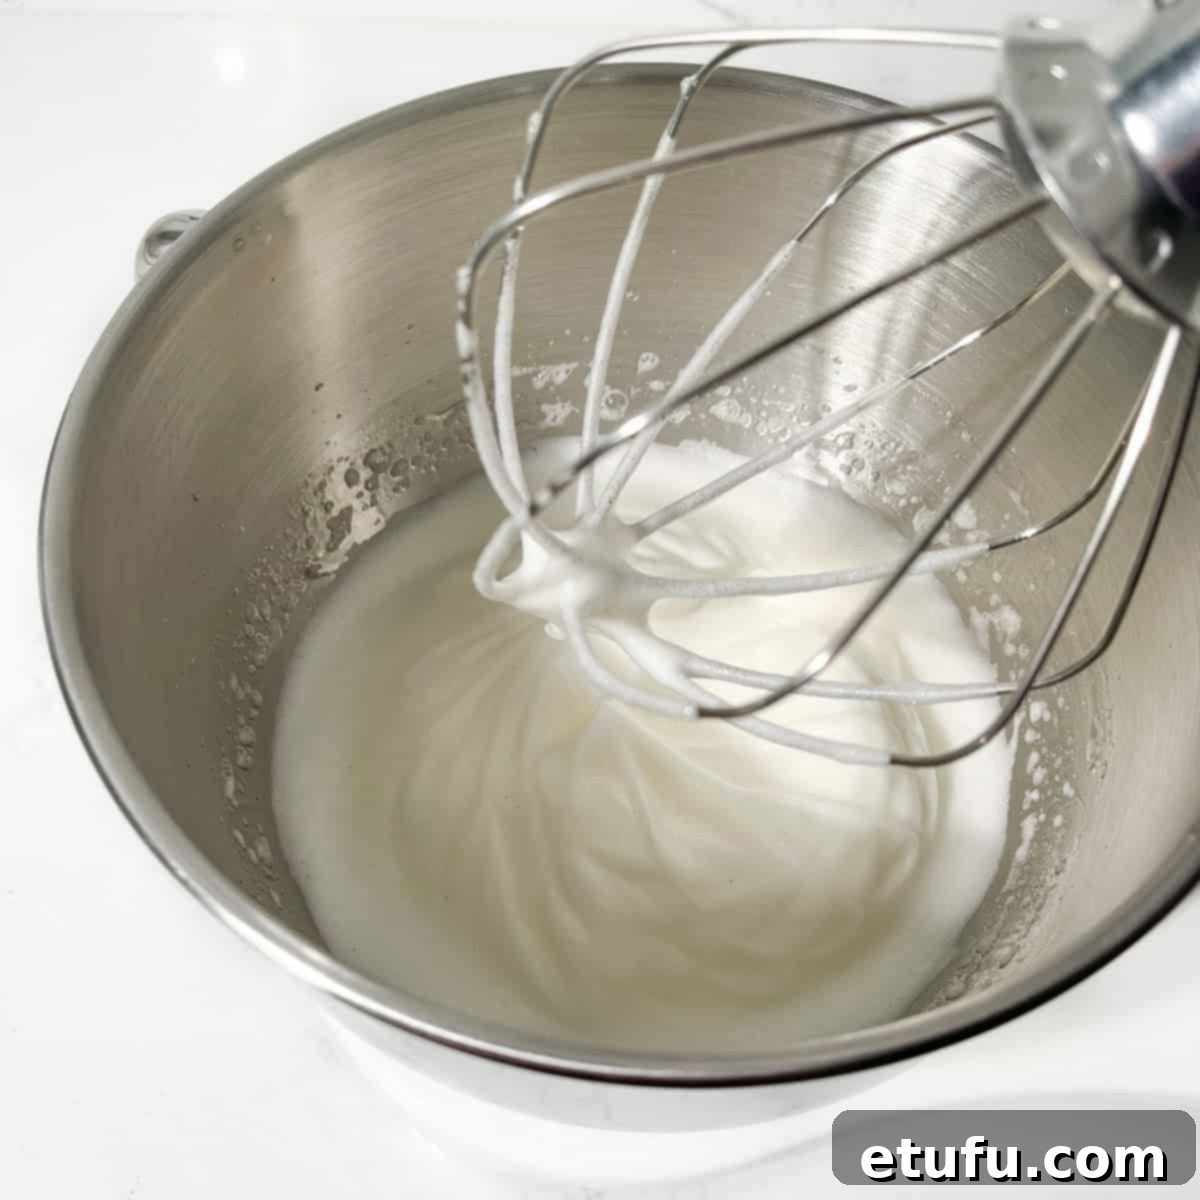
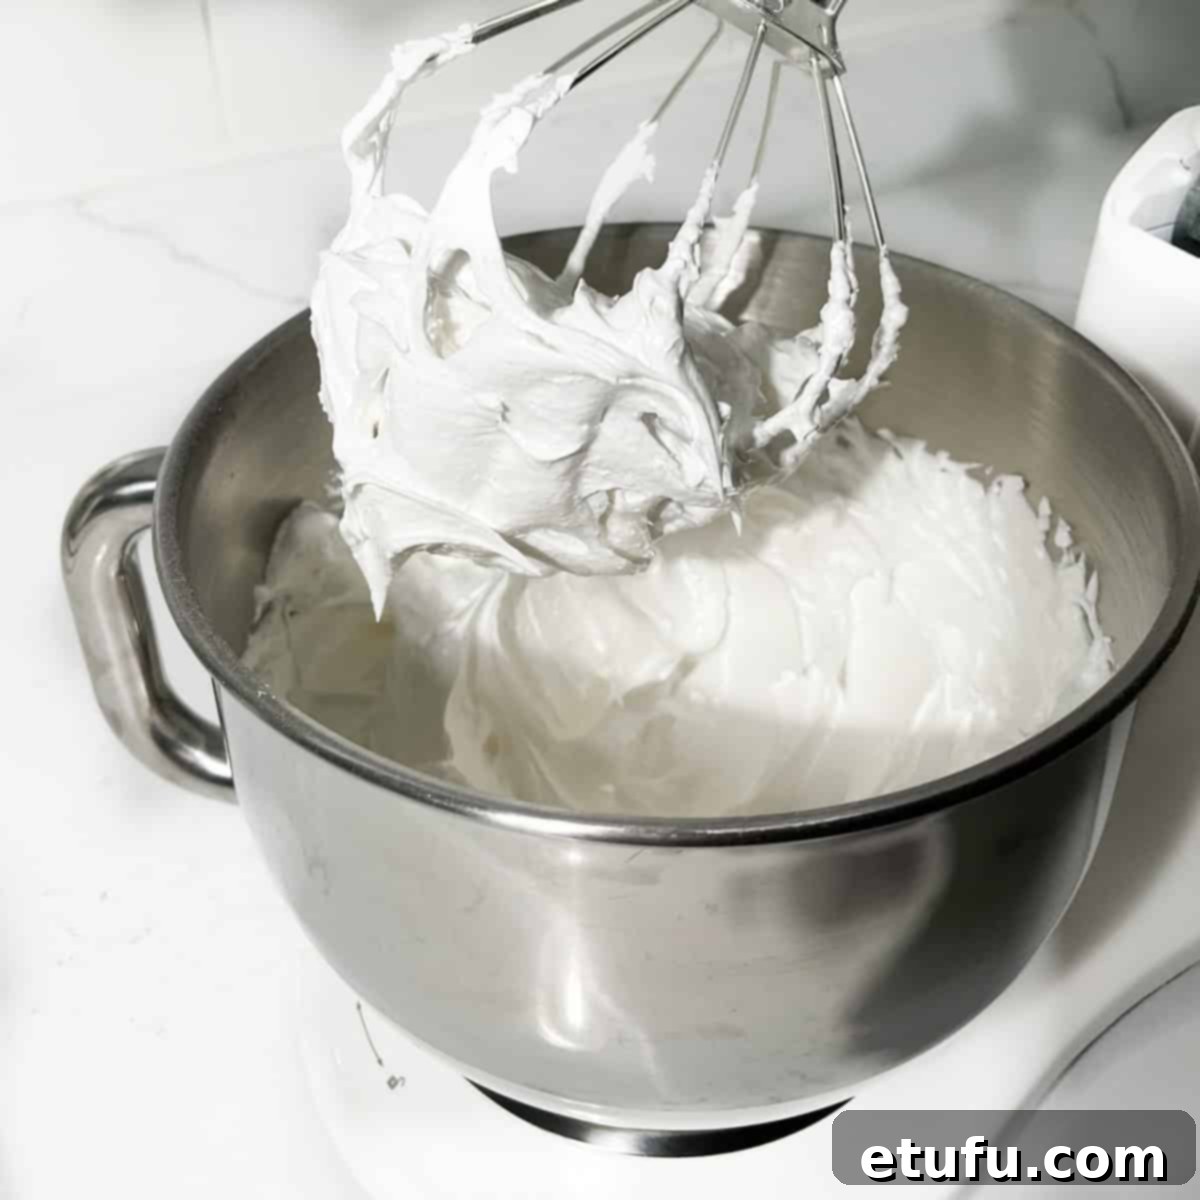
- Begin beating the mixture at medium-high speed until stiff peaks form. This process usually takes about 2 minutes. You’ll know they’re ready when the meringue holds its shape firmly when the whisk is lifted.
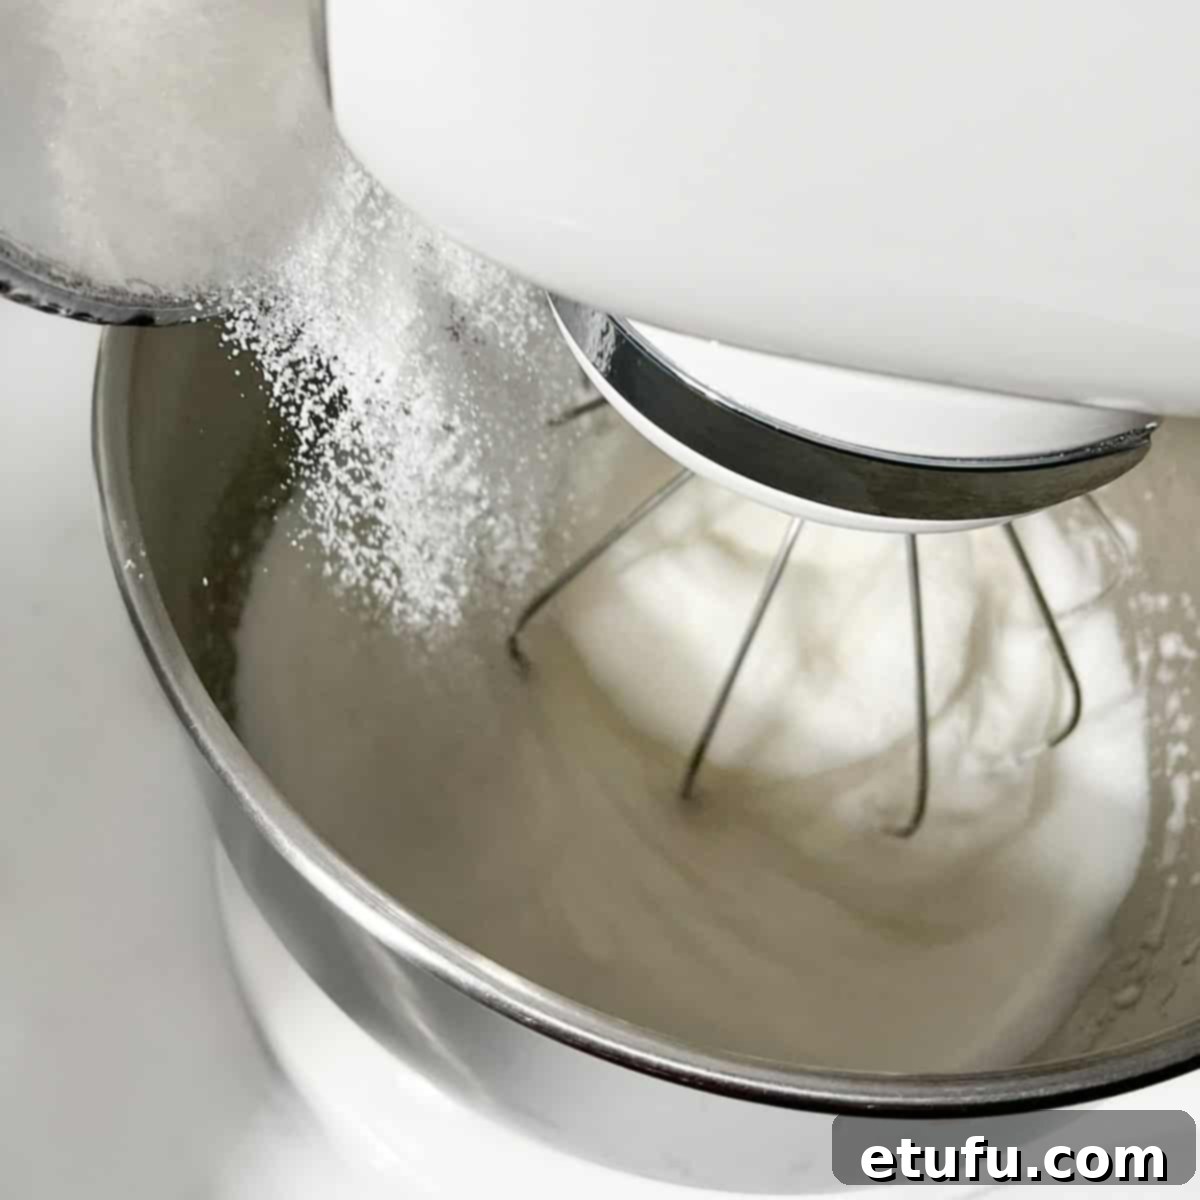
- With the mixer still running, slowly add the sugar, approximately 1 tablespoon at a time, allowing about 30 seconds between additions. This gradual incorporation is crucial for allowing the sugar to dissolve properly into the egg whites, resulting in a smooth, stable, and glossy meringue. Patience at this stage is key to avoiding a grainy or weeping meringue.
- Once all the sugar has been added and fully dissolved, continue beating for another minute or so until the meringue is beautifully glossy, smooth, and holds very firm peaks. It should look like a bright, white cloud.
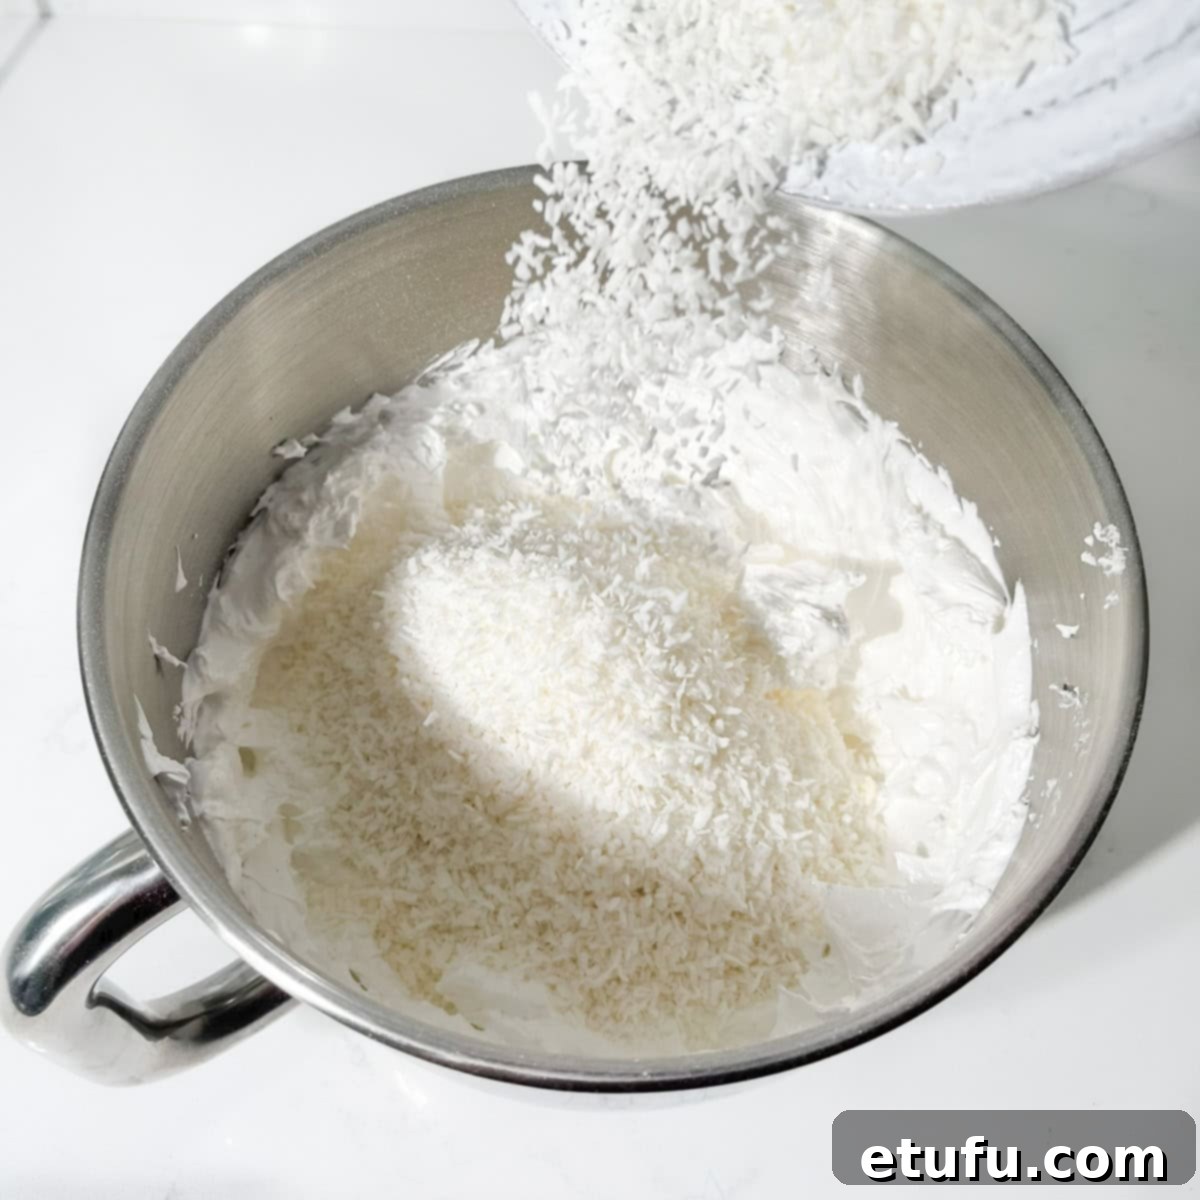
- Gently add the desiccated coconut to the prepared meringue mixture.
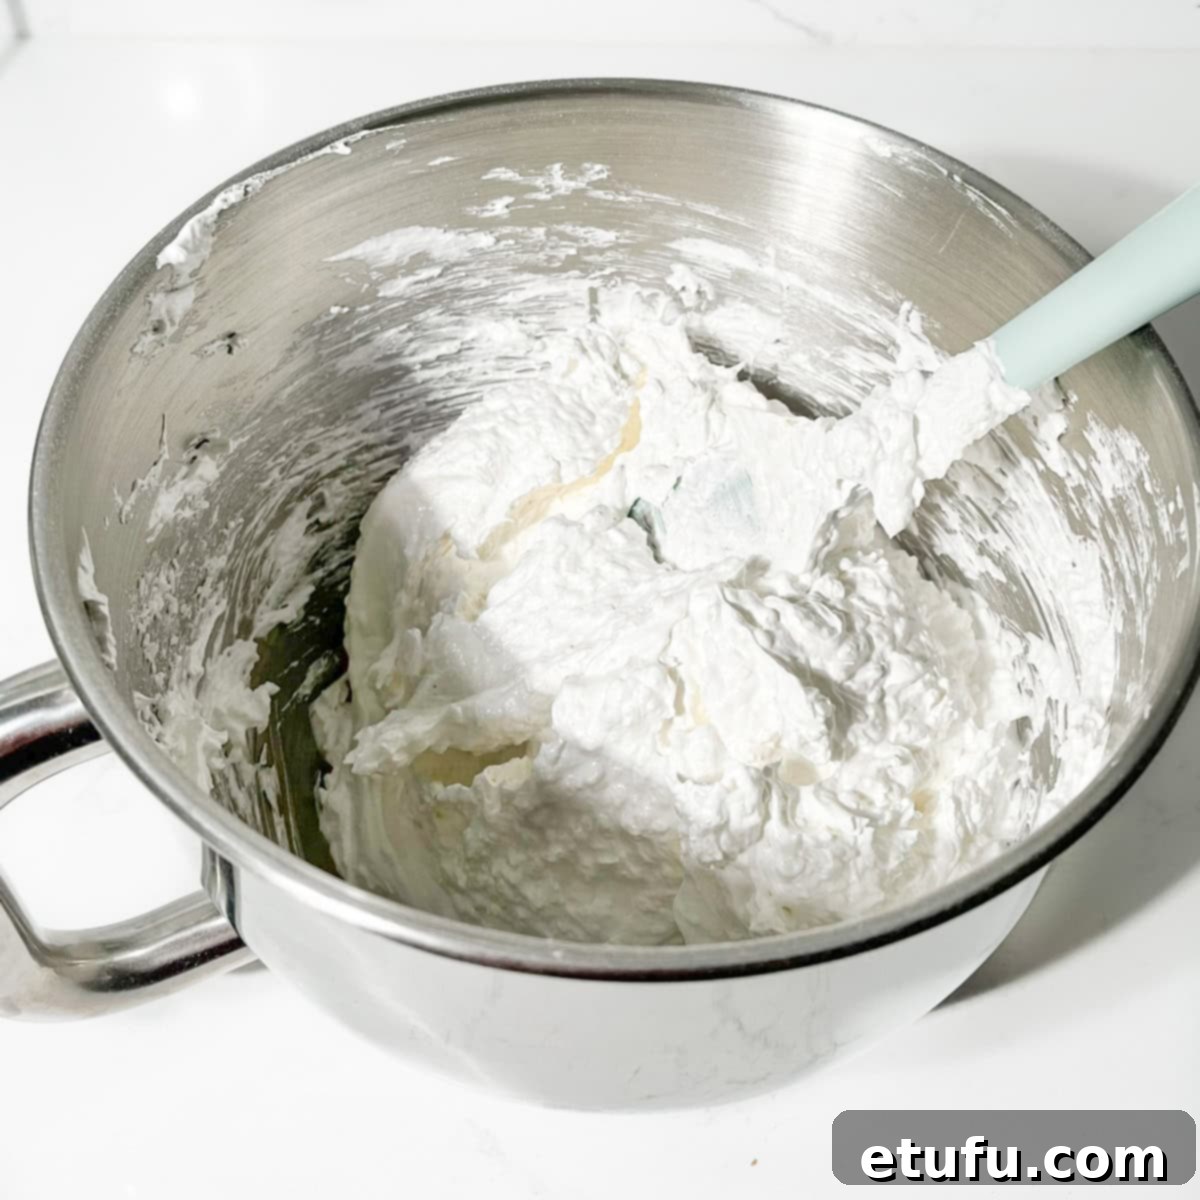
- Using a large spoon or a rubber spatula, carefully and gently fold the coconut into the meringue until it is just fully incorporated. Be careful not to deflate the meringue by overmixing.
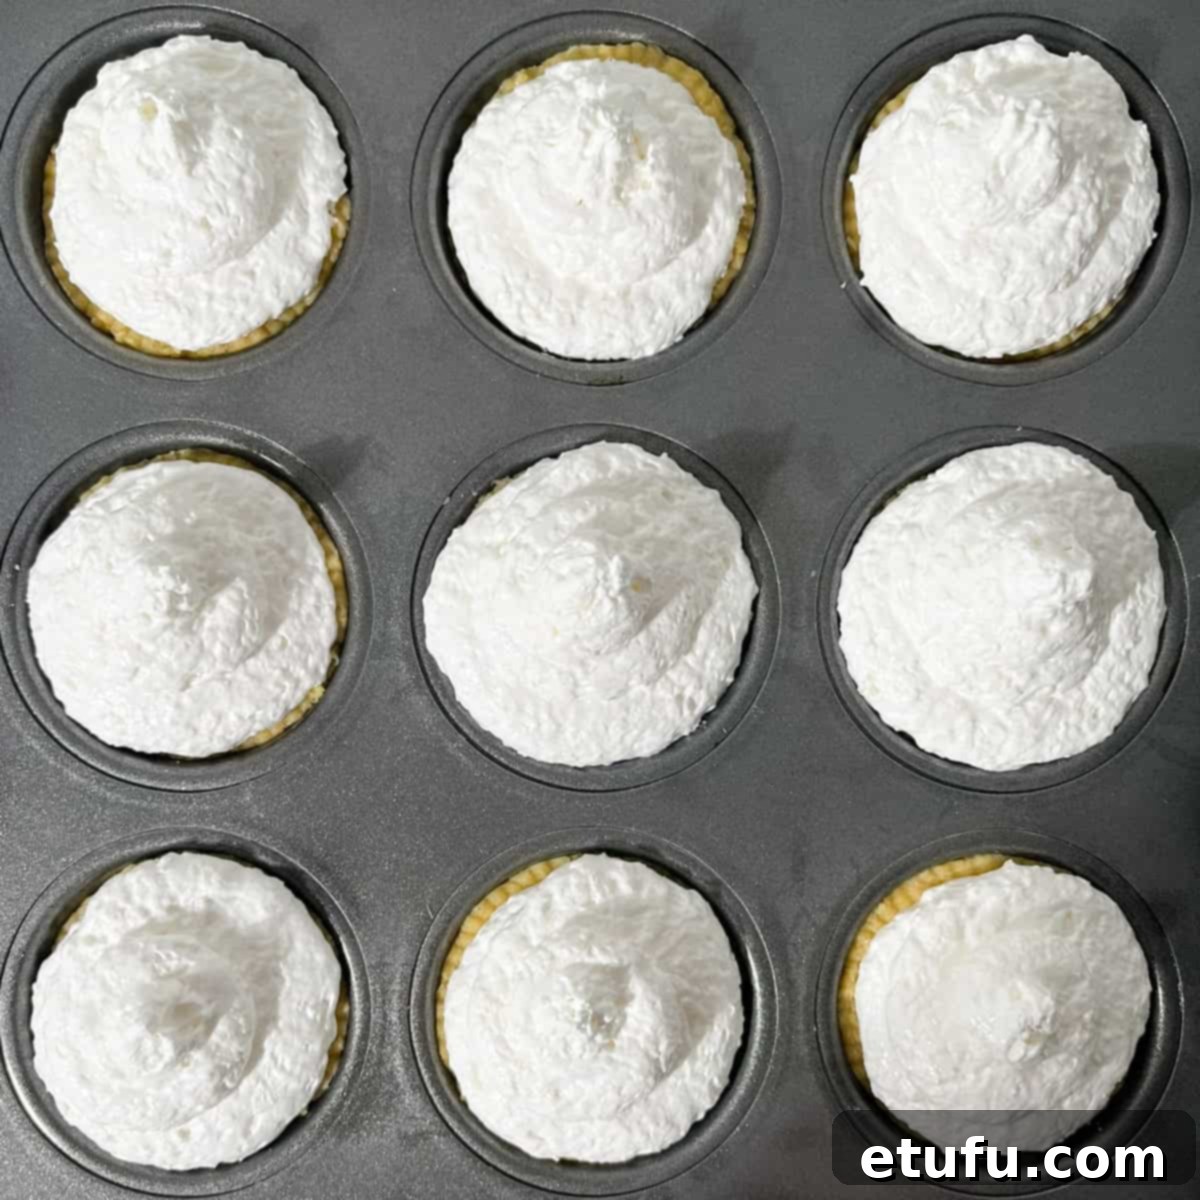
- Now, spoon or pipe the coconut meringue on top of the apricot jam in each pastry case. You can create a neat mound or a rustic swirl, depending on your preference.
- Bake the Hertzoggies in the preheated oven for 20-25 minutes. The tartlets are ready when the pastry is cooked through and the coconut meringue topping has turned a very light golden brown. Keep a close eye on them to prevent over-browning.
- Allow the baked tartlets to cool completely in their pans before attempting to transfer them to a wire rack. If they are difficult to remove without breaking, let them cool a bit longer; this helps the pastry and meringue firm up. For easier removal, gently twist each tartlet in its hollow before lifting it out. Serve and enjoy!
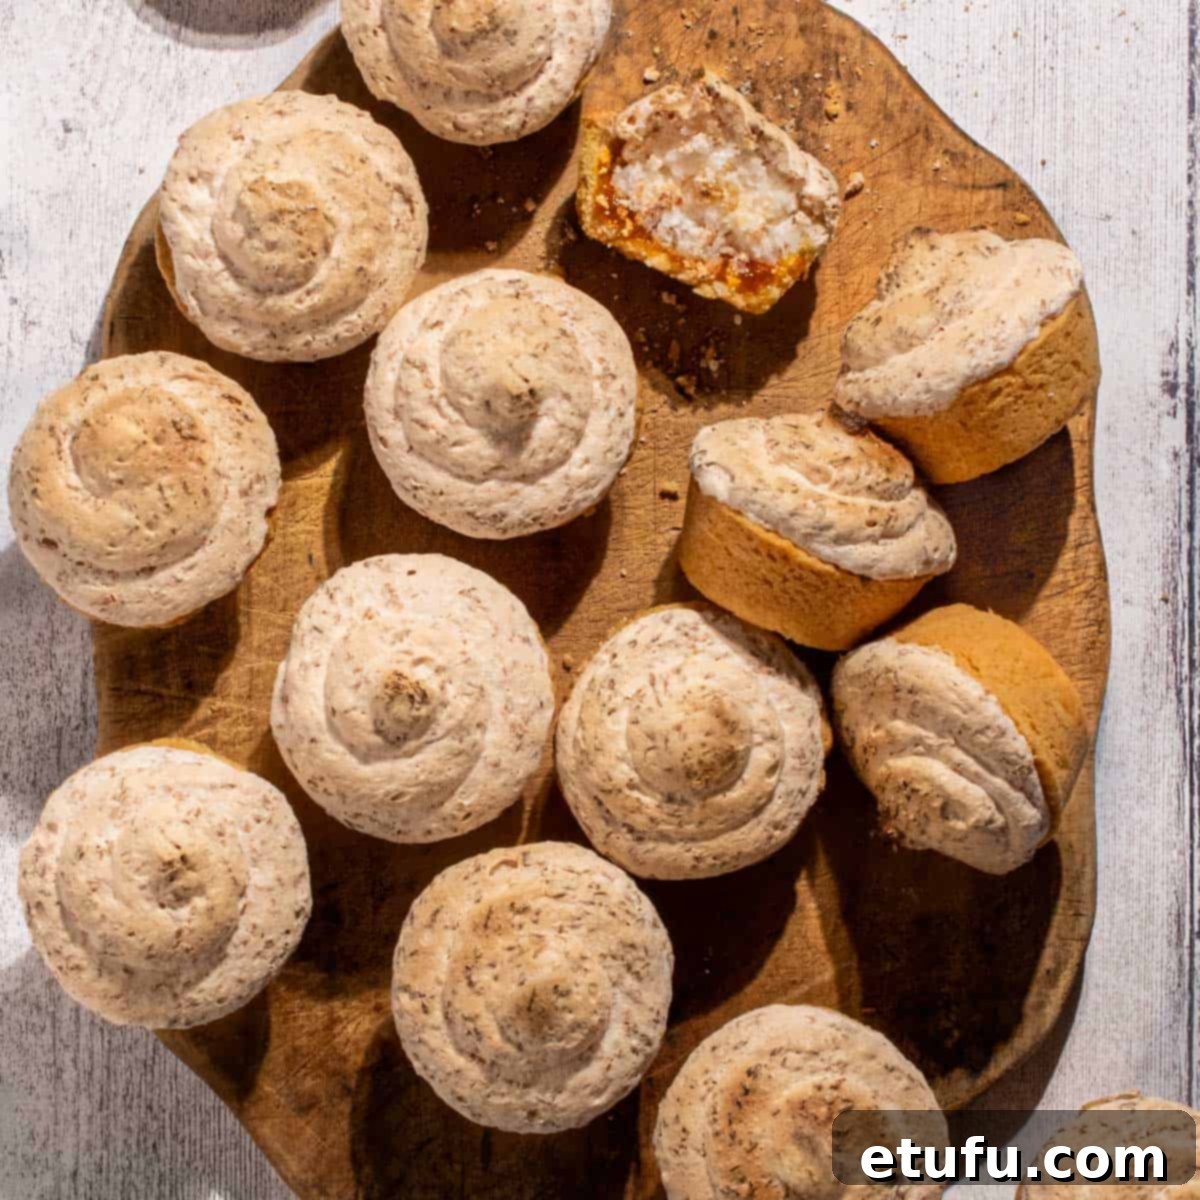
Spoon or Pipe? Choosing Your Meringue Style
When it comes to applying the luscious coconut meringue topping, you have two main artistic choices, each yielding a slightly different aesthetic for your Hertzoggies.
You can either use a piping bag fitted with a large, round piping tip to create a more uniform and elegant swirl, or simply spoon the meringue onto the tartlets using two teaspoons for a charmingly rustic look. Both methods are equally delicious, but offer distinct visual appeals.
While a piped topping can look very neat and professional, we often find that simply spooning the meringue on works wonders for a more traditional, homemade rustic appearance. The slightly rougher, more natural texture created by spooning bakes beautifully, often resulting in delightfully browned and slightly crisp tips on the meringue. This rustic approach adds a certain warmth and authenticity that is truly appealing.
So, don’t feel pressured to get out a piping bag unless you desire that specific presentation. For ease, tradition, and a lovely baked texture, we recommend embracing the rustic charm and sticking with spoons! It’s much simpler, quicker, and adds a heartwarming, handmade touch to your Hertzoggies.
Storage and Serving Tips for Hertzoggies
To ensure your Hertzoggies remain fresh and delicious, proper storage is key. Once completely cooled, place your Hertzoggies in an airtight container. They will stay wonderfully fresh and enjoyable for up to 3 days when stored at room temperature. For optimal flavor and texture, avoid refrigeration, as it can sometimes alter the delicate pastry.
We generally do not recommend freezing Hertzoggies. The delicate meringue topping tends to “weep” or become watery when defrosted, compromising its texture and appearance. These tartlets are best enjoyed fresh or within a few days of baking.
Hertzoggies are traditionally served at room temperature with a cup of tea or coffee, making them a perfect snack or dessert. They are also a fantastic addition to any dessert platter or during festive occasions like Eid. Their sweet and tangy profile, combined with the chewy coconut meringue, offers a unique and satisfying treat.
More Delicious Recipes from South Africa
If you’ve enjoyed this taste of South African cuisine, explore more traditional delights from the region:
Bunny Chow
Bobotie and yellow rice
South African pancakes
Milk tart with condensed milk
Malva pudding
Romany Creams
Vetkoek
Melkkos
Hertzoggies Recipe
Hertzoggies – Jam and Coconut Tartlets
Hertzoggies are a classic South African jam and coconut tartlet, featuring a delicate, buttery pastry cup filled with a sweet dollop of apricot jam, topped with a cloud-like coconut meringue – simply irresistible!
Equipment
- 2 x 12-hole muffin pan or tartlet pans (patty pans) – or 3 x 6-hole muffin pans
- 1 x 8cm cookie cutter – or smaller if you are using tartlet pans (5-6cm)
- 1 x stand mixer or electric hand mixer for the meringue
Ingredients
For the pastry
- 250 grams all-purpose flour
- 3 tablespoons caster sugar
- 1 tablespoon baking powder
- ½ teaspoon mixed spice
- ¼ teaspoon salt
- 125 grams butter – room temperature
- 3 large egg yolks
- 1 tablespoon cold water
For the filling
- 250 millilitre apricot jam
For the topping
- 3 large egg whites
- 1 teaspoon vanilla extract
- ½ teaspoon cream of tartar
- 250 grams white sugar – or caster sugar
- 160 grams (2 x 250ml cups) desiccated coconut
Instructions
Prepare the pastry
- Prepare the muffin or tartlet pans (patty pans) by spraying them with non-stick cooking spray or lightly coating them with a thin layer of butter or oil.
- Sift together the all-purpose flour, caster sugar, baking powder, mixed spice and salt.
- Add the dry ingredients and cubed butter to the bowl of a food processor.You can also do this step by hand by rubbing the butter into the flour mixture.
- Process until the mixture looks like fine breadcrumbs.
- In a small bowl, whisk together the egg yolks and cold water.
- Add the egg mixture to the butter and flour mixture in the food processor.
- Process briefly until the pastry begins to clump together and form a ball.
- Transfer the pastry onto a piece of cling film. Gather the pastry together and shape it into a flat disk about 1.5cm thick. Wrap it in the cling film and refrigerate for 20 minutes.
- Once the pastry has firmed up, roll it out on a lightly floured surface or between two sheets of baking paper to a thickness of 3-5mm.
- Use a cookie cutter to cut out circles large enough to fit the holes of your muffin or tart tin.
- Carefully line each hole with the pastry circles. If the pastry tears, simply pinch it back together or patch it with a small piece of extra pastry.
Add the filling
- Scoop 1-2 teaspoons of apricot jam into each hollow, depending on how much jam you want. Avoid overfilling, as the jam might bubble over during baking.
Make the topping
- Preheat the oven to 180C/355F.
- In a clean, grease-free bowl of a stand mixer, add the egg whites, vanilla extract and cream of tartar.
- Beat until stiff peaks form, about 2 minutes at medium-high speed.
- Slowly add the sugar, about 1 tablespoon at a time, every 30 seconds. This helps the sugar dissolve properly as it mixes. Be patient.
- Once all the sugar is added and the meringue is beautifully glossy, it’s ready.
- Add the desiccated coconut to the meringue mixture.
- Gently fold the coconut into the meringue with a large spoon or spatula until fully incorporated.
- Spoon or pipe the coconut meringue on top of the apricot jam.
- Bake in the preheated oven for 20-25 minutes, until the pastry is cooked and the meringue is a very light golden brown.
- Allow the tarts to cool before transferring them to a wire rack. If they’re difficult to remove without breaking, let them cool a bit longer. Gently twist each tart in its hollow before lifting it out to help with removal.
Notes
Spoon or pipe?
You can either pipe the topping onto the tartlets using a large, round piping tip or simply spoon it on with two teaspoons.
We typically use spoons but decided to pipe it for this recipe post. Honestly, spooning works better for a rustic look – the rougher texture bakes beautifully, with the tips browning nicely.
So, go rustic and stick with spoons! It’s much simpler and adds a bit of charm.
**Nutritional data disclaimer**
Please keep in mind that the nutritional information provided below is calculated by a third party and we cannot guarantee the accuracy. We try our best to give you the most accurate information, but we do not take responsibility for errors that may be present. Also, the nutritional value of the recipe may change depending on the exact brands and products used. We recommend that you consult with a qualified healthcare professional or registered dietitian for personalised advice on your dietary needs.
Nutrition
For food safety advice, including guidance on food allergies
