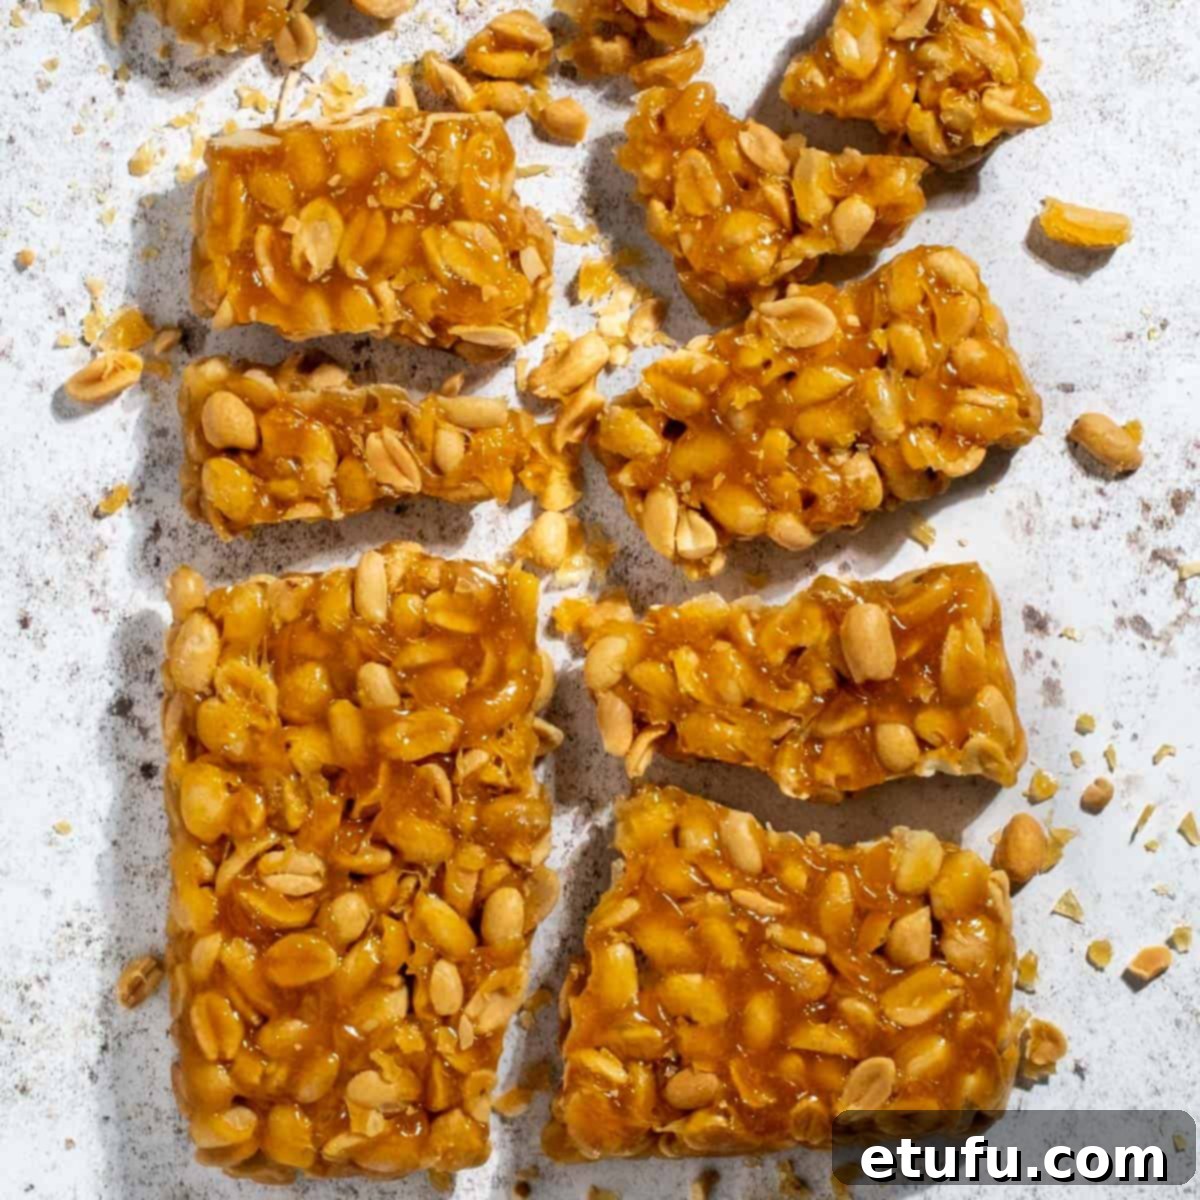
Homemade Peanut Brittle: A Simple, Corn Syrup-Free Recipe for Perfect Crunch
There’s something truly magical about peanut brittle – that irresistible combination of sweet, salty, and utterly crunchy delight. For many, it evokes nostalgic memories of childhood and holiday treats. However, finding high-quality peanut brittle in stores can be a challenge these days, often requiring a trip to a specialized confectionery shop. That’s precisely why we’ve mastered making our own at home. We confidently believe our homemade peanut brittle isn’t just good; it’s superior to most store-bought varieties and surprisingly straightforward to prepare!
Forget complicated candy-making or relying on corn syrup. Our meticulously crafted recipe uses just five essential ingredients and can be ready to savor in under 30 minutes, including the crucial setting time. We’ve meticulously balanced the peanut-to-caramel ratio to ensure every bite is perfectly studded with nuts, offering a satisfying crunch without being excessively hard or threatening your dental work. While it’s always wise to exercise caution with brittle, we’ve designed this recipe for an enjoyable texture that’s less “rock-hard” and more “delightfully crisp.”
Get ready to impress your family and friends with this timeless classic. This guide will walk you through every step to achieve that golden, buttery, and incredibly nutty brittle you’ve been craving. From selecting the right ingredients to mastering the caramelization process, you’ll discover how simple it is to create a batch of perfect peanut brittle right in your own kitchen.
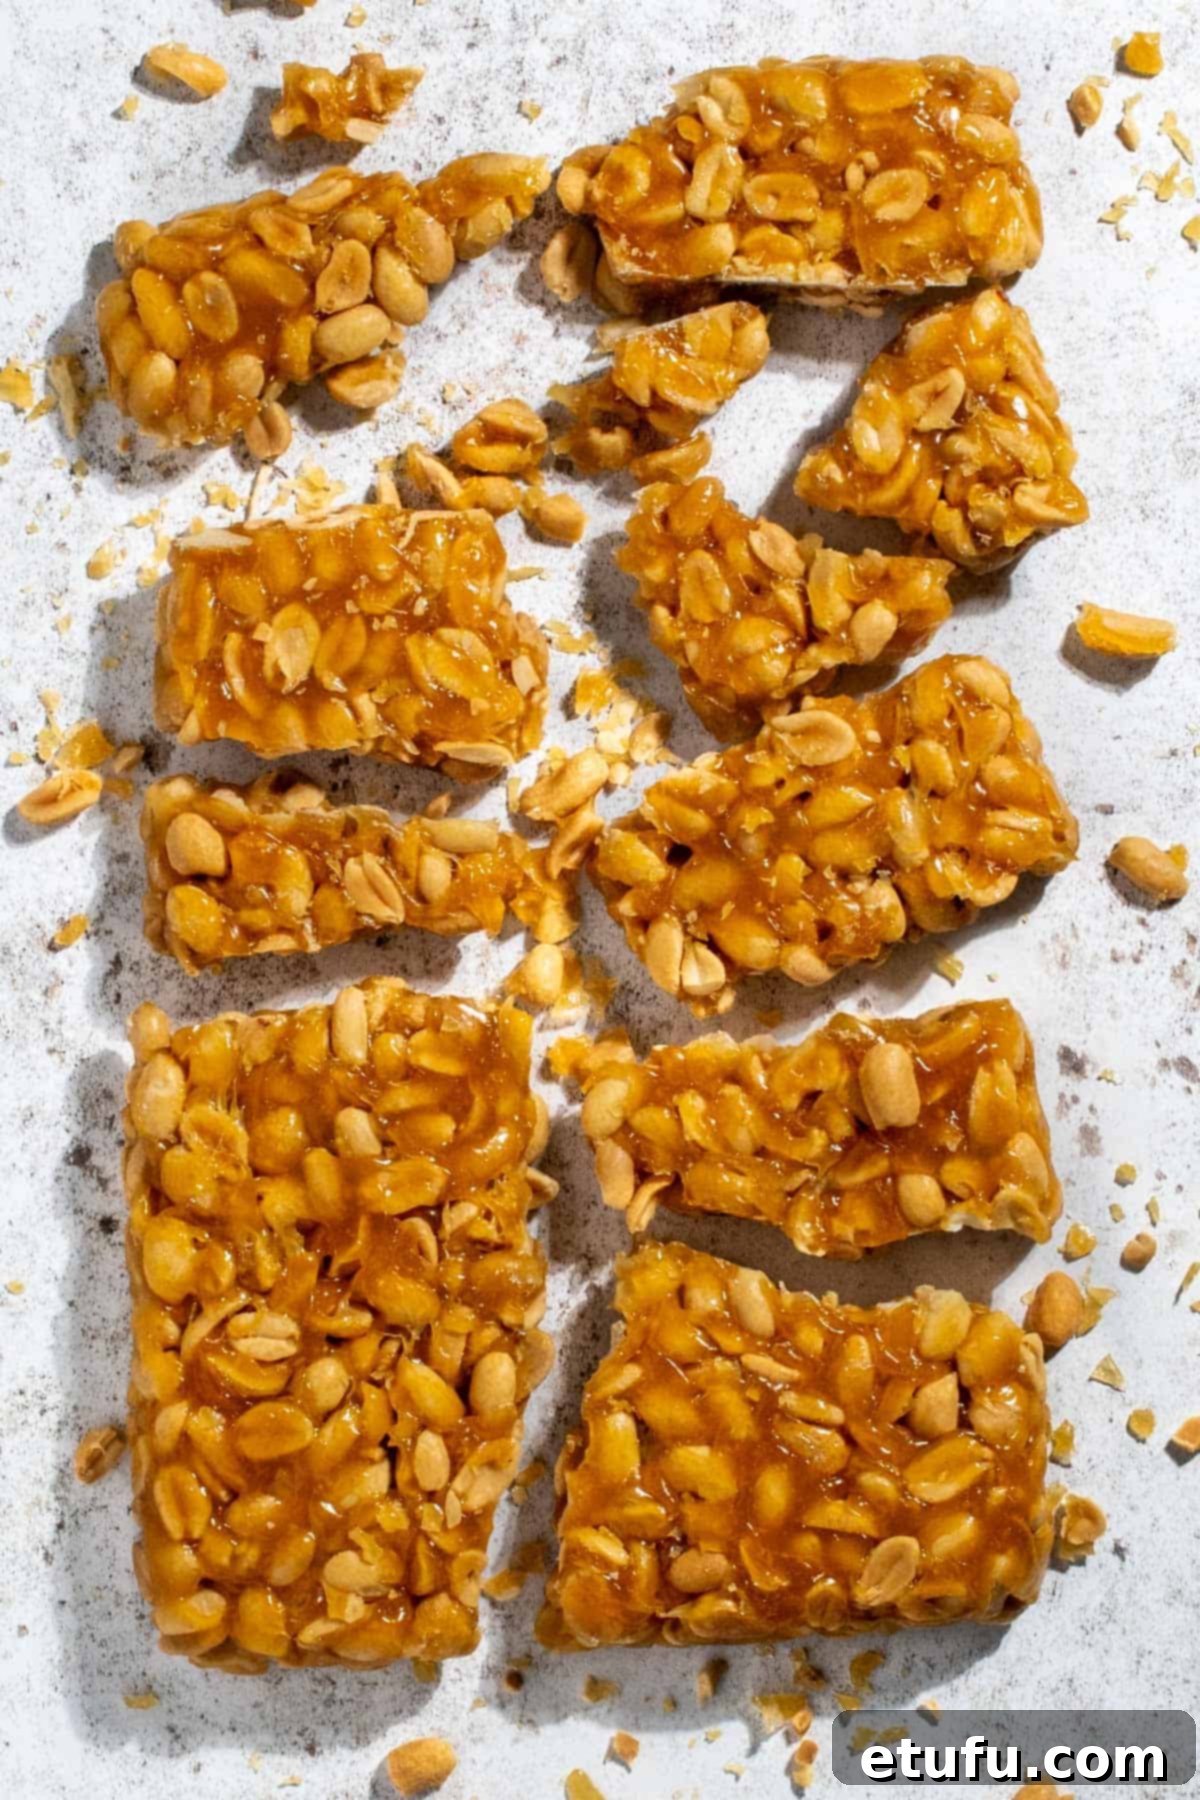
Why You’ll Adore This Easy Homemade Peanut Brittle Recipe
Our peanut brittle recipe stands out for several compelling reasons, making it a favorite among both seasoned candy makers and kitchen novices:
- A Beloved Classic Made Easy: This isn’t just any candy; it’s a quintessential sweet treat, cherished across generations for its harmonious blend of sweet, salty, and incredibly satisfying crunch. Our recipe simplifies the process, bringing this classic within reach for everyone.
- No Corn Syrup Needed: One of the biggest advantages of our recipe is the complete absence of corn syrup. This means you can create this delicious brittle using readily available, common kitchen ingredients found anywhere in the world, without needing specialized items. It also allows the pure flavors of sugar, butter, and peanuts to shine through.
- Beginner-Friendly with Visual Guidance: We understand that candy making can seem intimidating. That’s why we’ve provided clear, simple, and detailed step-by-step photo instructions. Each stage of the process is accompanied by an image, making it incredibly easy for even absolute beginners to follow along with confidence and achieve perfect results.
- Convenient and Time-Saving: To streamline your cooking experience, our recipe calls for ready-salted and roasted peanuts. This clever shortcut eliminates the need for you to go through the extra step of roasting them yourself, saving valuable time and effort in the kitchen without compromising on flavor.
- Lightning-Fast Preparation: From the moment you begin to the first delicious bite, this entire recipe takes approximately 30 minutes. This includes all the active cooking time and the necessary cooling and setting period. It’s the perfect quick indulgence or last-minute gift idea!
- Perfect Peanut-to-Caramel Ratio: We’ve finely tuned this recipe to achieve the ideal balance between the crunchy peanuts and the glistening, golden caramel. This ensures that every piece of brittle is packed with flavor and texture, avoiding an overly thick caramel layer that can be too hard or cloying.
Essential Ingredients for Perfect Peanut Brittle
Creating truly exceptional peanut brittle starts with understanding your ingredients. While our recipe is wonderfully simple with just five components, knowing their roles and potential substitutions can elevate your candy-making experience.
**For the full, detailed recipe and precise ingredient list, please refer to the recipe card located at the bottom of this post.
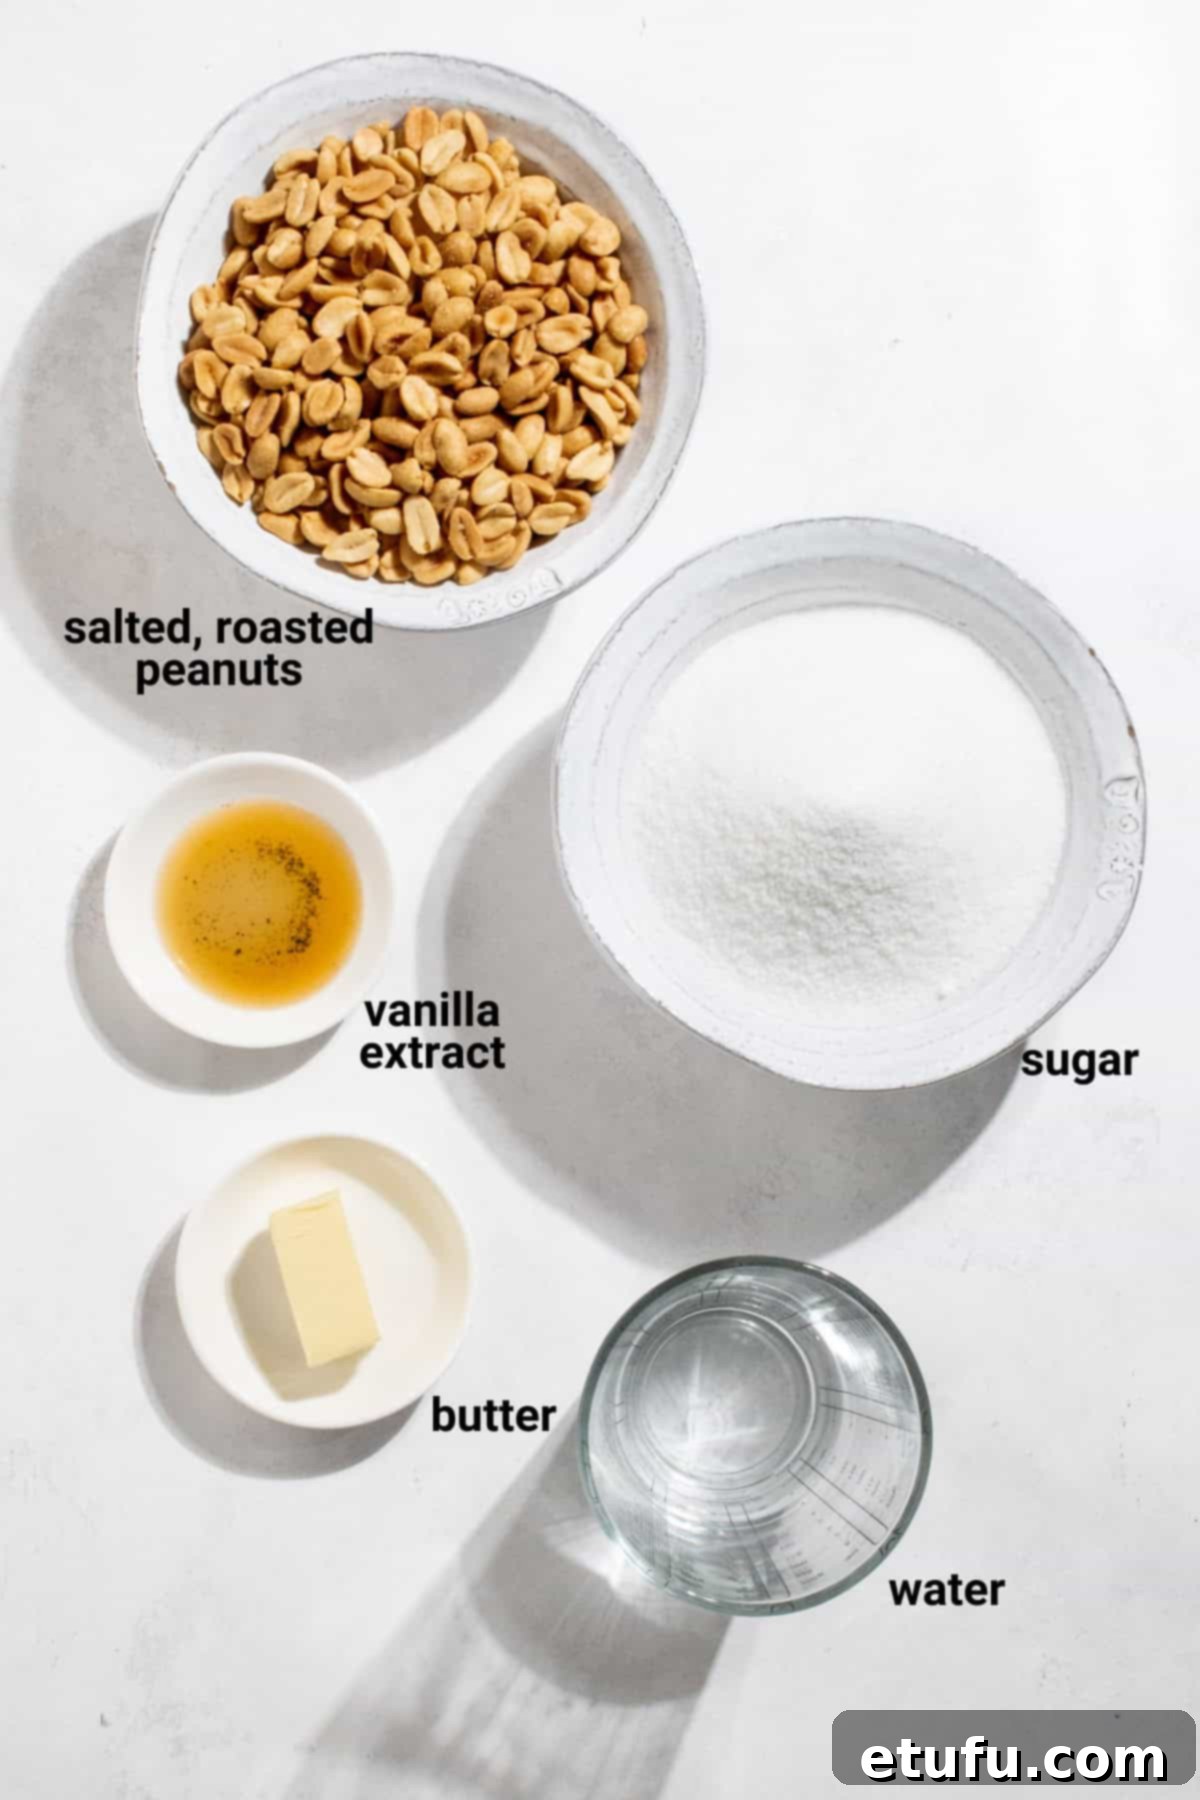
Granulated Sugar: The Foundation of Flavor
Plain white granulated sugar is the primary component for our brittle’s caramel. Its crystalline structure allows it to melt smoothly and caramelize beautifully, creating the hard, glassy texture characteristic of brittle. Caster sugar, also known as superfine sugar, works equally well here due to its finer granules, which dissolve slightly faster. Avoid using brown sugar, as its molasses content can lead to a softer, chewier texture that isn’t ideal for brittle. The key is to ensure the sugar fully dissolves before the mixture starts to boil rapidly to prevent crystallization.
Butter: For Richness and Mouthfeel
We opt for unsalted butter in this recipe because the peanuts we use are already salted, allowing us precise control over the overall saltiness. Butter adds a wonderful richness, depth of flavor, and a creamy mouthfeel that elevates the brittle beyond a simple sugar candy. It also contributes to the beautiful golden color of the caramel. If you prefer a more pronounced salty-sweet contrast, feel free to use salted butter, but be mindful that the final product will have a bolder salty kick. For a dairy-free alternative, a high-quality vegan butter substitute can often be used, though results may vary slightly in flavor and texture.
Vanilla Extract: Aromatic Elegance
Vanilla extract is a crucial flavor enhancer that adds a lovely aromatic complexity to the peanut brittle, complementing the nutty and sweet notes. Don’t underestimate its power to transform a simple candy into something truly special. We recommend using a good quality pure vanilla extract for the best flavor. You can increase the amount up to two teaspoons if you desire a more intense vanilla presence; it will not alter the consistency or setting of the brittle.
Peanuts: The Star Ingredient
For ultimate convenience, this recipe leverages ready-salted and roasted peanuts. This saves you a significant step and ensures consistent flavor and crunch. When choosing your peanuts, look for high-quality, fresh nuts. Virginia peanuts are a popular choice for brittle due to their large size and satisfying crunch. If you only have raw, shelled peanuts on hand, don’t worry! You can easily roast them yourself at home by following our simple instructions below. The roasting process is essential as it deepens the peanut’s flavor and enhances its texture, making it perfectly suited for brittle.
How to Perfectly Roast Raw Shelled Peanuts at Home
If your pantry only holds raw, shelled peanuts, there’s no need to run to the store for roasted ones. Roasting peanuts at home is a simple process that unlocks their full, rich flavor and enhances their texture, making them ideal for your homemade brittle. Follow these steps for perfectly roasted nuts:
- Preheat Your Oven: Begin by preheating your oven to a moderate 180°C (350°F). This temperature ensures even roasting without burning the nuts too quickly.
- Prepare the Baking Sheet: Spread the raw shelled peanuts in a single, even layer on a sturdy baking sheet. Avoid overcrowding the sheet, as this can lead to uneven roasting. Use two sheets if necessary to ensure all peanuts have enough space.
- Roast with Care: Place the baking sheet in the preheated oven and roast the peanuts for approximately 10 to 15 minutes. Roasting times can vary based on your oven and the size of the peanuts, so vigilance is key.
- Stir for Uniformity: To ensure that all sides of the peanuts roast evenly and prevent scorching, make sure to stir them every 5 minutes during the roasting process. This helps them achieve a consistent golden-brown color and nutty aroma.
- Cool and Test: Once the roasting time is up, remove the baking sheet from the oven and allow the peanuts to cool for a few minutes on the sheet. Peanuts continue to cook slightly after being removed from the heat.
- Check for Doneness: The best way to determine if your peanuts are roasted to perfection is to taste one after it has cooled slightly. It should have a crisp texture and a deep, nutty flavor. If they still taste a bit raw, return them to the oven for a few more minutes, checking frequently.
- Complete Cooling: Once roasted to your preference, remove the peanuts from the oven and transfer them to a cool surface or separate plate to cool completely before incorporating them into your brittle recipe. This prevents them from overcooking and ensures they retain their optimal crunch.
Selecting the Ideal Baking Dish for Perfect Brittle Thickness
The size of your baking dish is more critical than you might think when making peanut brittle. It directly impacts the final thickness and, consequently, the texture and ease of breaking your candy. For this recipe, we recommend using a baking dish or tin that is no larger than 28cm x 18cm (approximately 11″ x 7″).
Using a dish of this specific size will yield a beautiful brittle thickness of about 1cm (roughly 0.4 inches). This is the perfect thickness for a satisfying snap and a pleasant chew without being overly challenging to bite into. A smaller dish, for example, one measuring 9″ x 5″, will result in a significantly thicker brittle. While some may prefer a very thick brittle, it can become exceedingly hard and difficult to break, potentially posing a risk to your teeth. On the other hand, opting for a much larger dish, such as a standard 13″ x 9″ baking pan, will cause the caramel and peanuts to spread too thinly. This can lead to a brittle that is too delicate, easily shattered, and lacks the substantial crunch we’re aiming for.
Choose your dish wisely to ensure your homemade peanut brittle achieves that coveted, ideal balance of crispness and robustness.
Easy Step-by-Step Guide to Making Flawless Peanut Brittle
Follow these detailed instructions to create a batch of perfect peanut brittle that’s crispy, nutty, and absolutely delicious. Precision and speed are key when working with hot sugar, so read through all steps before you begin.
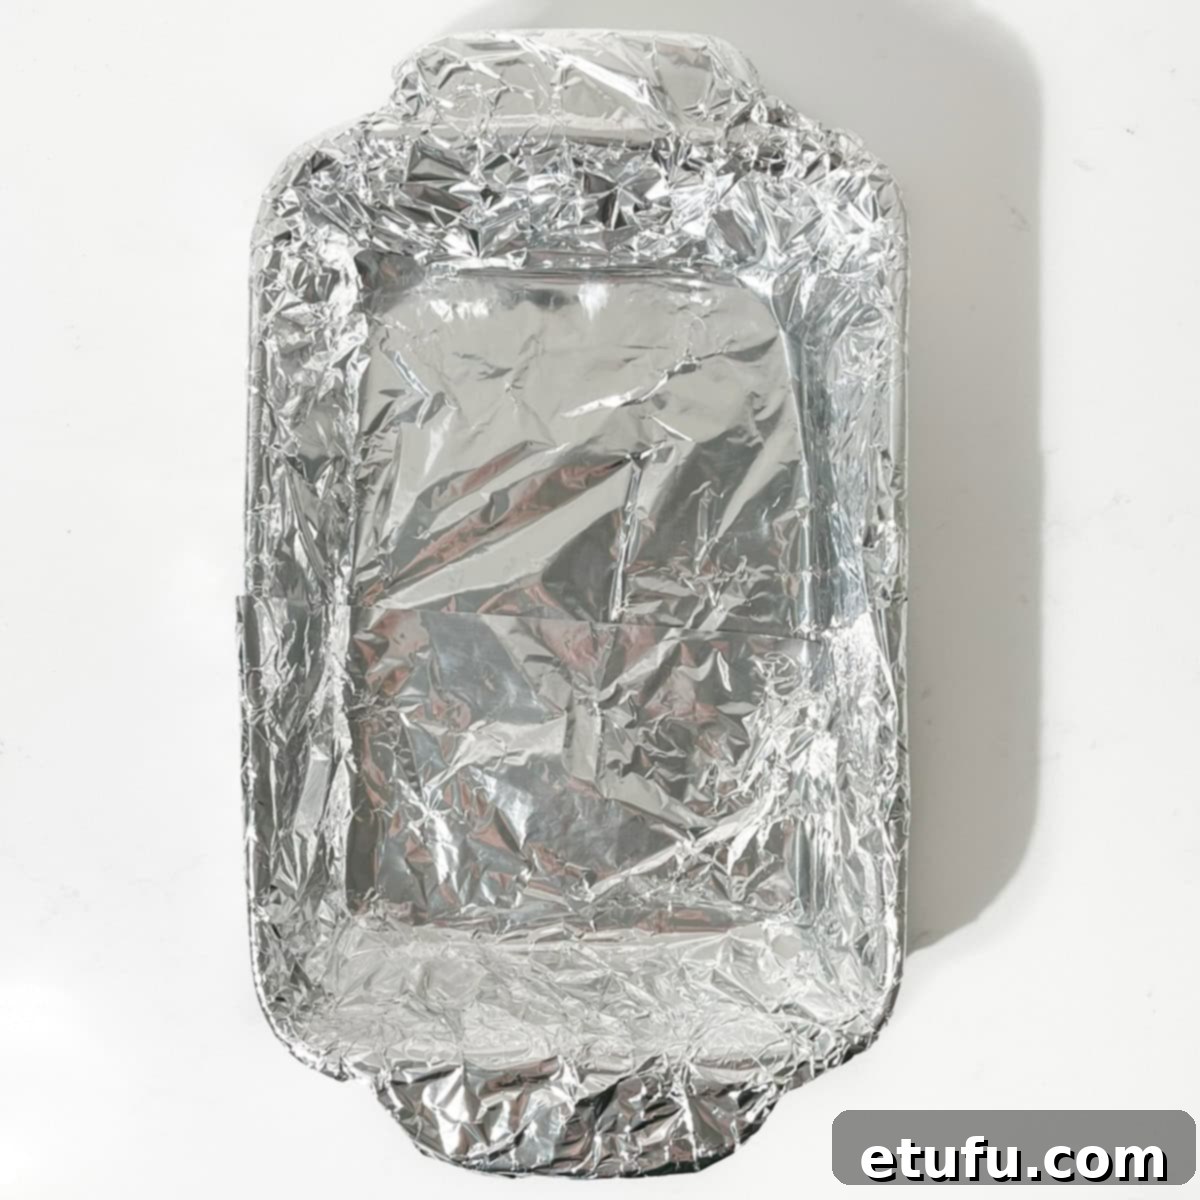
- Prepare Your Baking Dish: Begin by completely covering your chosen baking dish or tin with aluminum foil. Ensure the foil extends over the sides, creating small “handles” that will make it easier to lift the hardened brittle later. This lining is crucial for easy removal and cleanup.
- Grease the Foil: Apply a thin, even layer of oil to the surface and sides of the foil. You can use a cooking spray for convenience or apply a small amount of neutral-flavored oil (like vegetable or canola oil) by rubbing it gently with a piece of kitchen paper. This step prevents the hot caramel from sticking to the foil.
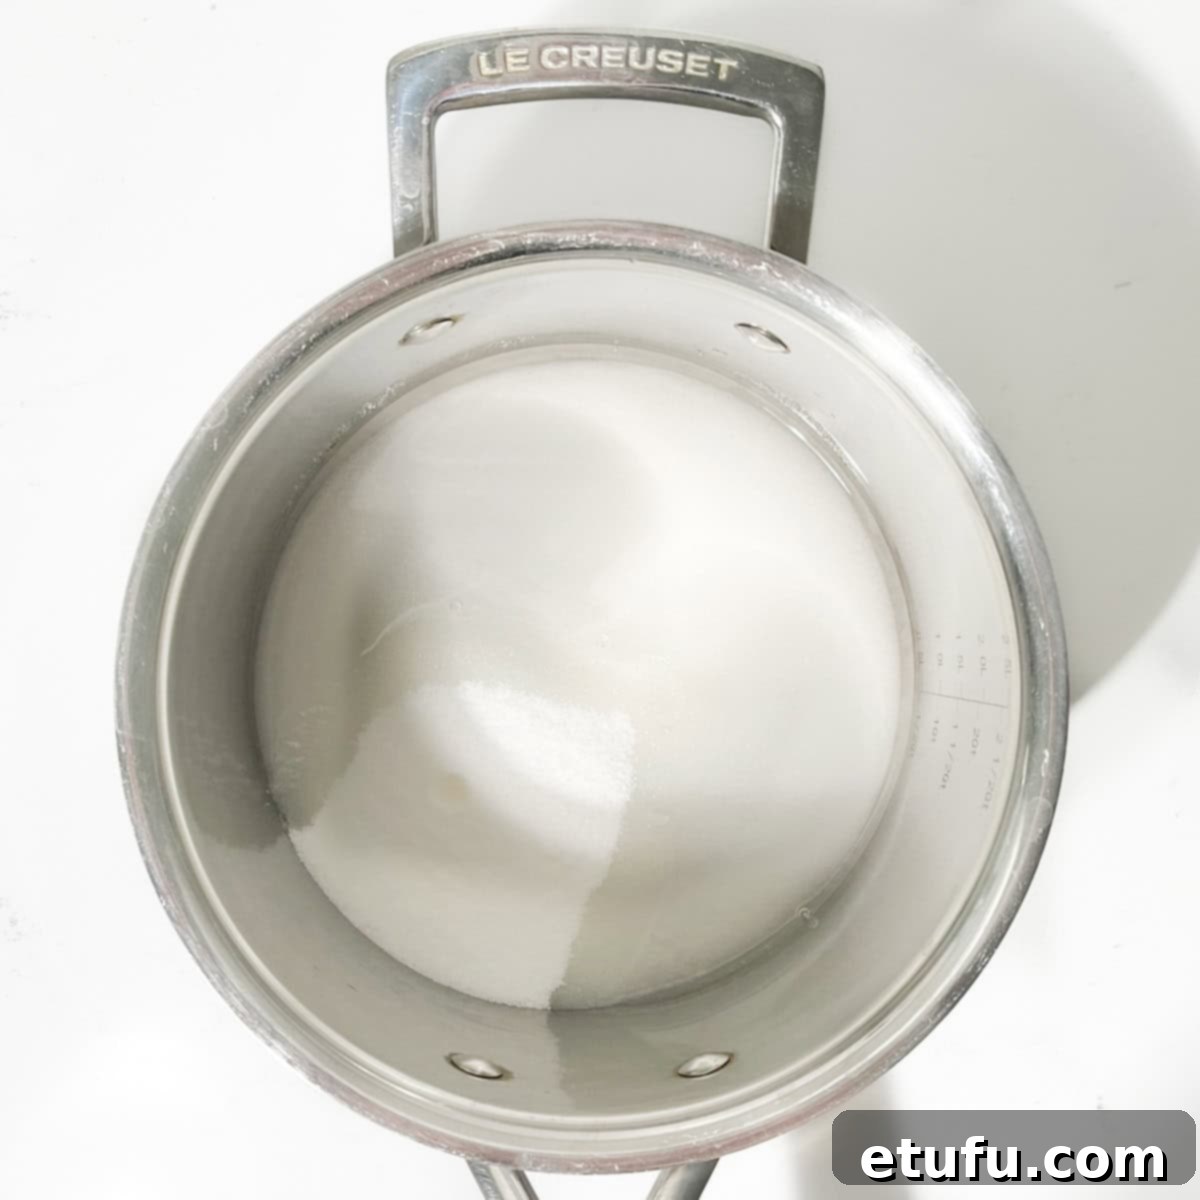
- Dissolve the Sugar: In a large, heavy-bottomed saucepan, combine the granulated sugar and water. Place the saucepan over medium-low heat and stir continuously until all the sugar crystals have completely dissolved. It’s vital not to let the mixture boil too rapidly at this stage; maintain a gentle simmer. Rapid boiling before the sugar dissolves can lead to sugar crystallization, resulting in a grainy brittle.
Expert Tip: To verify if the sugar has melted, dip the back of a clean spoon into the liquid. If you no longer see or feel any sugar grains when you rub your fingers together (carefully, as it will be hot!), then the sugar has fully dissolved. This usually takes about 5-7 minutes.
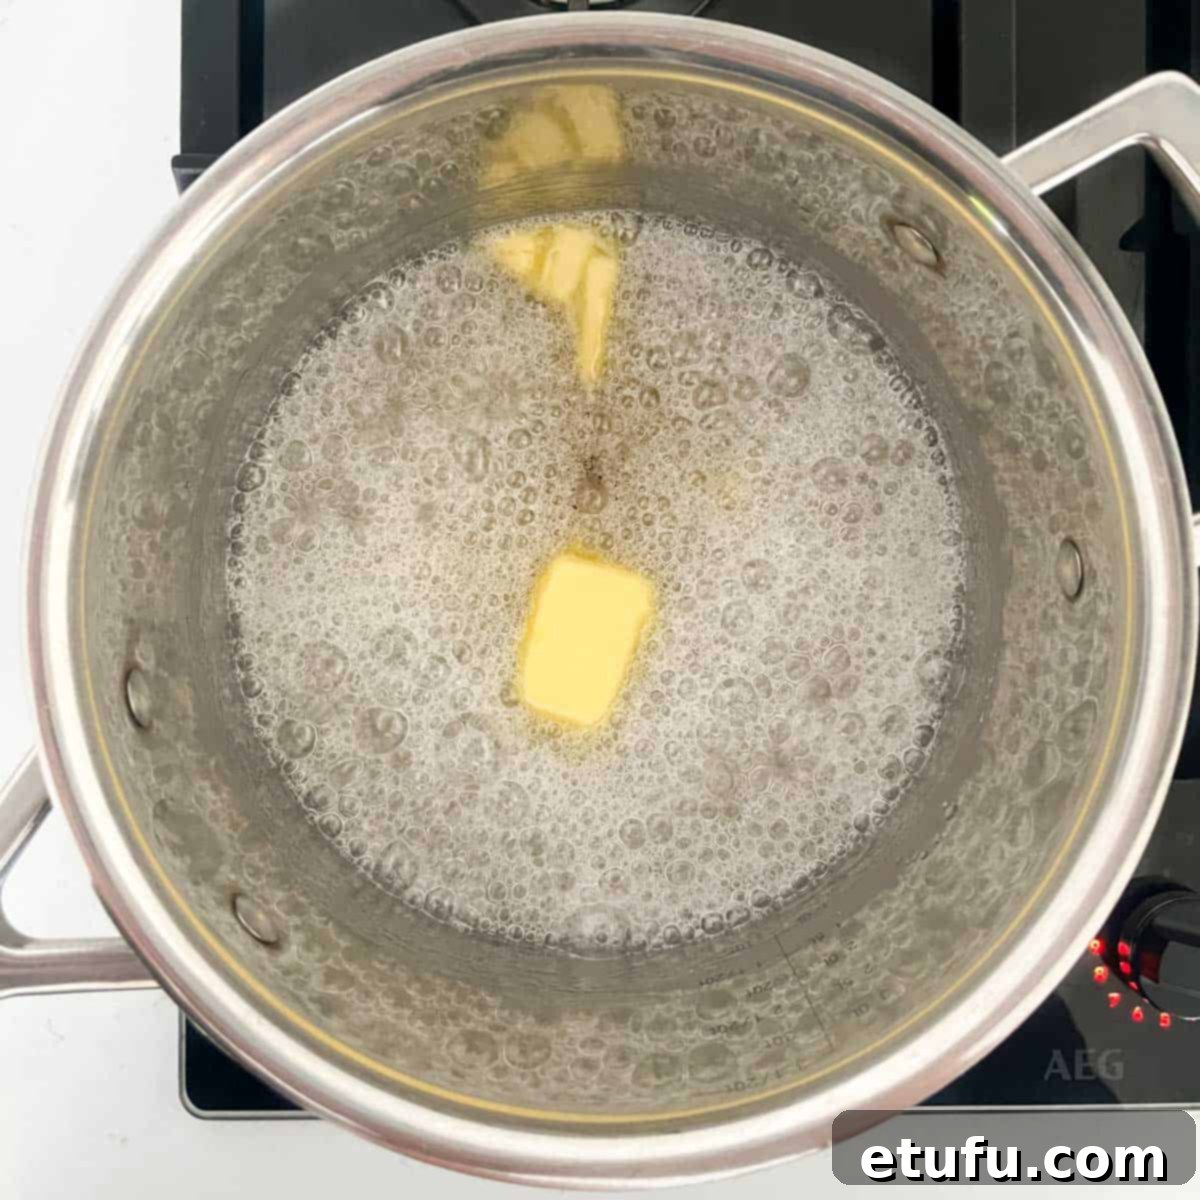
- Incorporate Butter and Vanilla: Once the sugar has dissolved and the mixture is clear, add the butter and vanilla extract to the saucepan. Continue to stir gently until the butter has fully melted and integrated into the sugar syrup.
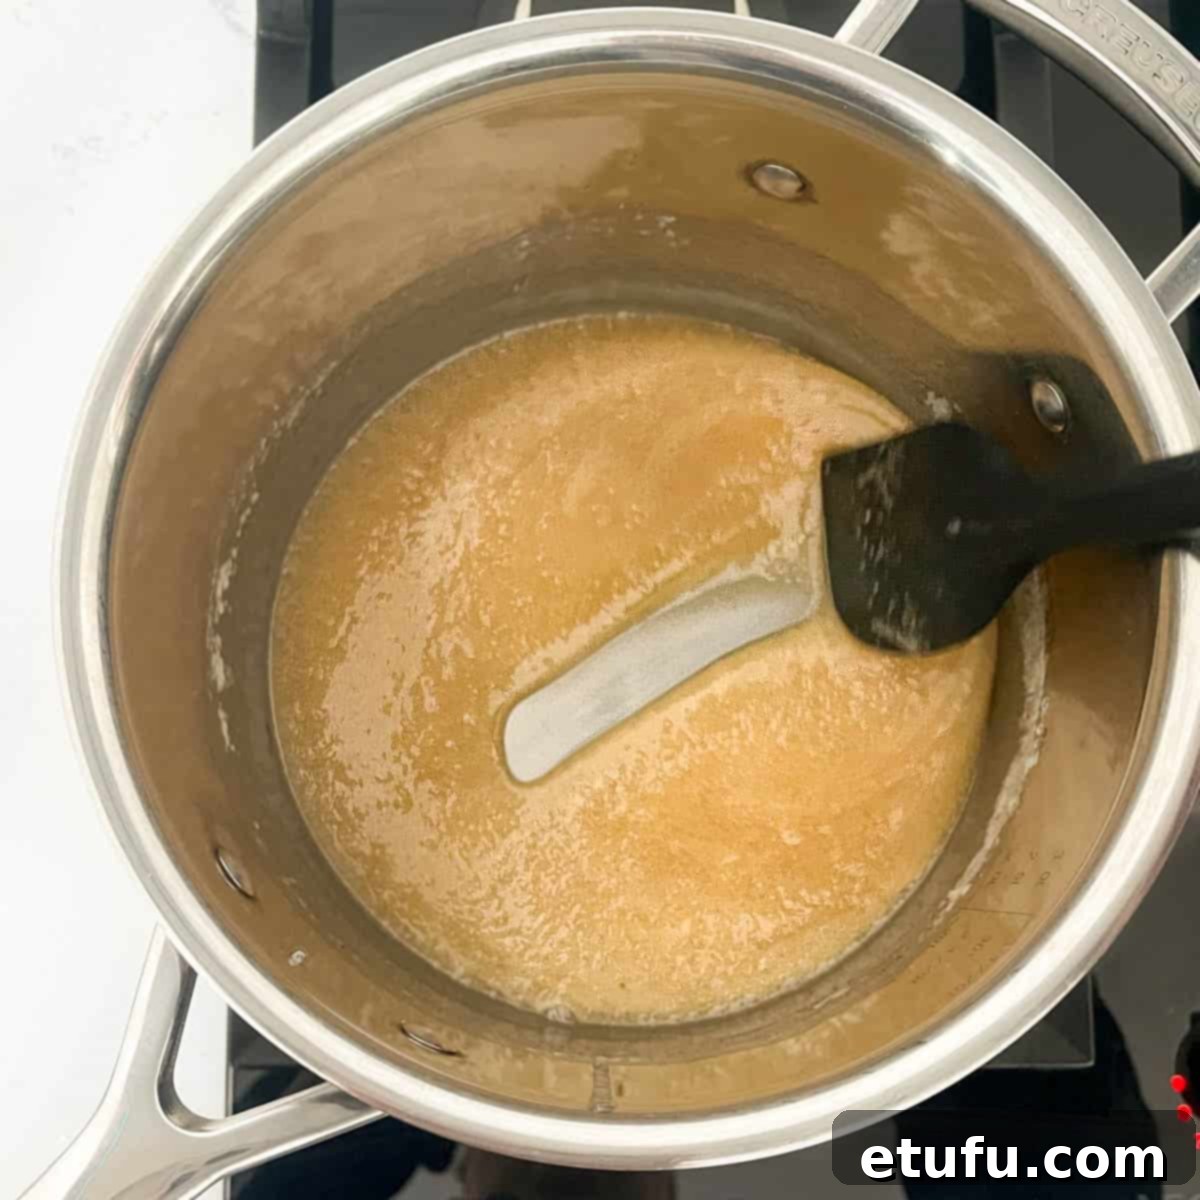
- Cook to Hard-Crack Stage: Continue stirring the mixture continuously over medium-low heat. It will gradually thicken and transform into a beautiful light caramel color. This process typically takes about 10-15 minutes, depending on the size and heat retention of your saucepan.
Consistency Test: To test for readiness without a thermometer, run a spatula or wooden spoon through the mixture. If it leaves a clear, distinct line on the bottom of the saucepan that takes a brief moment to disappear and reform, it’s ready. For precise results and greater confidence, use a candy thermometer. The ideal temperature for the hard-crack stage, which is essential for brittle, is between 150-160°C (300-310°F). Be patient and don’t rush this step, as undercooking will result in sticky brittle, and overcooking can lead to a burnt taste.

- Add Peanuts and Pour: Once the caramel reaches the hard-crack stage, immediately remove the pan from the heat. Working QUICKLY, stir in the roasted peanuts until they are evenly coated with the caramel. Without delay, transfer the entire mixture into your prepared foil-lined dish. This step requires swift action, as the caramel will begin to set very rapidly.
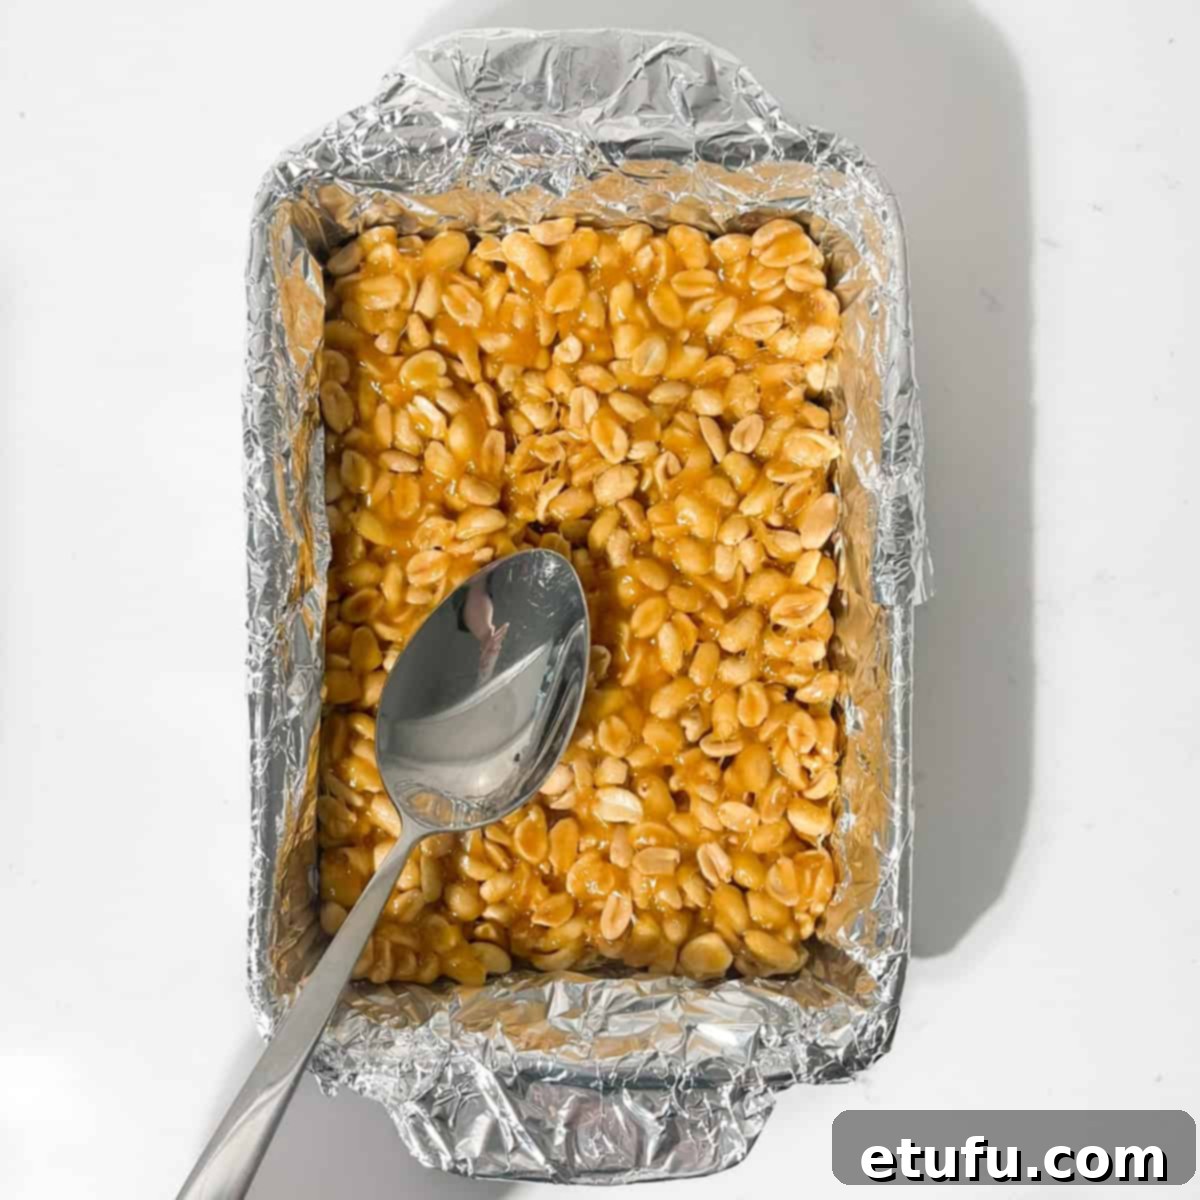
- Smooth and Press: Using the back of a metal spoon or an oiled spatula, quickly spread the mixture evenly across the dish and press it down gently into the corners. Ensure the brittle is of uniform thickness.
Crucial Reminder: Time is of the essence here! The brittle will harden incredibly fast. You must stir, pour, and smooth the mixture immediately after removing it from the heat. Any delay will make it difficult to spread properly, resulting in an uneven or overly thick brittle.
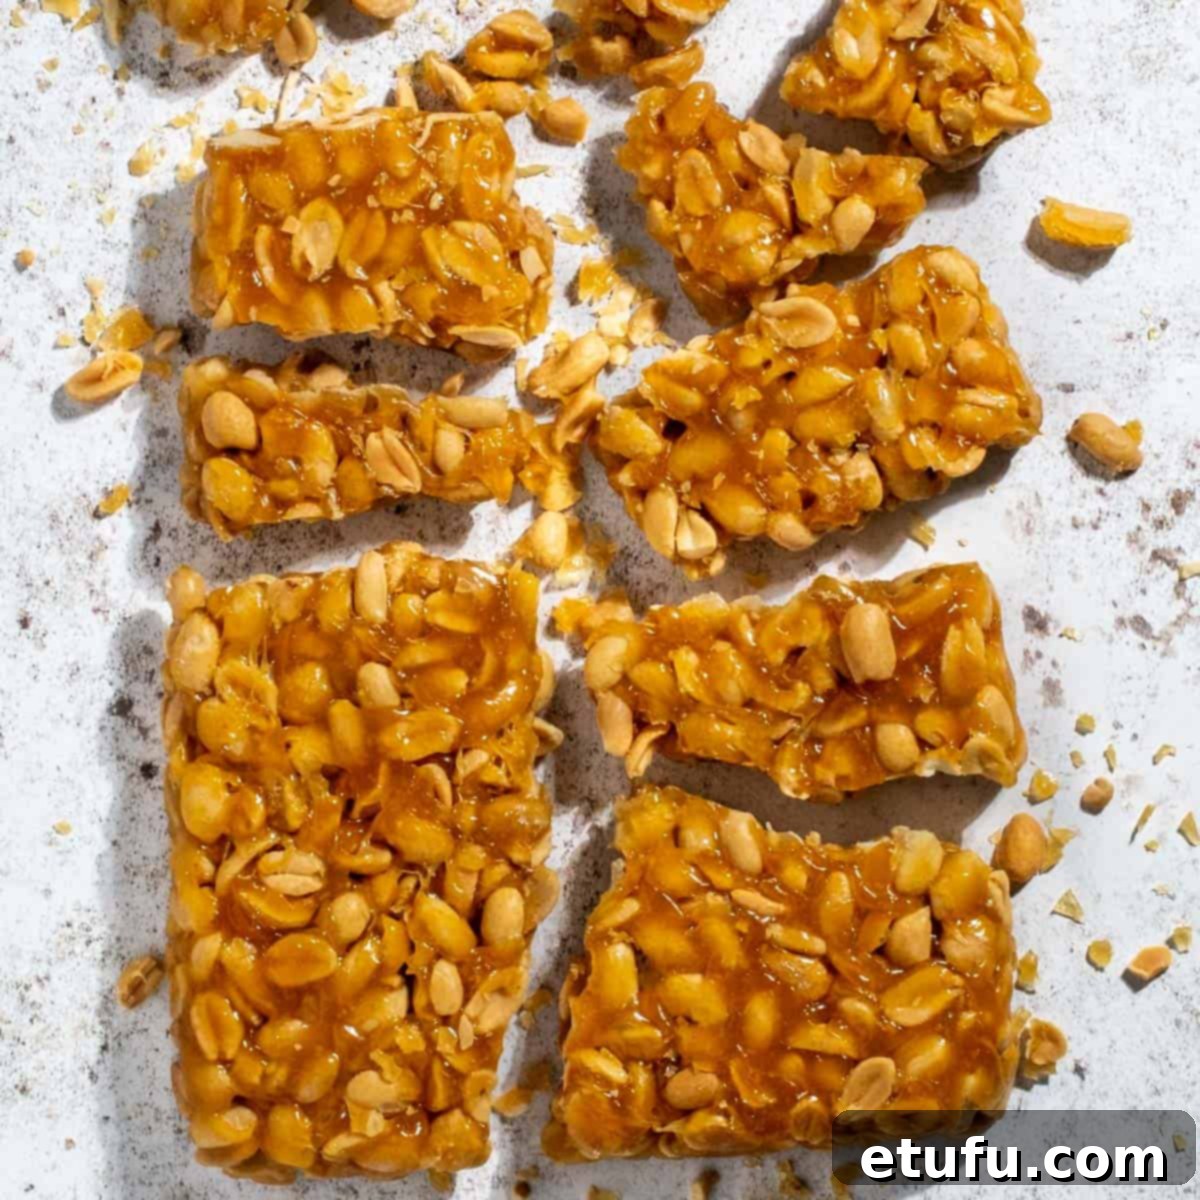
- Cool and Break: Allow the peanut brittle to cool completely and set for at least 15 minutes at room temperature. Once fully cooled and hardened, gently lift the slab of brittle out of the dish using the foil handles and place it onto a sturdy chopping board. You can then either carefully slice it into neat pieces with a large, sharp knife or, for a more rustic and charming look, simply break it into irregular shards.
Full disclosure: Depending on the exact consistency achieved, you might find it challenging to cut perfectly neat slices, as brittle, by nature, tends to break. If this happens, embrace the charm of irregularly shaped pieces – they taste just as wonderful!
Creative Variations to Elevate Your Peanut Brittle
While classic peanut brittle is undeniably delicious, it’s also a fantastic canvas for culinary creativity. Here are some delightful variations to explore, allowing you to customize this treat to your taste:
- Decadent Chocolate Peanut Brittle: For chocolate lovers, this variation is a must-try. Simply add 2-3 tablespoons of unsweetened cocoa powder to the sugar syrup mixture along with the butter and vanilla extract. The cocoa powder infuses the brittle with a rich chocolate flavor and gives it a deeper, darker hue. You can also drizzle melted chocolate over the cooled brittle for an extra layer of indulgence.
- Exotic Cashew Brittle: Swap out the peanuts for cashews to create a wonderfully different flavor profile. Cashew brittle is incredibly popular in many parts of the world, particularly in the Northeast of Brazil, where cashews are abundant and prized for their creamy texture and buttery taste. Follow the same recipe, simply replacing peanuts with an equal amount of roasted salted cashews. Almonds or pecans also make excellent substitutions for a different nutty experience.
- Warm Cinnamon Peanut Brittle: Infuse your brittle with a comforting warmth by adding cinnamon. Stir 1-2 teaspoons of ground cinnamon into the sugar syrup mixture when you add the butter and vanilla. The cinnamon adds a fragrant spice that beautifully complements the sweet caramel and nutty peanuts, perfect for a cozy treat during cooler months. You could also experiment with a pinch of nutmeg or cardamom for a more complex spice blend.
- Spicy Chili Peanut Brittle: For those who enjoy a hint of heat, consider adding a quarter to half a teaspoon of cayenne pepper or a pinch of red chili flakes to the caramel mixture. The subtle warmth will create an exciting contrast with the sweetness, making for a truly unique brittle experience.
Storing Your Homemade Peanut Brittle for Lasting Freshness
Proper storage is essential to maintain the crisp texture and delicious flavor of your homemade peanut brittle. Follow these guidelines to keep your treat fresh for as long as possible:
- Ensure Complete Cooling: Before attempting to store your brittle, it is absolutely crucial that it has cooled completely and hardened. Storing warm or even slightly warm brittle will lead to condensation, which can make it sticky and compromise its crunch.
- Airtight is Key: Once fully cooled, wrap the brittle tightly in plastic wrap. You can wrap individual pieces or a larger slab. Alternatively, store the brittle in an airtight container. This barrier is vital to protect it from moisture in the air, which is the primary enemy of brittle’s crispness.
- Cool, Dry, and Dark Conditions: Always store your peanut brittle in a cool, dry place, away from direct sunlight and any sources of heat (like ovens or stovetops). A pantry shelf or a cool cupboard is ideal. Humidity is particularly damaging to brittle, so avoid storing it in humid environments.
When stored correctly, homemade peanut brittle can maintain its quality and deliciousness for several weeks, often up to a month. Over time, it may naturally become a bit harder, but its flavor generally remains intact. If you find your brittle has become too hard to enjoy, you can gently warm it for a few seconds in the microwave or briefly in a low-temperature oven (around 100°C/200°F) to soften it slightly, making it easier to break and eat.
Freezing Recommendation: We generally do not recommend freezing peanut brittle. The process of freezing and then thawing can introduce moisture, causing the brittle to become sticky, chewy, and lose its desirable snap. It’s best enjoyed fresh and stored at room temperature.
Recipe Card: Peanut Brittle (without Corn Syrup)
Peanut Brittle (without Corn Syrup)
Print Recipe
Dessert, Snack
American
15
15
30
15
pieces
201
kcal
Maretha Corbett
Equipment
- 1 baking tin or baking dish of maximum 28cm x 18cm (11″ x 7″)
- 1 medium saucepan
Ingredients
-
300
grams
(10.5oz) granulated sugar -
120
millilitre
(½ US cup) water -
15
grams
(1 tbsp) butter -
1
teaspoon
vanilla extract -
300
grams
(10.5oz) roasted salted peanuts
Instructions
- Cover a baking dish/baking tin completely with foil.
- Apply a thin layer of oil to the foil using cooking spray or by rubbing a small amount of oil over the surface and sides with a piece of kitchen paper.
- Place the sugar and water in a large saucepan and stir over medium-low heat until the sugar dissolves completely. Don’t allow the mixture to boil too rapidly; keep it at a gentle simmer.
Tip: To check if the sugar has melted, dip the back of a spoon into the liquid. If you no longer see sugar grains, the sugar has fully dissolved.
300 grams (10.5oz) granulated sugar,
120 millilitre (½ US cup) water - Once the sugar has dissolved, add the butter and the vanilla extract.15 grams (1 tbsp) butter,
1 teaspoon vanilla extract - Stir the mixture continuously over medium-low heat until it thickens and turns light caramel in color, usually about 10-15 minutes, depending on your saucepan size.
You can also test the consistency: Run a spatula or wooden spoon through the mixture. If it leaves a clear, thick line that takes a brief moment to disappear, it’s ready.
For precision, you can use a candy thermometer to check the temperature, which should be between 150-160°C (300-310°F) for the hard-crack stage.
- Once the caramel is ready, remove the pan from the heat and QUICKLY stir in the peanuts. Immediately transfer the mixture to the prepared foil-lined dish.300 grams (10.5oz) roasted salted peanuts
- Use the back of a metal spoon to smooth it out and press it down into the corners.
Important: Work quickly – stir, pour, and smooth the mixture right away. The brittle will harden fast, so don’t delay.
- Leave the peanut brittle to cool for at least 15 minutes. Remove the slab of brittle from the dish and onto a chopping board. Slice or break into pieces.
Notes
What size baking dish do you need?
Use a dish no larger than 28cm x 18cm (11″ x 7″).
This size will give a thickness of about 1cm. A smaller dish will produce thicker brittle which may become hard to bite into.
A larger dish may result in brittle that’s too thin.
**Nutritional data disclaimer**
Please keep in mind that the nutritional information provided below is calculated by a third party and we cannot guarantee its accuracy. We strive to provide you with the most accurate information possible, but we do not take responsibility for any errors that may be present. Additionally, the nutritional value of the recipe may vary depending on the exact brands and products used. We highly recommend consulting with a qualified healthcare professional or registered dietitian for personalized advice tailored to your specific dietary needs.
Nutrition
Calories:
201
kcal
|
Carbohydrates:
23
g
|
Protein:
6
g
|
Fat:
11
g
|
Saturated Fat:
2
g
|
Polyunsaturated Fat:
3
g
|
Monounsaturated Fat:
5
g
|
Trans Fat:
0.03
g
|
Cholesterol:
2
mg
|
Sodium:
94
mg
|
Potassium:
156
mg
|
Fiber:
2
g
|
Sugar:
20
g
|
Vitamin A:
25
IU
|
Calcium:
21
mg
|
Iron:
0.5
mg
For important food safety advice, including guidance on food allergies and proper food handling, please refer to official food safety resources.
More Delicious Recipes Featuring Peanuts
Peanuts are incredibly versatile, lending their distinctive flavor and satisfying crunch to a wide array of dishes, from savory meals to sweet treats. If you love peanuts as much as we do, you’ll definitely want to try these other fantastic recipes:
- Satay Chicken Stir Fry: A quick and flavorful weeknight dinner, this stir-fry combines tender chicken with a rich, creamy peanut satay sauce and udon noodles for an unforgettable meal.
- Eggless Peanut Butter Chocolate Chip Cookies: Perfect for those with egg allergies or anyone looking for a chewy, delightful cookie. These cookies are packed with the classic combination of peanut butter and chocolate.
- Creamy Peanut Butter Porridge: Start your day with a comforting bowl of creamy oatmeal infused with the rich, nutty flavor of peanut butter. It’s a hearty and satisfying breakfast that will keep you energized.
- Lithuanian Lazy Cookies – Tinginys: A unique no-bake dessert that’s incredibly easy to make. Tinginys (meaning “lazy”) is a rich, chocolatey, and biscuity treat that often incorporates crushed peanuts or biscuits for texture.
