Effortless 2-Ingredient Flatbread: Your New Go-To No-Yeast, No-Knead Recipe
Do you often find yourself avoiding baking any kind of bread, perhaps breaking into a cold sweat at the mere thought of yeast, kneading, or complex rising times? Fear not, aspiring baker! This remarkably simple 2-ingredient flatbread recipe – which becomes a perfect 3-ingredient wonder with just a pinch of salt – is precisely what you need to transform your kitchen confidence.
Forget the typical bread-making ordeal. This recipe is a genuine celebration of simplicity and culinary ease. There’s absolutely no strenuous kneading, no stressful yeast dramas, and no lengthy proofing periods. Instead, you’ll discover straightforward, stress-free goodness that yields incredibly soft, versatile flatbreads every single time.
Beyond its incredible ease, this homemade flatbread also offers a healthier alternative to many store-bought options. It purposefully skips the addition of unnecessary oils or refined sugars, allowing the natural flavors of its simple ingredients to shine through. Yet, this humble flatbread is a magnificent canvas, eagerly embracing any enhancements you wish to add.
Imagine jazzing up your flatbread with the zesty kick of finely chopped jalapeños, the fragrant aroma of fresh herbs like rosemary or cilantro, or the bold, earthy notes of your favorite spices, such as Nigella seeds, cumin, or paprika. The possibilities are truly endless.
Serve these versatile flatbreads as a delightful side dish to complement your main course, transform them into an elegant appetizer alongside your favorite dips, use them as flexible wraps for delicious savory fillings, or even turn them into an effortless and quick pizza base for a homemade family meal.

Why You’ll Love This Foolproof 2-Ingredient Flatbread Recipe
This easy 2-ingredient flatbread recipe isn’t just a kitchen hack; it’s a culinary revelation that brings a host of benefits to home cooks of all skill levels. Here’s why this no-yeast, no-knead flatbread will quickly become a staple in your household:
Effortless & Beginner-Friendly: Conquer Your Bread Baking Fears
For those intimidated by traditional bread-making, this recipe is a true game-changer. It eliminates the complexities of working with yeast, the physical exertion of kneading, and the anxiety of waiting for dough to rise. With just two main ingredients, it’s virtually foolproof, making homemade bread accessible to everyone. You’ll be amazed at how easily you can create fresh, soft flatbreads from scratch, boosting your confidence in the kitchen with every batch.
Unbelievably Versatile: A Culinary Chameleon
The adaptability of this Greek yogurt flatbread is simply astounding. It can serve as a healthier replacement for dinner rolls or store-bought naan, becoming the perfect accompaniment to almost any meal. Use it as a hearty side dish, a delightful appetizer, a flexible wrap for your favorite fillings, or even as a quick and easy pizza base. Its neutral flavor profile makes it suitable for both savory and even sweet applications.
A Healthier, Homemade Alternative
Choosing this homemade 2-ingredient flatbread means opting for a healthier lifestyle. Unlike many commercial breads that contain added oils and sugars, this recipe keeps it clean and simple. You’re in control of the ingredients, ensuring a wholesome option for your family. It’s a delicious way to enjoy fresh bread without any unnecessary additives.
Infinitely Customizable Flavors
While delicious on its own, this easy flatbread truly shines when customized. It’s a blank canvas ready for your creative touch. Mix in chopped fresh herbs like cilantro or parsley for an aromatic twist, experiment with ground spices such as cumin or paprika for a global flair, or add a pinch of chili flakes for a subtle kick. Brushing the cooked flatbreads with flavored butter (garlic, herb, or plain melted butter) is another fantastic way to elevate their taste.
Easily Scalable to Any Size
Whether you need a single serving or enough for a crowd, this recipe effortlessly scales up or down. The key is to maintain equal weights of both the Greek yogurt and the self-raising flour. This simple ratio ensures consistent results, allowing you to prepare exactly the amount you need without complicated calculations or ingredient adjustments.
Key Ingredient Notes and Substitutions for Perfect Flatbreads
Crafting these simple yet delicious 2-ingredient flatbreads relies on understanding the role of each component. While the recipe is minimalist, selecting the right ingredients or making appropriate substitutions is crucial for the best results.
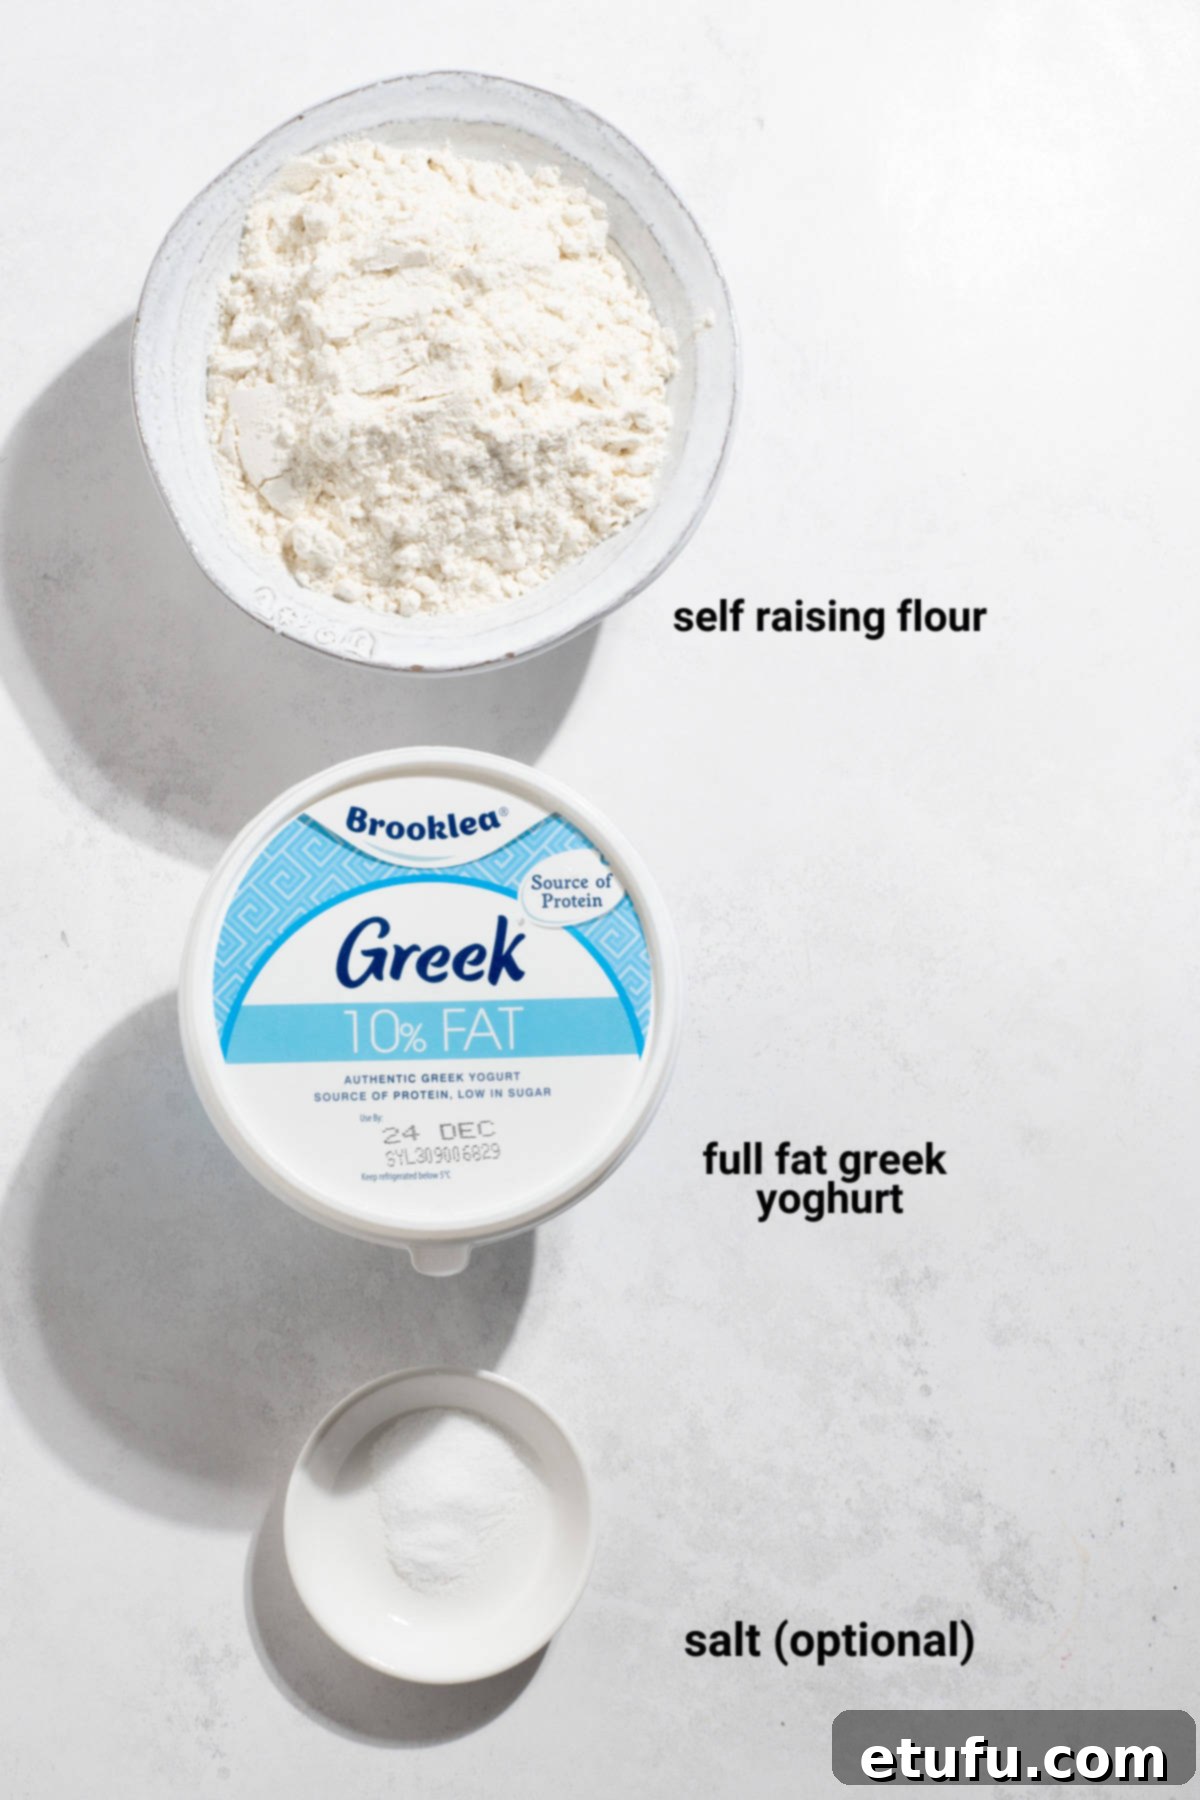
Self-raising flour (or Self-rising flour)
Using self-raising flour is absolutely crucial for the success of these 2-ingredient flatbreads. This special flour already contains a precise blend of plain flour, baking powder, and often a pinch of salt. The baking powder acts as the necessary leavening agent, which reacts with the acidity in the Greek yogurt to create pockets of air, giving the flatbreads their signature light and fluffy texture without the need for yeast.
Substitution Tip: If you find yourself without self-raising flour, don’t fret! You can easily create your own. Simply combine all-purpose (plain) flour with baking powder. A good ratio to remember is to add 1 level teaspoon of baking powder for every 100g (approximately 3.5oz) of all-purpose flour. For this recipe, if using 250g of all-purpose flour, you would add 2.5 teaspoons of baking powder.
Gluten-Free Option: For those following a gluten-free diet, this recipe is adaptable. You can swap traditional self-raising flour with its gluten-free counterpart. Many brands now offer excellent gluten-free self-raising flour blends that work beautifully. Alternatively, you can create your own gluten-free self-raising flour by combining a gluten-free all-purpose flour blend with the appropriate amount of baking powder using the ratio mentioned above.
Greek yoghurt
The choice of yogurt is paramount to the texture and consistency of your 2-ingredient flatbread dough. We specifically recommend Greek yogurt for a very good reason: its unique thickness. Greek yogurt is significantly denser and has less water content compared to other plain yogurts, making it ideal for creating a manageable, non-sticky dough.
We typically use a full-fat version of Greek yogurt for a richer flavor and slightly softer texture, but a low-fat or even fat-free Greek yogurt will also work well. The critical factor is its thickness. If you opt for a thinner plain yogurt, the dough will become excessively sticky and challenging to handle, making it difficult to shape your flatbreads evenly. Adding more flour to compensate for a thin yogurt will throw off the carefully balanced ingredient ratio, potentially leading to tough or dry flatbreads.
Quick Tip for Perfect Consistency: When you open a container of Greek yogurt, you might notice a thin layer of liquid (whey) on top. This is perfectly normal. For the best dough consistency, always drain off any excess liquid before you measure and add your yogurt to the flour. This ensures the yogurt’s thickness is consistent and prevents the dough from becoming too wet.
Salt (Optional but Highly Recommended)
While this recipe is famously known as a “2-ingredient” flatbread, we strongly advocate for making it a 3-ingredient wonder by including salt. While salt isn’t essential for the dough’s structure or leavening, it dramatically enhances the overall flavor profile of your flatbreads. We typically use about half a teaspoon of salt in this recipe, but we highly recommend adding a pinch to suit your personal taste preferences.
A little salt goes a long way in bringing out the subtle tang of the Greek yogurt and complementing any additional herbs or spices you might incorporate. It truly transforms the flatbread from merely good to absolutely delicious!
How to Make 2-Ingredient Flatbreads: Step-by-Step Guide
Creating these easy flatbreads is an incredibly rewarding process, and with these detailed steps, you’ll be a flatbread master in no time. Follow along to achieve perfect, soft, and flavorful homemade bread.
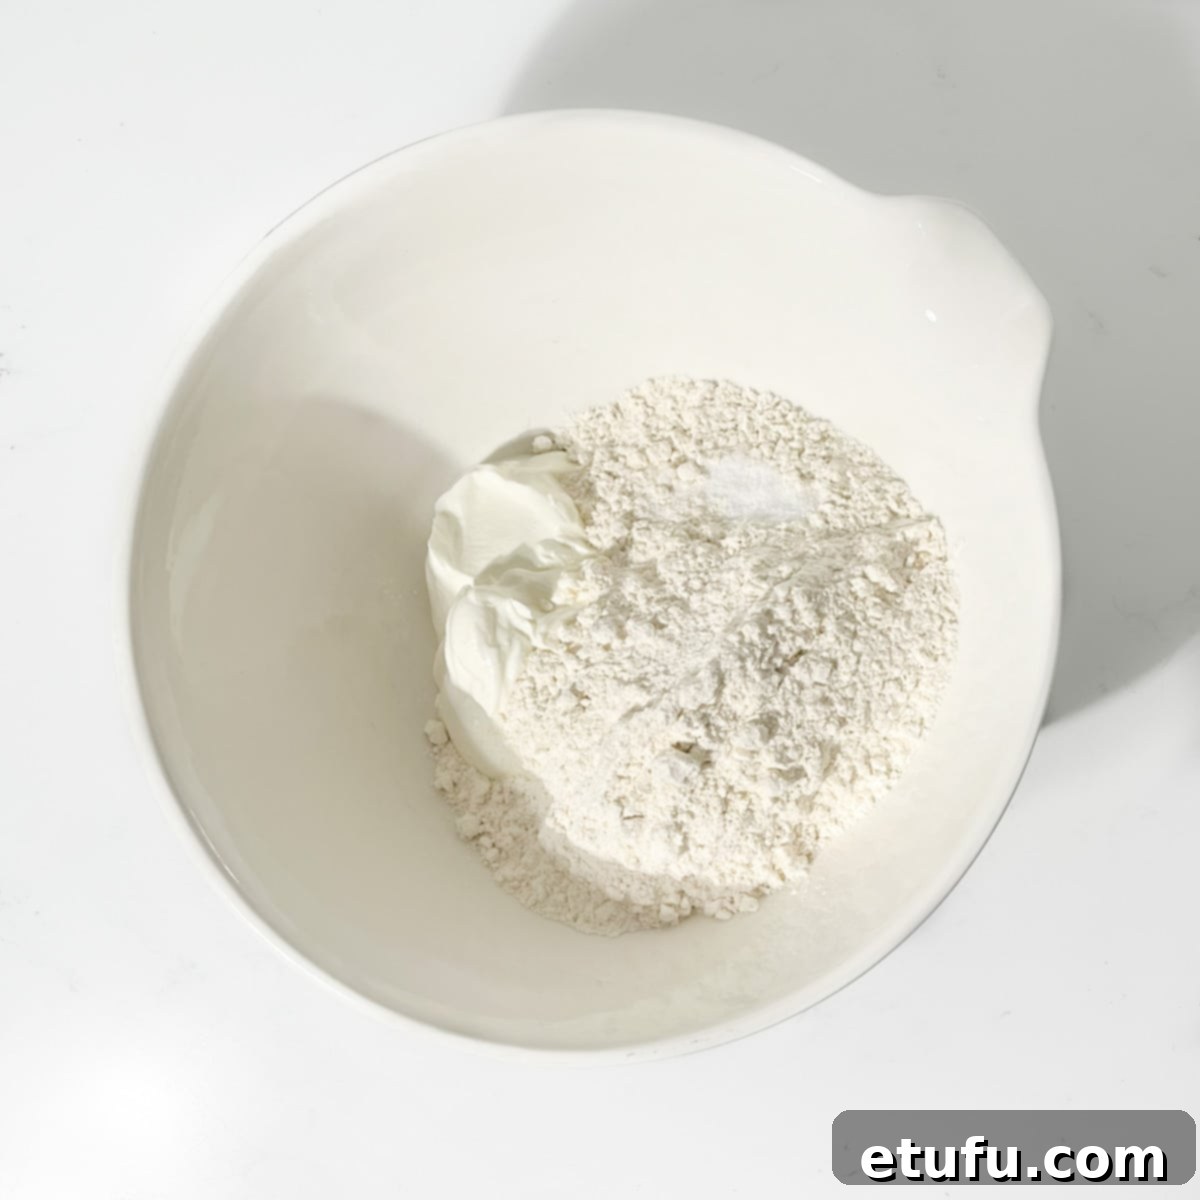
Combine the Ingredients in a Large Bowl
Begin by adding the measured self-raising flour, the thick Greek yogurt, and your optional (but recommended!) pinch of salt to a large mixing bowl. Ensure your bowl is spacious enough to comfortably mix the dough.
Bring the Dough Together

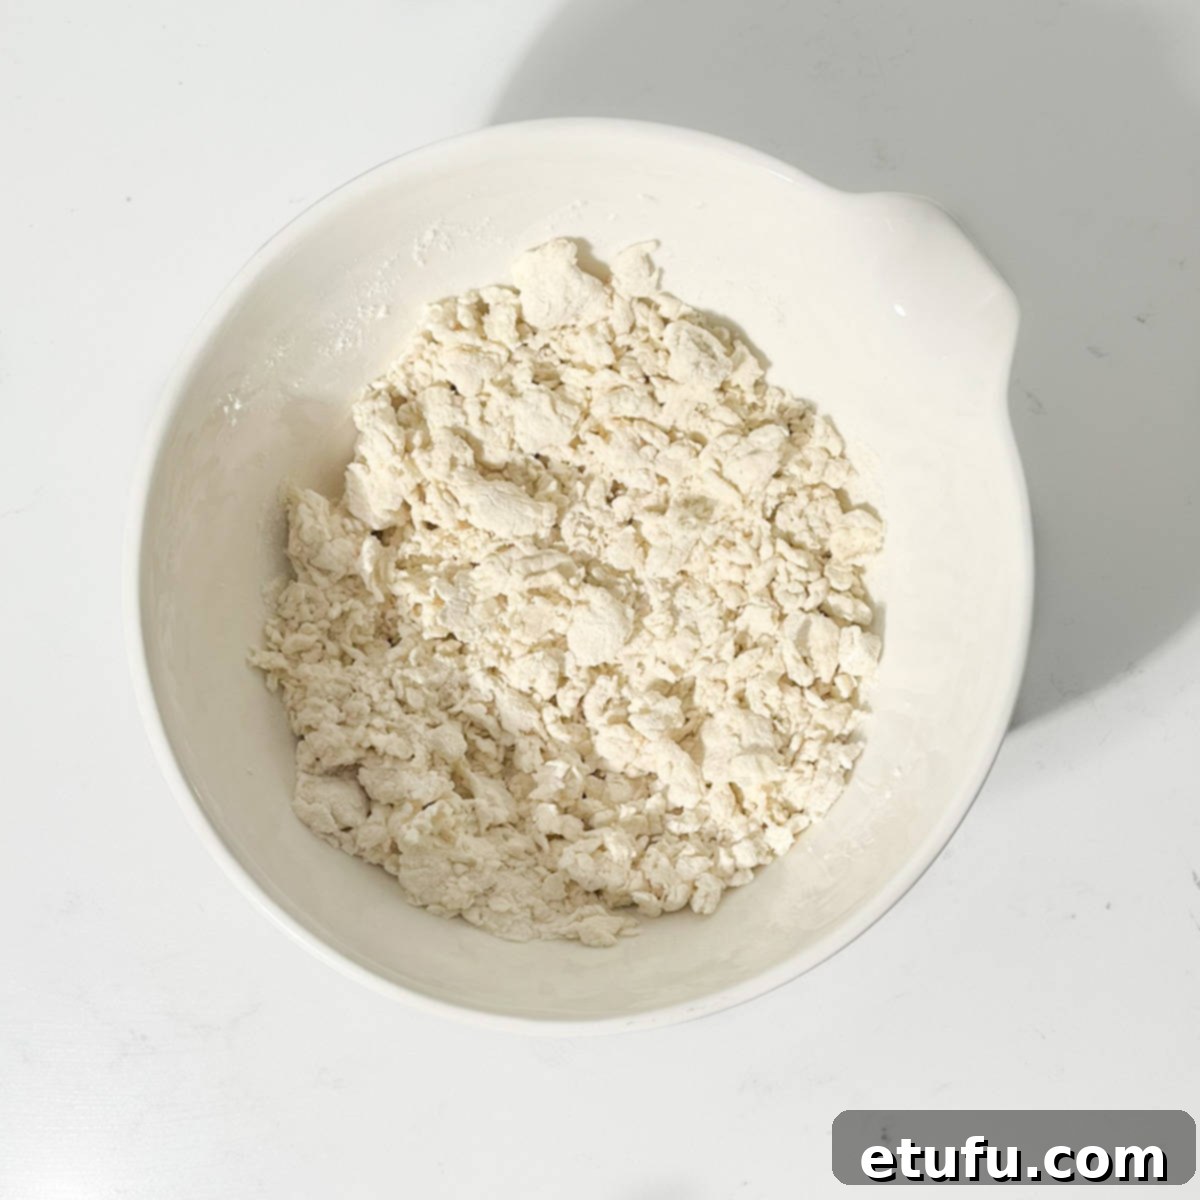
Using a sturdy wooden spoon or a spatula, start to mix the ingredients. At this initial stage, the mixture will appear quite crumbly and dry – this is completely normal and expected. Continue mixing until the ingredients just begin to clump together. While a stand mixer with a dough hook attachment could be used, it’s truly not necessary for this simple dough, and mixing by hand is perfectly sufficient.
Form the Dough into a Ball (No Kneading!)

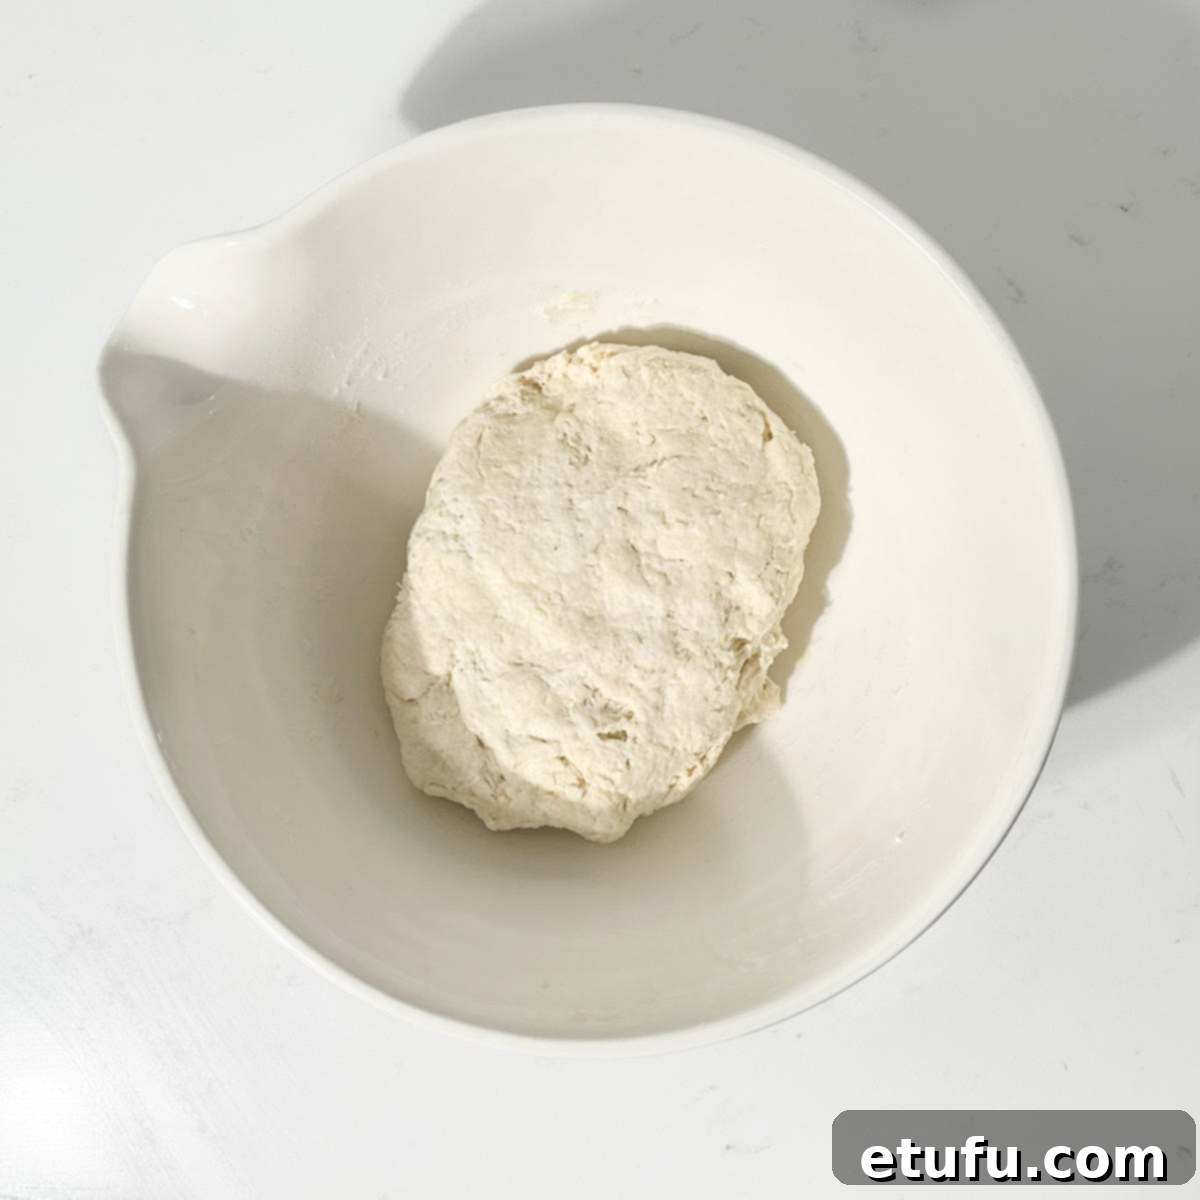
Once the mixture is mostly combined with the spoon, set it aside. Now, using your hands, gather the crumbly mixture and gently form it into a cohesive ball. Make sure to scoop up any dry flour remaining at the bottom of the bowl and incorporate it into the dough. Remember, there’s absolutely no need for traditional kneading here; simply bring the dough together into a smooth, single mass.
Rest the Dough for Optimal Texture
Cover the bowl with a clean kitchen towel or plastic wrap and let the ball of dough rest at room temperature for at least 20 minutes. This resting period is crucial! It allows the flour to fully hydrate and absorb the moisture from the Greek yogurt. This process makes the dough much easier to handle when rolling and ensures a softer, more pliable, and ultimately better-textured flatbread.
Prepare Your Work Surface
While the dough is resting, prepare your work surface. Lightly spread a thin layer of olive oil or lightly dust the surface with a small amount of flour. Both methods help prevent the dough from sticking as you roll it out.
Shape the Dough into a Sausage

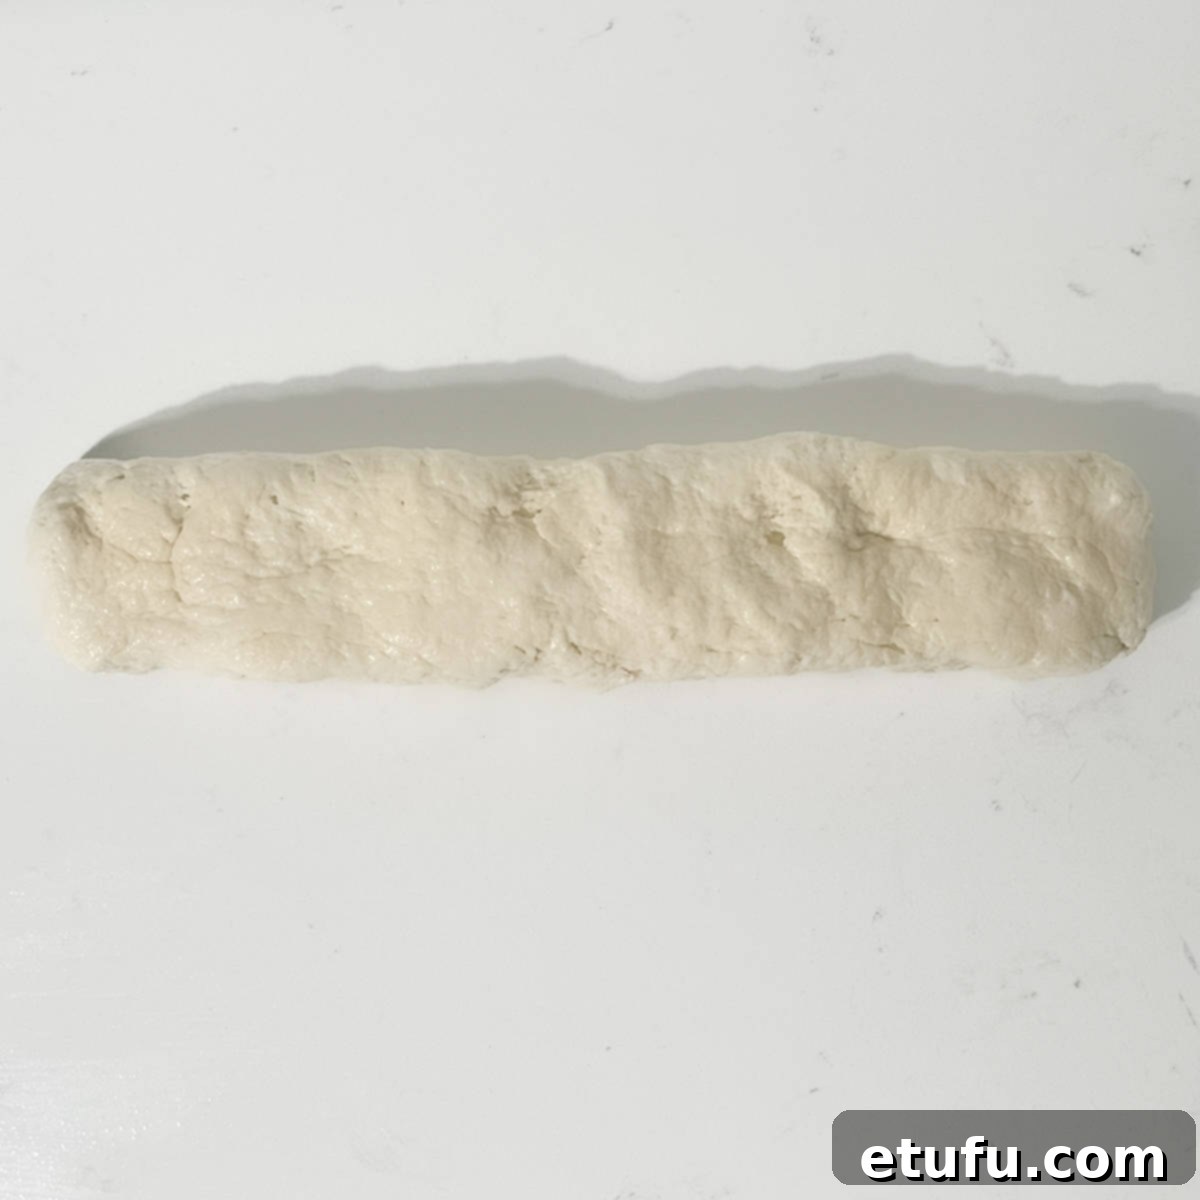
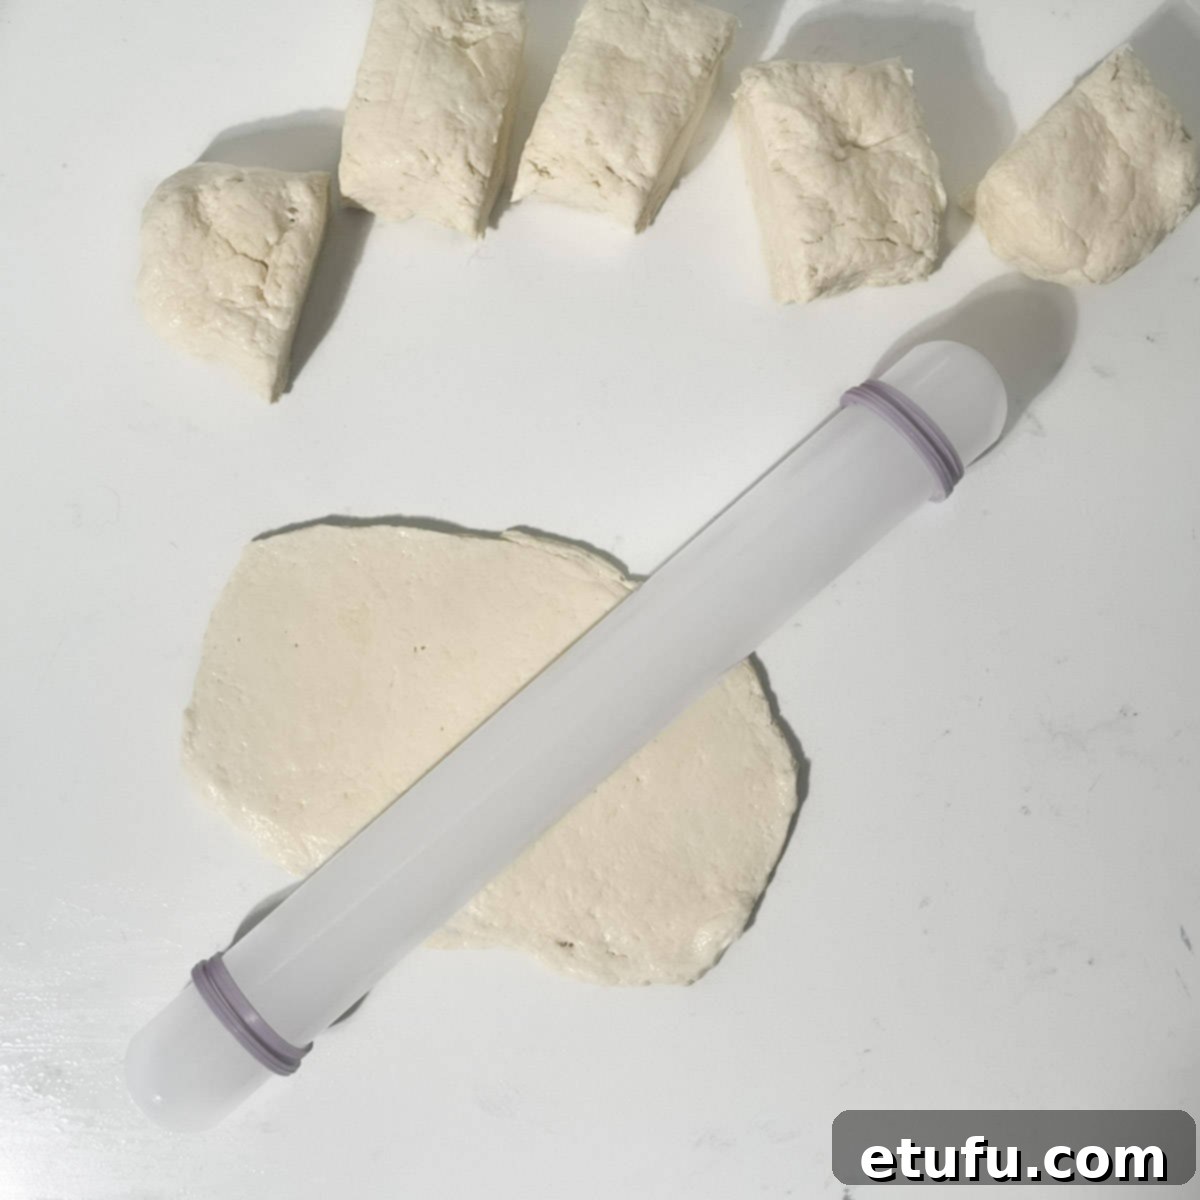
After the 20 minutes of resting time, transfer the dough ball to your prepared work surface. Gently roll and shape the dough into a uniform sausage-like cylinder. This makes it easier to divide into equal portions.
Divide the Dough into Portions

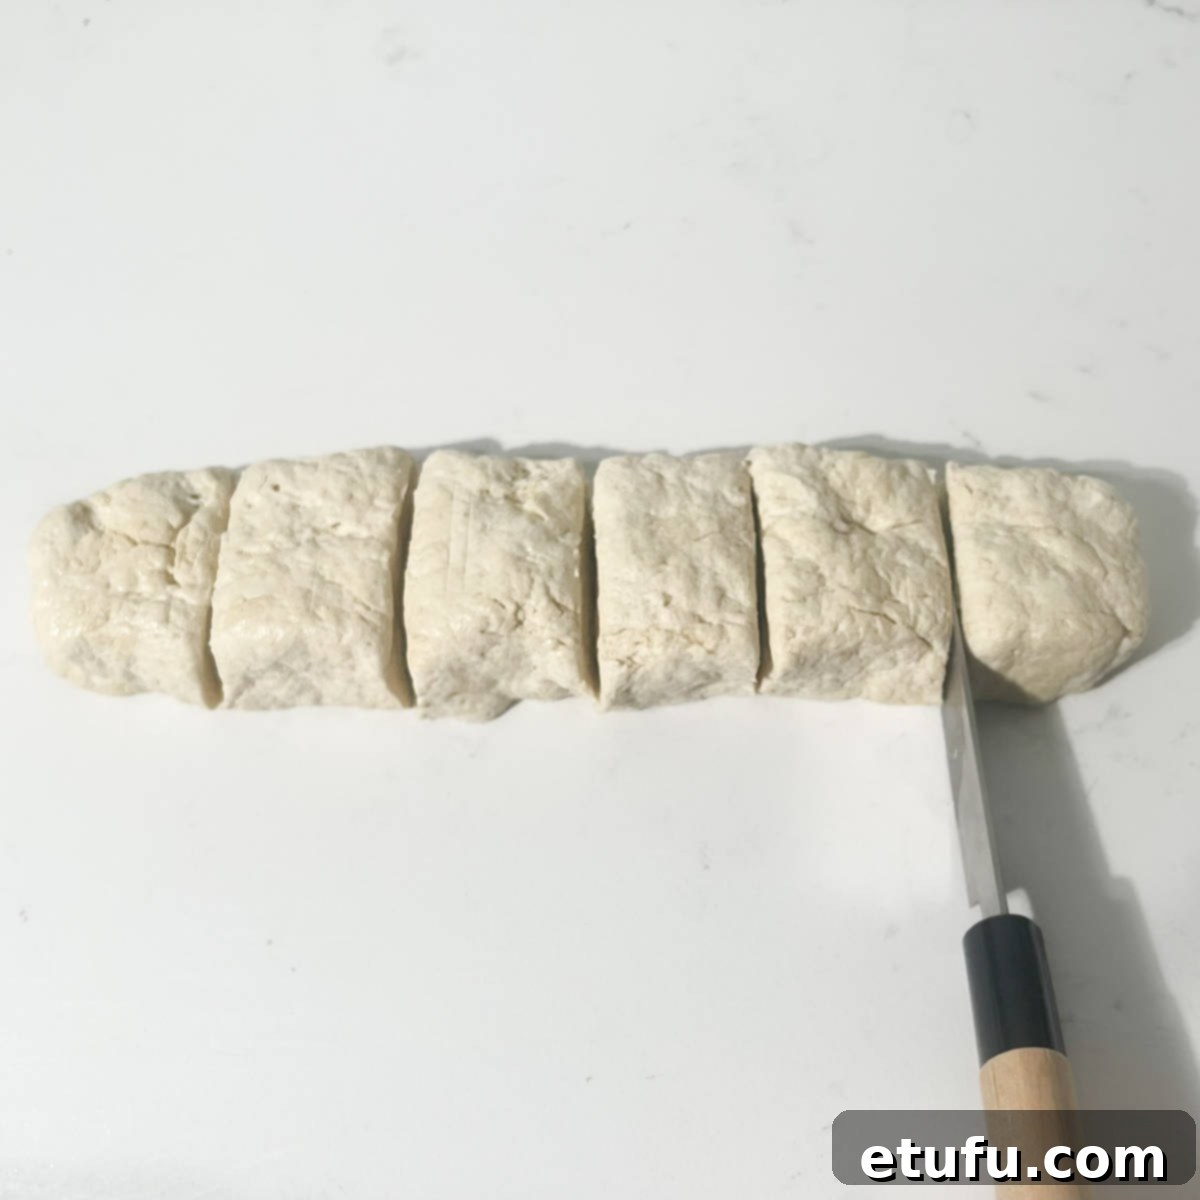
Using a sharp knife or a dough scraper, carefully slice the sausage-shaped dough into six equal portions. Try to make them as uniform as possible to ensure even cooking.
Roll Out Each Flatbread


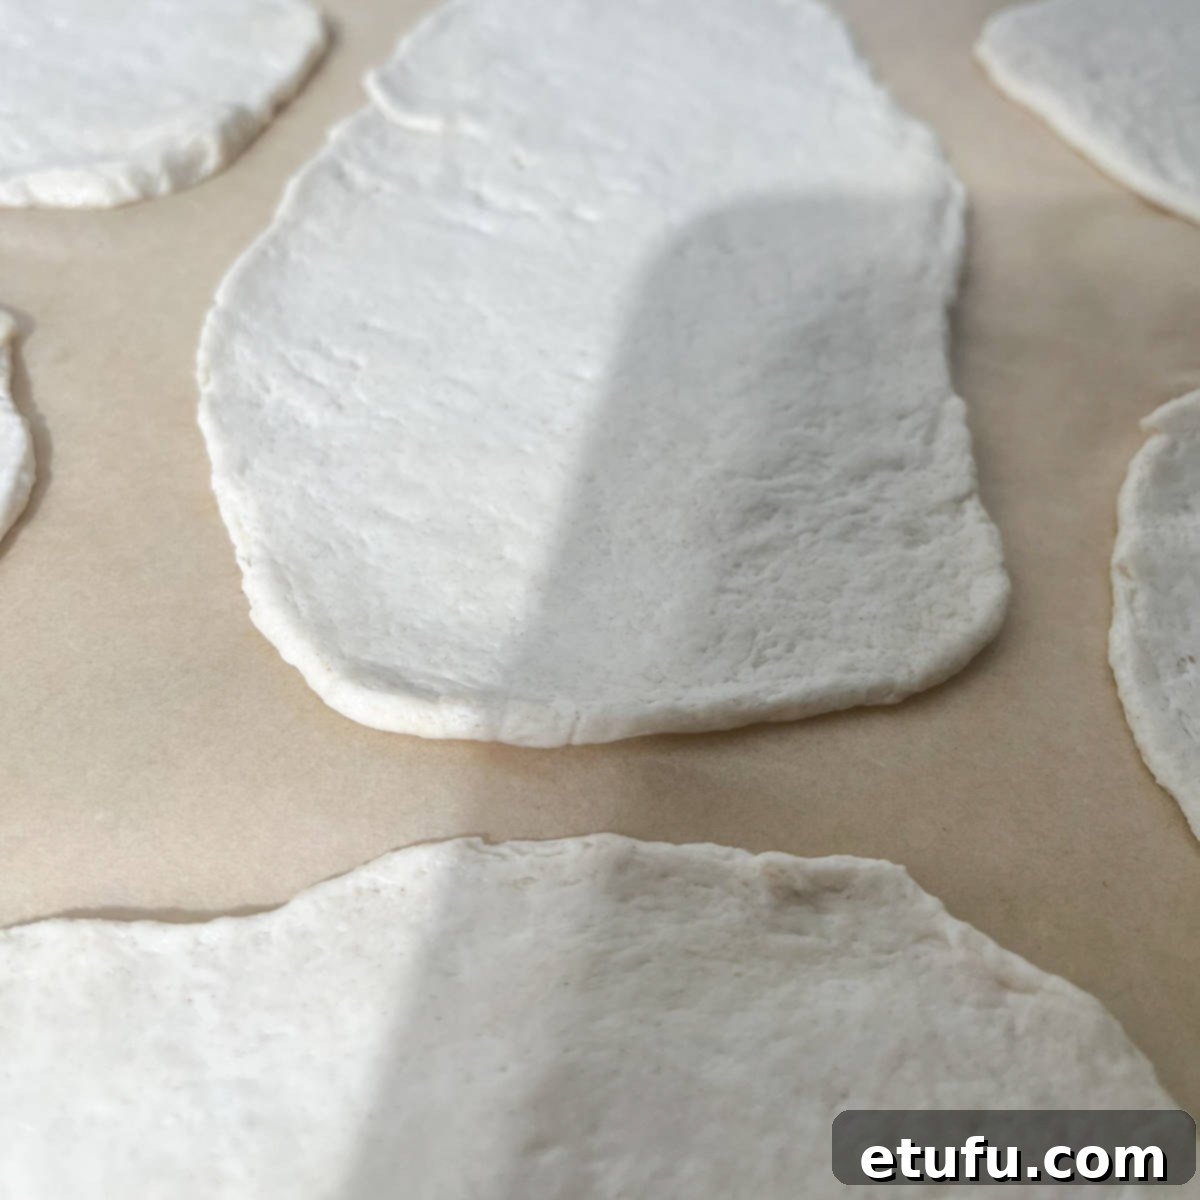
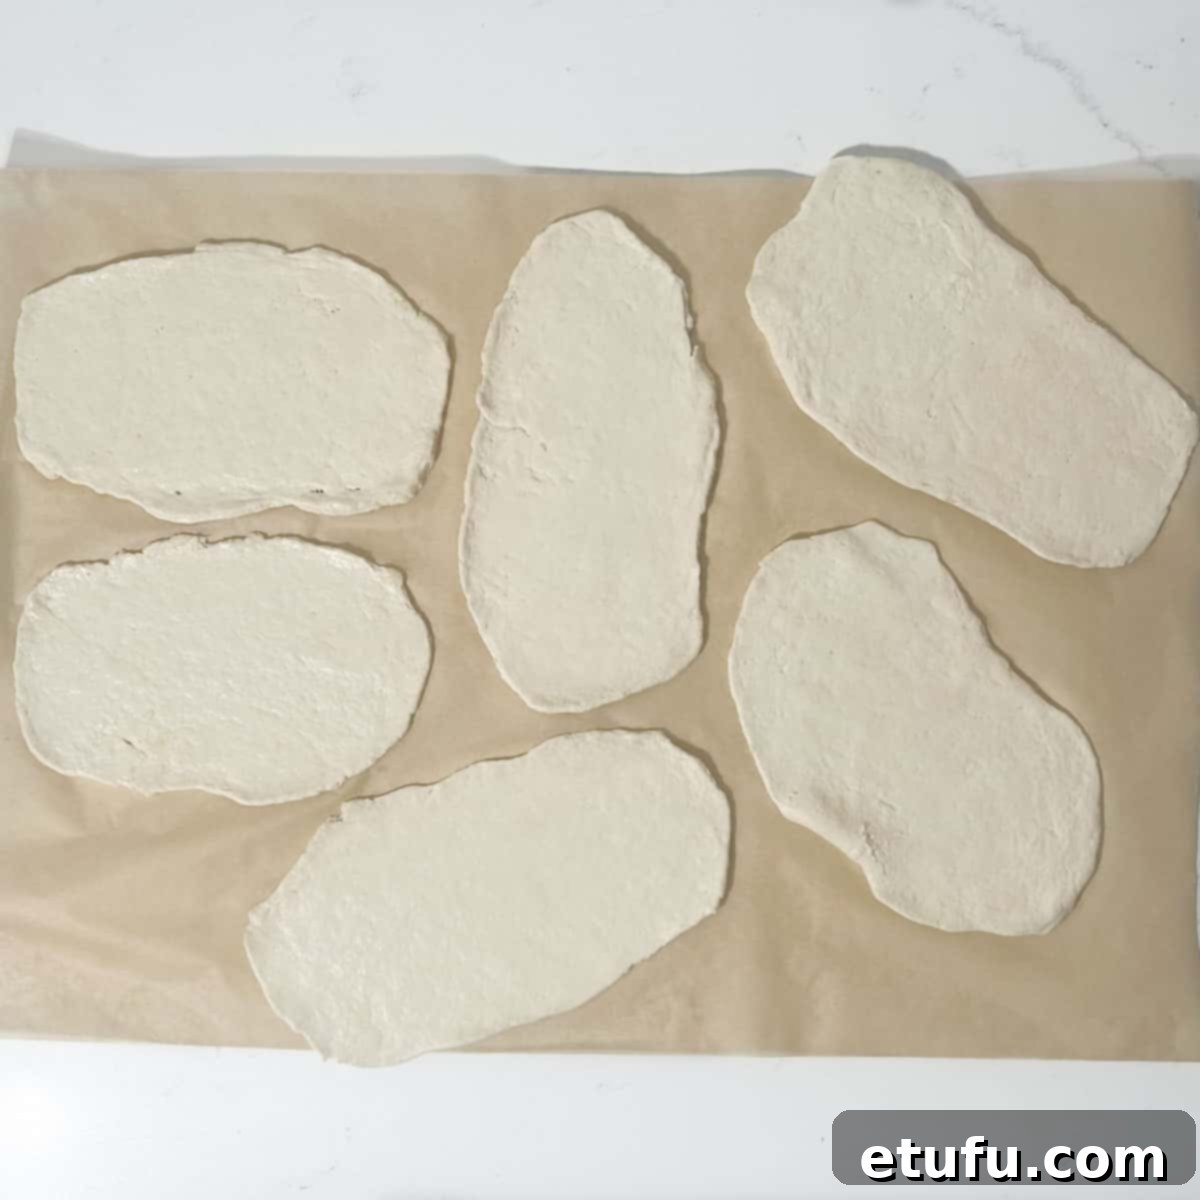
Take one portion of dough and, using a rolling pin, roll it out to an approximate thickness of 5mm (0.2 inches). You can shape it into a traditional round, an oval, or any rustic shape you prefer. Repeat this process for all six pieces of dough.
Prepare for Cooking

Once all your flatbreads are rolled out, place them on a sheet of parchment or baking paper. This keeps them from sticking to your counter and makes them easy to transfer to the hot pan.
Heat Your Frying Pan
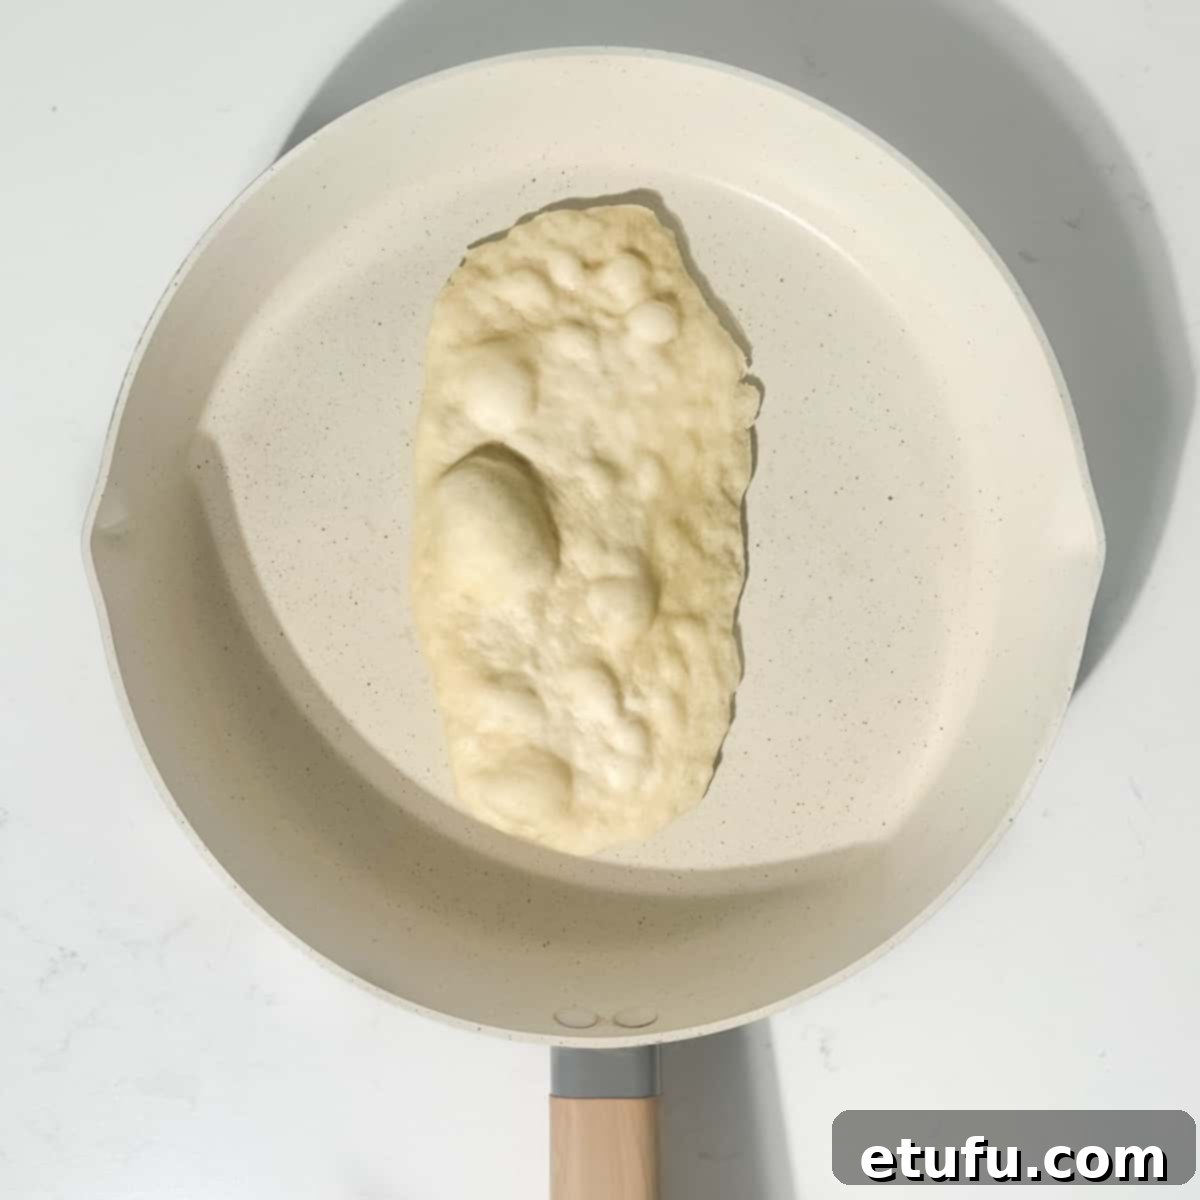
Place a large frying pan (a non-stick pan or a cast iron skillet works best) over medium-high heat on your stovetop. It’s crucial not to add any oil, butter, or cooking spray to the pan at this stage. The dry heat is what helps the flatbreads cook and puff up beautifully.
Cook Each Flatbread to Perfection


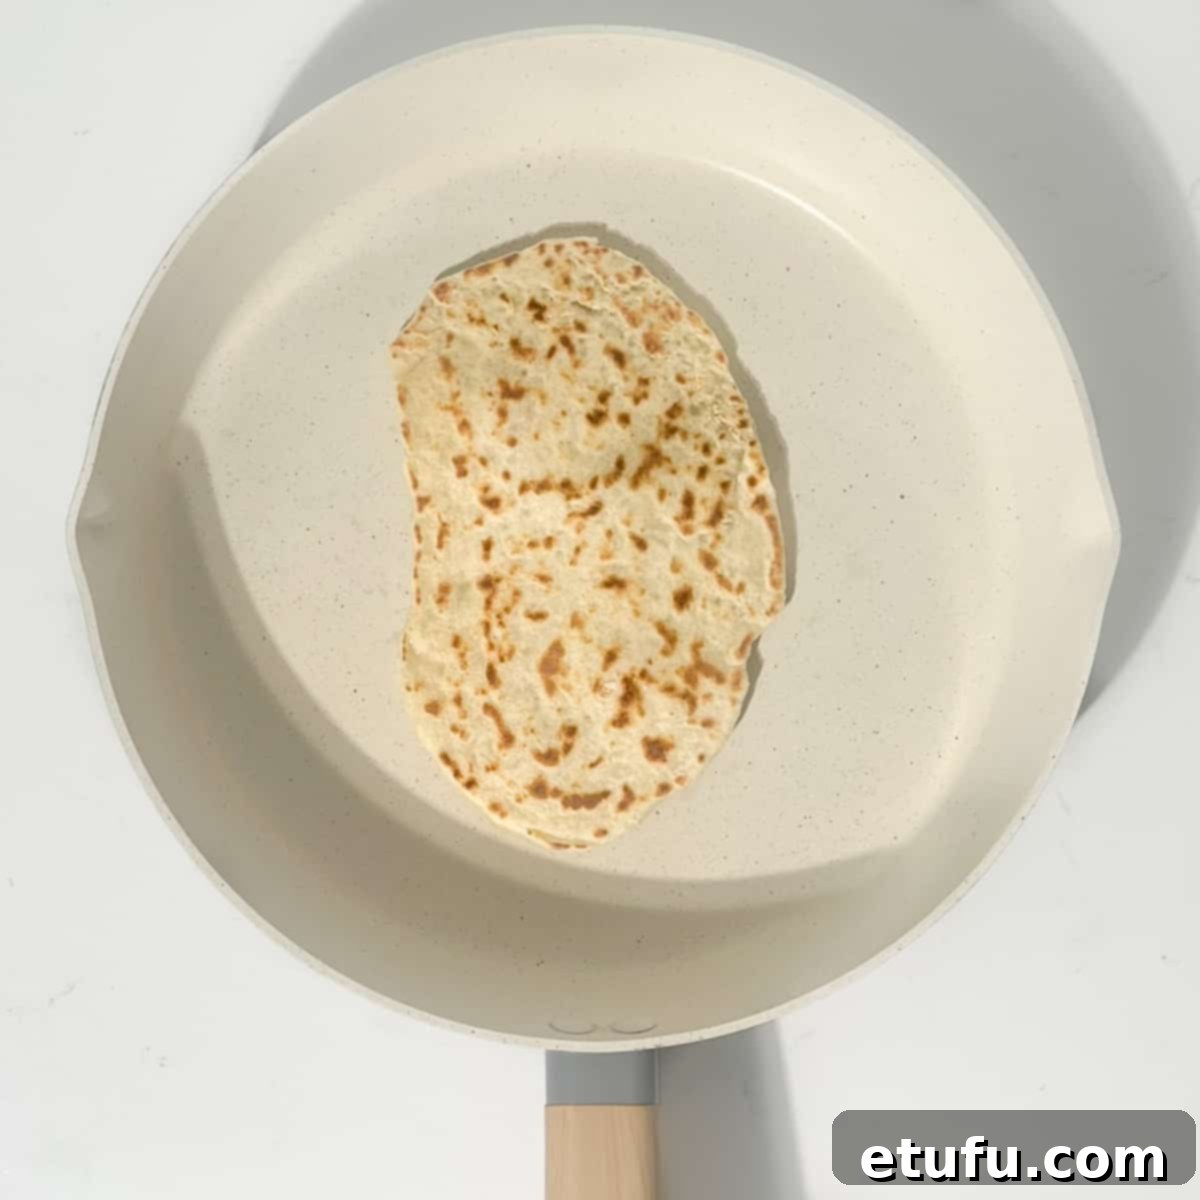
Once your pan is hot, carefully place one rolled-out piece of dough into the dry pan. Cook for approximately 1.5 – 2 minutes per side. You’re looking for golden-brown spots and some beautiful charred marks to appear, indicating it’s cooked through. The flatbread might even puff up slightly, creating air pockets. If you notice the flatbreads browning too quickly, reduce the stove heat to medium to prevent burning and ensure even cooking.
Keep Warm and Repeat
As each flatbread cooks, transfer it to a plate and cover it with a clean kitchen towel. This helps to keep the cooked flatbreads warm and prevents them from drying out, maintaining their soft and pliable texture. Repeat the cooking process for all remaining flatbreads.
Add Finishing Touches and Serve

For an extra burst of flavor and a beautiful sheen, brush the tops of your warm flatbreads with plain melted butter, garlic butter, or a fragrant herb butter immediately after cooking. Serve your homemade 2-ingredient flatbreads warm and enjoy!
Creative Variations to Elevate Your 2-Ingredient Flatbreads
While delicious in its purest form, this 2-ingredient flatbread recipe is an ideal base for culinary creativity. Experiment with these additions to customize your flatbreads to suit any meal or craving:
Savory Flavor Infusions
- Fresh Herbs: Mix in 1-2 tablespoons of finely chopped fresh herbs like coriander (cilantro), rosemary, thyme, chives, or parsley directly into the dough for an aromatic touch.
- Ground Spices: Add ½ – 1 teaspoon of ground spices such as cumin, smoked paprika, garlic powder, onion powder, or a dash of curry powder. Nigella seeds sprinkled on top before cooking also add a unique flavor and visual appeal.
- Grated Cheese: Fold in ¼ cup of grated cheese like sharp cheddar, pungent Parmesan, or crumbled feta for cheesy, savory flatbreads.
- Aromatic Additions: Incorporate 1 teaspoon of minced garlic or 1 tablespoon of finely fried onion for deeper savory notes.
- Nuts or Seeds: Mix in a tablespoon of sesame seeds, poppy seeds, or sunflower seeds for added texture and a nutty flavor.
- Spicy Kick: For those who love heat, add ¼ – ½ teaspoon of chili flakes or 1-2 tablespoons of finely diced jalapeños (deseeded for less heat).
Sweet Indulgences (New Idea!)
- Cinnamon Sugar: Mix 1 teaspoon of cinnamon with 1 tablespoon of sugar into the dough, or sprinkle it on top after brushing with butter for a sweet dessert flatbread.
- Lemon or Orange Zest: Add a teaspoon of citrus zest for a bright, refreshing aroma.
Endless Serving Possibilities for Your Homemade Flatbread
The versatility of these easy 2-ingredient flatbreads truly knows no bounds. From quick snacks to elaborate meals, they can adapt to countless culinary applications. Here are some inspiring serving suggestions to get you started:
The Ultimate Side Dish or Appetizer
- Simple Enhancements: Spread with plain melted butter, garlic butter, or your favorite herb butter for a classic side. Cream cheese or herbed cream cheese also makes a delightful topping.
- Dip Accompaniment: Cut the flatbreads into triangles and serve them alongside a vibrant selection of dips. They’re perfect with hummus, cooling tzatziki, rich romesco sauce, zesty pesto, or fresh salsa with a dollop of sour cream.
Build Your Own Wraps and Sandwiches
- Savory Wraps: Fill them with avocado slices, fresh tomatoes, crisp lettuce, and your protein of choice (grilled chicken, falafel, seasoned paneer).
- Breakfast Wraps: Create a hearty breakfast wrap by filling with fluffy scrambled eggs, crispy bacon or sausage, and melted grated cheese.
- Lunchtime Sandwiches: Use them as a unique alternative to traditional bread for sandwiches, packed with deli meats, cheeses, and fresh veggies.
Transform into Quick Pizzas or Quesadillas
- Effortless Pizza Base: Top with your favorite pizza sauce, a generous layer of cheese, and any toppings you desire for a quick and easy homemade pizza that cooks up in minutes.
- Cheesy Quesadillas: Sandwich a layer of grated cheese and other fillings (like cooked chicken, beans, or sautéed vegetables) between two flatbreads, then grill in a hot pan until the cheese is melted and gooey.
- Mini Appetizer Pizzas: Cut smaller pieces of flatbread, top with sauce and cheese, and bake or grill for delightful bruschetta-style bites or mini pizzas.
Delicious Sweet Applications
- Sweet Spreads: Spread with Nutella, honey, various fruit jams, or even apple butter for a quick and satisfying dessert or sweet snack.
- Cinnamon Sugar Treat: Brush with melted butter and sprinkle generously with a cinnamon-sugar mixture for a sweet, chewy delight.
Creative Global Dishes
- Homemade Tacos: Fill with seasoned ground meat, shredded chicken, or plant-based protein, along with fresh salsa, guacamole, and your favorite taco toppings for soft, customizable “tacos.”
Storing and Reheating Your Homemade Flatbreads for Freshness
One of the many advantages of making your own 2-ingredient flatbreads is their excellent storage capacity. With a few simple tips, you can keep them fresh and delicious for future enjoyment, ensuring you always have a wholesome option on hand.
Room Temperature Storage
Allow your leftover flatbreads to cool completely after cooking. Once cooled, store them in an airtight container or a zip-top bag at room temperature. They will remain wonderfully soft and fresh for 2-3 days. If you’ve brushed them with butter (especially garlic or herb butter), it’s advisable to transfer them to the refrigerator after the first day to maintain freshness and prevent spoilage.
Refrigeration Guidelines
If you need to extend their shelf life beyond a few days, or if they contain perishable toppings or butter, refrigerating your flatbreads is a good option. Store them in an airtight container for up to 5 days. They might become slightly firmer in the fridge, but they will soften beautifully upon reheating.
Freezing for Long-Term Enjoyment
These flatbreads freeze exceptionally well, making them perfect for meal prep. To freeze, first ensure the flatbreads are completely cool. Place a sheet of parchment paper between each piece to prevent them from sticking together. Stack the flatbreads, then seal them tightly in an airtight freezer-safe container or a heavy-duty zip-top freezer bag. They can be frozen for up to three months without losing quality.
Tip for Individual Portions: For ultimate convenience, freeze flatbreads separated by parchment paper, then transfer the entire stack to a freezer bag. This allows you to grab and thaw individual portions as needed, preventing waste.
Best Ways to Reheat Flatbreads
Reheating your flatbreads properly ensures they regain their soft, pliable texture. Avoid overdoing it, as this can lead to dry or tough results.
- Dry Skillet (Recommended): Place flatbreads in a dry frying pan over medium heat for 1-2 minutes per side, or until warmed through and soft. This method often revives their texture best.
- Oven: Preheat your oven to 180°C (350°F). Lightly dampen the flatbreads with a little water, then wrap them in foil or place directly on a baking sheet. Heat for 3-5 minutes, or until warm and soft.
- Microwave: For a very quick reheat, wrap a flatbread in a damp paper towel and microwave for 15-30 seconds. Be careful not to overcook, as this can make them chewy.
Delicious Recipes to Pair with Your Homemade Flatbreads
These versatile 2-ingredient flatbreads are the perfect accompaniment to a wide array of dishes, especially hearty stews, flavorful curries, and fresh salads. Here are some fantastic recipes that pair beautifully with your freshly made flatbreads:
Taboule
Chicken Handi Curry
Seco de Pollo Chicken Stew
Nepalese Chicken Curry
Chicken Pasanda Curry
Beef Trinchado
Chicken Karahi
Beef Curry with Coconut Milk
Recipe: Easy 2-Ingredient Flatbread

Easy 2-Ingredient Flatbread (No Yeast, No Kneading)
Fear not, my friend! This foolproof 2-ingredient flatbread recipe (make it 3 with a pinch of salt) is just what you need in your life.
This is not your typical bread-baking ordeal, it’s a celebration of simplicity. No kneading, no yeast dramas, just straightforward, stress-free goodness.
Print Recipe
Side Dish
International
5
minutes
10
minutes
20
minutes
35
minutes
6
flatbreads
182
kcal
Maretha Corbett
Equipment
- 1 large frying pan
Ingredients
This recipe can be scaled to any size, as long as the weights of both the yoghurt and the flour remain equal.
-
250
grams
(1 US cup/8 oz) full-fat, plain Greek yoghurt -
250
grams
(2 US cups/8 oz) self-raising flour -
½
teaspoon
salt (optional but recommended)
**Weigh for precision, avoid cup measurements if possible.
Instructions
- Start by adding the self-raising flour, the Greek yoghurt and salt (if you are using it) to a large bowl.250 grams (1 US cup/8 oz) full-fat, plain Greek yoghurt,
250 grams (2 US cups/8 oz) self-raising flour,
½ teaspoon salt (optional but recommended) - With a spoon or spatula, bring the dough together as much as possible. It might look a bit crumbly at this stage.
- Set the spoon aside and form the dough into a ball using your hands. Ensure you gather any remaining dry flour at the bottom of the bowl. No need to knead, just get it well mixed into a single mass.
- Let the dough rest for 20 minutes. This time allows the flour to absorb more moisture, making the dough easier to handle and ensuring a better texture for the flatbreads.
- On your work surface, spread a thin layer of oil or lightly dust it with flour.
- After 20 minutes, shape the dough ball into a sausage shape.
- Using a sharp knife, slice the dough into six equal portions.
- Roll each piece of dough to about 5mm (0.2″) thickness, shaping it into any shape you prefer.
- Place the rolled flatbreads on a sheet of parchment or baking paper, ready for baking.
- Heat a large frying pan over medium-high heat, without any oil, butter or cooking spray.
- Once the pan is hot, add a rolled-out piece of dough to the pan and cook for about 1.5 – 2 minutes per side or until it’s lightly browned with some brown spots.
- Repeat the process for all the flatbreads. Keep the cooked ones on a plate under a clean kitchen towel to stay warm and soft.
- For an extra touch, brush the tops of the warm flatbreads with plain melted butter, garlic butter or herb butter. Serve warm.
**Nutritional Data Disclaimer**
Please keep in mind that the nutritional information provided below is calculated by a third party, and we cannot guarantee its absolute accuracy. We strive our best to offer the most accurate information possible, but we do not take responsibility for any errors that may be present. Furthermore, the nutritional value of this recipe may vary depending on the exact brands and products you choose to use. We strongly recommend that you consult with a qualified healthcare professional or a registered dietitian for personalized advice tailored to your dietary needs.
Nutrition
Calories:
182
kcal
|
Carbohydrates:
32
g
|
Protein:
9
g
|
Fat:
2
g
|
Saturated Fat:
1
g
|
Polyunsaturated Fat:
0.3
g
|
Monounsaturated Fat:
0.1
g
|
Cholesterol:
2
mg
|
Sodium:
215
mg
|
Potassium:
42
mg
|
Fiber:
1
g
|
Sugar:
2
g
|
Vitamin A:
25
IU
|
Calcium:
55
mg
|
Iron:
0.4
mg
For comprehensive food safety advice, including guidance on food allergies, please consult official guidelines.
