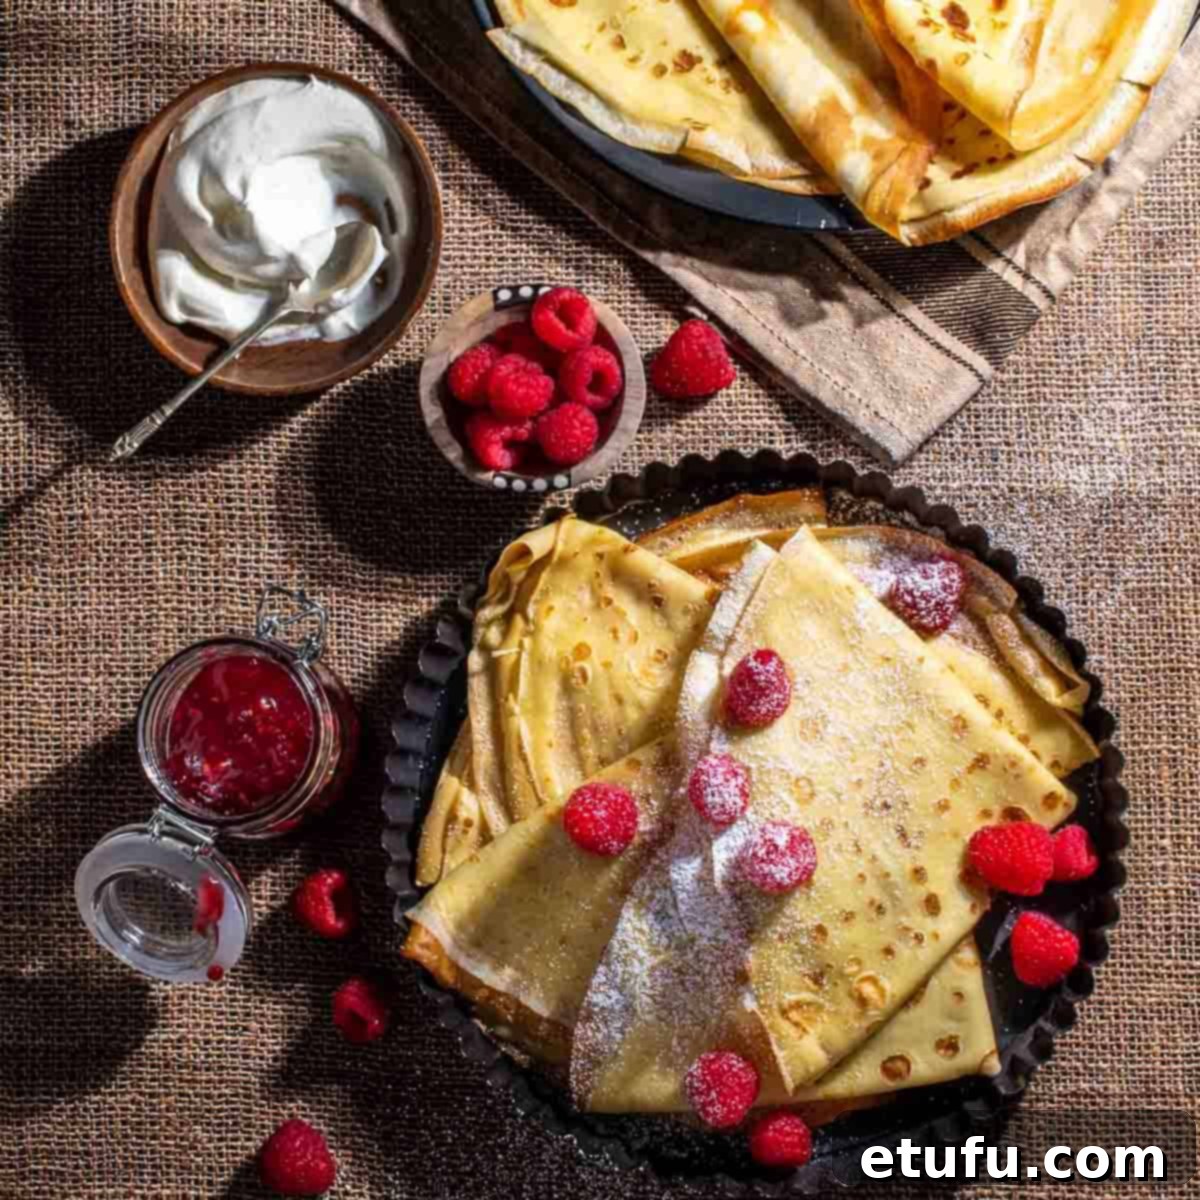
An Epicurean Adventure to Denmark: Mastering Pandekager
Pandekager: The Ultimate Guide to Crispy-Edged Danish Pancakes
Embark on a delightful culinary journey to Denmark from the comfort of your kitchen by mastering the art of Pandekager, also affectionately known as Danish pancakes. These thin, delicate pancakes with their signature crispy edges are a beloved staple in Danish households, reminiscent of classic French crêpes but with their own distinct charm.
Unlike their fluffy American counterparts, Pandekager do not rely on leavening agents, resulting in a beautifully flat and pliable pancake that serves as a perfect canvas for a myriad of sweet or savoury toppings. The secret to their allure lies in achieving those irresistible, slightly golden, crispy edges – a true hallmark of an authentic Danish pancake.
In Denmark, Pandekager transcend a single mealtime. They are a popular and versatile treat enjoyed equally for a comforting breakfast, a leisurely brunch, or as an indulgent dessert. For many Danish families, the recipe for Pandekager is more than just a list of ingredients; it’s a culinary legacy, a special tradition passed down through generations, each family often adding its unique touch. Our meticulously crafted recipe, for instance, incorporates a clever use of oil directly into the batter, simplifying the cooking process and ensuring your pancakes effortlessly glide off the pan without sticking, making flipping an absolute breeze.
The beauty of Pandekager lies in their adaptability. They can be savored with a seemingly endless array of toppings and fillings. Imagine them warm, dusted with powdered sugar and a squeeze of fresh lemon, or slathered with your favorite berry jam. For a richer experience, Nutella or dulce de leche offer a decadent sweetness. And for those who dare to explore beyond the sweet, Pandekager can even take on a savoury persona, pairing exquisitely with luxurious smoked salmon and creamy cheese, offering a sophisticated twist on a traditional treat. They are also an ideal breakfast-in-bed surprise for loved ones on special occasions, like Mother’s Day or Father’s Day, adding a touch of homemade warmth and affection.
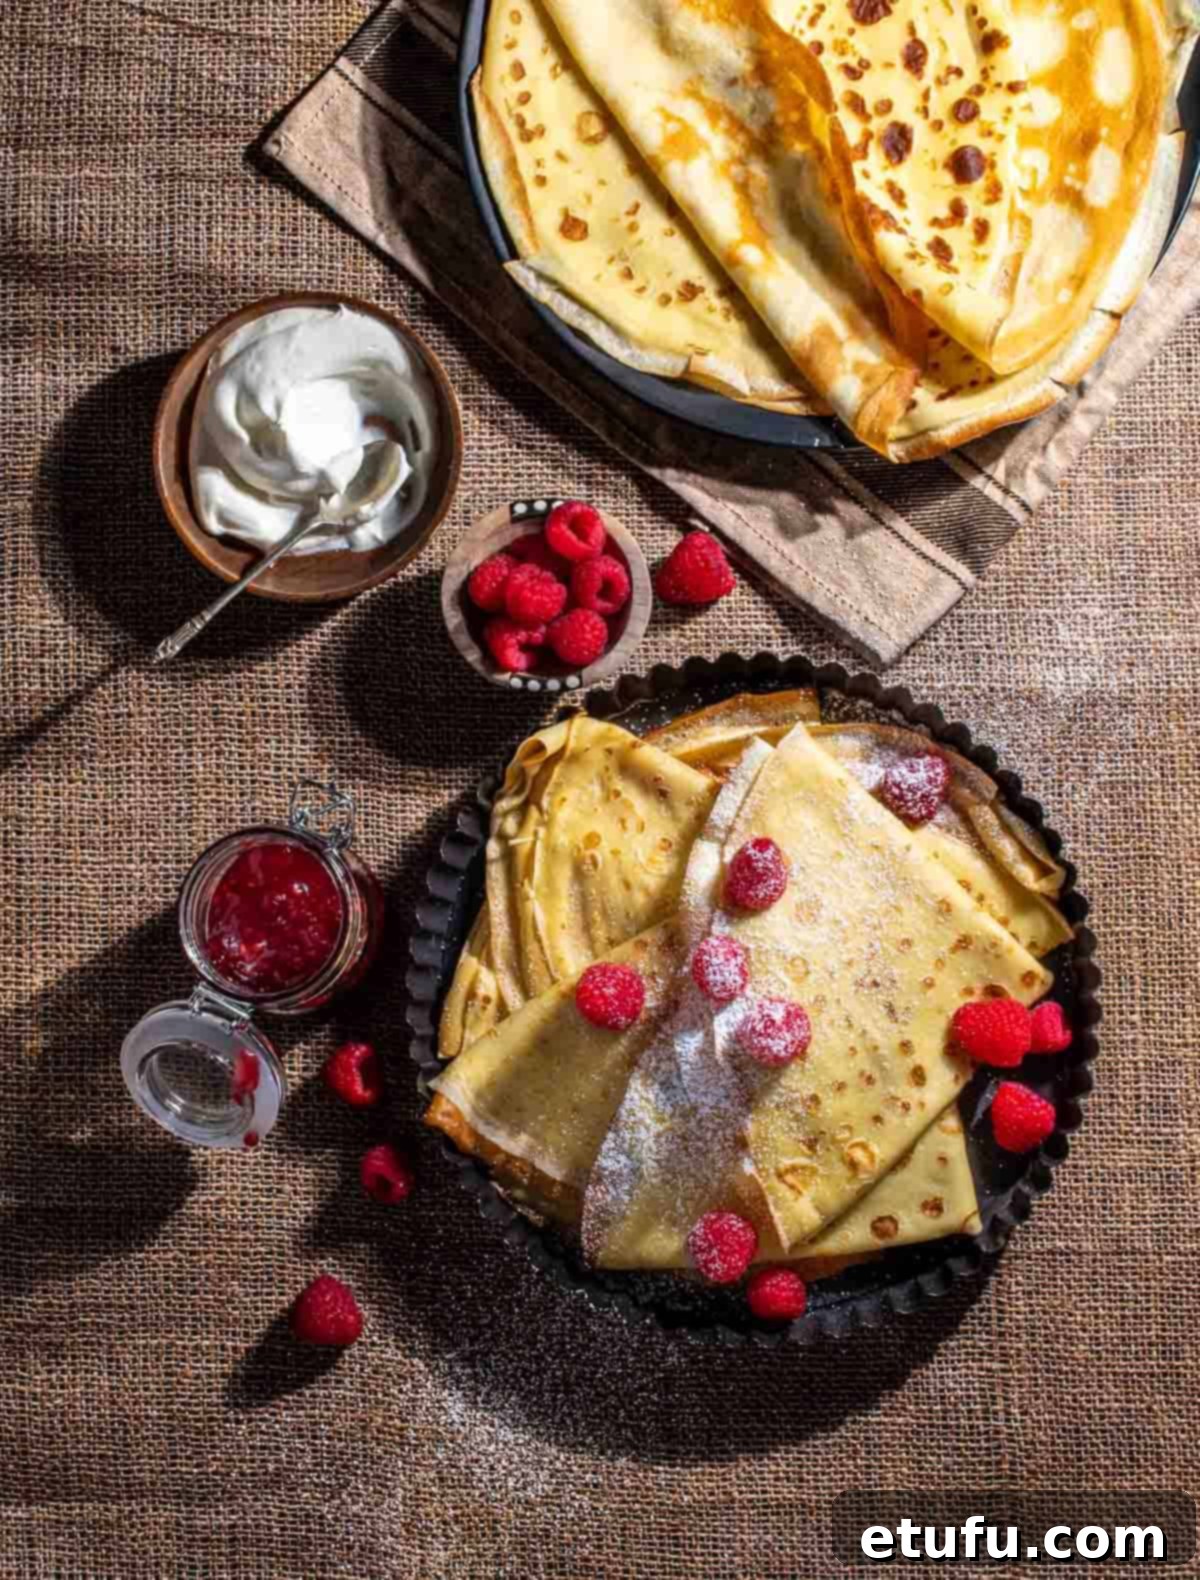
Why Pandekager are a Danish Delight
What makes Pandekager so special in Danish culture? It’s not just their delicious taste, but also their simplicity and versatility. They embody the concept of ‘hygge’ – a Danish and Norwegian word for a mood of coziness and comfortable conviviality with feelings of wellness and contentment. Preparing and sharing Pandekager with family and friends creates such moments of warmth and togetherness. Whether served with a simple sprinkle of sugar or an elaborate spread of jams, fresh fruits, and whipped cream, they bring joy to any occasion. Their thin structure means they cook quickly, making them perfect for a spontaneous treat or a leisurely weekend breakfast that feels luxurious without being overly complicated.
Fast facts – Denmark: A Nordic Gem

| Location | Denmark is a captivating country situated in Northern Europe, holding the distinction of being the southernmost of the Nordic nations. It shares a land border with Germany to the south and boasts an extensive, picturesque coastline along both the North and Baltic Seas. This geographical position has historically made Denmark a significant maritime power and a cultural crossroads. |
| Language | The official language of Denmark is Danish, a vibrant North Germanic language closely related to Norwegian and Swedish. While Danish is widely spoken, you’ll find that many Danes are highly proficient in English and German, especially in urban areas and among younger generations. The country also acknowledges small populations speaking Greenlandic, Faroese, and other minority languages, reflecting its diverse heritage. |
| Population | With a population of approximately 5.8 million people, Denmark is a relatively small nation but boasts a high quality of life, a strong sense of community, and a rich cultural landscape. Its population is known for its high levels of happiness and social trust, contributing to its reputation as one of the best countries to live in. |
| Trivia | Denmark is proudly home to the oldest monarchy in Europe and ranks among the oldest continuous monarchies in the entire world! The Danish monarchy’s roots trace back to the venerable Viking Age, encompassing a fascinating history that spans more than a millennium. Today, the Danish monarchy functions as a constitutional monarchy, where the reigning monarch primarily fulfills a ceremonial role, acting as a unifying figurehead and a symbol of national identity for the country. This blend of ancient tradition and modern governance is a unique aspect of Danish society. |
| Hygge | Beyond its geographical and political facts, Denmark is perhaps most famous for the concept of ‘Hygge’ (pronounced ‘hoo-gah’). This untranslatable word encompasses a feeling of coziness, contentment, and well-being through enjoying the simple things in life, often with loved ones. Think candlelight, warm blankets, good food (like Pandekager!), and relaxed conversation. Hygge is not just a trend; it’s a fundamental part of Danish national character and lifestyle. |
Key Ingredient Notes and Substitutions for Perfect Pandekager
Achieving the perfect Pandekager texture – thin, pliable, and with those desirable crispy edges – hinges on understanding the role of each ingredient. Here’s a closer look at what goes into our recipe and why:
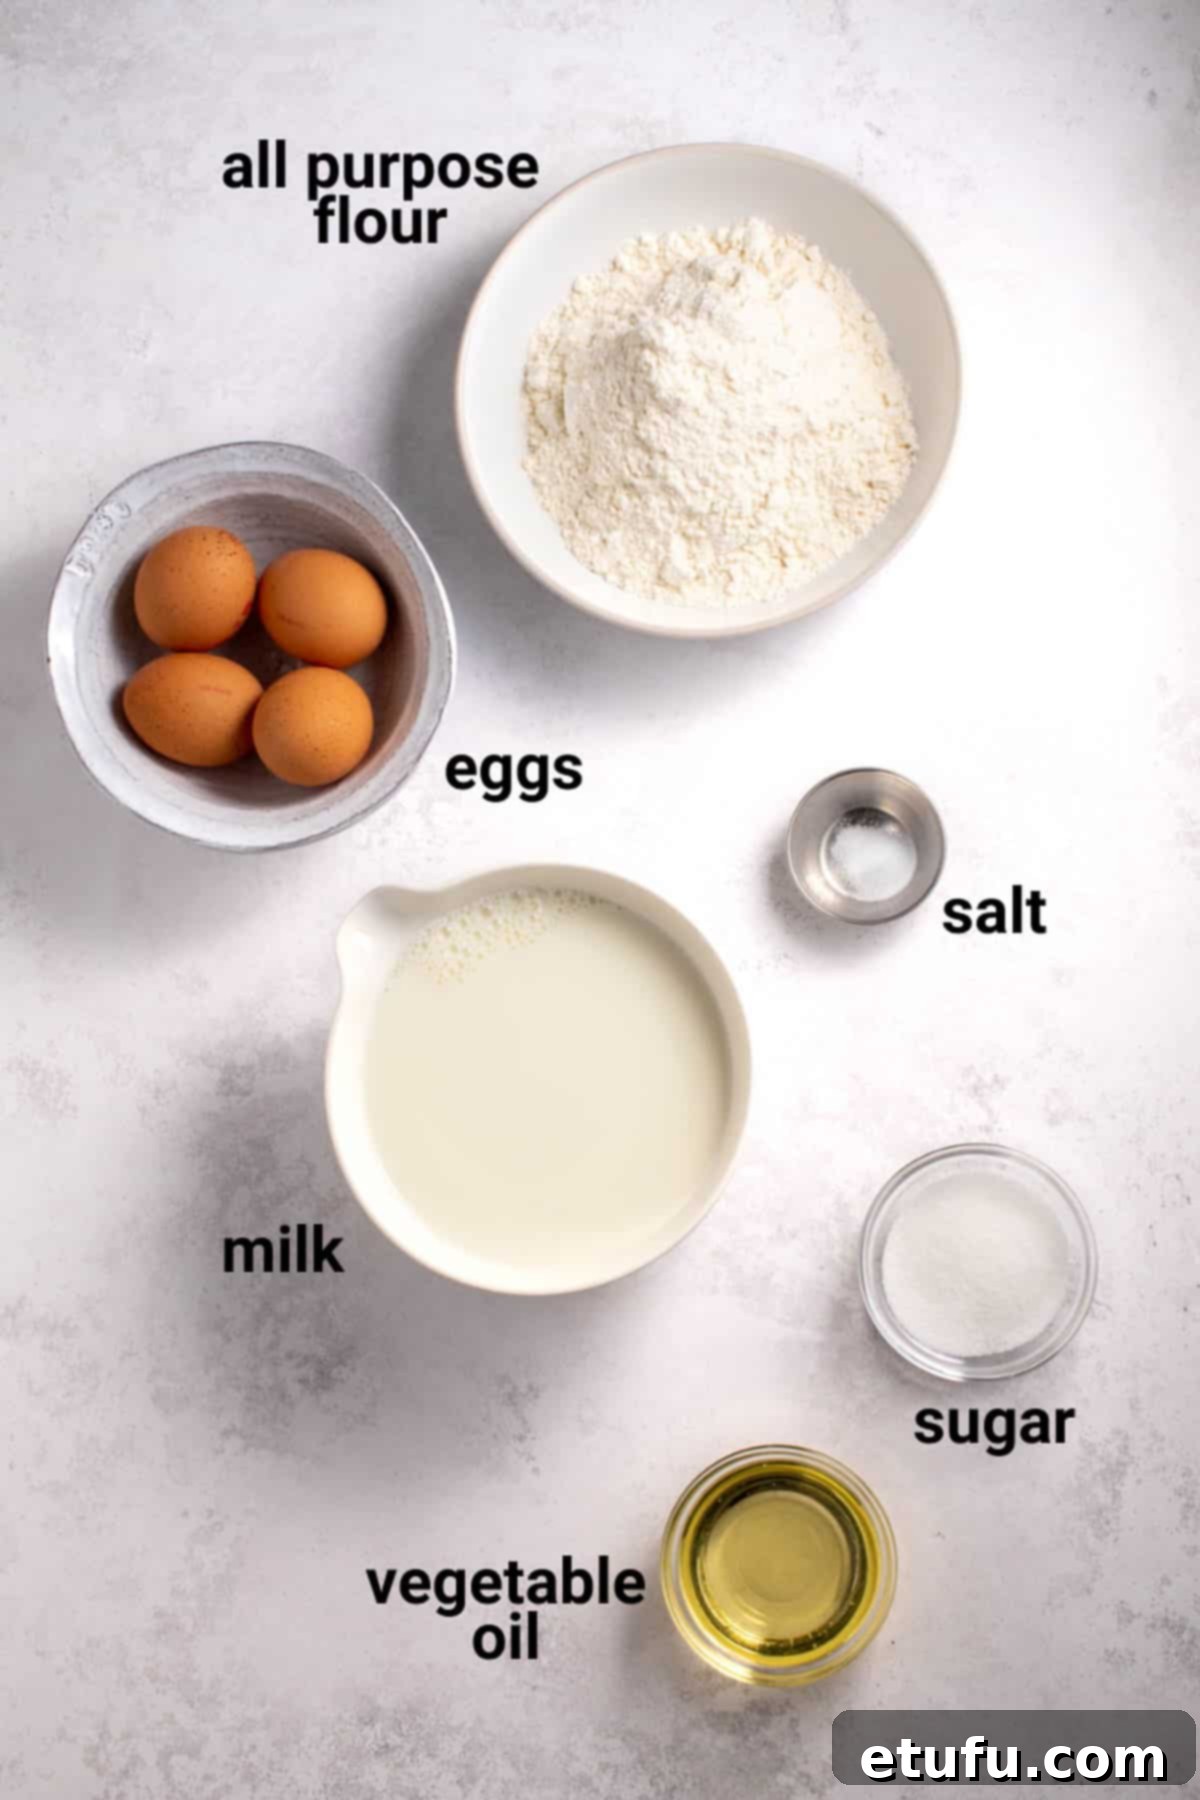
All-Purpose Flour
Unlike many fluffy pancake recipes that call for self-raising flour, we specifically opt for plain, all-purpose flour for Pandekager. This is crucial because we want our pancakes to be thin and delicate, with minimal rise. Self-raising flour would introduce too much aeration, resulting in a cake-like texture that isn’t authentic to the Danish style. Using plain flour ensures a smooth, consistent batter that spreads easily and bakes into a crisp, flat pancake. You can use gluten-free all-purpose flour as a substitute, though results may vary slightly in texture.
Sugar
A modest amount of granulated sugar is added to the batter. This not only provides a subtle sweetness that complements various toppings but also aids in achieving those lovely golden-brown, crispy edges when the pancakes cook. Feel free to adjust the sugar content slightly to your preference; for a more dessert-oriented pancake, you might add a touch more, while for savoury applications, you could reduce it.
Salt
A small but essential quarter teaspoon of salt is incorporated into this recipe. Salt is a flavor enhancer, balancing the sweetness and bringing out the depth of the other ingredients. It doesn’t make the pancake taste salty, but rather enriches its overall profile. If you’re planning a predominantly savoury Pandekager, you might consider increasing the salt to half a teaspoon, but always taste your batter first to ensure it matches your preference.
Milk
Our recipe uses semi-skimmed milk, which provides a good balance of richness without being overly heavy. However, Pandekager are forgiving, and you can readily substitute with other types of milk. Full cream milk will yield a slightly richer pancake, while skimmed milk will result in a lighter texture. For a dairy-free alternative, unsweetened almond milk or oat milk work wonderfully and integrate seamlessly into the batter.
Vegetable Oil
This is one of the key innovations in our recipe, making the entire cooking process remarkably easy. By incorporating vegetable oil directly into the batter, we ensure that the pancakes are inherently non-stick. This means you’ll hardly need any additional oil in the pan, and they will flip over with astonishing ease, minimizing the frustration of broken pancakes. We recommend a neutral-flavored oil like sunflower, canola, or grapeseed oil. Apart from the oil in the batter, you will only need a tiny smidgen for the pan itself. Simply add a few drops to a piece of kitchen paper and use it to lightly wipe out the pan before cooking the first pancake.
Eggs
Eggs are vital for binding the ingredients together, providing structure, and contributing to the rich flavor of the Pandekager. As with most baking recipes, room-temperature eggs tend to mix more thoroughly and evenly with other ingredients, resulting in a smoother batter. That being said, we’ve successfully made this recipe using fridge-cold eggs before without encountering any significant issues, so don’t fret if you forget to take them out in advance.
Optional Flavor Enhancers
While delicious on their own, you can elevate your Pandekager with a few optional additions:
- Cardamom Powder: A pinch (about ¼ teaspoon) of ground cardamom adds a distinctly Nordic aroma and flavor, making your pancakes even more authentic.
- Vanilla Sugar or Extract: A teaspoon of vanilla sugar or pure vanilla extract can enhance the sweetness and provide a comforting, familiar aroma.
- Lemon Zest: For a bright, fresh flavor, add a teaspoon of finely grated lemon zest to the batter. This pairs beautifully with sweet toppings.
About the Frying Pan: Your Essential Tool
The right frying pan is a game-changer when it comes to making perfect Pandekager. For truly exceptional results, the ideal choice is a good quality non-stick pan that features a flat bottom and, crucially, low sides. This specific design makes a world of difference when it comes to flipping these delicate pancakes, allowing you to easily slide a spatula underneath without tearing them.
A dedicated crêpe pan, typically 10-12 inches in diameter, is arguably the best tool for the job. Its very low, gently sloped sides are designed precisely for this kind of thin pancake, making the flipping process almost effortless. However, if you don’t own a crêpe pan, a standard 10-12 inch non-stick frying pan will work exceptionally well. The key is its non-stick surface, which prevents the batter from adhering and ensures a smooth release. While you can certainly use a normal frying pan of any size, if it’s not non-stick, you might need to be a little more generous with the oil when greasing the pan, and exercise extra patience when flipping.
Top tip: If you find yourself frequently making pancakes or crêpes and are tired of sticking issues, consider adding a specialized crêpe pan to your Christmas wish list or next kitchen appliance upgrade. It’s a truly wonderful investment that will revolutionize your pancake-making experience. The low sides aren’t just for show; they genuinely make it so much easier to maneuver your spatula and flip delicate pancakes with confidence and precision.
Why You Should Not Be Afraid to Bake Pancakes: Tips and Tricks for Success
Many people find the idea of baking pancakes, especially thin ones like Pandekager, quite intimidating. Perhaps you’ve had frustrating past attempts, or maybe you’re a complete novice in the world of pancake making. Don’t let those fears hold you back! With a few simple yet effective tips and tricks, you can quickly overcome any apprehension and transform into a confident pancake pro in no time, whipping up perfect Pandekager with ease and enjoyment.
- Start with a Reliable Recipe: The foundation of success is a well-tested recipe. Look for recipes that, like ours, contain oil or butter within the batter itself. This intrinsic fat content acts as a natural non-stick agent, significantly reducing the chances of your pancakes adhering stubbornly to the pan, and making the entire process smoother.
- Invest in Quality Equipment: A good non-stick pan is paramount. Ideally, a dedicated crêpe pan with its characteristic low sides is a fantastic investment. These features are specifically designed to make it much easier to slide a spatula under the thin pancake and execute a smooth flip without the pancake sticking, tearing, or breaking apart.
- Patience with Heat Management: There’s no need to rush the process. When pouring the batter into the hot pan, it’s often helpful to briefly remove the pan from the direct heat. This allows you to evenly spread the batter across the surface without it cooking too quickly at the edges. The pan doesn’t need to stay on the heat for every single step; controlling the temperature is key.
- Master the Art of the Flip: Just like pouring the batter, temporarily removing the pan from the heat before flipping gives you more control. This brief pause allows you to assess if the pancake is ready without the risk of overcooking while you prepare. It gives you the confidence and precision needed for a clean, successful flip.
- Patching Up Imperfections: Don’t despair if your first few pancakes have small holes or areas where the batter didn’t quite fill in properly. This is completely normal and often happens as you adjust to the pan’s temperature and batter consistency. Simply drizzle a little more batter onto these empty spots to fill them up. Once cooked, these small patches will blend in seamlessly.
- The Right Spatula and Confident Flipping: For best results, use a thin, flexible rubber spatula, ideally one with a slight bend at the tip. Gently ease the spatula under the edge of the pancake, taking your time to work it a good way under, almost to the midway point. Before flipping, lightly test if the pancake feels sticky; if it does, let it cook for a few more seconds, or carefully loosen it by moving the spatula gently around the pan’s circumference. Once you feel confident it’s ready, execute a quick, decisive flip. Hesitation can lead to breakage!
- Embrace the Learning Curve: Remember, it’s perfectly okay to make mistakes, especially when trying something new. One or two “flops” are not the end of the world; they’re part of the learning process. It could simply be that your pan wasn’t quite at the right temperature, your batter needed a slight adjustment, or you’re still perfecting your flipping technique. Once you address these minor hurdles and gain experience, baking Pandekager will transform from a perceived challenge into a delightful and effortless addition to your baking repertoire. So, go ahead, gather your ingredients, and give it a try – delicious rewards await!
How to Make Pandekager: A Step-by-Step Guide to Danish Pancake Perfection
Follow these detailed steps to create your own batch of delicious, crispy-edged Danish Pandekager. Precision and a little patience are your best friends here!
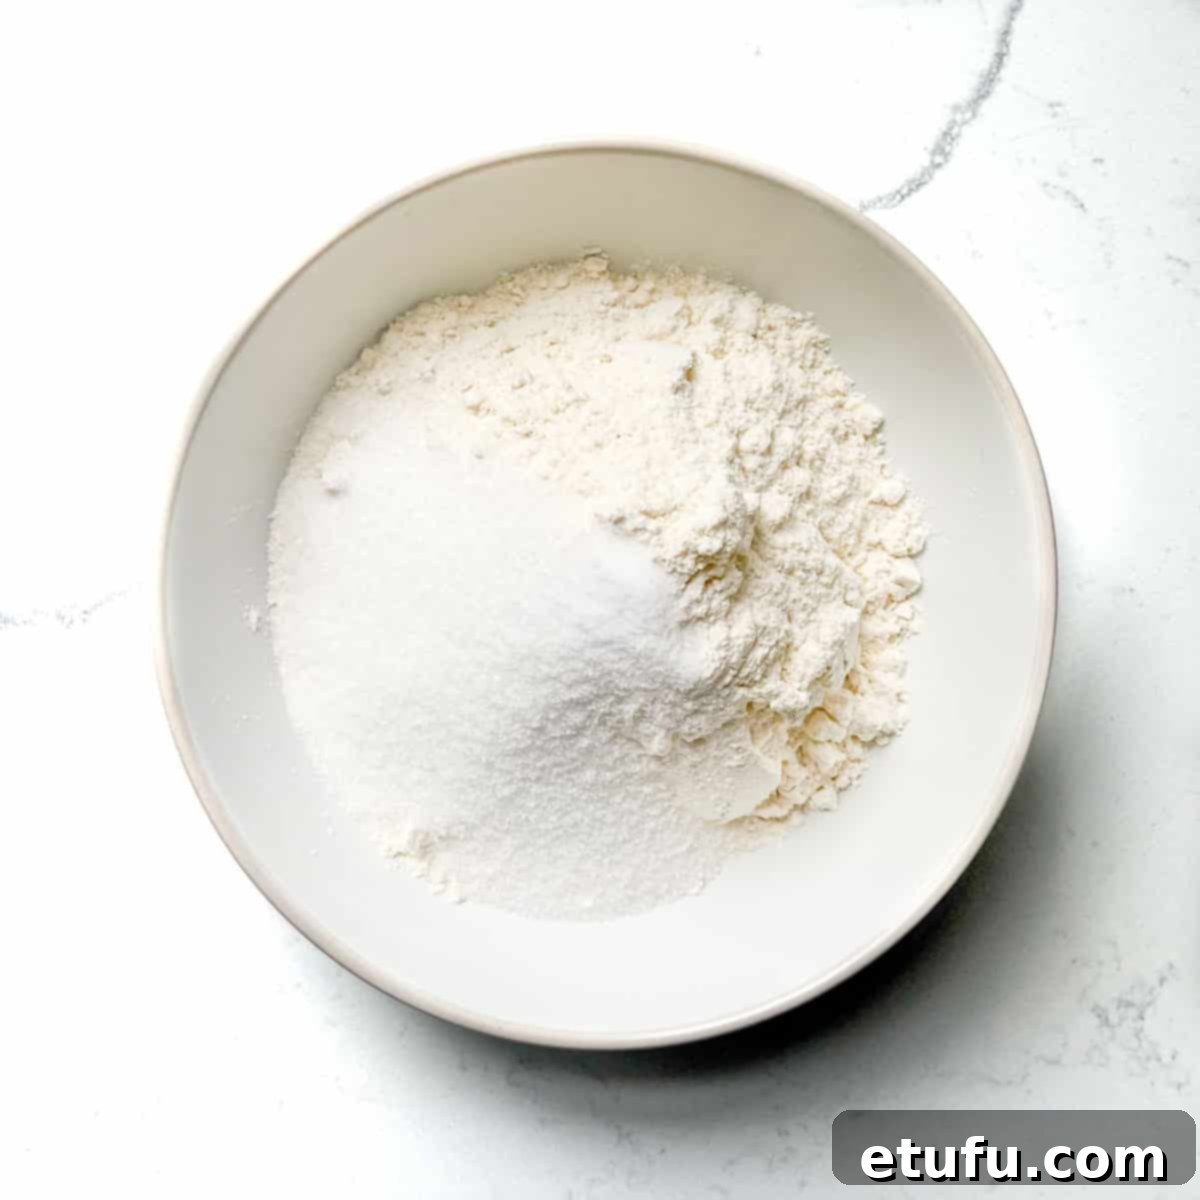
- In a large, clean mixing bowl, meticulously combine all the dry ingredients: the all-purpose flour, granulated sugar, and salt. Whisk them together thoroughly to ensure they are well-mixed and no lumps remain. This ensures even distribution of flavor.
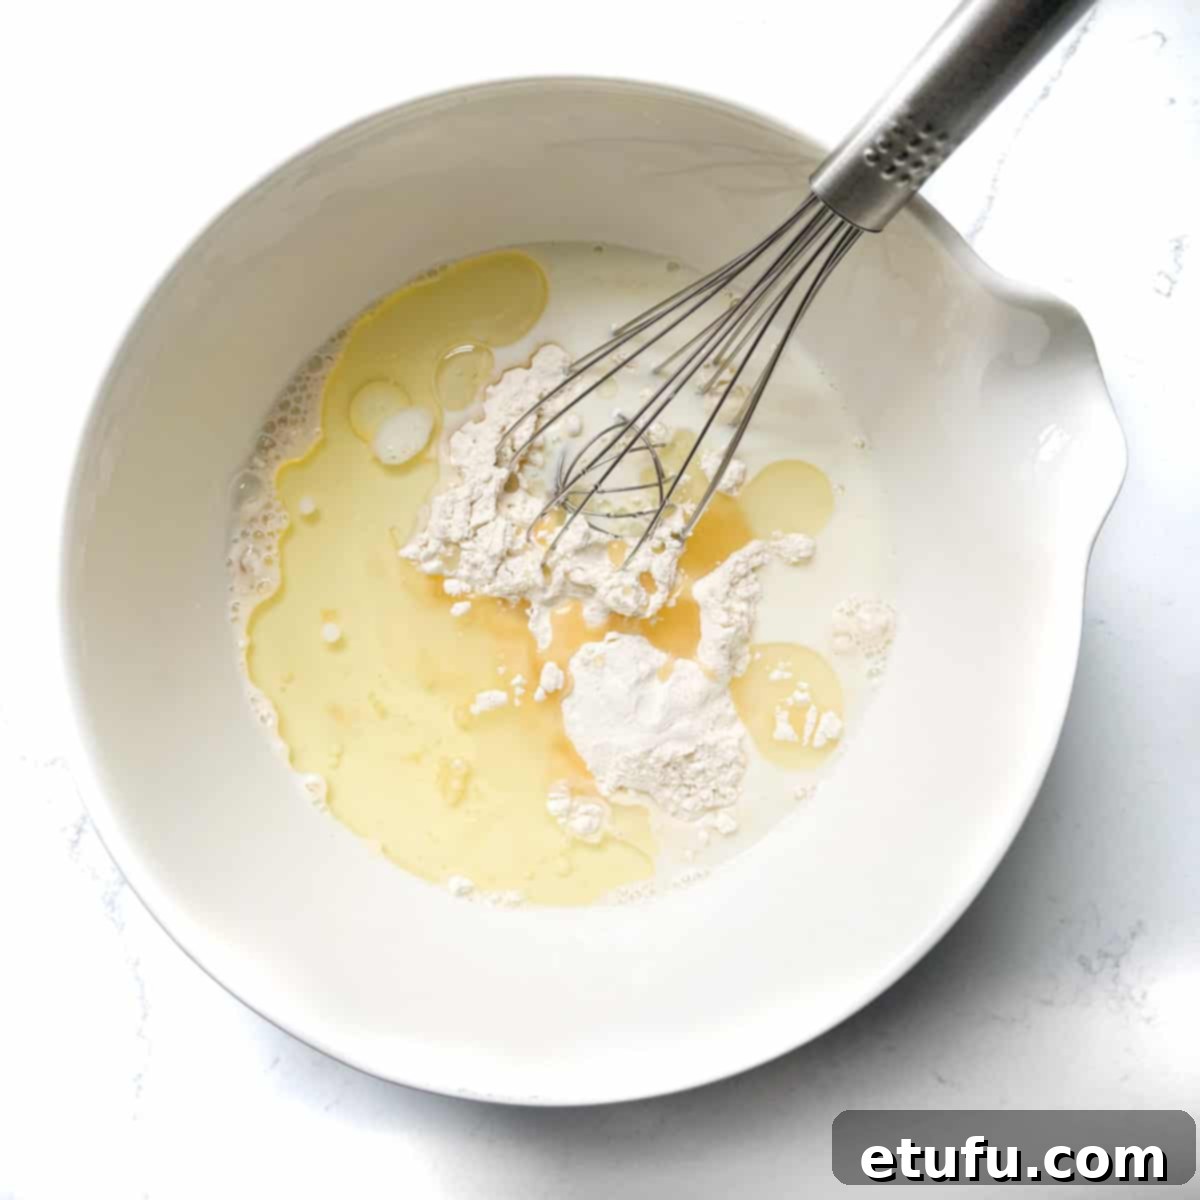
- Add exactly half of the measured milk and all of the vegetable oil to your bowl of dry ingredients. The oil, remember, is key to our easy-flip method!
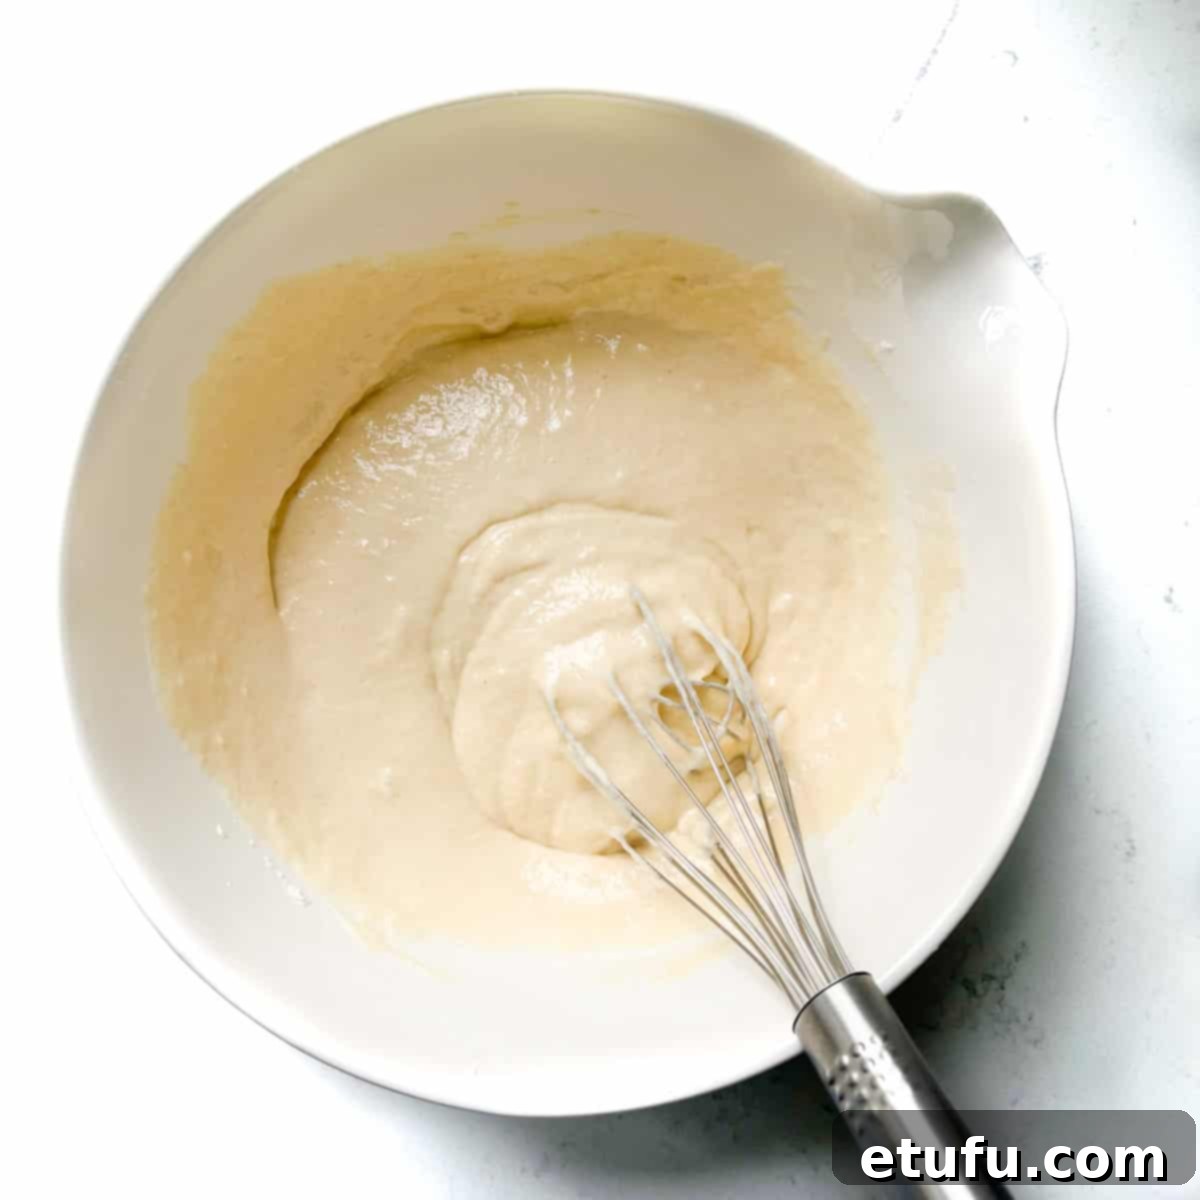
- Vigorously whisk these ingredients together until you achieve a perfectly lump-free, smooth, and homogenous batter. This initial mixing prevents lumps when you add the remaining liquids.
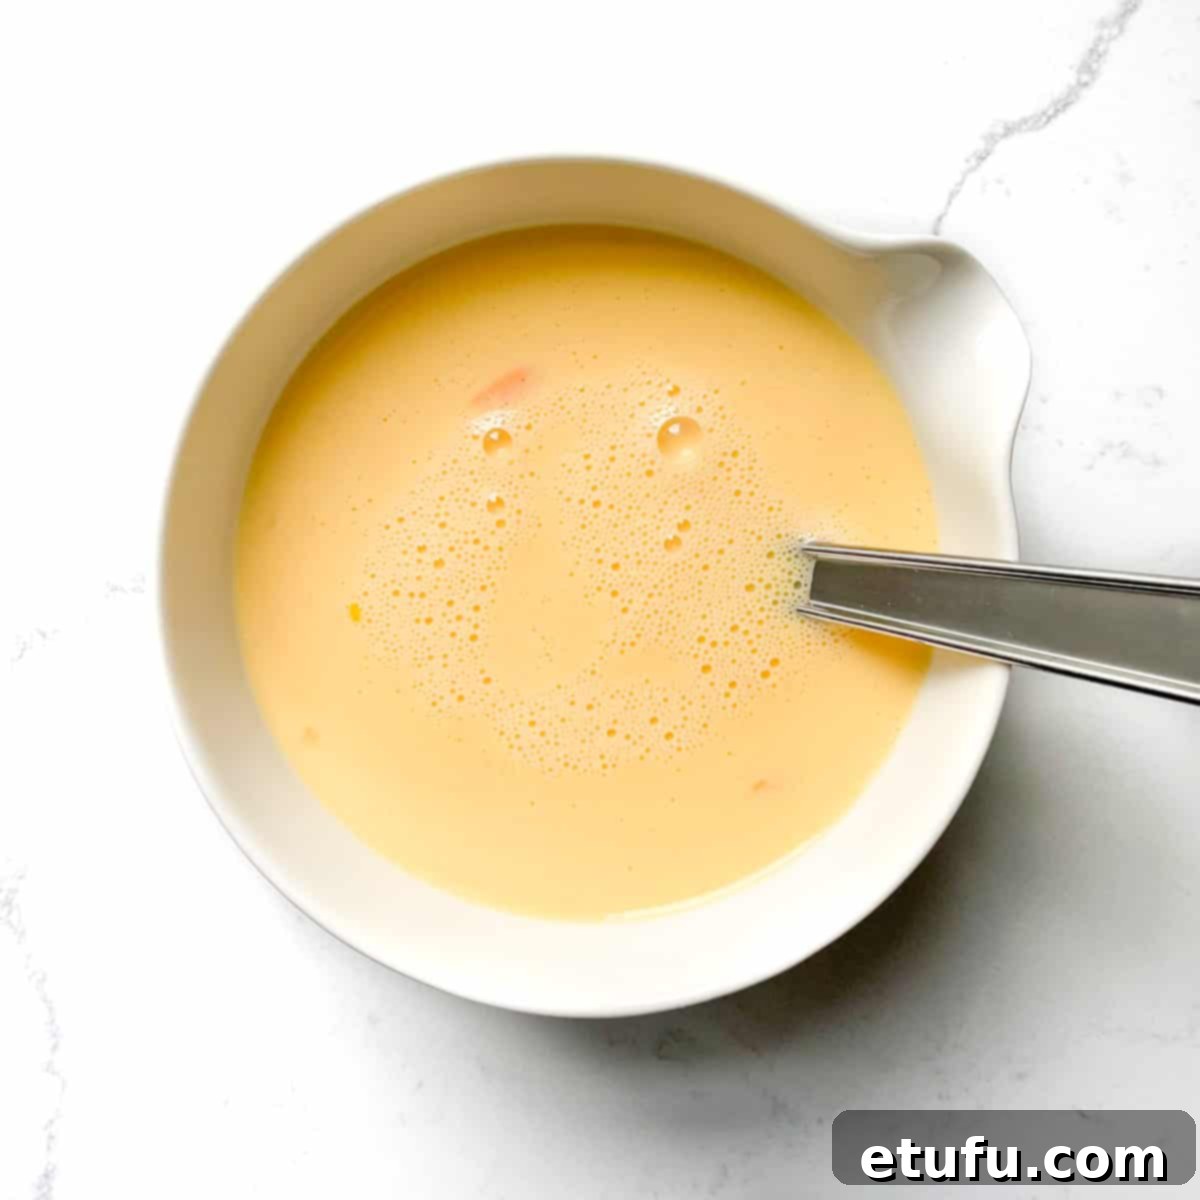
- In a separate, smaller bowl, thoroughly whisk together the remaining half of the milk and all four large eggs until well combined.
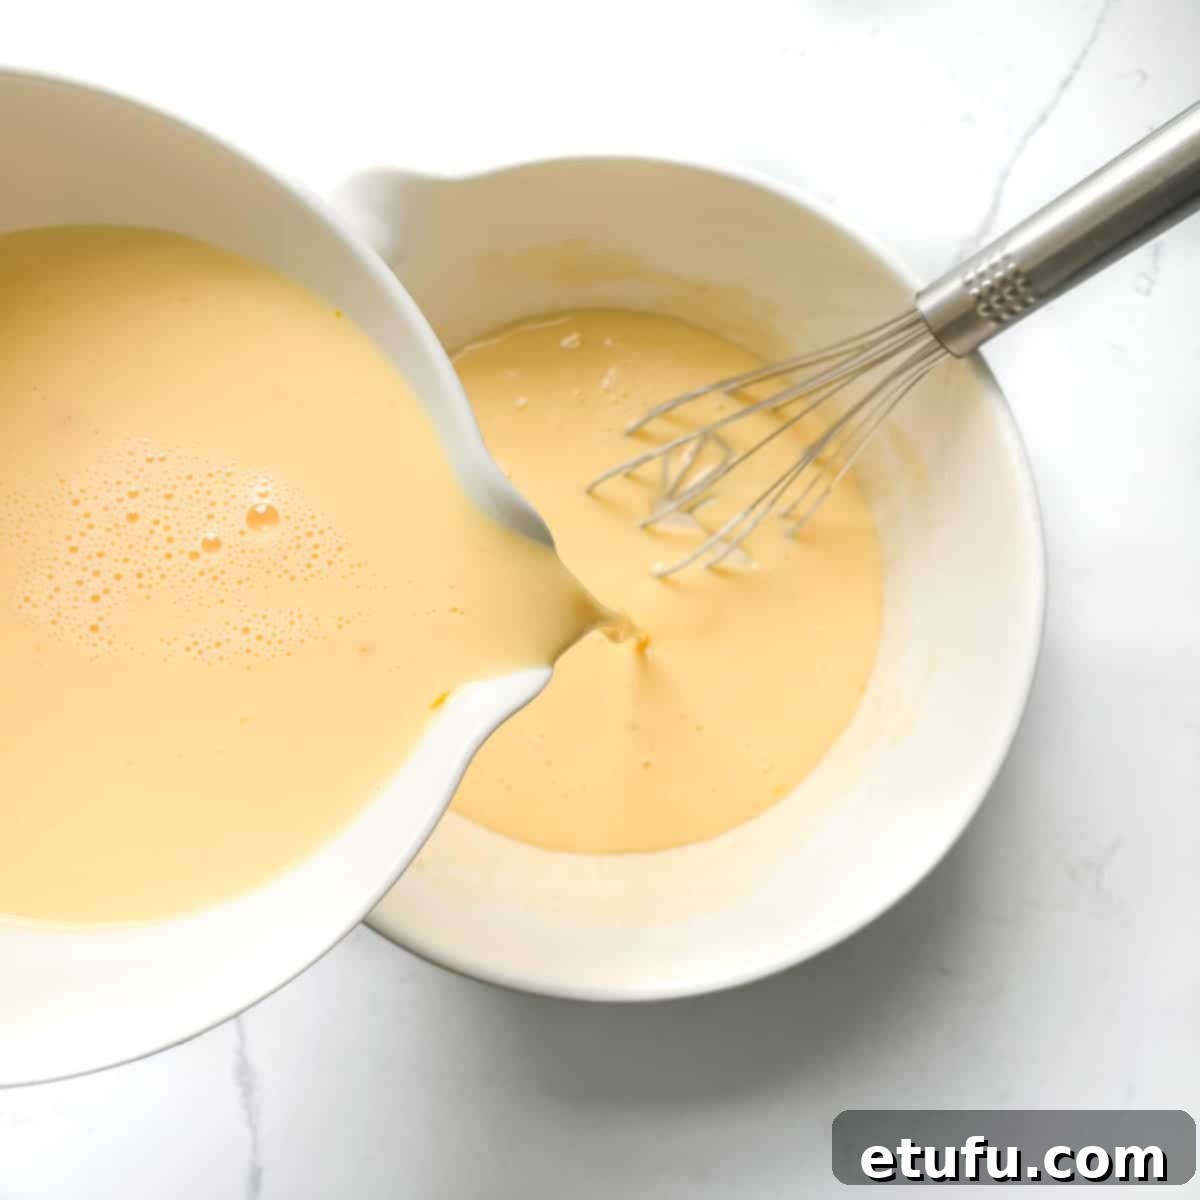
- Now, gradually add the milk and egg mixture from the small bowl into your main batter mixture. Pour slowly while continuing to whisk.
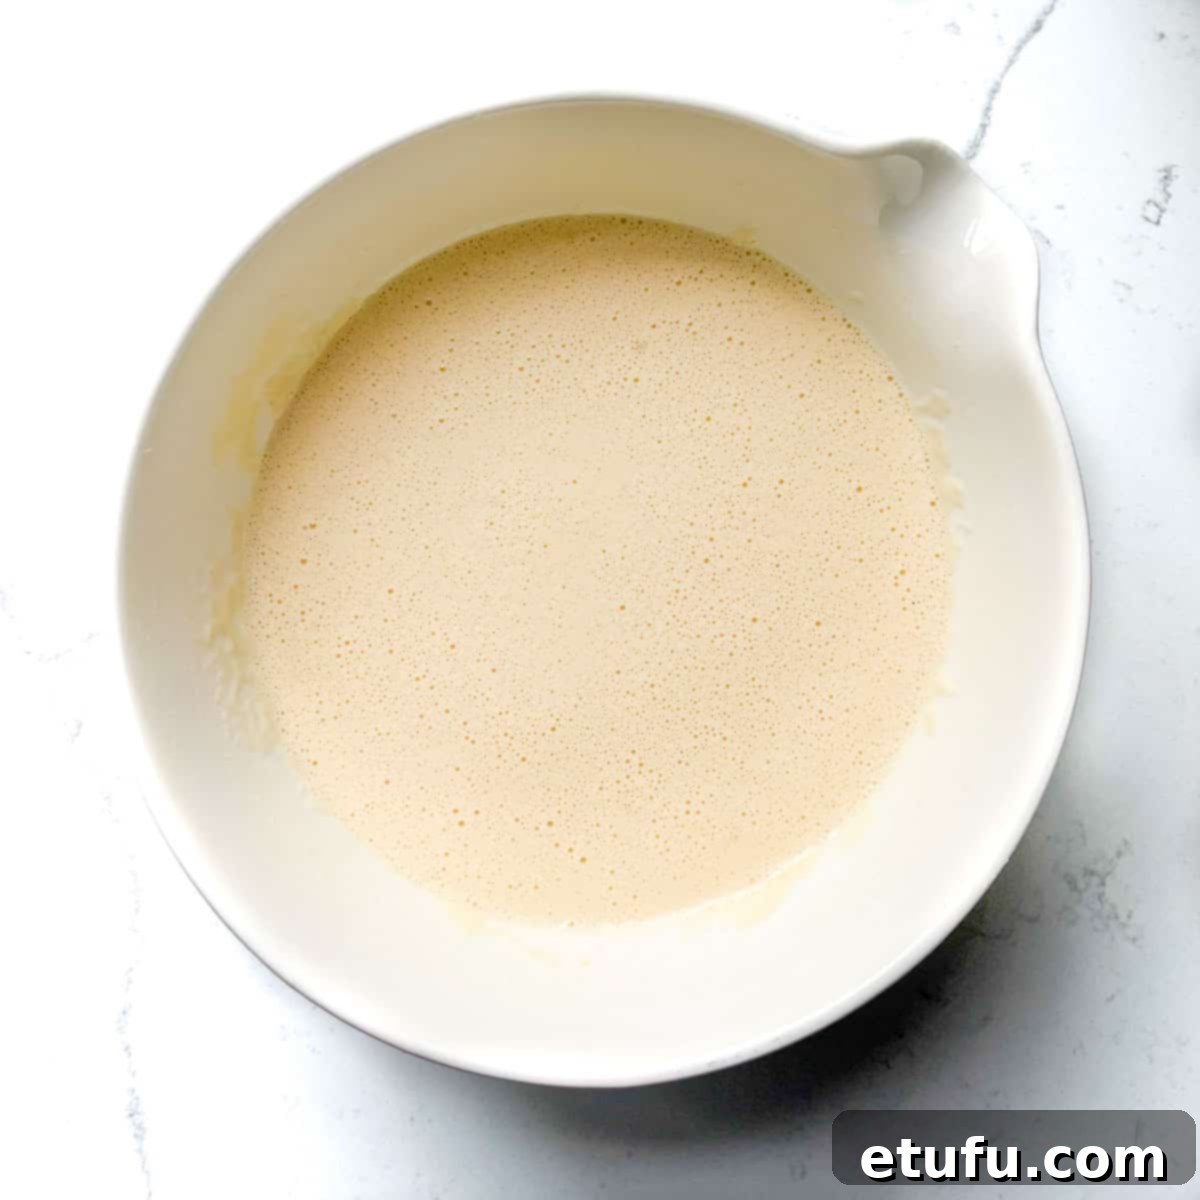
- Continue whisking until you achieve a perfectly smooth, thin, and flowing pancake batter. This can be done by hand, but for the smoothest consistency with minimal effort, an electric hand mixer is highly recommended and preferred. Allow the batter to rest for 10-15 minutes at room temperature, if time permits, for even better results.
- Prepare your frying pan: place just a few drops of oil (we’re talking minimal here!) onto a piece of kitchen paper. Use this paper to lightly and evenly wipe out the entire surface of your frying pan. Keep this oiled paper handy; you might need to re-grease the pan, but with the oil in our batter, you’ll likely find that one application is often sufficient for the entire batch.
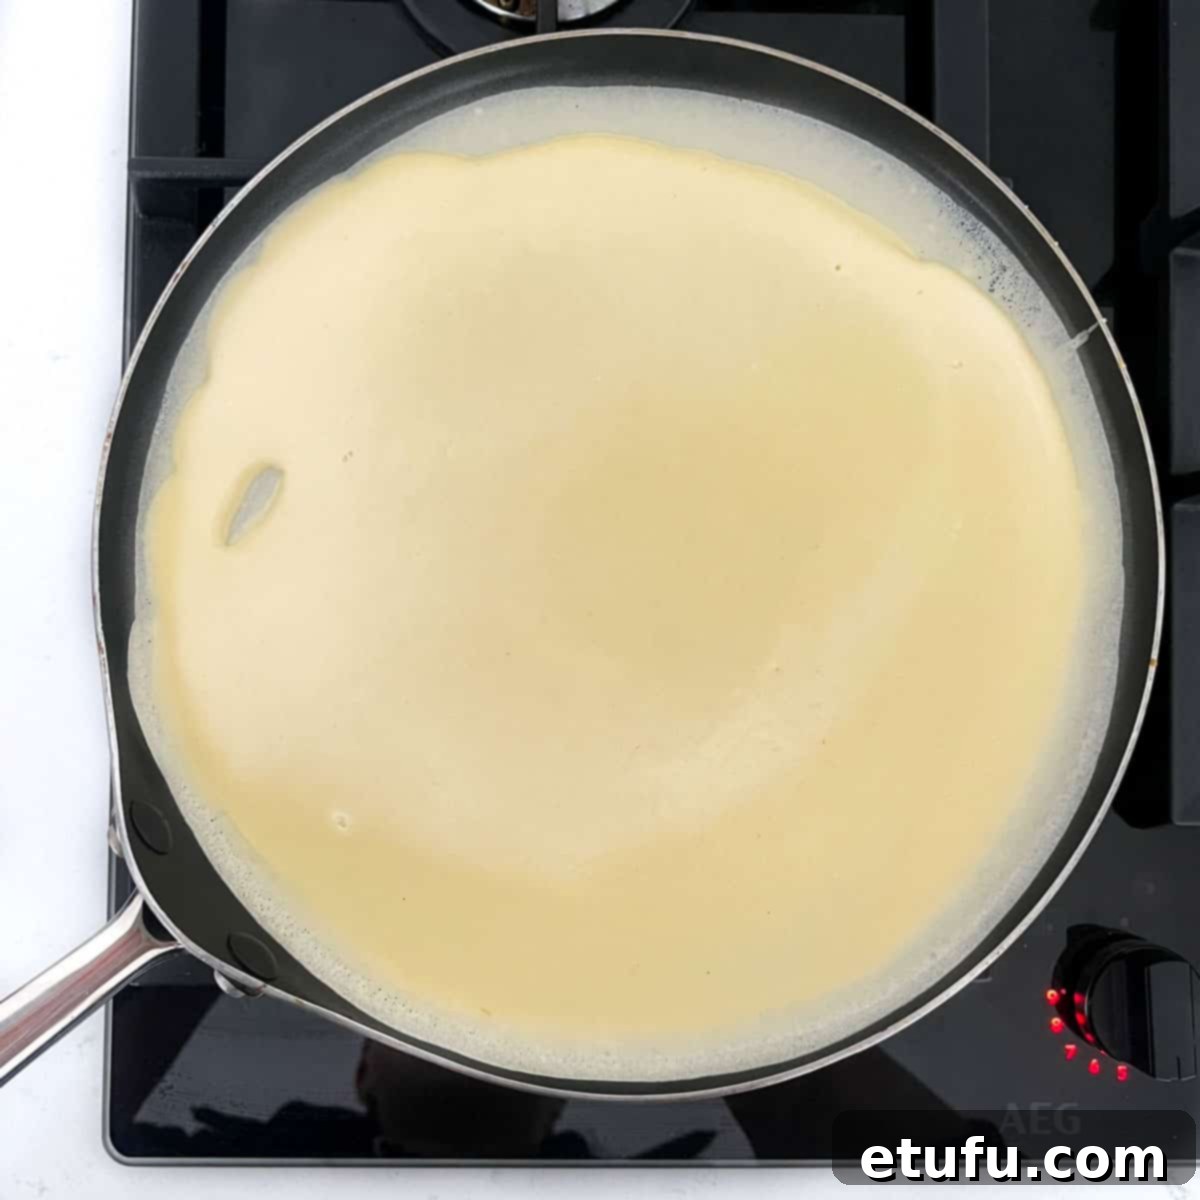
- Heat your prepared pan over a medium-low heat. Once it is adequately hot (a drop of water should sizzle and evaporate immediately), remove it briefly from the heat. Pour a ladleful of the pancake batter (the exact amount depends on your pan size, usually about ¼ cup for a 10-inch pan) into the very center of the pan. Quickly swirl the pan around, tilting it in all directions, to allow the batter to spread thinly and evenly across the entire surface. Remember, you’re aiming for a very thin layer of batter to create those authentic, delicate pancakes with crispy edges.
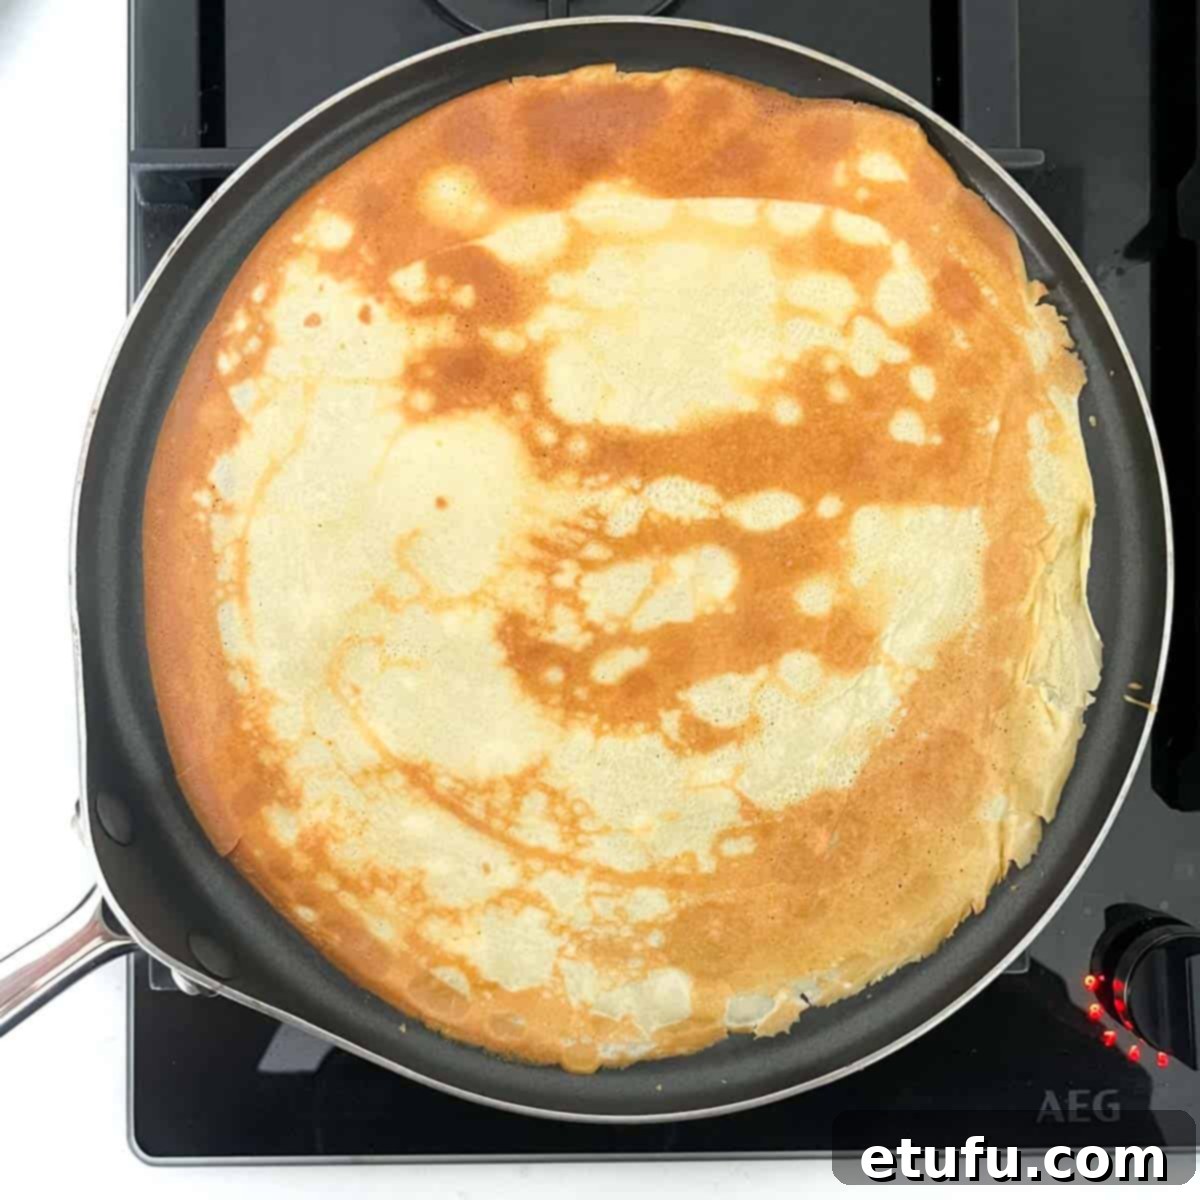
- Place the pan back on the heat and allow the pancake to cook undisturbed for approximately 1½ to 2 minutes on the first side. Once the edges appear slightly crispy and the surface loses its wet shine, it’s time to flip. Use your spatula to gently lift and turn the pancake, then cook for a further 30-40 seconds on the second side until lightly golden.
- Transfer the cooked Pandekager to a plate and repeat the process with the remaining batter. You can stack them on a plate and cover them with a clean kitchen towel to keep them warm while you finish cooking the batch.
Serving Suggestions: Endless Pandekager Possibilities
Once your beautiful batch of Pandekager is ready, the real fun begins: choosing your toppings! Their thin, versatile nature makes them perfect for both simple pleasures and elaborate culinary creations. Here are some inspiring suggestions:
- The Classic Danish Way – Experience Pandekager as many Danes do: simply served warm with a generous sprinkle of powdered sugar (flormelis), a dollop of freshly whipped cream, or a delicate drizzle of golden honey. A squeeze of fresh lemon juice is also a popular, refreshing addition.
- Sweet Toppings Extravaganza – Indulge your sweet tooth with a variety of decadent options. Top your pancakes with vibrant fruit compote (berry compote is particularly popular), an assortment of fresh berries (strawberries, raspberries, blueberries), rich caramel sauce, an abundance of chocolate chips, creamy Nutella, or the luxurious, milky sweetness of dulce de leche (caramel).
- Delectable Sweet Fillings – These thin pancakes are perfect for rolling up! Spread them generously with your favorite jam – classic strawberry, tangy raspberry, slightly tart lingonberry, or any fruit preserve you adore. A thin layer of apple butter or a spiced pear spread also works wonders.
- Savoury Surprises – Don’t limit Pandekager to just sweet! They make an excellent base for savoury fillings. Consider fillings like thinly sliced ham and melted cheese, earthy sautéed mushrooms, a vibrant mix of spinach and crumbled feta, sophisticated smoked salmon with a generous smear of cream cheese and fresh dill, creamy chicken mayonnaise, seasoned savoury mince, or perfectly scrambled eggs for a hearty breakfast wrap.
- Danish Apple Pancakes (Æblepandekager) – For a traditional Danish flavour, serve your Pandekager with thin slices of gently cooked apple, warmed with a hint of cinnamon and a sprinkle of sugar until soft and fragrant. This combines beautifully with a dollop of vanilla ice cream or crème fraîche.
- Stacked Pancake Centrepiece – Create an impressive stack of Pandekager, layering them with fresh fruit and whipped cream. Finish with a decadent drizzle of honey or pure maple syrup for a show-stopping brunch or dessert presentation.
Storage and Reheating: Enjoying Pandekager Later
Pandekager are best enjoyed fresh, but they also store remarkably well, allowing you to prepare them in advance or save leftovers for a delicious treat later. Proper storage ensures they retain their wonderful texture and flavor.
Room Temperature: If you plan on indulging in your Pandekager within a few hours of baking, you can comfortably store them at room temperature. Simply stack them on a plate and cover them snugly with a clean kitchen towel or place them in an airtight container. They will remain fresh and delightful for up to 3-4 hours.
Fridge: For longer storage, Pandekager can be kept in the refrigerator for up to 3-4 days. To do this, allow them to cool completely to room temperature first. Then, place them in an airtight container or a resealable plastic bag. For best results and to prevent sticking, you can place a piece of parchment paper between each pancake before stacking them. When you’re ready to enjoy them, it’s advisable to bring the pancakes to room temperature before gently reheating them. You can reheat them quickly in a frying pan over low heat until warmed through and slightly crispy again, or briefly in the microwave for a softer texture.
Freezer: Pandekager are also freezer-friendly, making them perfect for meal prepping or having a quick treat on hand. They can be frozen for up to 2-3 months without significant loss of quality. Once cooled to room temperature, stack them with a layer of wax paper or parchment paper between each pancake. This crucial step prevents them from sticking together, allowing you to easily remove individual pancakes later. Place the stacked pancakes in a heavy-duty airtight container or a freezer-safe bag, ensuring as much air is removed as possible to prevent freezer burn. To reheat from frozen, thaw them in the refrigerator overnight, then proceed with reheating them in a frying pan or microwave as described for refrigerated pancakes.
Discover More Scandinavian Delights & Pancake Perfection
If you’ve enjoyed this taste of Denmark, be sure to explore more recipes from the rich and varied culinary landscape of Scandinavia, or dive deeper into the wonderful world of pancakes!
More Scandinavian Recipes:
- Lihapullat – Finnish Meatballs: A hearty and comforting classic from Finland.
- Rundstykker – Delicious Danish Breakfast Rolls: Start your day the Danish way with these delightful rolls.
- Chokladbollar – Swedish Chocolate Balls: A simple, no-bake Swedish fika favorite.
- Toscakaka – Swedish Tosca Cake: A sweet and crunchy almond-topped cake that’s truly irresistible.
More Pancake Recipes to Explore:
- Traditional South African Pancakes (Pannekoek): Explore another thin pancake tradition with a South African twist.
- Perfect Eggless Pancakes: A fantastic option for those avoiding eggs, without compromising on flavor or texture.
Frequently Asked Questions (FAQ)
Q: What is the difference between Pandekager and French Crêpes?
A: While very similar in their thin, unleavened nature, Pandekager often have a slightly sweeter batter than traditional savory crêpes. Danish recipes frequently include a bit more sugar, and they are typically enjoyed with sweet fillings and toppings. However, both can be adapted for sweet or savory applications.
Q: Can I make Pandekager batter ahead of time?
A: Absolutely! Making the batter ahead of time can actually improve the pancakes’ texture. Cover the bowl tightly with plastic wrap and refrigerate for up to 24 hours. Give it a good whisk before cooking, and add a splash more milk if it seems too thick.
Q: Why are my Pandekager sticking to the pan?
A: Sticking can occur for several reasons: the pan might not be truly non-stick, it might not be hot enough, or you might not be using enough oil (either in the batter or to grease the pan). Ensure your pan is hot, lightly greased, and that our recipe’s oil-in-batter method is followed.
Q: How do I get those crispy edges?
A: Crispy edges are achieved by cooking the pancakes over a medium-low heat for just the right amount of time, allowing the thin batter to gently brown and crisp up before flipping. Don’t overcrowd the pan, and ensure the batter is spread thinly.
Recipe Card

Pandekager – Danish Pancakes
In Denmark, Pandekager is a popular treat that is often enjoyed for breakfast, brunch or as a dessert. Many Danish families have their own special recipe that has been passed down through generations. Our recipe includes oil, which makes flipping these pancakes a breeze without worrying about them sticking to the pan.
The pancakes can be enjoyed with a variety of toppings, such as jam, sugar, lemon juice, Nutella, dulce de leche, or even a savoury twist with smoked salmon and cream cheese.
Appetizer, Dessert, Main Course, Side Dish, Snack
Danish
10
45
55
18 pancakes (12 when using a large crêpe pan)
128kcal
Maretha Corbett
Equipment
- 1 frying pan, preferably non-stick (a crêpe pan is ideal)
Ingredients
- 250 grams all-purpose flour
- 3 tablespoons sugar – 45ml
- ¼ teaspoon salt
- 625 millilitres milk
- 5 tablespoons vegetable oil – 75ml
- 4 large eggs
- a little oil for preparing the pan
Instructions
- In a large mixing bowl, combine the flour, sugar and salt.
- Add half the milk and all the oil to the dry ingredients. Whisk until you have a lump-free, smooth consistency.
- In a separate bowl, whisk together the remaining milk and four eggs.
- Add the milk and egg mixture to the batter and whisk until you have a smooth, thin pancake batter.
You can do this by hand, or with an electric hand mixer (we prefer the latter).
- Place a few drops of oil on a piece of kitchen paper and wipe out the frying pan. You can keep the piece of paper to hand in case you need to grease the pan again. We mostly find that once is enough.
- Heat the pan over a medium-low heat. Once it’s hot, add a ladle of the pancake batter to the pan. Swirl the pan around so the batter fills up the entire surface.
You only want a thin layer of batter to create thin pancakes with crispy edges.
- Allow the pancake to cook for 1½-2 minutes on the first side. Flip it over and cook for a further 30-40 seconds.
Tip: Watch out for certain visual cues to indicate when it’s time to flip your pancake. Look for a lack of shine on the surface of the pancake and the edges becoming slightly crispy.
- Enjoy your pancake with jam, or lemon juice and a sprinkle of sugar. Top with cream or ice cream and fresh berries.
**Nutritional data disclaimer**
Please keep in mind that the nutritional information provided below is calculated by a third party and we cannot guarantee the accuracy. We try our best to give you the most accurate information, but we do not take responsibility for errors that may be present. Also, the nutritional value of the recipe may change depending on the exact brands and products used. We recommend that you consult with a qualified healthcare professional or registered dietitian for personalised advice on your dietary needs.
Nutrition
Calories: 128kcal
|
Carbohydrates: 14g
|
Protein: 4g
|
Fat: 6g
|
Saturated Fat: 2g
|
Polyunsaturated Fat: 2g
|
Monounsaturated Fat: 1g
|
Trans Fat: 0.03g
|
Cholesterol: 41mg
|
Sodium: 61mg
|
Potassium: 82mg
|
Fiber: 0.4g
|
Sugar: 4g
|
Vitamin A: 111IU
|
Calcium: 52mg
|
Iron: 1mg
For comprehensive food safety advice, including detailed guidance on food allergies, please refer to authoritative resources such as Food.gov.uk.
