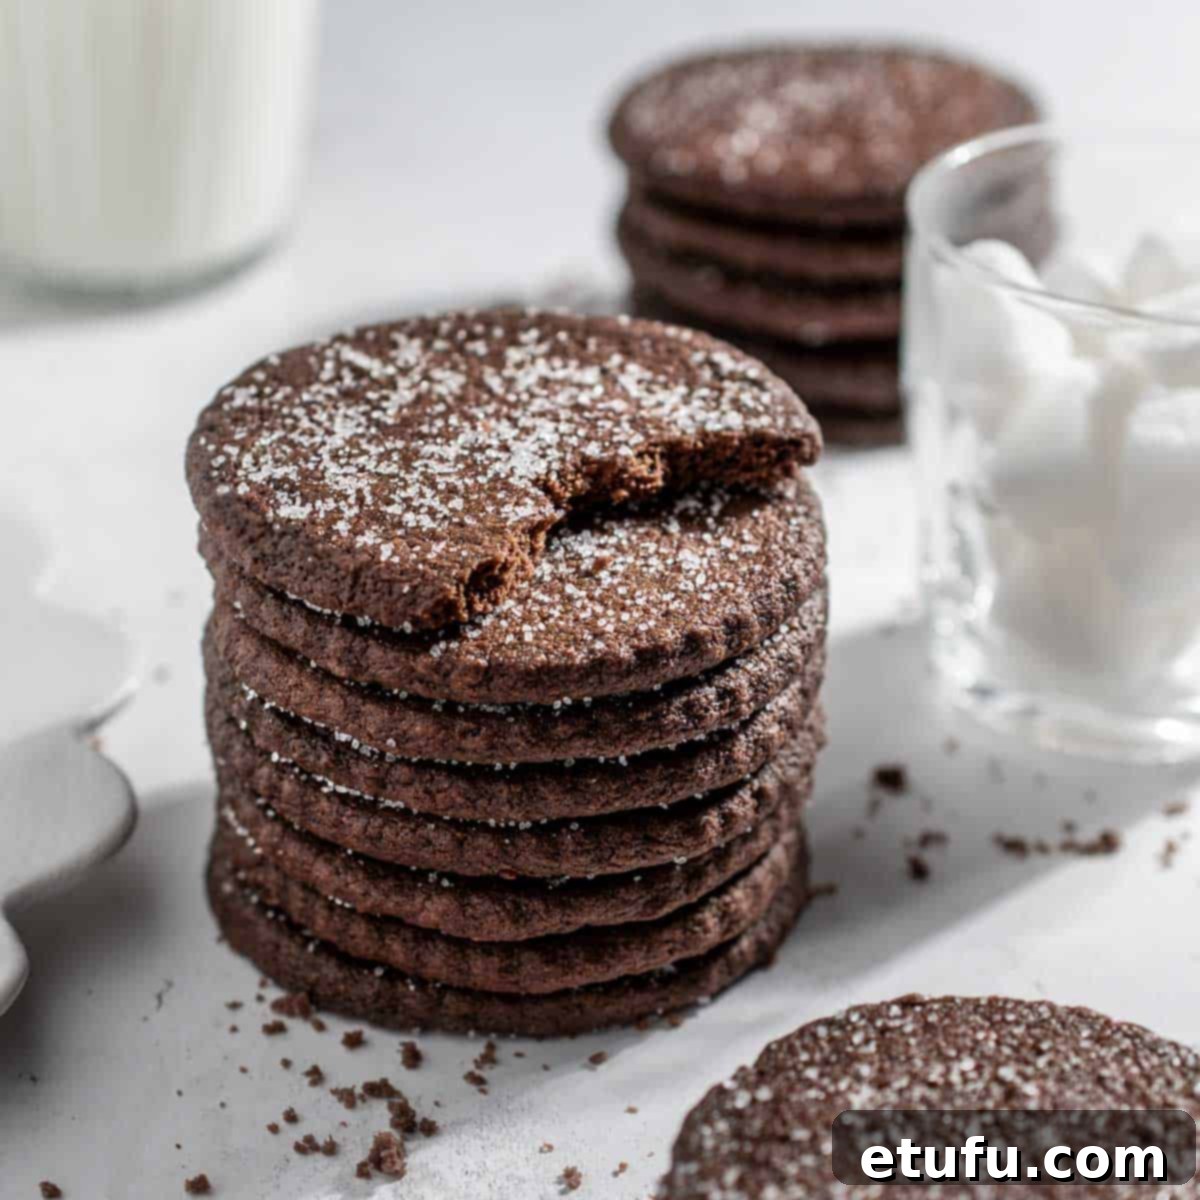
Irresistible Chocolate Shortbread Cookies: A Rich & Buttery Delight
Indulge in the ultimate treat with our incredible chocolate shortbread cookie recipe. This delightful twist on a classic brings together everything you adore about traditional shortbread – an intensely rich, buttery flavor and a delicate, melt-in-your-mouth crumbly texture – with the decadent addition of cocoa. Each bite promises a lovely snap, followed by a tender yielding, making these cookies truly extraordinary. Be warned: the cookie dough itself is so deliciously addictive, you might find it hard to resist sneaking a spoonful (or two!) before they even hit the oven.
Whether you prefer to cut them into charming shapes using cookie cutters for a festive touch, or simply leave them as classic rounds for elegant simplicity, this recipe guarantees a batch of irresistible chocolate shortbreads. Elevate their allure even further with a luxurious drizzle of melted chocolate, a full dip in your favorite chocolate, or a sweet sugar coating for an extra layer of crunch and sparkle. These versatile cookies are perfect for any occasion, from a comforting afternoon tea to a special holiday gift.
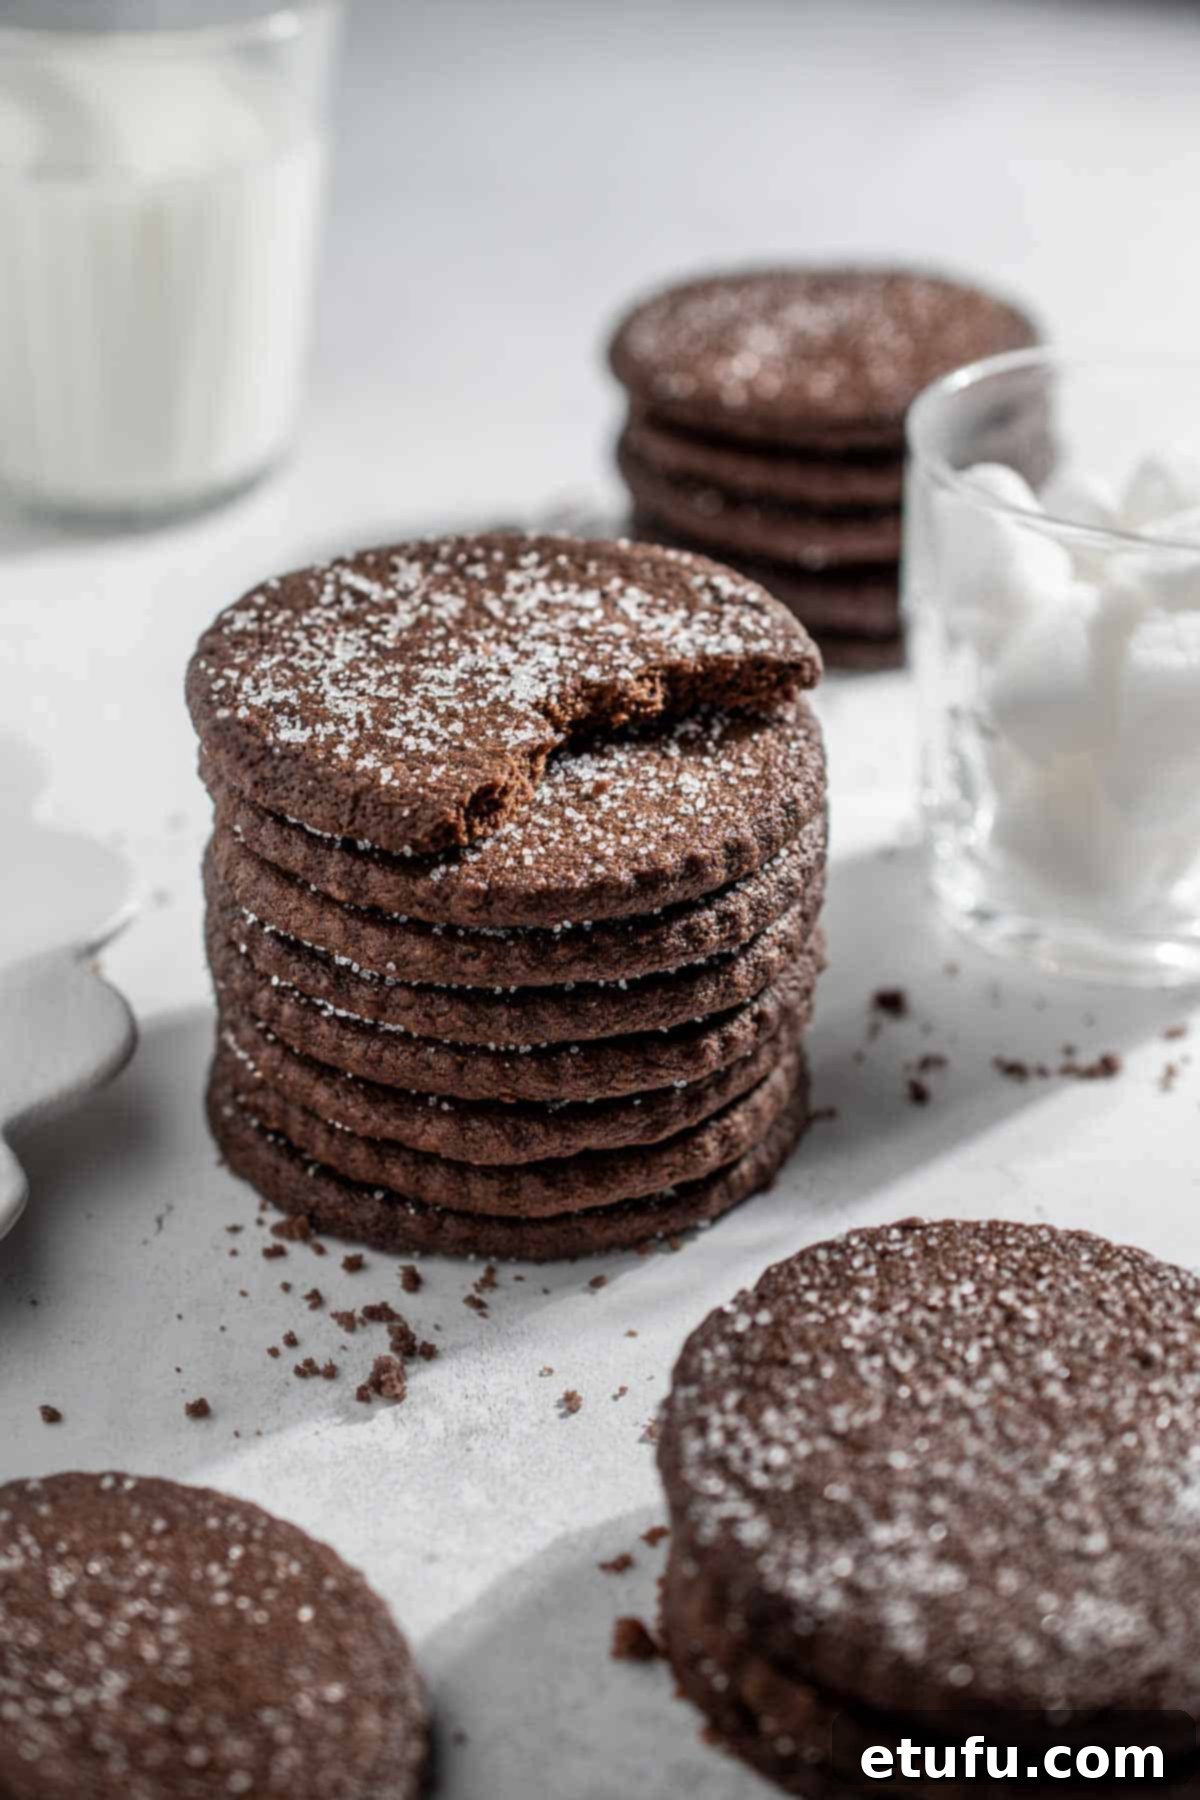
To ensure your chocolate shortbreads turn out perfectly every time, we strongly recommend reading our detailed “Top Tips” section below before you begin baking. These expert insights will guide you through crucial steps and common pitfalls, helping you achieve a flawless batch. If you’re looking for more easy-to-make cookie recipes that offer similar comfort and joy, explore our peanut butter chocolate chip cookies or our wonderfully soft condensed milk cookies for another sweet adventure.
Recipe Highlights: Why You’ll Love These Cookies
These chocolate shortbreads aren’t just cookies; they’re an experience. Here’s a quick glance at what makes this recipe a true standout:
- **Crumbly, Buttery, and Rich:** Experience the quintessential shortbread texture, elevated by deep chocolate flavor.
- **No Eggs Needed:** A simple, straightforward recipe that uses pantry staples, making it accessible for everyone.
- **Fun to Cut into Shapes:** Perfect for involving kids in the kitchen or customizing for holidays and special events.
- **Crisp, Snappy Texture:** Each cookie delivers a satisfying crunch that melts beautifully in your mouth.
- **Made with Pantry Staples:** No exotic ingredients required; just simple components for maximum flavor.
- **Easy to Customise:** Get creative by adding nuts, chocolate chips, or various extracts to tailor them to your taste.
- **Dress Them Up:** Easily transform them with a simple dip, elegant drizzle, or a playful sugar sprinkle for any occasion.
Key Ingredient Notes and Substitutions for Perfect Shortbread
The secret to exceptional shortbread lies in the quality and preparation of a few simple ingredients. Understanding their role is key to achieving that perfect crumbly, buttery texture and rich chocolate flavor.
Please refer to the complete recipe card at the very end of this post for the exact measurements and full ingredient list.
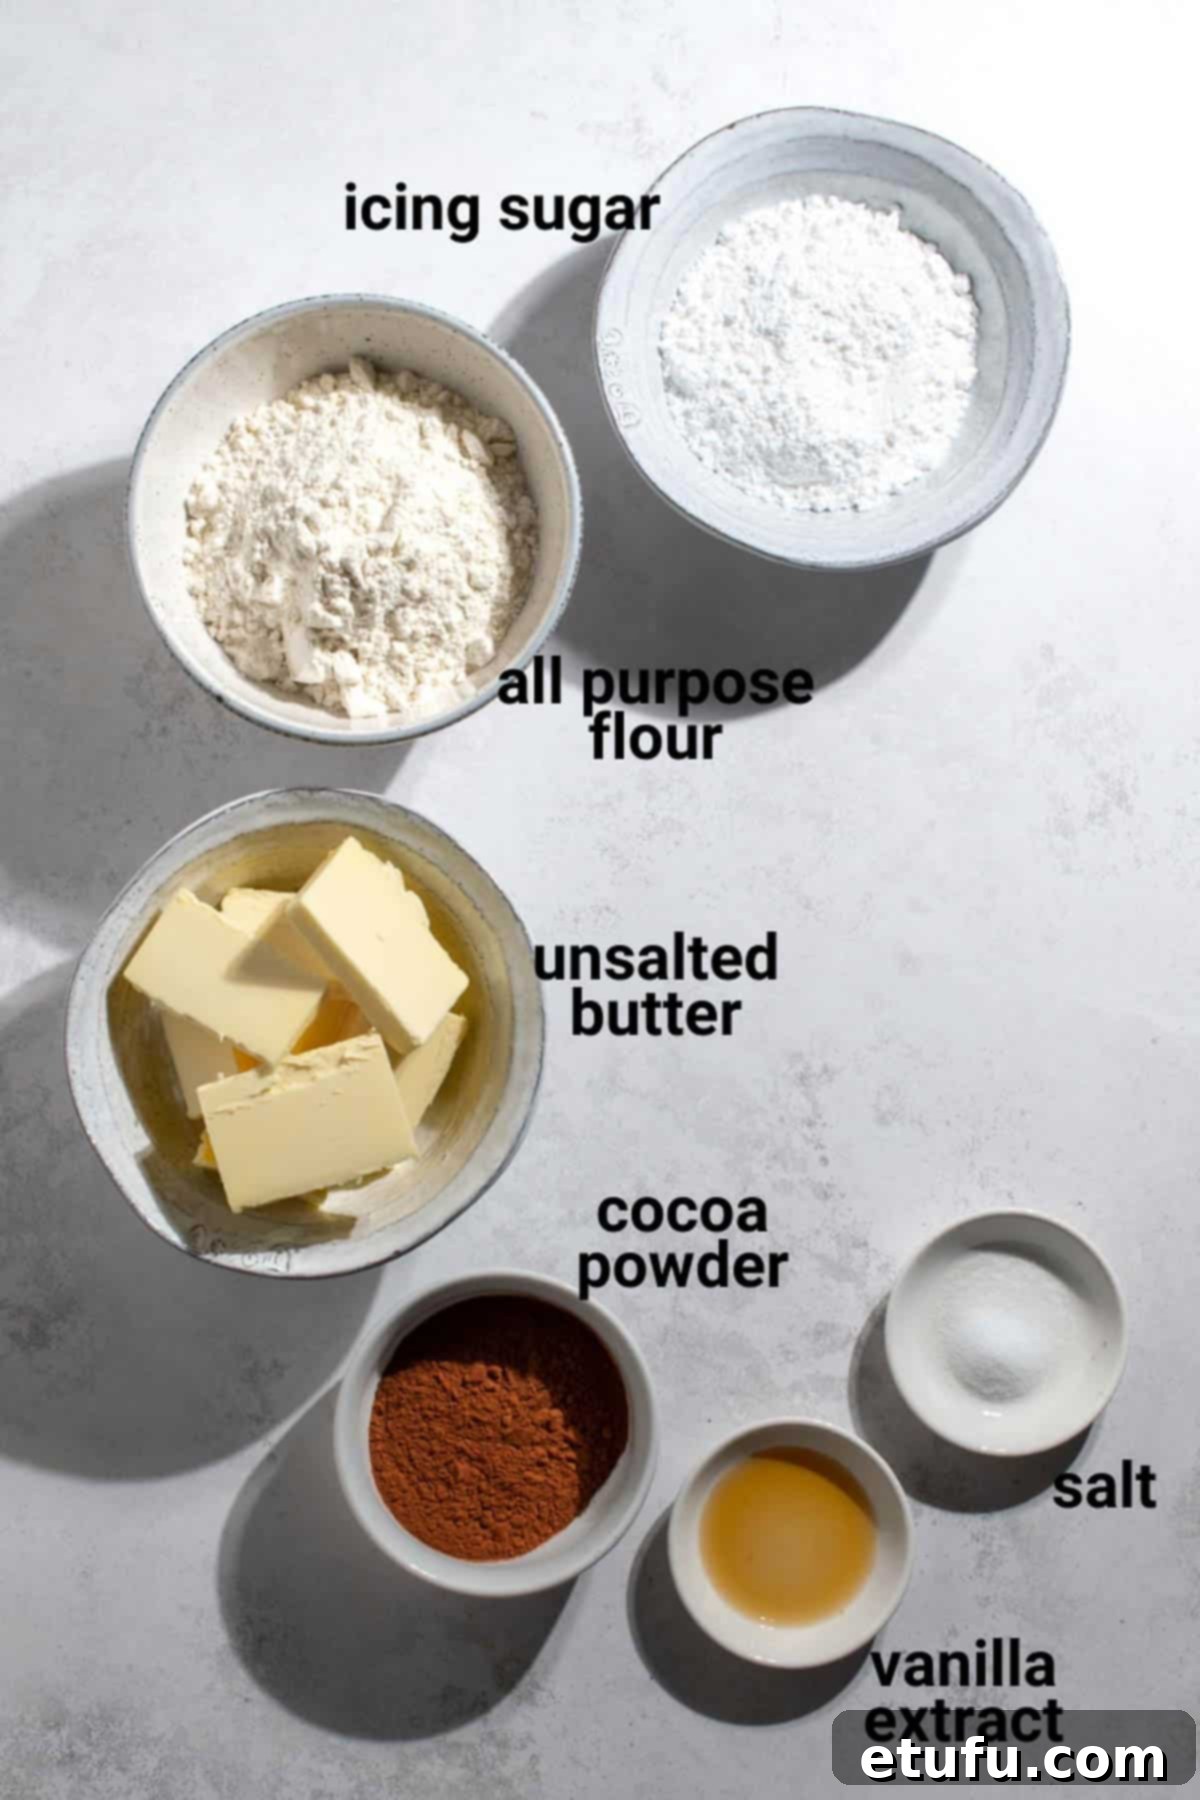
Unsalted Butter: The Foundation of Flavor
Butter is undeniably the star of any shortbread recipe, imparting that signature rich, creamy taste and delicate texture. For the absolute best results, always opt for good-quality, unsalted butter. Using unsalted butter allows you complete control over the salt content in your cookies, preventing them from becoming overly salty. If you only have salted butter on hand, simply omit the additional salt listed in the recipe.
Crucially, ensure your butter is softened to room temperature before you begin. Room temperature butter creams beautifully with sugar, incorporating air that contributes to the shortbread’s tender-yet-crisp structure. Avoid substitutions like margarine or shortening, as they will compromise the authentic flavor and delicate texture that makes shortbread so unique.
Quick Tip for Softening Butter
Forgot to take your butter out in advance? No problem! Microwave a bowl of water until it’s boiling hot. Carefully discard the water, then invert the warm bowl over your stick of butter on a plate. Let it sit for a few minutes; the residual heat will gently soften the butter to perfection without melting it.
Icing Sugar (Powdered Sugar/Confectioners’ Sugar)
Icing sugar, also known as powdered sugar or confectioners’ sugar, is preferred over granulated sugar for shortbread, especially for this recipe. Its fine consistency dissolves effortlessly into the butter, creating a smoother, finer-textured cookie without any grittiness. Unlike granulated sugar, which can leave a slight crunch, icing sugar contributes to the melt-in-your-mouth quality characteristic of shortbread.
Furthermore, icing sugar typically contains a small amount of cornstarch, which acts as a drying agent. This cornstarch absorbs excess moisture in the dough, resulting in cookies that are wonderfully crisp on the outside while remaining tender and delicate on the inside – a perfect balance of textures.
Cocoa Powder: For Deep Chocolate Flavor
The quality of your cocoa powder profoundly impacts the depth and richness of your chocolate shortbread. We highly recommend using a good quality, Dutch-processed, 100% unsweetened cocoa powder. Brands like Valrhona, Callebaut, or Ghirardelli are excellent choices that deliver a rich, dark color and a mellow, less acidic chocolate flavor due to the dutching process.
Dutch-processed cocoa powder has been treated with an alkali to neutralize its acidity, resulting in a darker color and a smoother, more intense chocolate flavor. While natural cocoa powder can be used, it tends to be lighter in color and more acidic, which can affect the final taste profile. However, feel free to use the best quality cocoa powder available to you; even standard unsweetened cocoa will yield delicious results, though the color and depth of flavor might vary slightly.
All-Purpose Flour: The Structure
Standard all-purpose flour provides the necessary structure for these cookies. The key is to mix it just enough to combine, avoiding overmixing, which can develop too much gluten and result in a tougher cookie. We’ll discuss this further in our top tips!
Salt and Vanilla Extract: Flavor Enhancers
A touch of salt is crucial in baking; it doesn’t just make things salty, it actually enhances all the other flavors, particularly the sweetness and the rich chocolate notes. Vanilla extract adds a warm, aromatic depth that complements the chocolate beautifully. For an even more luxurious taste, consider making your own homemade vanilla extract.
How to Make Irresistible Chocolate Shortbread: A Step-by-Step Guide
Creating these delectable chocolate shortbreads is a straightforward and rewarding process. Follow these detailed steps to bake your perfect batch of buttery, crumbly cookies.
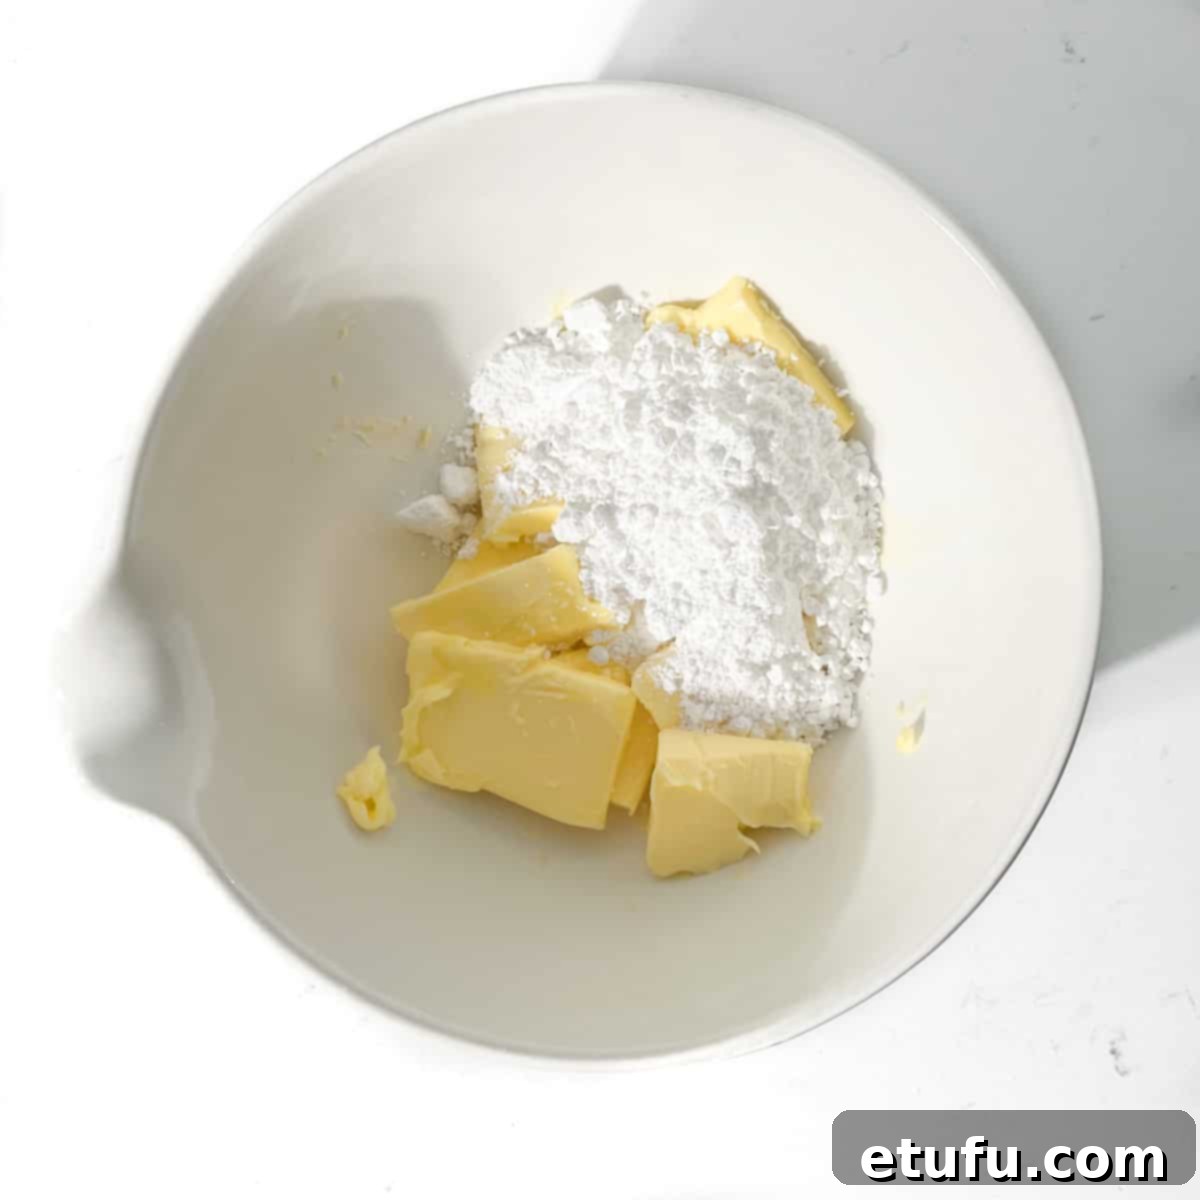
1. **Cream the Butter and Sugar:** Begin by adding the softened unsalted butter and finely sifted icing sugar into a large mixing bowl. Ensure your butter is at true room temperature for optimal creaming.
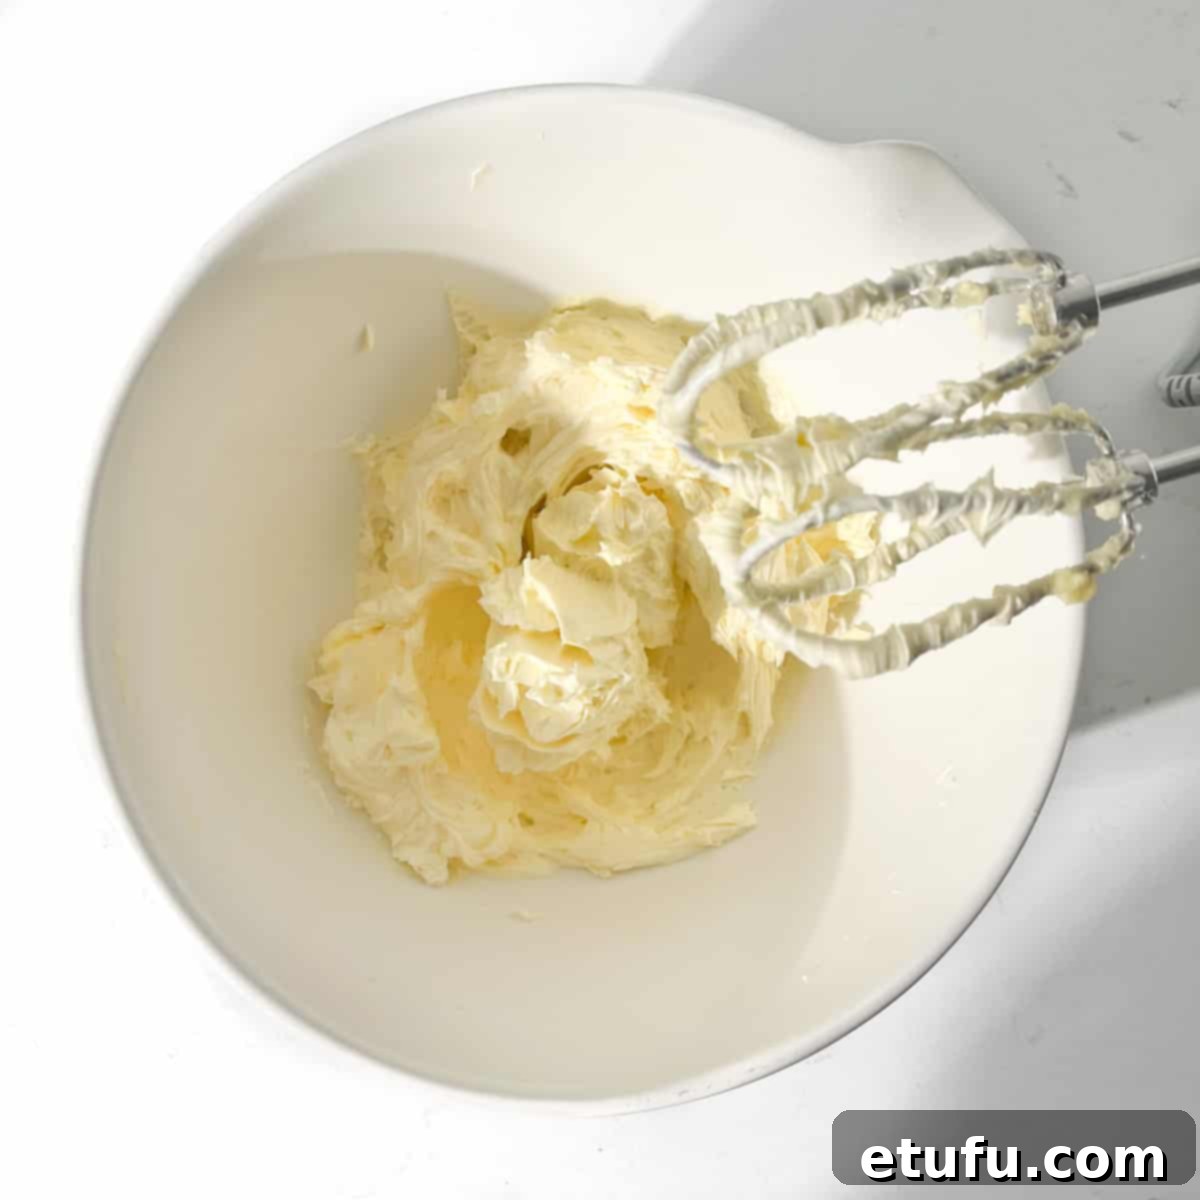
2. **Achieve Light and Fluffy Texture:** Using an electric handheld mixer or a stand mixer fitted with the paddle attachment, beat the butter and icing sugar together. Start on low speed to prevent a cloud of sugar, then gradually increase to medium-high. Continue beating for about **2-3 minutes**, until the mixture becomes visibly light in color, significantly increased in volume, and delightfully fluffy. This step incorporates essential air, contributing to the shortbread’s tender texture.
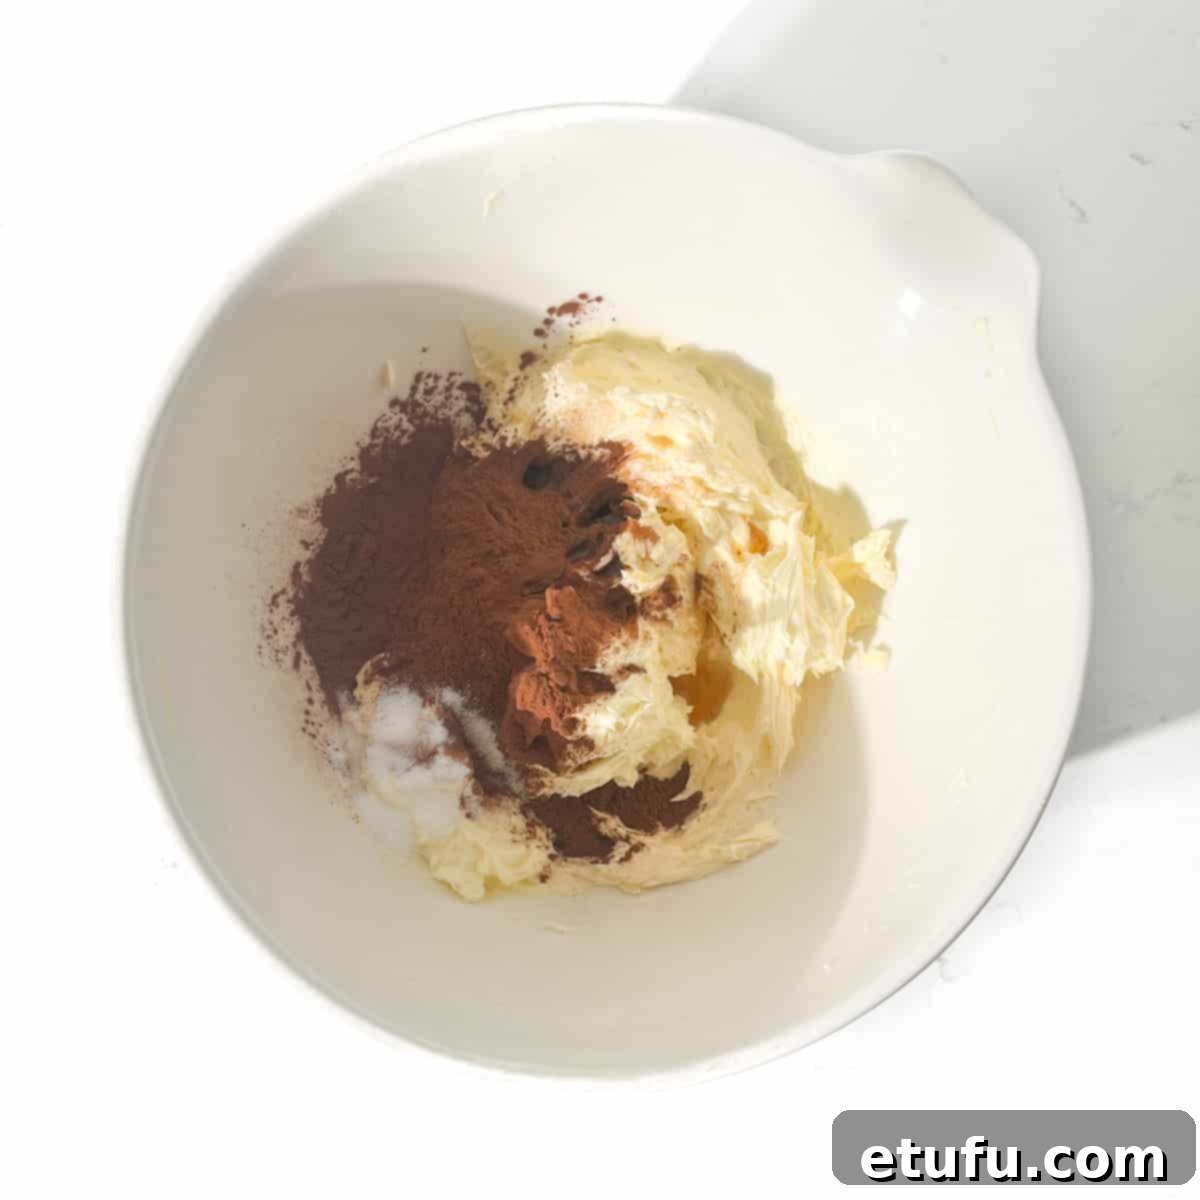
3. **Incorporate Flavorings:** Next, add the rich cocoa powder, a pinch of salt to balance the sweetness, and the fragrant vanilla extract to the creamed butter and sugar mixture.
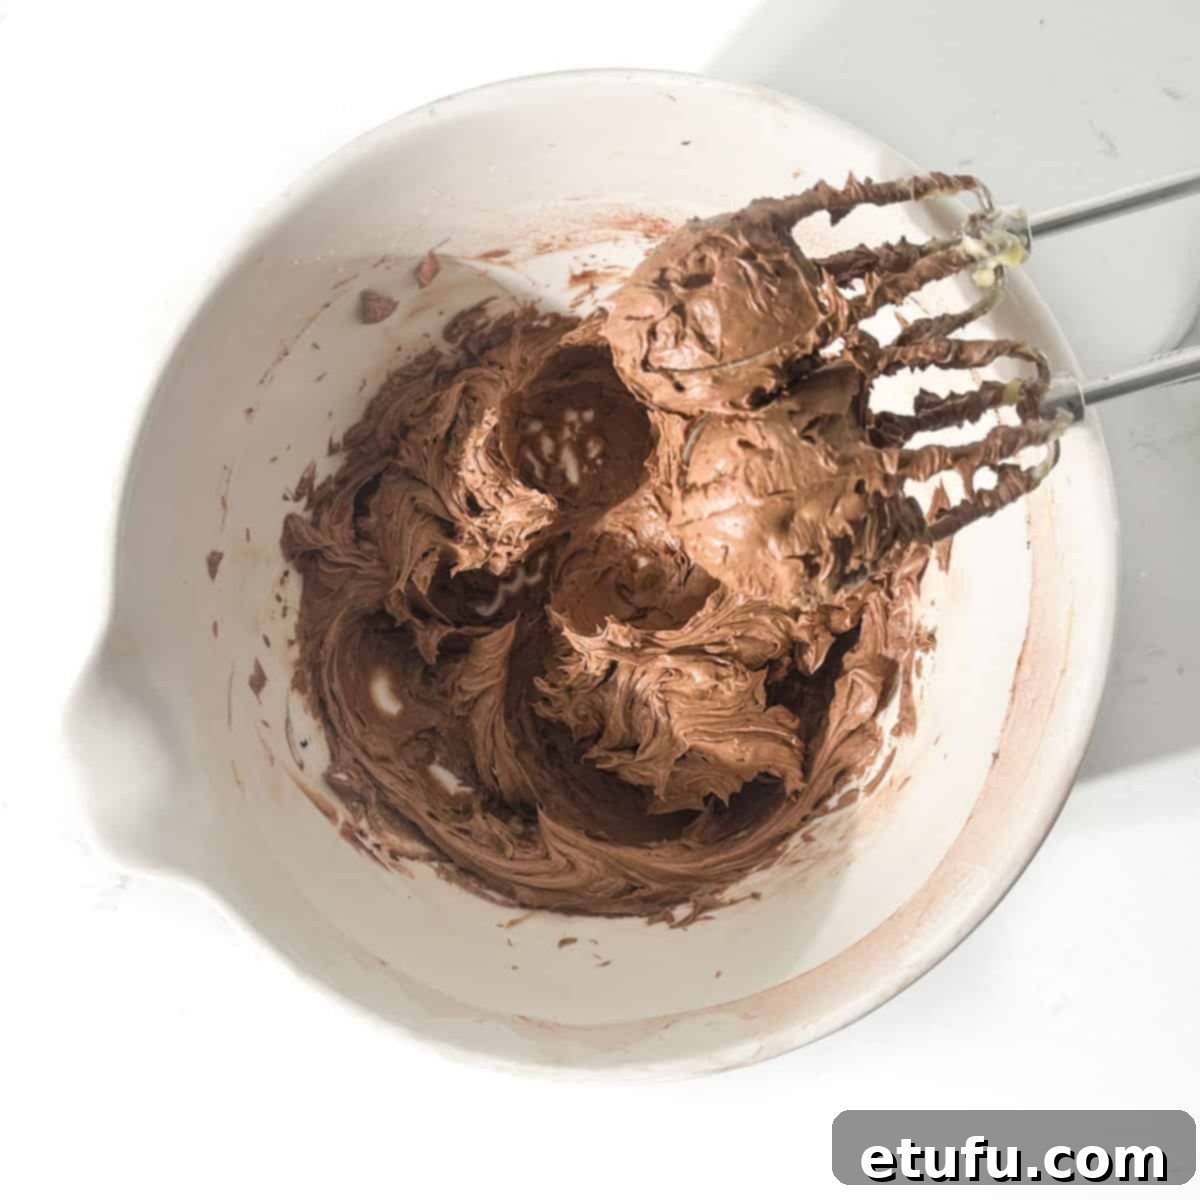
4. **Blend Until Creamy:** Continue beating the mixture until all the added ingredients are thoroughly combined. Scrape down the sides of the bowl to ensure everything is incorporated, resulting in a smooth, evenly colored, and creamy chocolate base.
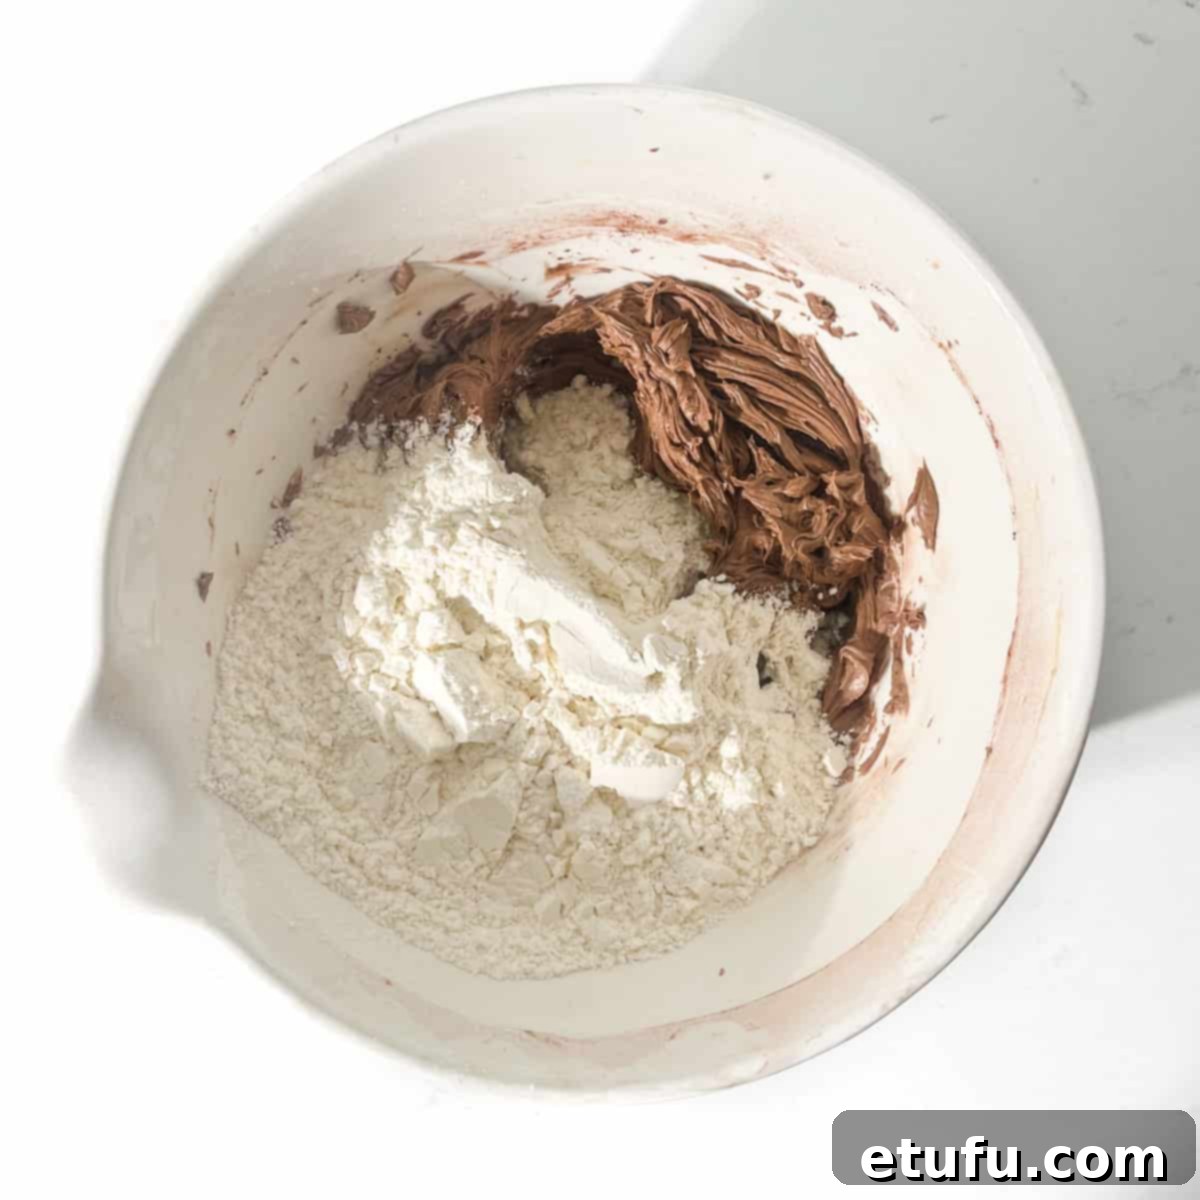
5. **Add the Flour:** Gently add all of the all-purpose flour to the bowl. It’s best to add it all at once to minimize mixing time later.
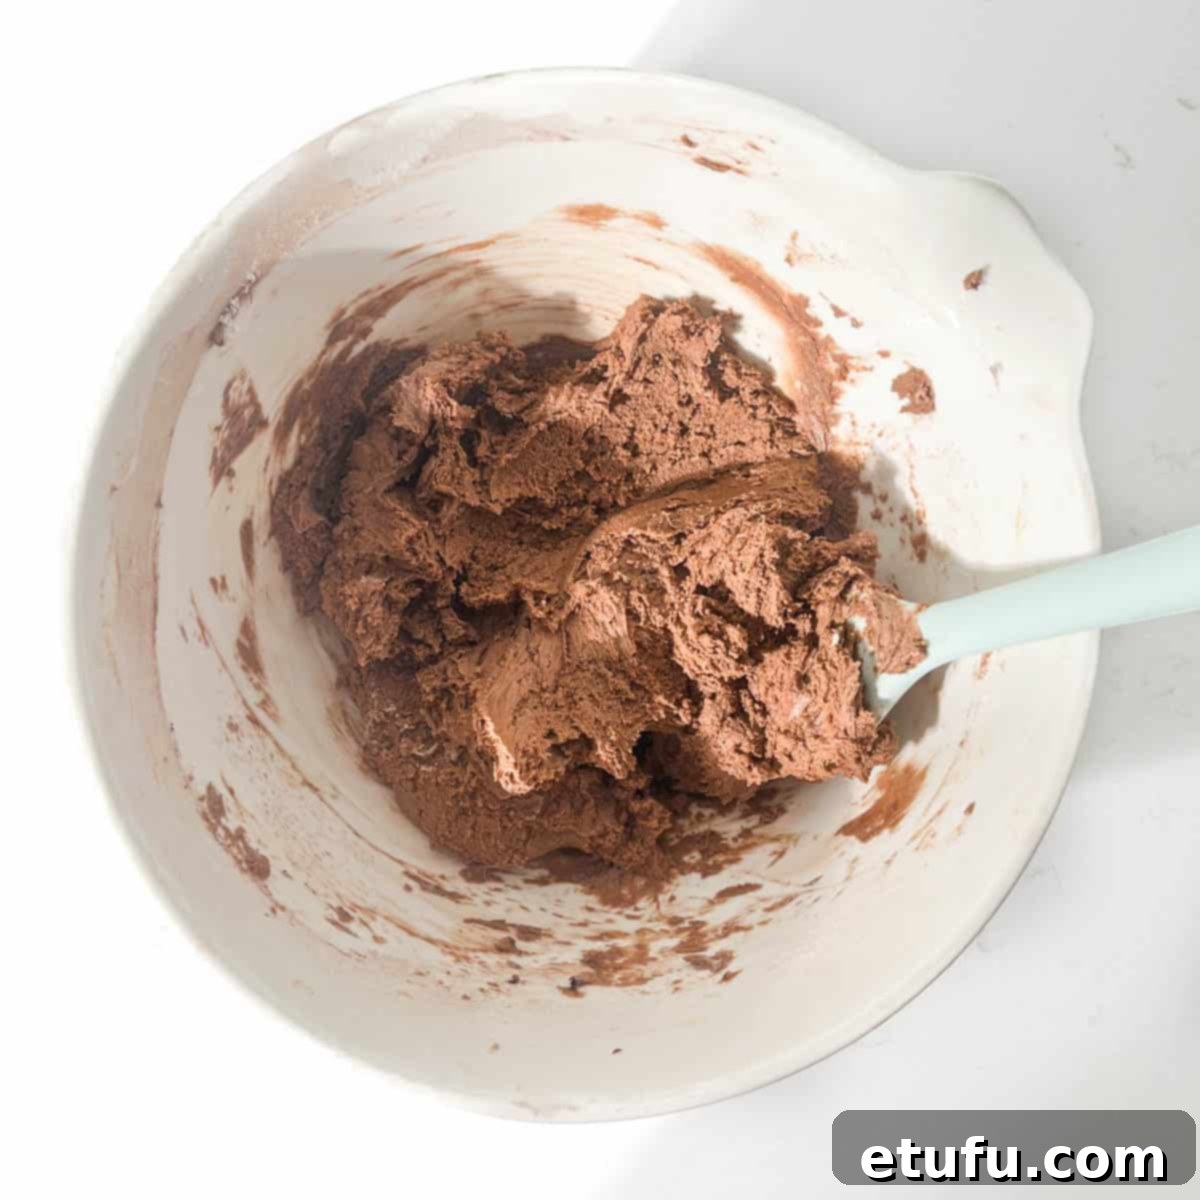
6. **Mix Just Until Combined:** With the electric mixer on a low speed, slowly beat the flour into the wet ingredients. Mix just until you can no longer see any visible specks of dry flour. To prevent overmixing, which can lead to tough cookies, we highly recommend starting with the electric mixer and finishing the last few turns by hand using a wooden spoon or a rubber spatula. Ensure you scrape down the sides and bottom of the bowl to catch any hidden flour pockets.
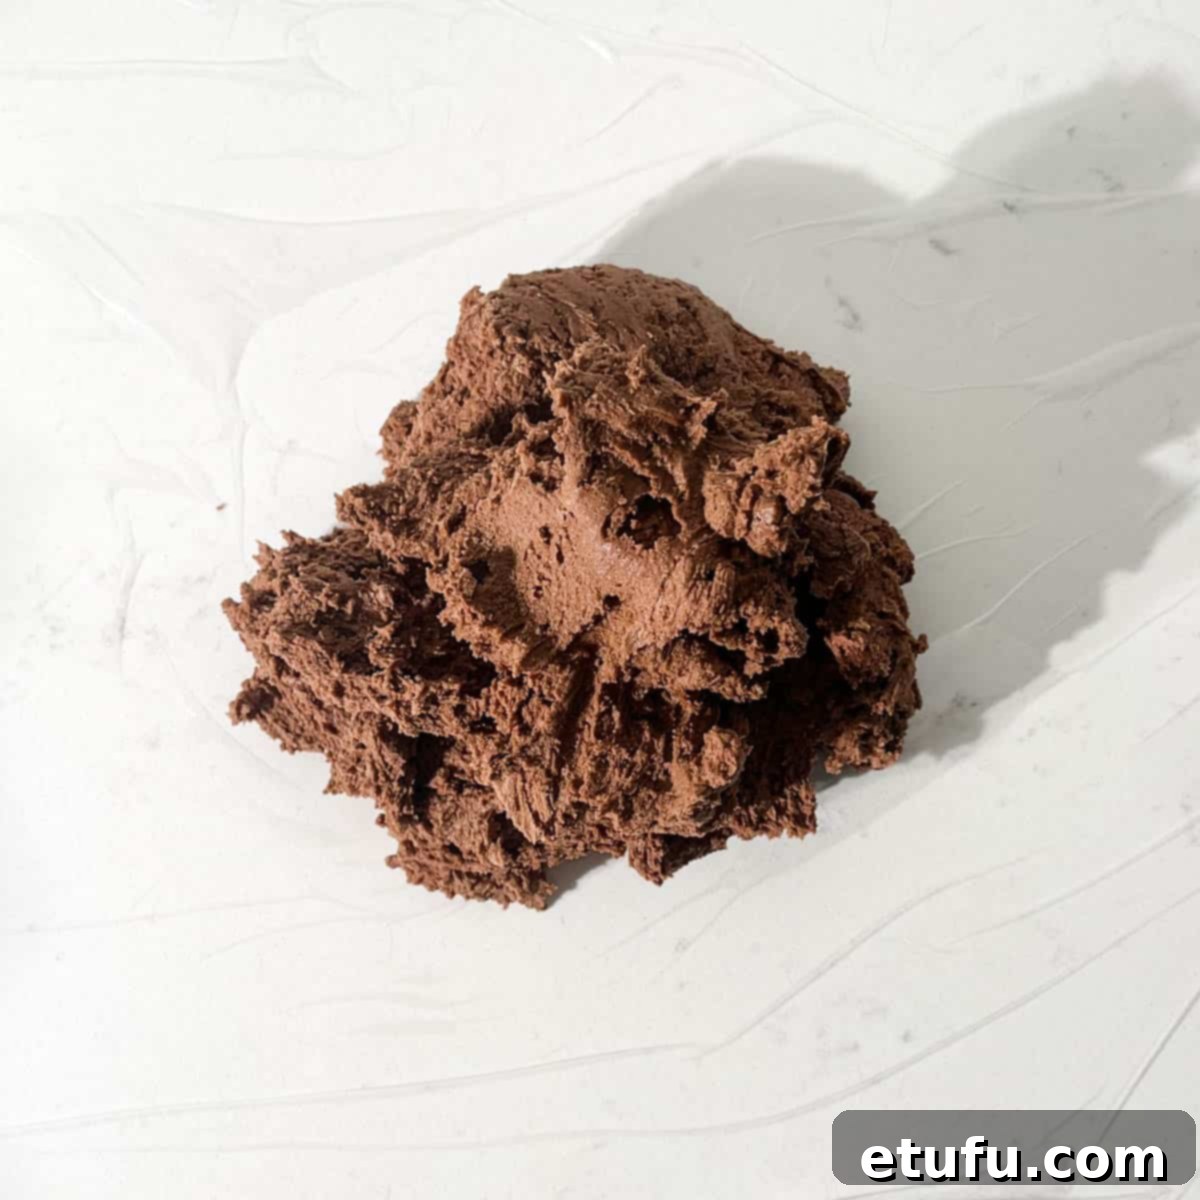
7. **Prepare for Chilling:** Carefully tip the soft chocolate shortbread dough out onto a piece of plastic wrap laid on your work surface. Don’t worry if the dough seems quite soft at this stage; it’s exactly why our next step is crucial.
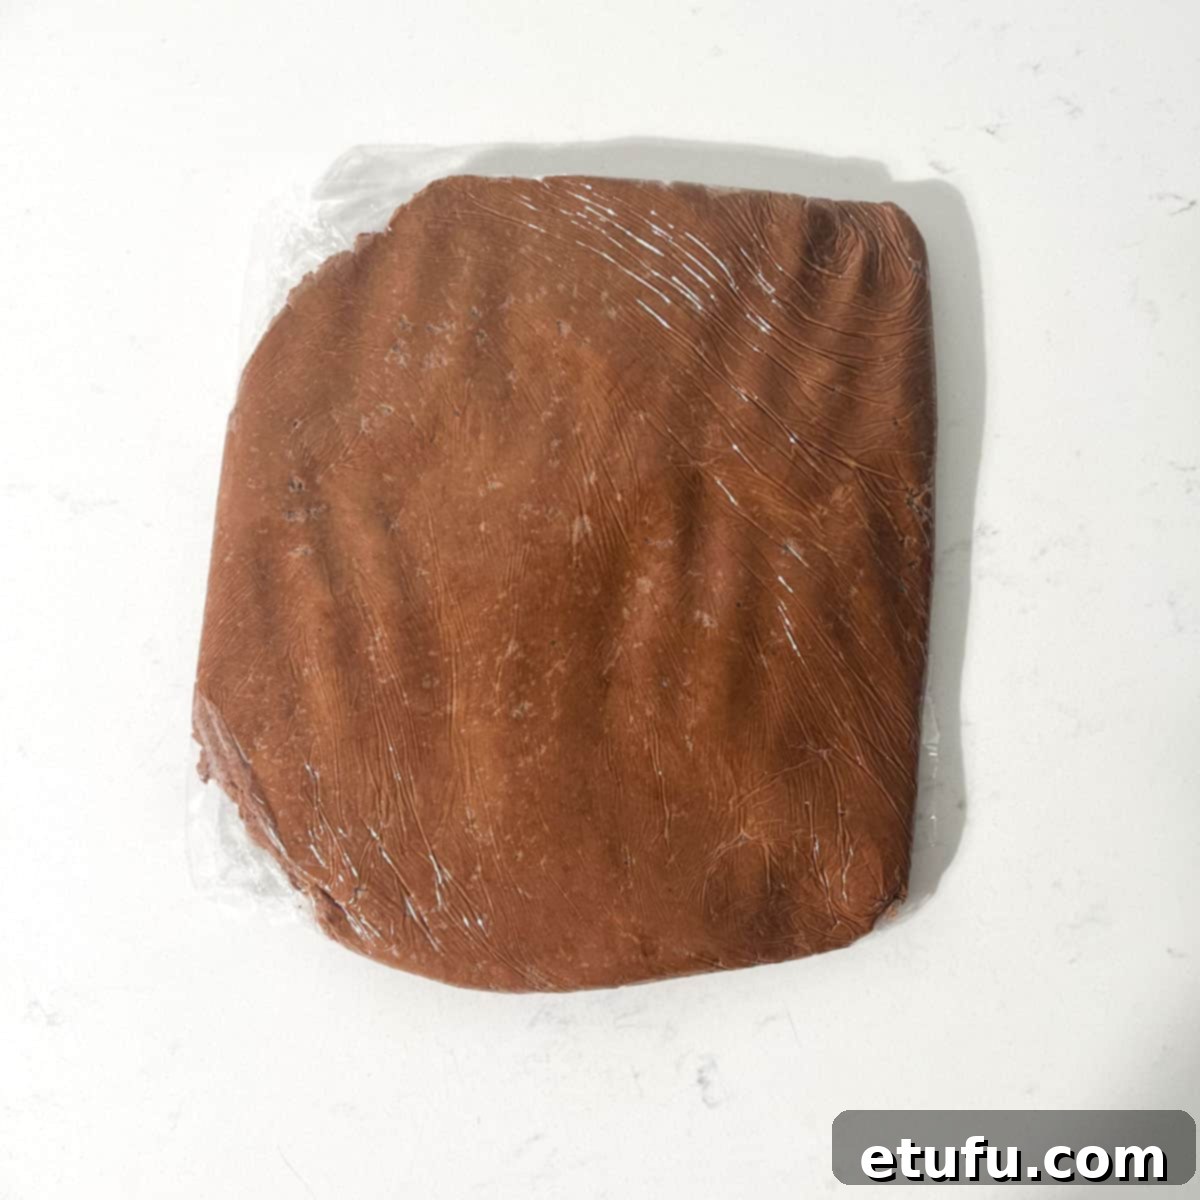
8. **Chill the Dough:** Gently shape the dough into a flat disk, which makes rolling it out later much easier. Wrap the disk tightly in the plastic wrap. Transfer it to the fridge for a minimum of 1 hour, or if you’re in a hurry, place it in the freezer for **30 minutes**. Chilling is essential to firm up the butter in the dough, preventing the cookies from spreading too much in the oven and helping them hold their shape.
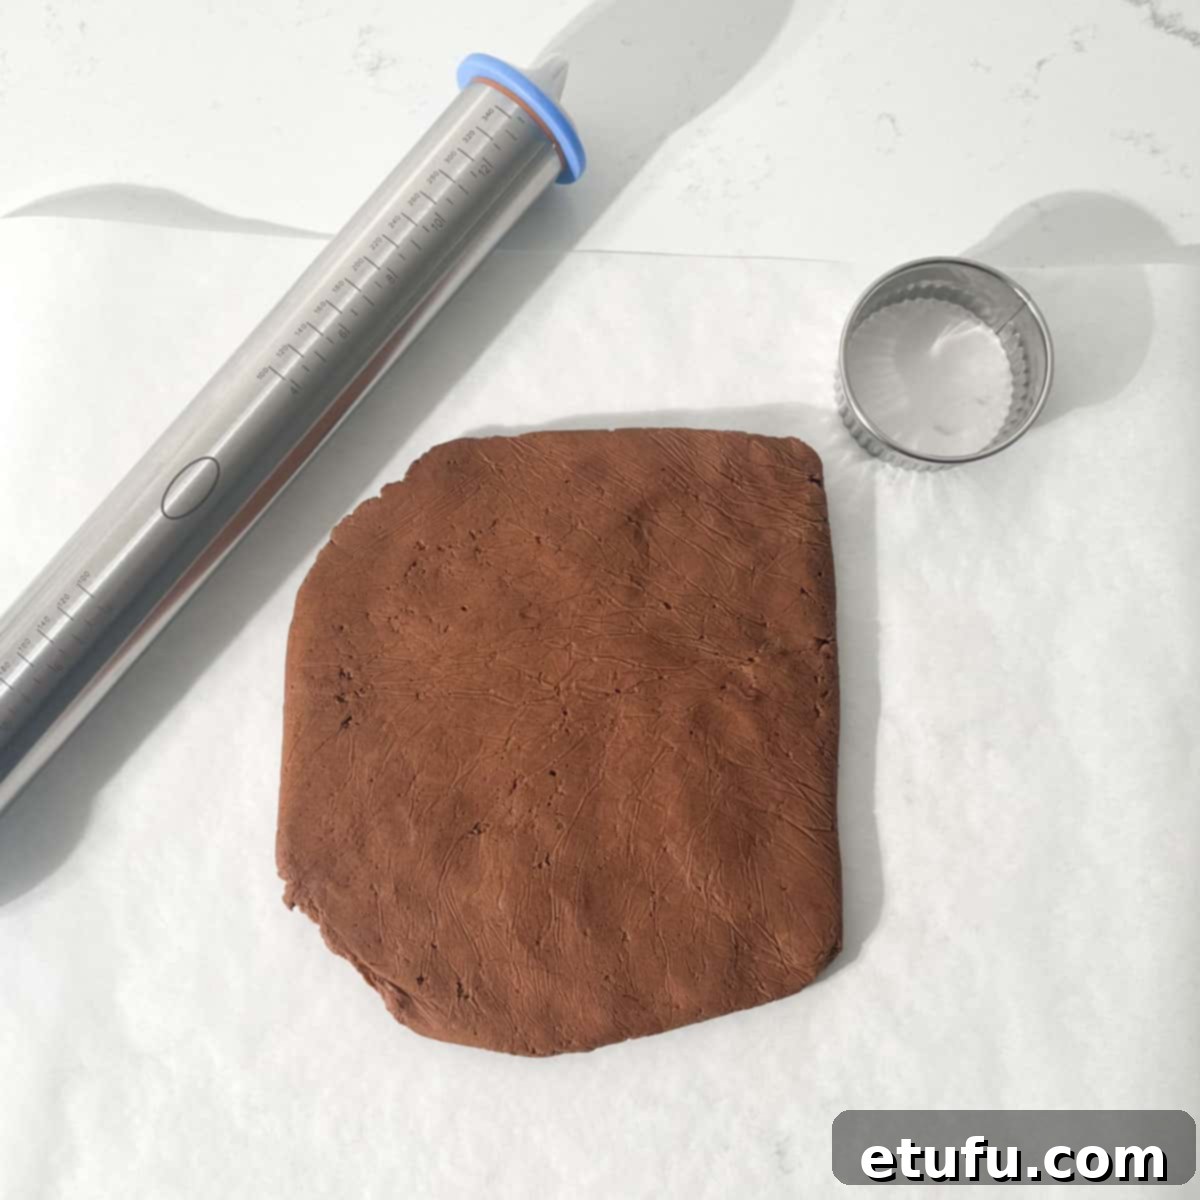
9. **Prepare for Rolling:** Once the dough is thoroughly chilled and firm to the touch, unwrap it. Place the firm dough disk on a large piece of parchment paper laid flat on your counter. Using parchment paper for rolling is a game-changer for shortbread!
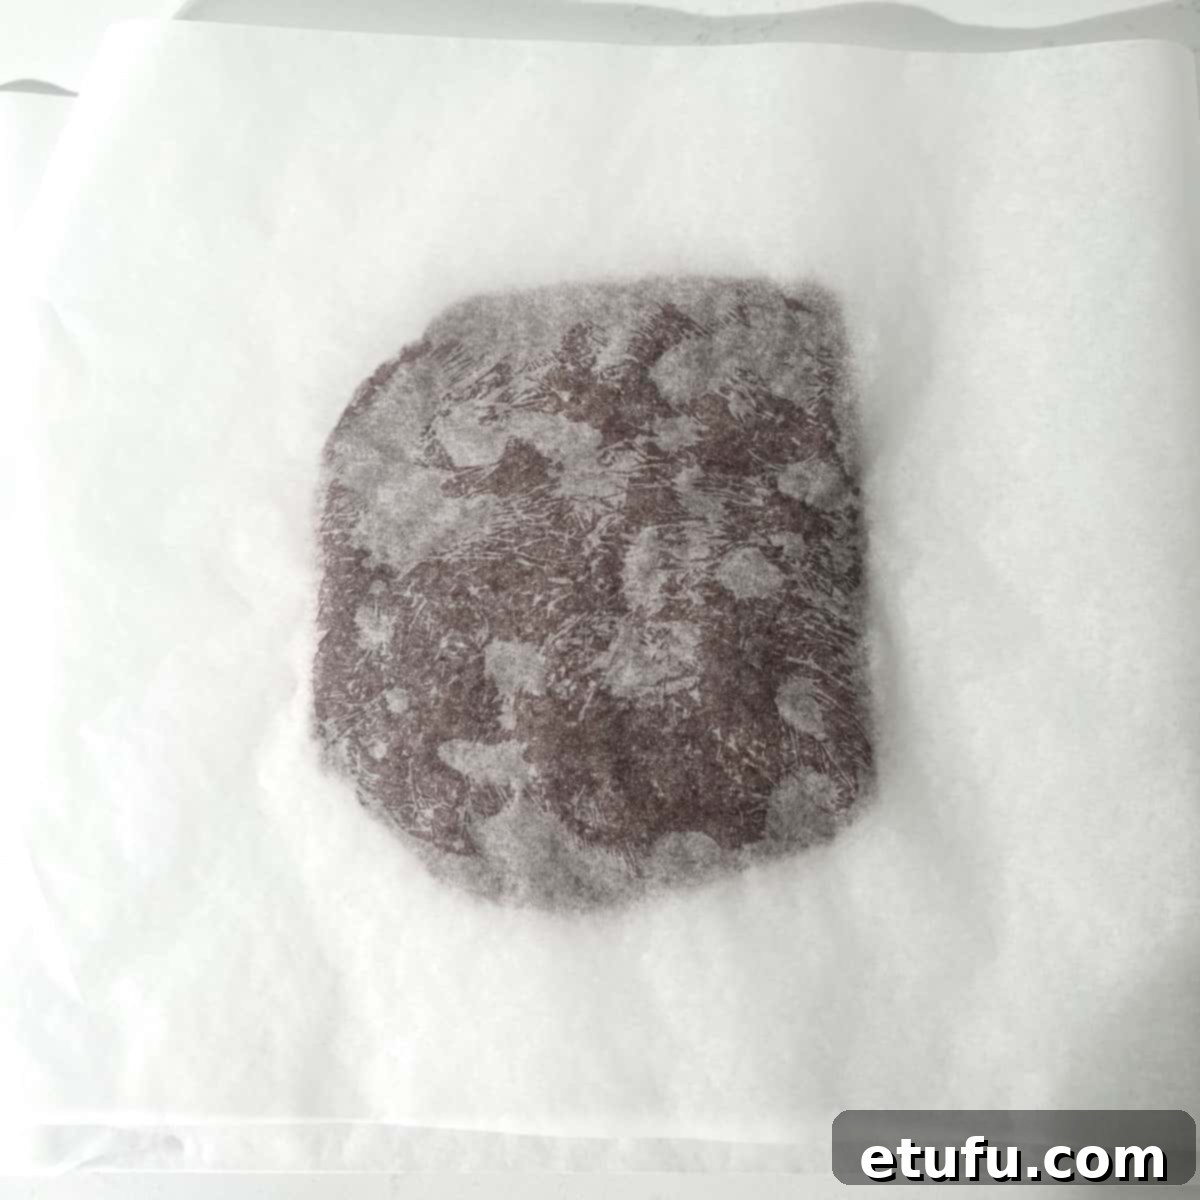
10. **Cover for Even Rolling:** Place another piece of parchment paper directly on top of the dough. This creates a “parchment sandwich,” which allows you to roll the dough without it sticking to your rolling pin or the counter, eliminating the need for extra flour.
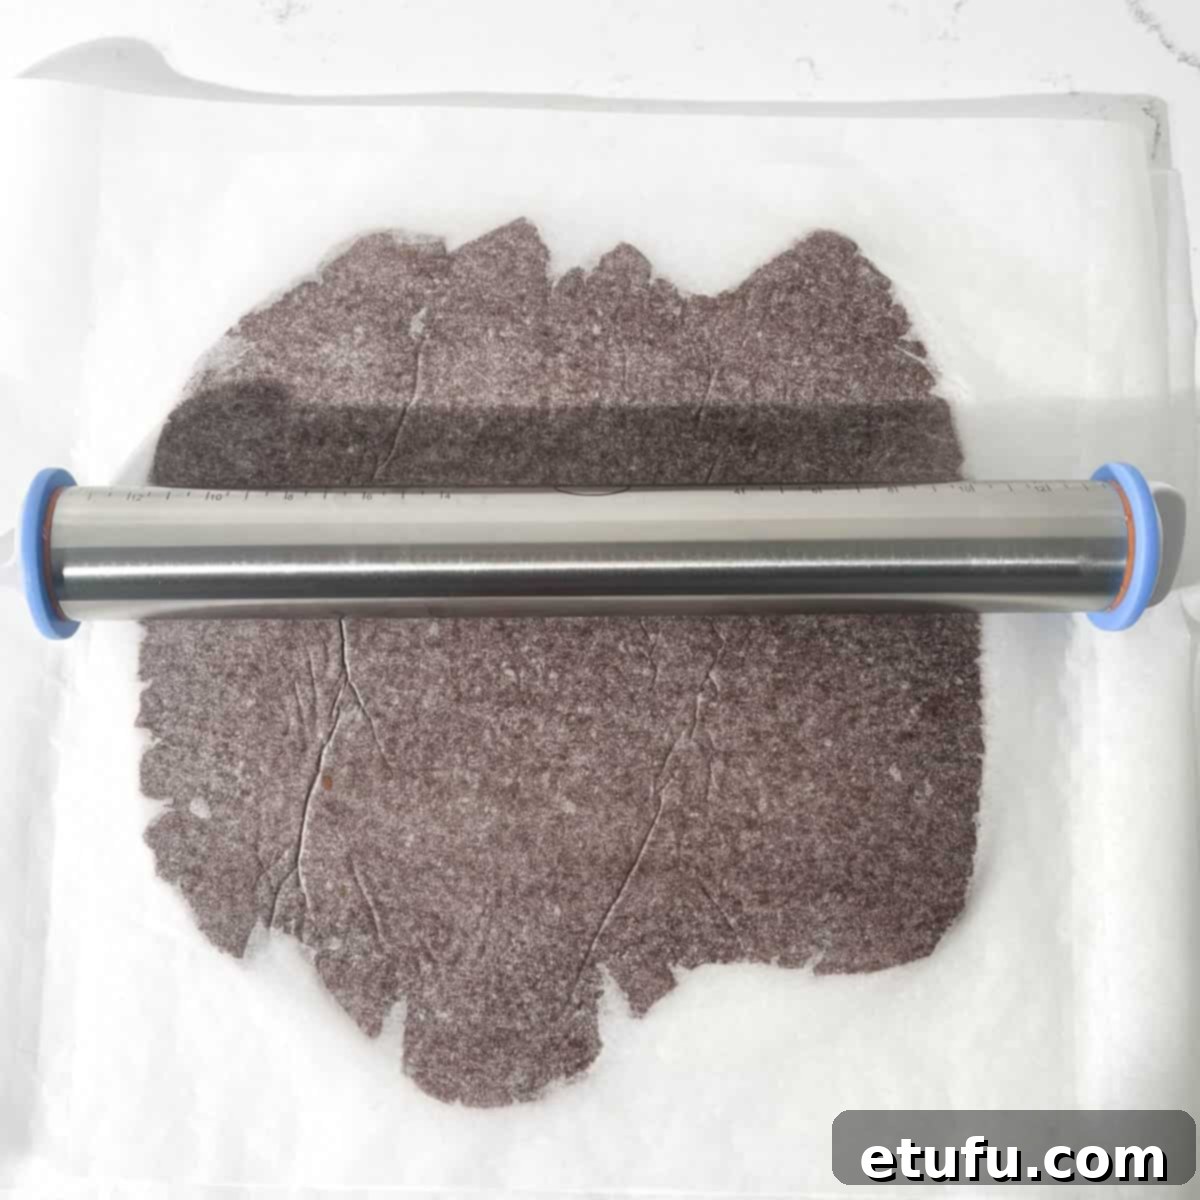
11. **Roll to Perfect Thickness:** Using a rolling pin, roll the dough out evenly between the two sheets of parchment paper to a uniform thickness of approximately 6mm (1/4 inch). Consistency in thickness ensures even baking.
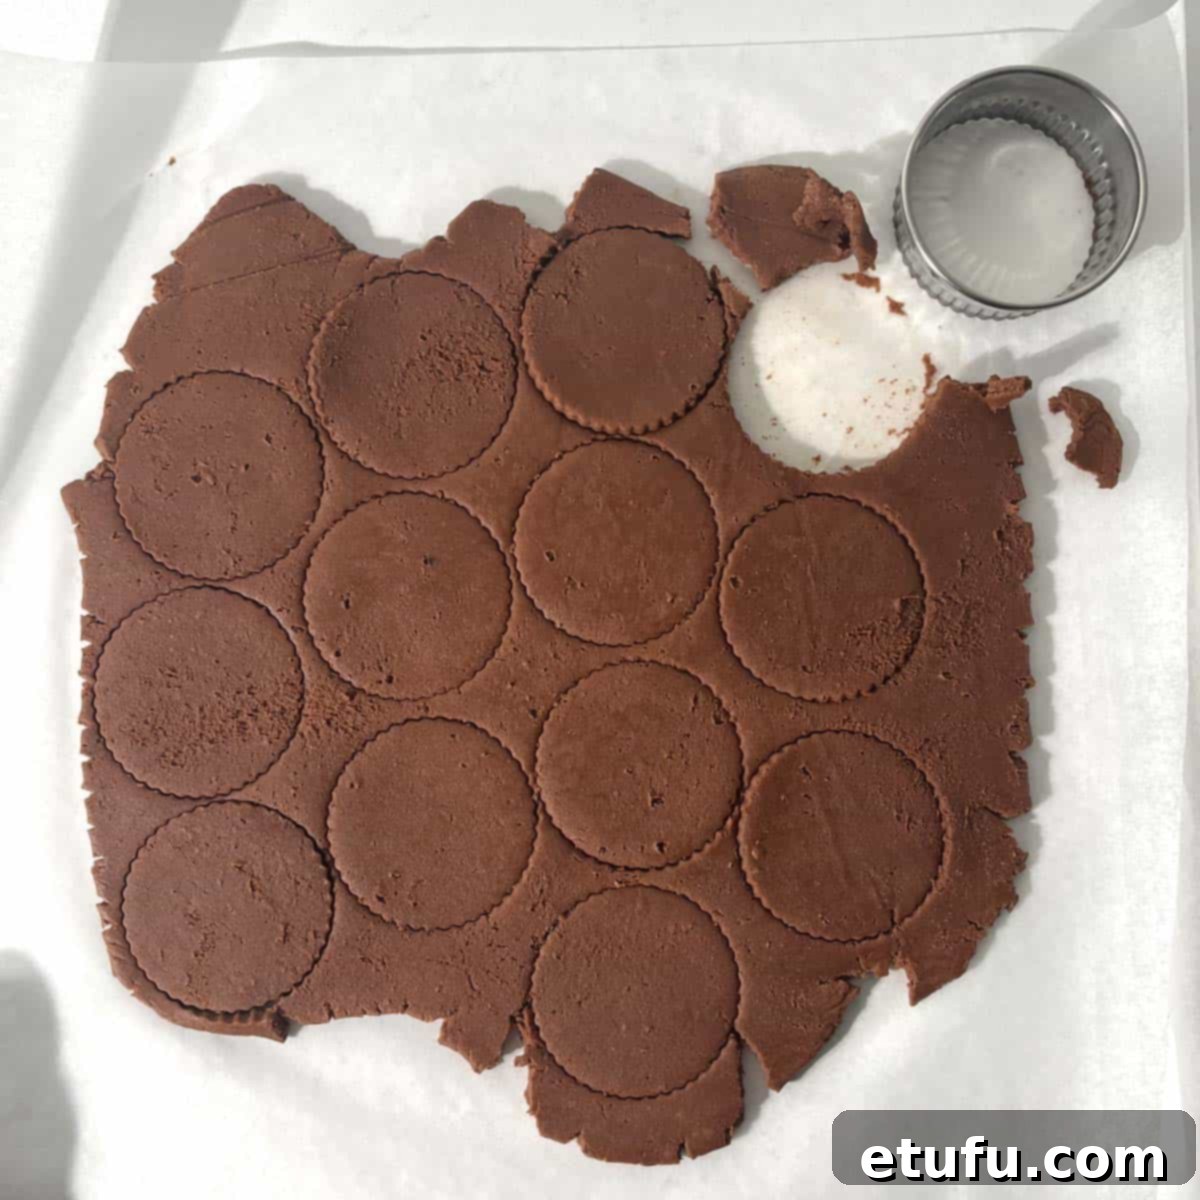
12. **Cut Out Shapes:** Remove the top layer of parchment paper. Use your favorite cookie cutters to cut out desired shapes from the rolled dough. Carefully gather any leftover dough scraps, gently press them together, and re-roll. If the dough becomes too soft to work with during this process, simply return it to the fridge for about **10 minutes** to firm up again before continuing.
13. **Prepare Baking Sheets:** Line two baking sheets with fresh pieces of parchment paper. Carefully transfer the cut-out cookies onto the prepared sheets, leaving ample space between each cookie to allow for slight expansion during baking.
14. **Final Chill (Crucial Step!):** Place the baking sheets with the cut-out cookies into the fridge. Let them chill and firm up for at least **15-20 minutes** while your oven preheats. This crucial second chill helps prevent the cookies from spreading and ensures they maintain their crisp edges and intricate shapes during baking.
15. **Preheat Your Oven:** While the cookies are chilling, preheat your oven to 170°C (338°F / Gas Mark 3). Proper oven temperature is vital for even baking.
16. **Bake to Perfection:** Once the oven is fully preheated and the cookies are thoroughly chilled, place the baking sheets on the middle shelf of the oven. Bake for approximately **15-17 minutes**. Since these are dark chocolate cookies, visual cues like golden edges are absent. Instead, look for a dull, matte surface and edges that appear dry and slightly firm to the touch – this indicates they are perfectly baked through. Avoid overbaking, as chocolate shortbread can become dry.
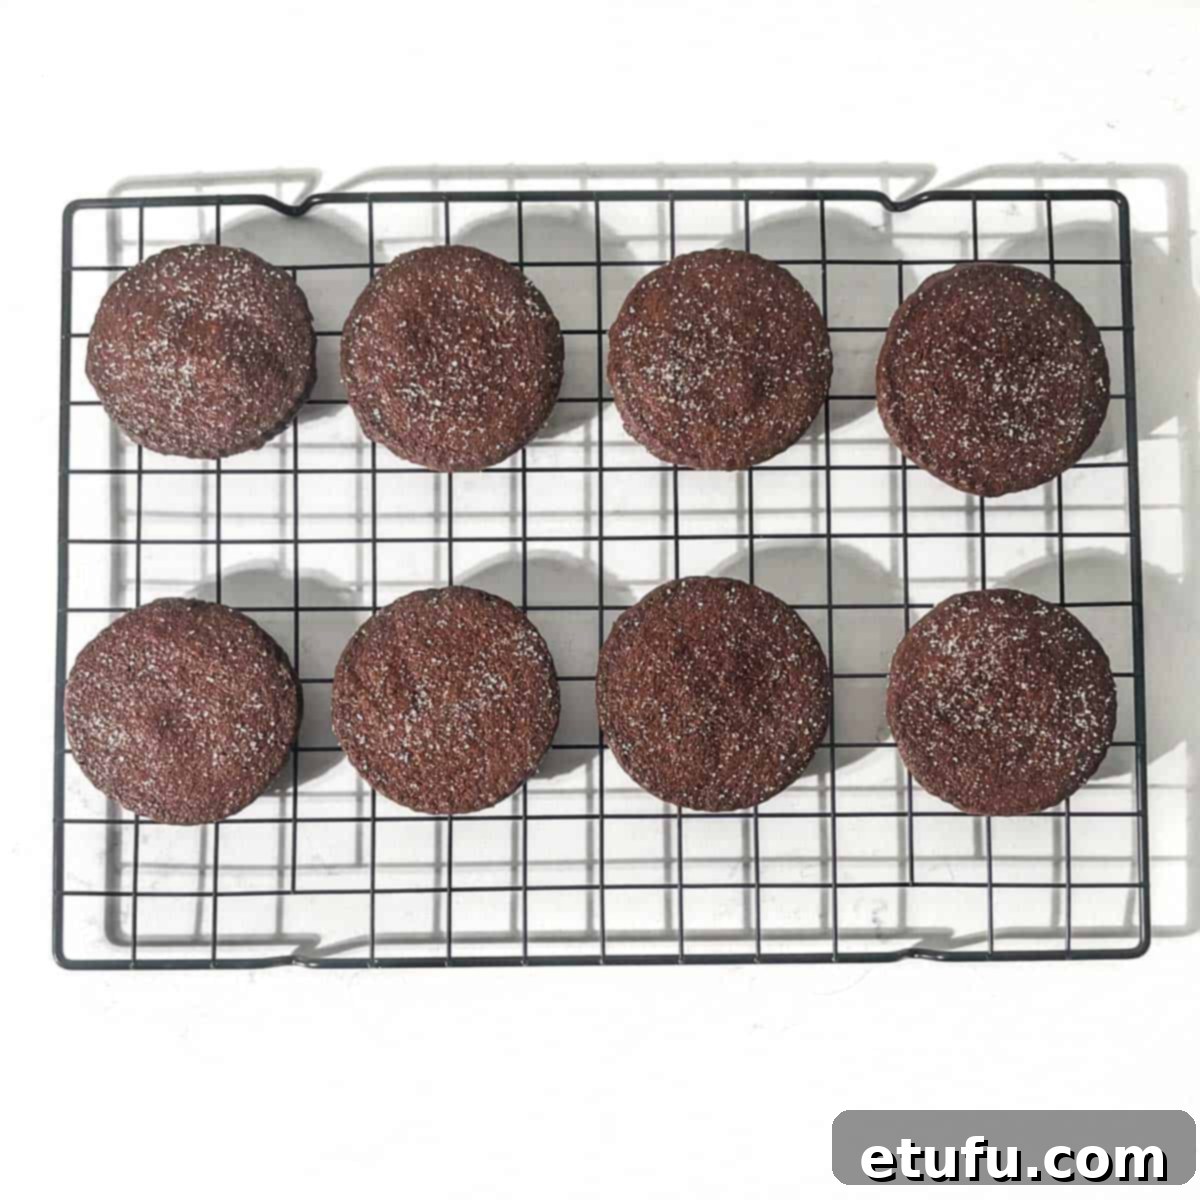
17. **Cooling Process:** Once baked, remove the baking sheets from the oven. Leave the cookies on the hot trays for about **10 minutes** to allow them to firm up slightly. After this initial cooling, carefully transfer them to a wire rack to cool completely. Handling them too soon can cause them to break.
18. **Optional Sugar Coating:** If desired, sprinkle the warm cookies with granulated sugar or fine caster sugar immediately after removing them from the oven. Gently press down on the sugar to help it adhere to the warm surface, creating a delicate, sparkling finish.
Top Tips for Flawless Chocolate Shortbread
Baking shortbread, while seemingly simple, benefits greatly from a few key techniques. These top tips will help you achieve cookies that are truly café-worthy – perfectly tender, buttery, and beautifully shaped every time.
Weigh Your Ingredients Accurately: Precision is Key
Baking is a science, and precision is paramount, especially for delicate cookies like shortbread. Using a digital kitchen scale to weigh your ingredients, particularly flour and butter, will consistently give you the most accurate and reliable results. Volume measurements (cups) can vary wildly based on how densely ingredients are packed, leading to inconsistent dough texture. If you haven’t yet invested in a digital kitchen scale, consider adding it to your wish list – it’s a game-changer for any baker!
Don’t Overmix the Dough: Preserve Tenderness
Shortbread is celebrated for its tender, crumbly texture, and overmixing is the quickest way to ruin this. Flour contains gluten, a protein that develops when agitated with liquid. The more you mix, the more gluten develops, leading to a tough, chewy cookie rather than a delicate, melt-in-your-mouth one. Mix gently and stop as soon as the flour is just incorporated and no dry streaks remain. A wooden spoon or rubber spatula can be helpful for the final few turns to avoid overworking the dough.
Chilling the Dough is a *Must*: Shape and Texture Perfected
This is arguably the most critical step for successful shortbread. The dough for these chocolate shortbreads is intentionally quite soft due to its high butter content. Chilling it before rolling and cutting is absolutely essential for several reasons:
- **Prevents Spreading:** Cold butter is firm and stable, meaning it will melt slower in the oven, preventing your cookies from spreading into flat, shapeless puddles.
- **Easier Handling:** Firm dough is much easier to roll out evenly and cut into precise shapes without tearing or sticking.
- **Enhances Texture:** Chilling allows the flour to fully hydrate, leading to a more tender and consistent crumb.
After mixing, shape the dough into a flat disk, wrap it tightly in plastic wrap, and chill it in the fridge for at least **1 hour**, or in the freezer for **30 minutes**. This firms it up beautifully. If you find your dough scraps become too soft while cutting shapes, simply return them to the fridge for 10 minutes to firm up again before re-rolling. Alternatively, roll out the dough directly on parchment paper to your desired thickness, place it on a tray, and then chill it until firm before cutting. Do not skip this chilling step – it truly makes all the difference for neat, clean, and perfectly textured cookies.
Re-chill the Cut-Out Cookies Before Baking: Double Assurance
Just when you think you’re ready to bake, there’s one more chilling step that elevates your cookies from good to outstanding. Re-chilling cut-out cookies before they go into the oven is absolutely essential. While you’ve been handling, rolling, and cutting the dough, especially in a warm kitchen or under bright lights, the butter in the dough can start to warm up and soften. Your warm hands can also contribute to this softening.
To ensure your cookies hold their crisp edges and intricate details, wait to preheat your oven until after you have transferred all your beautifully cut cookies to the baking sheets and placed them back into the fridge for a final chill. This second chill firms up the dough once more, ensuring that the butter is as cold as possible when it hits the heat of the oven. This helps the cookies retain their shape and prevents spreading, giving you perfectly defined shortbreads. Resist the urge to bake immediately after cutting!
How to Tell if Your Dark Chocolate Cookies Are Done: Trust Your Senses
Baking chocolate cookies can be tricky because their dark color hides the usual visual cues of doneness, like golden-brown edges. You’ll need to engage more of your senses to tell when they’re perfectly baked:
- **The Aroma Test:** Your nose is your best friend here. When the cookies are nearing perfection, your kitchen will fill with an irresistible, rich chocolate aroma. This scent is often the first reliable indicator they’re almost ready.
- **Check the Surface:** A properly baked chocolate shortbread will have a dull, matte surface. If it still looks glossy or wet, it needs a few more minutes.
- **Gentle Touch Test:** Carefully press on the edges of a cookie. If it feels firm and dry, rather than soft and doughy, it’s likely baked through.
- **Remember Carryover Baking:** Cookies continue to cook for a few minutes after they’re removed from the oven due to residual heat. It’s always safer to pull them out when they seem *just* shy of done to avoid overbaking and drying them out. A slightly underbaked cookie is often more tender and delicious than an overbaked one.
Let your senses guide you, and you’ll master perfectly baked chocolate shortbread every time.
A Bonus ‘Nice-to-Have’: Rolling Pin with Guides
For truly uniform cookies, consider investing in a rolling pin with built-in thickness guides, or adjustable rings that attach to the ends. These guides act as a frame of reference, allowing you to roll your dough precisely to the desired thickness (like our 6mm/1/4″ recommendation) across the entire surface. This ensures every cookie bakes evenly and has the same delightful crisp-tender texture. It’s a fantastic tool for consistency and another excellent gift idea for any home baker!
Creative Decoration Ideas for Your Chocolate Shortbreads
These chocolate shortbreads are delicious on their own, but they also serve as a perfect canvas for creativity. Here are some delightful ways to decorate them and make them even more special:
- **Chocolate Drizzle or Dip:** Melt white chocolate or milk chocolate and drizzle it decoratively over the cooled cookies, or dip half of each cookie for an elegant look. White chocolate provides a beautiful visual contrast.
- **Sprinkle Edges:** Roll the edges of freshly dipped chocolate cookies in chocolate sprinkles, crushed nuts, or a pinch of flaky sea salt for a sophisticated touch.
- **Sugar Dusting:** A simple dusting of granulated sugar, fine caster sugar, or even cinnamon sugar immediately after baking adds a sweet sparkle.
- **Mix-Ins:** Gently press mini chocolate chips, chopped nuts (like pecans or walnuts), or even a few colorful Smarties/M&M’s into the unbaked cookies before chilling.
- **Candy Adornments:** For a fun and festive look, press small, colorful candies like Smarties or mini gumdrops into the center of the unbaked cookies.
- **Sandwich Cookies:** Once cooled, sandwich two cookies together with a dollop of creamy buttercream, your favorite jam, rich Nutella, or fluffy homemade marshmallow fluff for an indulgent treat.
- **Festive Flavor Boost:** Add a few drops of peppermint extract to the dough (reducing vanilla slightly) for a refreshing, holiday-inspired twist.
- **Royal Icing Art:** For a truly elaborate presentation, decorate with royal icing and various sprinkles, perfect for birthdays or holiday platters.
The Parchment Paper Advantage: Why It’s Your Best Friend for Rolling Dough
If you’re not already rolling your cookie dough between sheets of parchment paper, prepare to have your baking life transformed! This simple technique offers a multitude of benefits, ensuring a smoother, cleaner, and more successful shortbread experience:
- **Prevents Sticking (No Extra Flour Needed!):** The number one advantage is eliminating the need for additional flour on your work surface or rolling pin. Excess flour can dry out your dough, making it tough and giving your cookies a chalky, less tender texture. Parchment paper acts as a natural non-stick barrier.
- **Keeps Things Tidy:** Say goodbye to flour dust and sticky countertops! Rolling between parchment keeps your workspace clean and minimizes mess.
- **Effortless Transfer:** Once rolled and cut, you can easily slide the entire sheet of parchment paper (with the cookies on it) onto a baking sheet, making transfer seamless and preventing distortion of your delicate cookie shapes.
- **Easy Rerolling of Scraps:** Gathered dough scraps can be placed between two fresh sheets of parchment and re-rolled quickly and cleanly, again without adding more flour.
- **Even Thickness:** By keeping the dough contained, parchment paper helps you roll more evenly, reducing thin spots that can burn or thick spots that cook unevenly.
- **No Burnt Flour Bottoms:** When you bake cookies directly on a floured surface, residual flour can burn on the bottom of the cookies, imparting an unpleasant taste. Parchment paper prevents this entirely.
In essence, rolling on parchment paper simplifies the process, enhances the final texture, and keeps your kitchen cleaner – truly a baker’s secret weapon!
Storage Suggestions for Freshness and Convenience
Proper storage is essential to keep your chocolate shortbreads delicious and ready to enjoy, whether baked or as dough for future indulgence.
Storing Baked Cookies:
Once your shortbreads have cooled completely, store them in an airtight container at room temperature. They will retain their freshness and crisp texture for up to **1 week**. For longer storage, baked shortbreads freeze beautifully. Place cooled cookies in a single layer on a baking sheet to flash freeze for about an hour, then transfer them to a freezer-safe bag or container. They can be frozen for up to **3 months**. Thaw at room temperature before serving.
Storing Unbaked Dough:
The unbaked shortbread dough is incredibly versatile for make-ahead convenience:
- **Fridge Storage:** Wrap the dough disk tightly in plastic wrap and store it in the fridge for up to **3-4 days**. When ready to use, let it sit at room temperature for a few minutes to soften slightly before rolling and cutting.
- **Freezer Storage (Dough Disk):** For longer storage, wrap the dough disk securely in two layers of plastic wrap and then in aluminum foil. Freeze for up to **3 months**. Thaw overnight in the fridge before rolling and baking.
- **Freezer Storage (Cut-Out Shapes):** For ultimate convenience, cut out your cookie shapes and arrange them in a single layer on a parchment-lined baking sheet. Flash freeze until solid (about 30-60 minutes). Then, transfer the frozen, individual cookie cut-outs to a freezer-safe bag or container, separating layers with parchment paper to prevent sticking. They can be frozen for up to **3 months**.
Baking from Frozen:
You can bake the frozen cut-out cookies directly from the freezer! Simply arrange them on a parchment-lined baking sheet and add an extra **1-2 minutes** to the baking time specified in the recipe. This is a fantastic way to have fresh, warm cookies on demand without the full prep work.
To prevent condensation and maintain crispness, avoid storing cookies or dough in areas with frequent temperature fluctuations.
Recipe
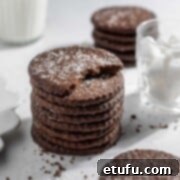
Decadent Chocolate Shortbreads
Print Recipe
Ingredients
- 230 grams unsalted butter – or salted butter, but omit the extra salt in the recipe
- 110 grams icing sugar – otherwise known as powdered sugar
- 30 grams cocoa powder – use a good quality Dutch-processed cocoa for best flavor
- ½ teaspoon salt
- 1 teaspoon vanilla extract
- 220 grams all-purpose flour
Instructions
- Add the softened butter and icing sugar to a large mixing bowl.
- Using an electric hand mixer or stand mixer, beat the butter and icing sugar together until light and fluffy, about 2-3 minutes.
- Next, add in the cocoa powder, salt, and vanilla extract to the butter and sugar mixture. Beat until everything is thoroughly combined and you have a smooth, creamy mixture.
- Add all of the all-purpose flour to the bowl. Slowly beat just until you cannot see any more specks of flour. We recommend starting with the electric mixer and finishing by hand, scraping down the sides and bottom of the bowl.
- Tip the cookie dough out onto a piece of plastic wrap on your work surface.
- Shape it into a flat disk and wrap it securely in the plastic wrap. Place in the fridge for a minimum of 1 hour, or in the freezer for 30 minutes.
- Once the dough is cold and firmed up, unwrap it and place on a sheet of parchment paper. Cover it with another piece of parchment paper.
- Using a rolling pin, roll the dough out to a thickness of 6mm (1/4″).
- Cut out your desired shapes from the dough using a cookie cutter. Re-roll any leftover pieces of dough. If the dough has gone soft, return it to the fridge for 10 minutes.
- Line two baking trays with parchment paper and transfer the cut-out cookies onto the trays, leaving enough space between them for expansion.
- Place the baking trays with the cut-out cookies in the fridge to firm up again while the oven preheats.
- Preheat the oven to 170°C (338°F / Gas Mark 3).
- Once preheated, bake the cookies on the middle shelf of the oven for 15-17 minutes. Since the cookies are dark, look for a dull surface and dry edges to determine doneness, as visual browning cues won’t be apparent.
- Leave the cookies on the baking trays for 10 minutes before carefully moving them to a wire rack to cool completely.
- If desired, sprinkle them with granulated or caster sugar as soon as they come out of the oven. Gently press down to help the sugar stick.
Notes
Weigh your ingredients accurately
Using a digital scale to weigh out your ingredients will always give you more accurate results, which is key for baking success. If you haven’t got a set of digital kitchen scales, consider adding it to your Christmas list!
Don’t overmix the dough
For best results, do not overmix the cookie mixture once the flour has been added. Overmixing can develop too much gluten, leading to tougher cookies instead of that signature delicate shortbread crumb. Gently fold the ingredients together and stop as soon as everything has been incorporated and no dry streaks remain.
Chilling the dough is a *must*
The dough is fairly soft and buttery, so chilling it in the fridge before rolling and cutting is an essential step. This firms up the butter, prevents spreading, and makes the dough much easier to handle.
After mixing, shape the dough into a flat disk, wrap it securely in cling film, and chill it in the fridge for at least 1 hour or in the freezer for 30 minutes. This firms up the dough and makes it much easier to work with.
If any leftover dough scraps soften up while cutting shapes, simply return them to the fridge for 10 minutes to firm up again before re-rolling.
Another great technique is to roll out the dough to the desired thickness directly on parchment paper, transfer it to a baking sheet, and place the entire sheet in the fridge until firm before cutting your shapes.
Chilling helps retain the dough’s shape for cutting neat cookies and ensures a tender texture. So, take advantage of your fridge or freezer to ensure these cookies turn out just the way they should: perfectly crisp and tender.
Re-chill the cut-out cookies before baking
Re-chilling the cut-out cookies before baking is an important extra step that guarantees sharp edges and prevents spreading. While rolling and handling the dough, it can start to warm up and soften, especially if your kitchen is hot, you’re under bright lights, or your hands run warm.
Wait to preheat the oven until after you have transferred all the cut-out cookies to a baking sheet and returned them to the fridge to firm up one last time. This second chill hardens the dough again and helps the shapes retain their form when hit with the heat of the oven. So really, really resist the urge to bake them immediately! Allowing the cut cookies to re-chill will ensure you end up with beautifully defined edges and crisp details.
How to tell if your cookies are done
With chocolate cookies, it can be tricky to gauge doneness since you don’t have the same visual cues (like browning) as lighter-colored baked goods.
- First, trust your nose – when they’re done baking, you’ll smell that irresistible, rich chocolate aroma filling your kitchen.
- Check the surface of the cookies too. When done, they will have a dull, matte look rather than a glossy, wet appearance.
- Press gently on the edges of the cookies. If they feel quite firm and almost dry, they are likely fully baked through.
- Keep in mind that cookies continue cooking even once removed from the oven. To avoid overbaking, be cautious and pull them when you think they seem just shy of done. It’s better to have cookies that are slightly underbaked and tender rather than dried out.
Let your senses guide you, and you will master perfectly baked chocolate shortbread every time.
A bonus ‘nice-to-have’
Invest in a rolling pin with built-in guides or adjustable add-on guides for easy, tidy rolling. The guides act as a frame of reference so you can roll the dough precisely to the desired thickness all over, ensuring uniform cookies. Perhaps something else to add to your Christmas list!
**Nutritional data disclaimer**
Please keep in mind that the nutritional information provided below is calculated by a third party and we cannot guarantee the accuracy. We try our best to give you the most accurate information, but we do not take responsibility for errors that may be present. Also, the nutritional value of the recipe may change depending on the exact brands and products used. We recommend that you consult with a qualified healthcare professional or registered dietitian for personalized advice on your dietary needs.
Nutrition
For food safety advice, including guidance on food allergies, please consult official resources.
