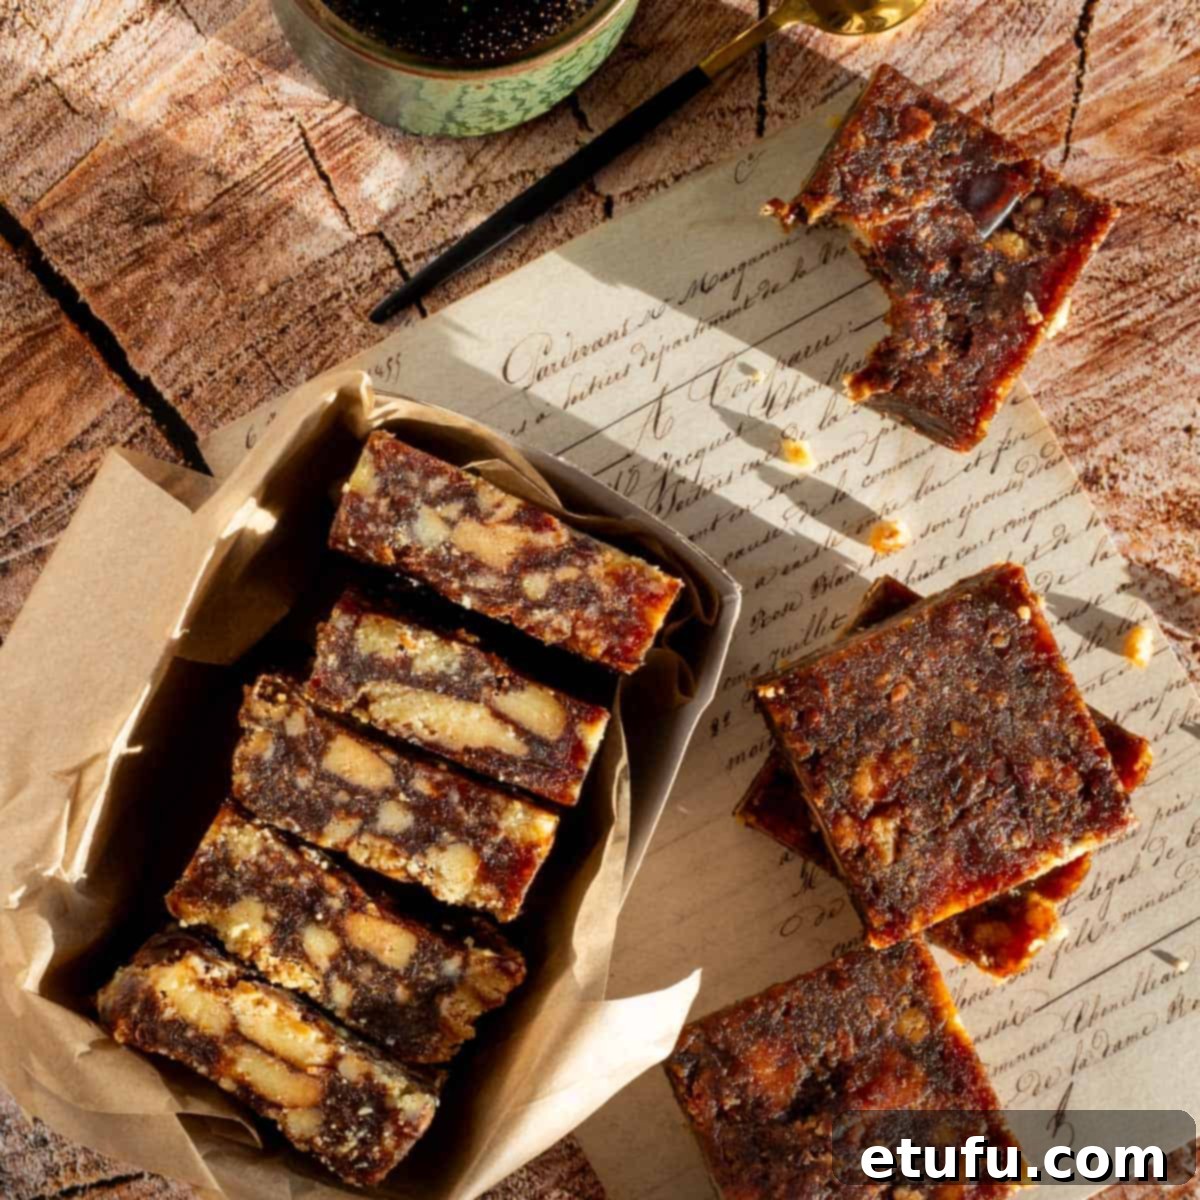
Irresistible No-Bake Date Squares: Your New Favorite Easy Treat!
Craving a sweet, buttery treat without the hassle of turning on your oven? Look no further! This incredibly easy, no-bake date square recipe promises pure deliciousness in every bite. Forget those dry, crumbly, old-fashioned date squares with oat layers you might be familiar with. This unique take offers a truly luxurious experience that will redefine your expectations.
Imagine a rich, buttery base infused with a deep, toffee-like flavor, complemented by a delightful crunch from crushed biscuits. These aren’t just date squares; they’re a symphony of textures and tastes that come together effortlessly. You don’t need any baking skills, just one pan and about 20 minutes of active prep time. They are significantly simpler and quicker to prepare than their traditional counterparts, making them a perfect choice for busy schedules or impromptu cravings.
Whether you call them “date bars,” “date slices,” or “date squares,” the name simply hints at the versatile way you can cut and enjoy these delightful confections. They’re perfect for any occasion, from a quick afternoon pick-me-up to an elegant dessert for guests.
If you have a special place in your heart for dates, we also recommend exploring our luxurious date balls recipe, which makes an ideal festive snack or thoughtful gift during the holidays. For more effortless no-bake delights, be sure to check out these velvety rum truffles, a classic peanut brittle, or this wonderfully simple coconut ice with condensed milk recipe.
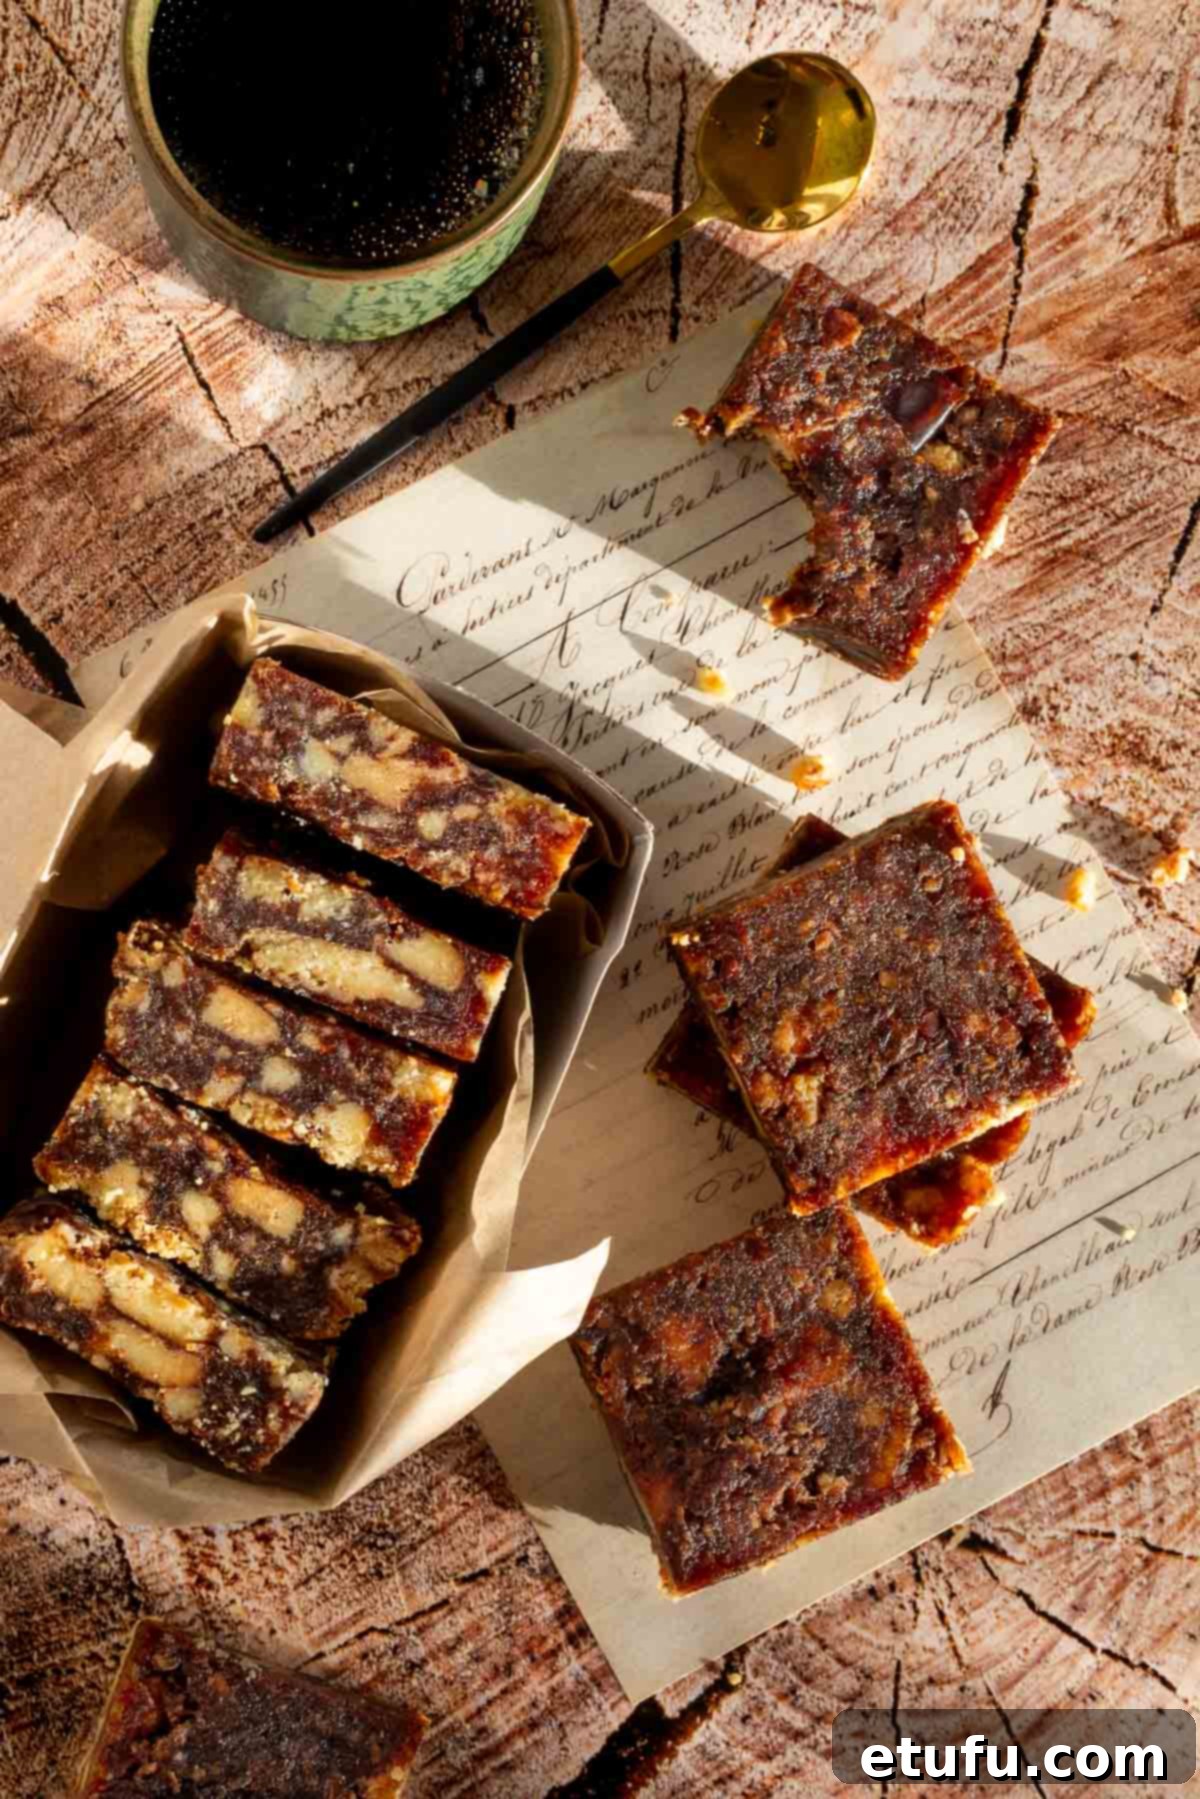
Why You’ll Absolutely Adore This No-Bake Date Squares Recipe
This recipe isn’t just easy; it’s a game-changer for anyone who loves delectable desserts but prefers minimal effort and maximum flavor. Here’s what makes these date squares an absolute must-try:
- Incredibly Quick & Simple: You can whip up a batch of these glorious date slices in just about 20 minutes using only a handful of common ingredients. This makes it a significantly faster and more straightforward option than traditional date oatmeal bars, perfect for when time is of the essence.
- No Baking Required: Say goodbye to preheating ovens and worrying about uneven baking! This entire recipe is prepared on the stovetop, making it perfect for hot summer days, small kitchens without much oven space, or simply for those who prefer the ease of no-bake desserts.
- Dangerously Moreish Flavor: Be warned – these date squares are incredibly addictive! Their rich, buttery, toffee-like taste combined with the satisfying crunch of biscuits makes them an irresistible treat. They pair wonderfully with a freshly brewed cup of coffee or your favorite tea, offering a moment of pure bliss.
- Versatile for Every Occasion: These delicious squares are incredibly adaptable. They’re an ideal grab-and-go dessert for busy days, perfect for stocking your holiday cookie tins, a robust treat for picnics, or a much-loved addition to any lunch box. Their firm yet tender texture holds up well, making them fantastic for transporting.
- Perfect for Gifting: Looking for a charming homemade gift? These date squares are absolutely perfect. When beautifully packaged in decorative boxes or wrapped in cellophane, they make thoughtful and impressive presents for friends, family, or colleagues. Who wouldn’t love a homemade treat?
Unveiling the Sweet Secret: What Exactly Are Dates?
Dates are truly extraordinary fruits, often hailed as “nature’s candy” or “toffee growing on trees,” and for good reason! These wonderfully sweet, chewy delights are the fruits of the date palm tree, specifically the species *Phoenix dactylifera*.
Native to the Middle East and North Africa, date palm cultivation has a rich history spanning thousands of years, deeply intertwined with the cultures and diets of these regions. Today, thanks to their adaptability, date palms thrive in warm, dry climates across the globe, making dates far more accessible to a wider audience.
The fruits grow in spectacular, large clusters, often weighing many pounds, high up on towering palm trees. Harvesting them is an impressive feat, typically performed by hand by skilled workers who ascend these incredibly tall palms – definitely not a job for anyone with a fear of heights! Interestingly, date palms are dioecious, meaning there are separate male and female trees. While birds and bees are not significantly attracted to the fruit itself, the female trees require manual pollination to produce a bountiful harvest, a labor-intensive process that highlights the dedication behind date cultivation.
A collection of these majestic trees is known as a “date garden” or a “date grove,” idyllic settings where these delightful fruits come to life. Beyond their incredible sweetness, dates are also packed with natural goodness. They are an excellent source of dietary fiber, potassium, and other essential minerals, offering a wholesome energy boost. Their natural sugars make them a healthier alternative to refined sweets, providing sustained energy without a sudden crash.
Essential Ingredients and Smart Substitutions for Your Date Squares
Crafting these delectable no-bake date squares requires just a few simple ingredients. Here’s a detailed look at what you’ll need and how you can make easy substitutions without compromising on taste or texture.
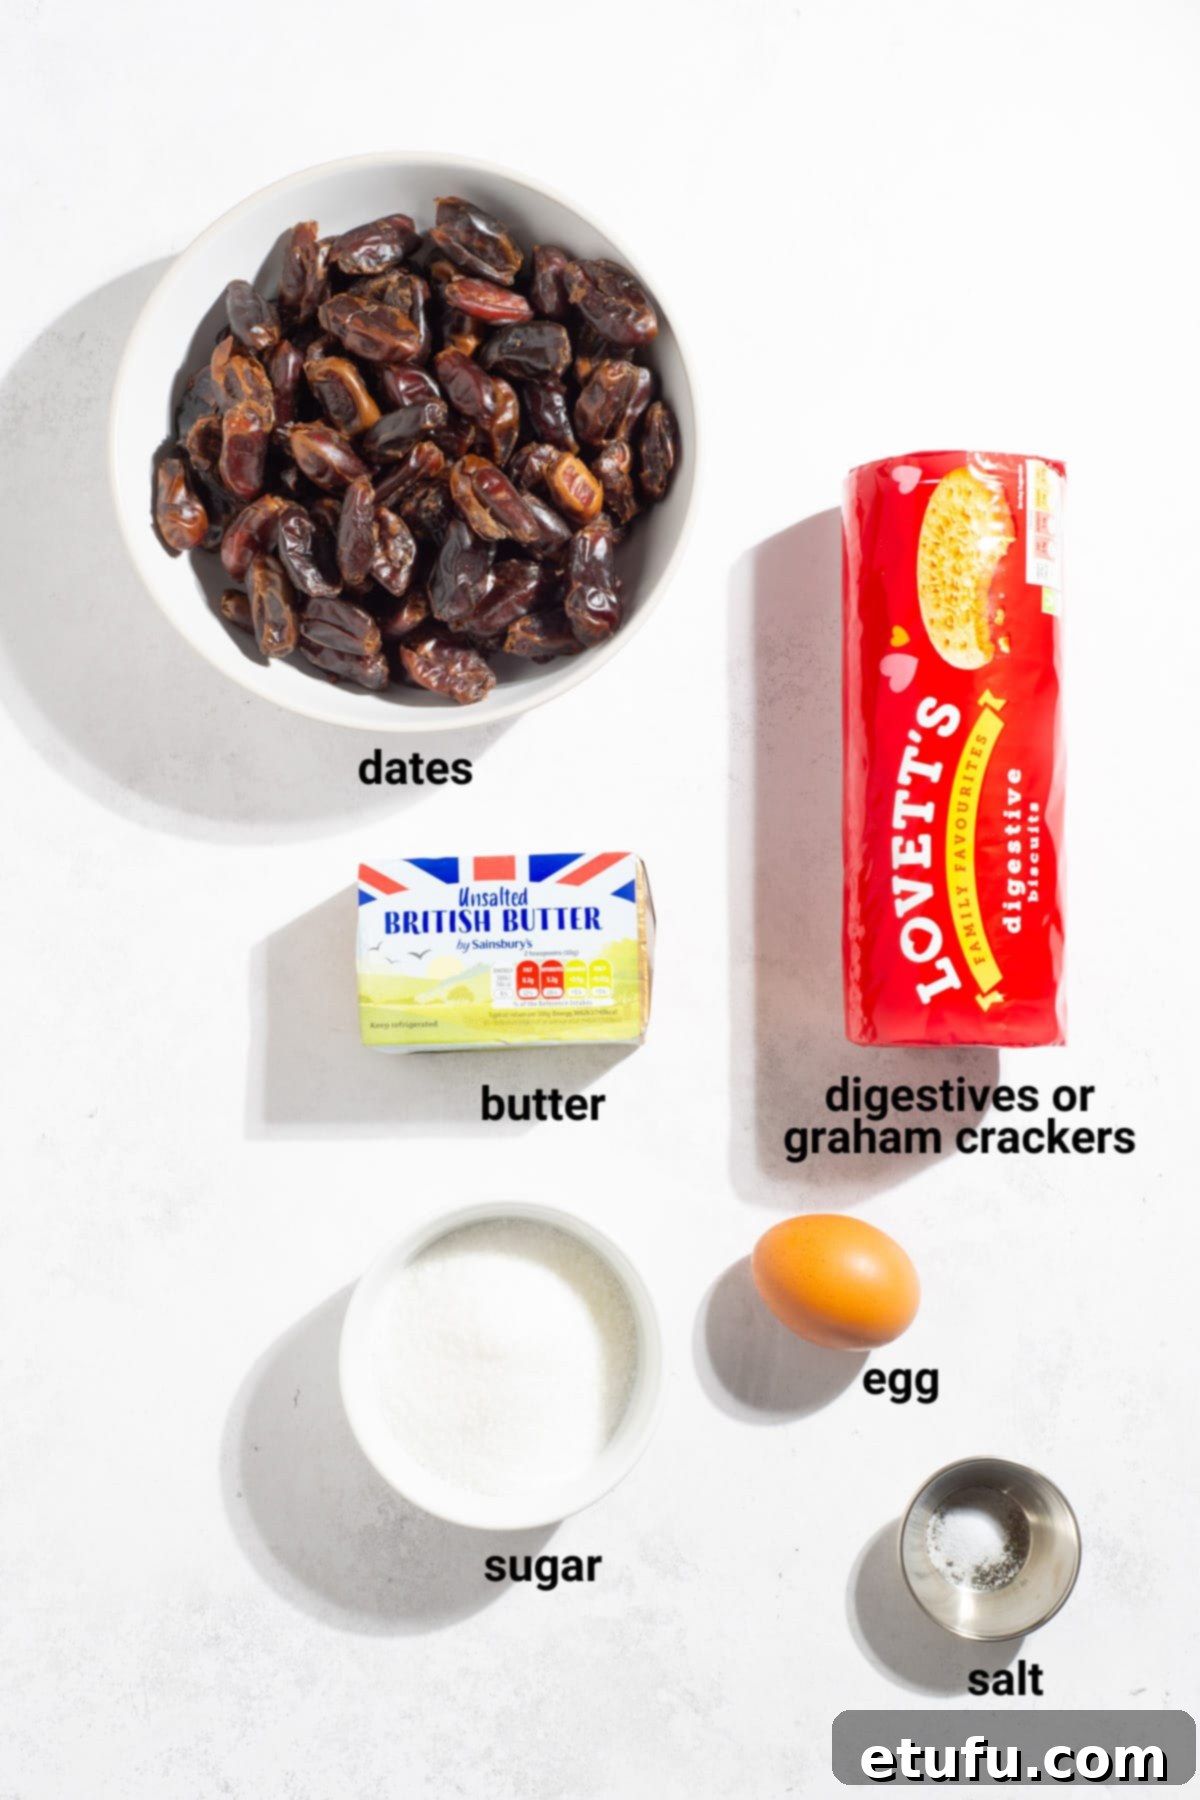
Butter
Whether you opt for salted or unsalted butter, both will work perfectly in this recipe. The slight variation in saltiness between the two types is not significant once all the ingredients are combined and the flavors meld together. Butter provides the rich, luxurious base that gives these date squares their signature toffee-like depth and smooth texture.
Pitted Dates
For this recipe, you’ll want to reach for plain, regular pitted dates, which are typically found in the baking aisle of most supermarkets. There’s no need to splurge on more expensive varieties like Medjool dates.
To clarify, supermarkets usually stock two main types of dates: Medjool and Deglet Noor (often simply labeled as “dates” in the baking section). Medjool dates are generally larger, plumper, and boast a softer, more caramel-like texture. You’ll often find them in the fresh produce section, and they come with a higher price tag. However, for this particular recipe, using expensive Medjool dates would be a waste of your money. We’ll be cooking the dates down with butter until they reach a soft, almost pulpy consistency, which would negate the unique qualities of Medjool dates. So, save your pennies for another recipe!
Deglet Noor dates, on the other hand, are smaller, firmer, and significantly more economical. These are the dates you typically find packaged in bags or boxes in the dried fruit or baking aisle. They might not explicitly be labeled “Deglet Noor,” but rather just “dates” or “pitted dates.” These firmer dates hold up beautifully during the cooking process and break down perfectly to create the delicious date filling for our squares.
Sugar
Regular white granulated sugar is all you need to provide the ideal sweetness for these date squares. However, if you have white caster sugar on hand, it can be used as a direct replacement. Caster sugar has a finer grain, which can dissolve slightly quicker, but the end result will be very similar.
Top tip for caster sugar: You can easily make your own caster sugar at home! Simply place regular granulated sugar in a food processor and pulse it briefly until it reaches a finer consistency. You’re aiming for something between granulated sugar and icing sugar – fine enough to dissolve well but not so powdery that it disappears entirely. This homemade version works just as effectively as store-bought caster sugar.
We advise against using brown sugar for this recipe. While delicious in many desserts, brown sugar has a higher moisture content and a molasses flavor that can make the date mixture too heavy, too sticky, and result in a much darker color than desired for these particular date squares.
Digestive Biscuits
Digestive biscuits provide the perfect crunchy contrast to the soft date filling. However, they are easily replaceable with other plain biscuits that offer a similar texture and neutral flavor. Excellent substitutes include Graham crackers (common in the USA), Marie biscuits (popular in South Africa and other parts of the world), Rich Tea biscuits (a British staple), or even Scottish shortbreads for a richer, buttery base. When selecting your alternative, look for a biscuit that isn’t too heavily flavored and has a good, crumbly texture when broken.
Essential Equipment for Crafting Your Date Squares
One of the beauties of this no-bake date square recipe is its simplicity, which extends to the minimal equipment required. You won’t need any fancy gadgets or an array of baking pans. Here’s what you’ll need to gather:
- A medium saucepan: This will be your primary cooking vessel for melting butter and softening the dates. A good non-stick saucepan is ideal to prevent sticking.
- A square baking pan of 20cm x 20cm (8″ x 8″): This specific size ensures your date squares will have the ideal thickness and yield a good number of portions.
- Parchment paper (also known as baking paper): Crucial for lining your baking pan, it prevents sticking and makes lifting the set date squares incredibly easy.
- A wooden spoon or spatula: Essential for stirring the date mixture and pressing it firmly into the pan. A sturdy spoon will serve you well.
- A cutting board and a sharp knife: For preparing your dates (if not pre-chopped) and, most importantly, for slicing your perfectly set date squares into neat portions.
How to Make Delicious Date Squares: A Step-by-Step Guide
Follow these simple steps to create your own batch of irresistible no-bake date squares. Each step is designed to be clear and straightforward, ensuring a perfect result every time.
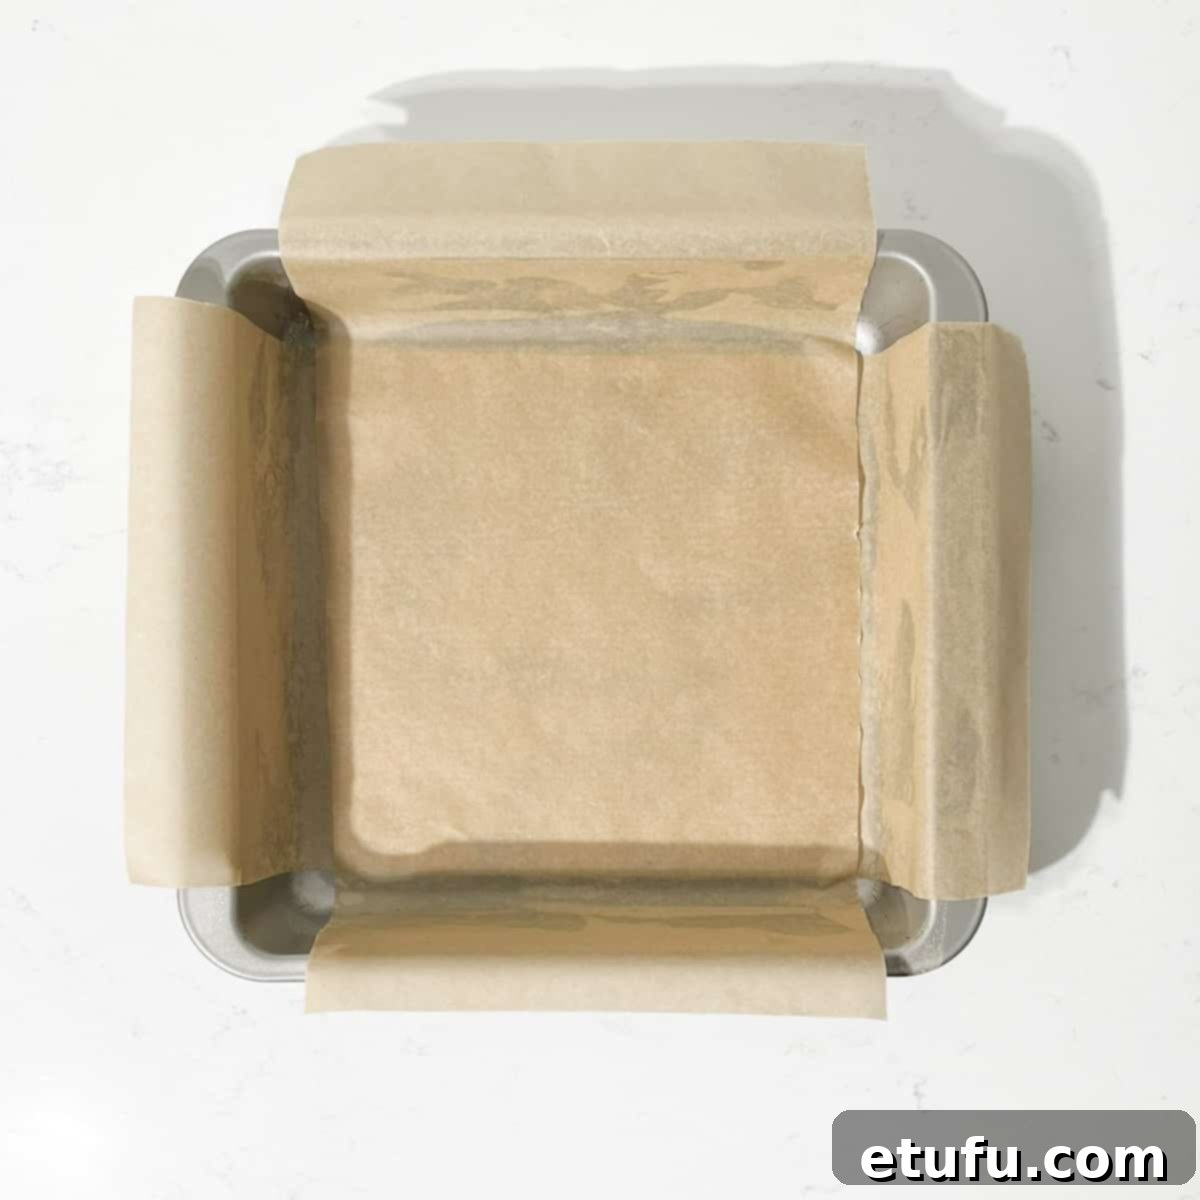
- Prepare Your Pan: Line a 20cm x 20cm (8″ x 8″) baking tin with parchment paper. Make sure to leave a slight overhang on all sides. This thoughtful overhang isn’t just for aesthetics; it will act as a convenient handle, making it much easier to lift the entire block of set date squares from the tin later on, ensuring clean removal and perfect edges.
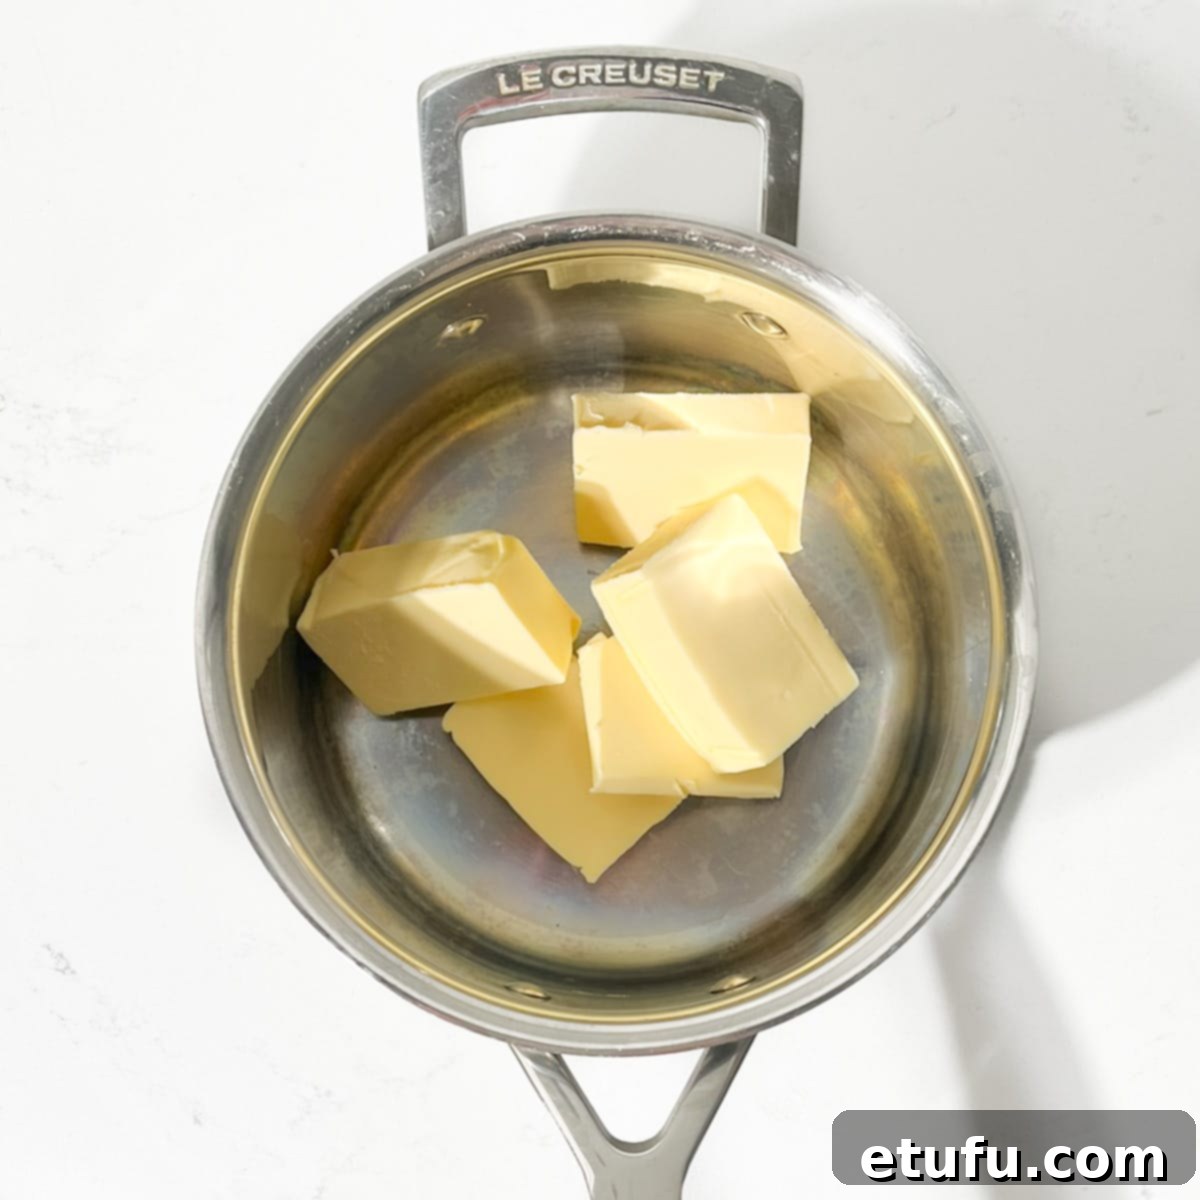
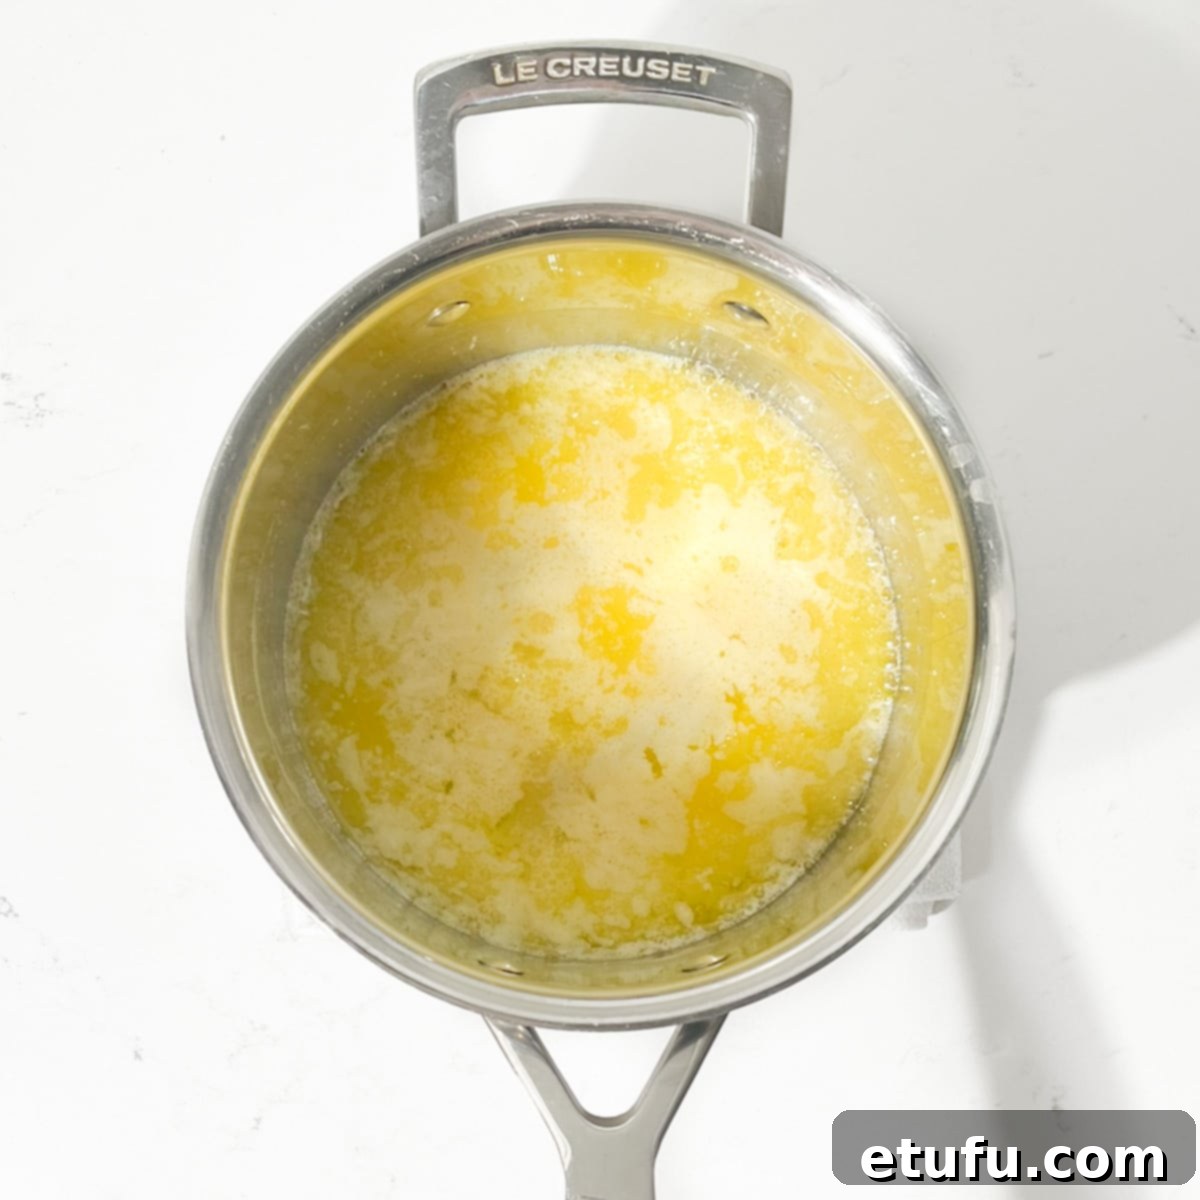
- Melt the Butter: Place the butter into a large saucepan. Turn your stove to medium heat and gently melt the butter. Keep an eye on it to ensure it melts smoothly without browning.
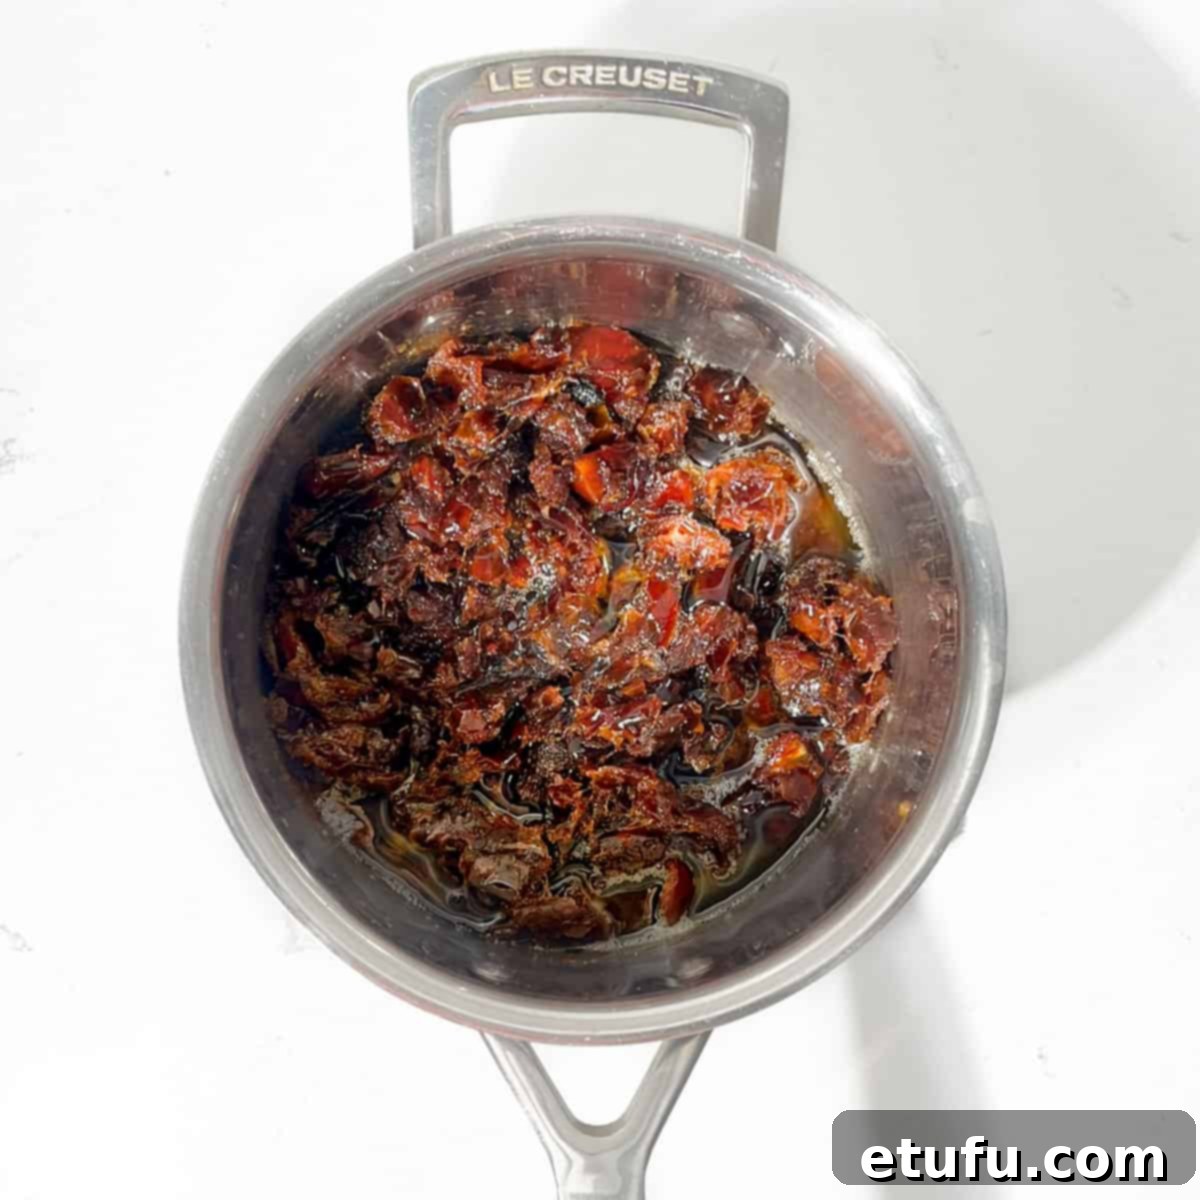
- Add the Dates: Once the butter is fully melted and glistening in the pan, add your roughly chopped dates. Ensure the dates are pitted before adding them to avoid any unwelcome surprises!
- Cook the Date Mixture: Using a sturdy spatula or wooden spoon, continuously stir the date and butter mixture. Continue stirring and gently pressing until the dates begin to soften significantly and break apart, forming a thick, paste-like consistency. This process usually takes about 5 minutes. You can assist this softening by gently ‘squishing’ the dates against the bottom and sides of the pan with your spatula as you stir. Remember to frequently scrape the bottom of the pan to prevent any sticking or burning. Don’t worry if there appears to be an excess of liquid butter at this stage; it will be fully absorbed and incorporated later in the recipe.
- Cool the Mixture: Once the dates have reached the desired consistency, remove the saucepan from the heat. Allow the mixture to cool down for approximately 10 minutes. It doesn’t need to reach room temperature, but it’s crucial that it’s no longer intensely hot. This cooling period is vital to prevent the egg from scrambling when it’s added in the next step, ensuring a smooth and properly emulsified mixture.
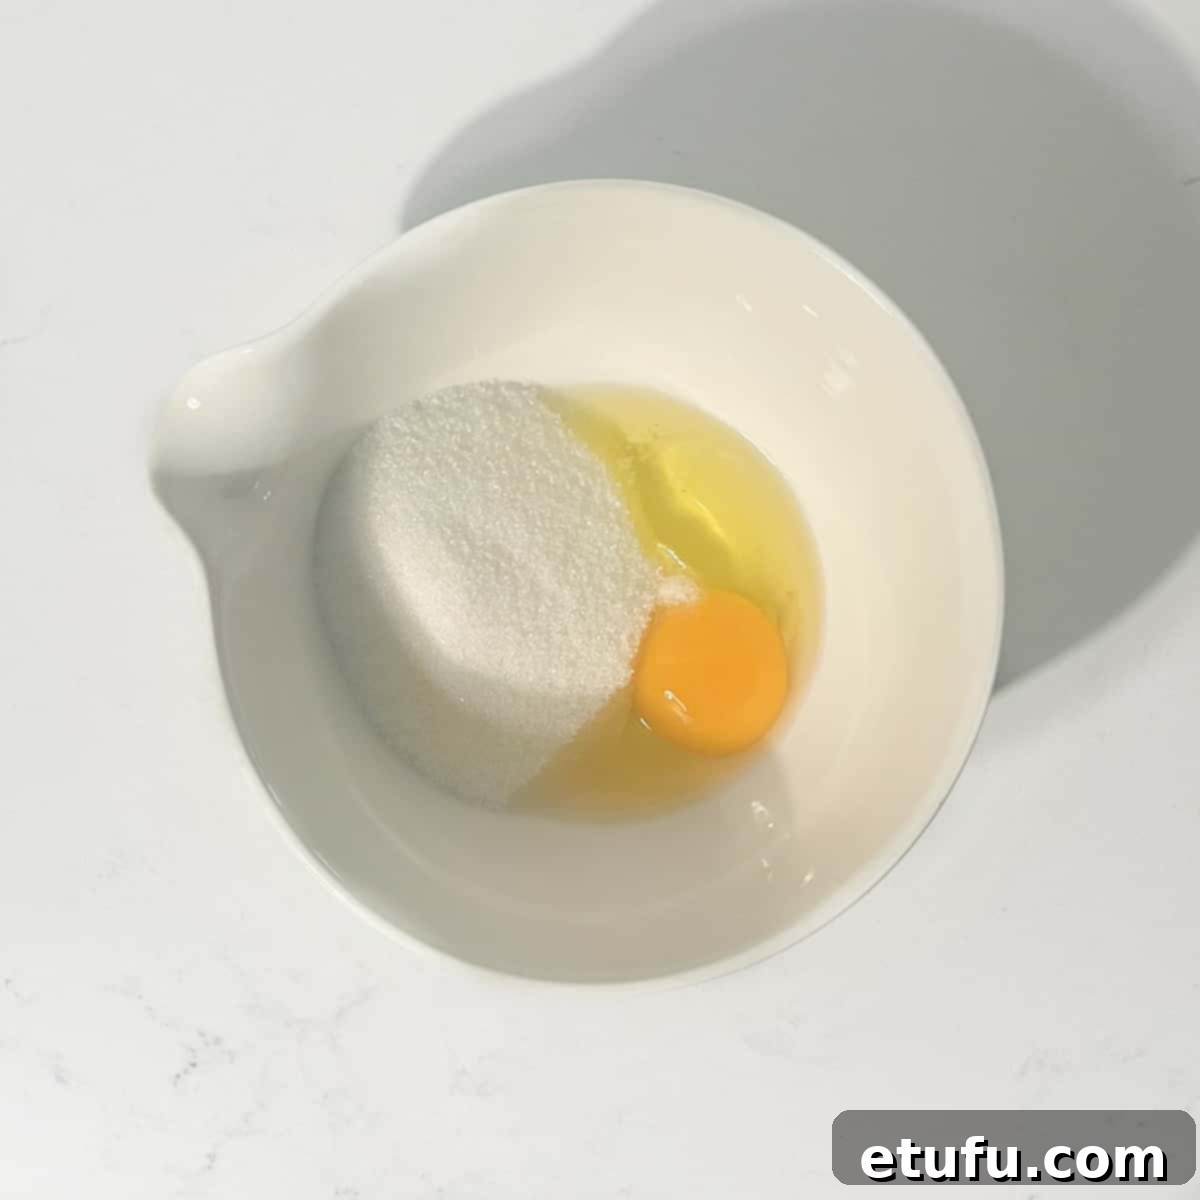
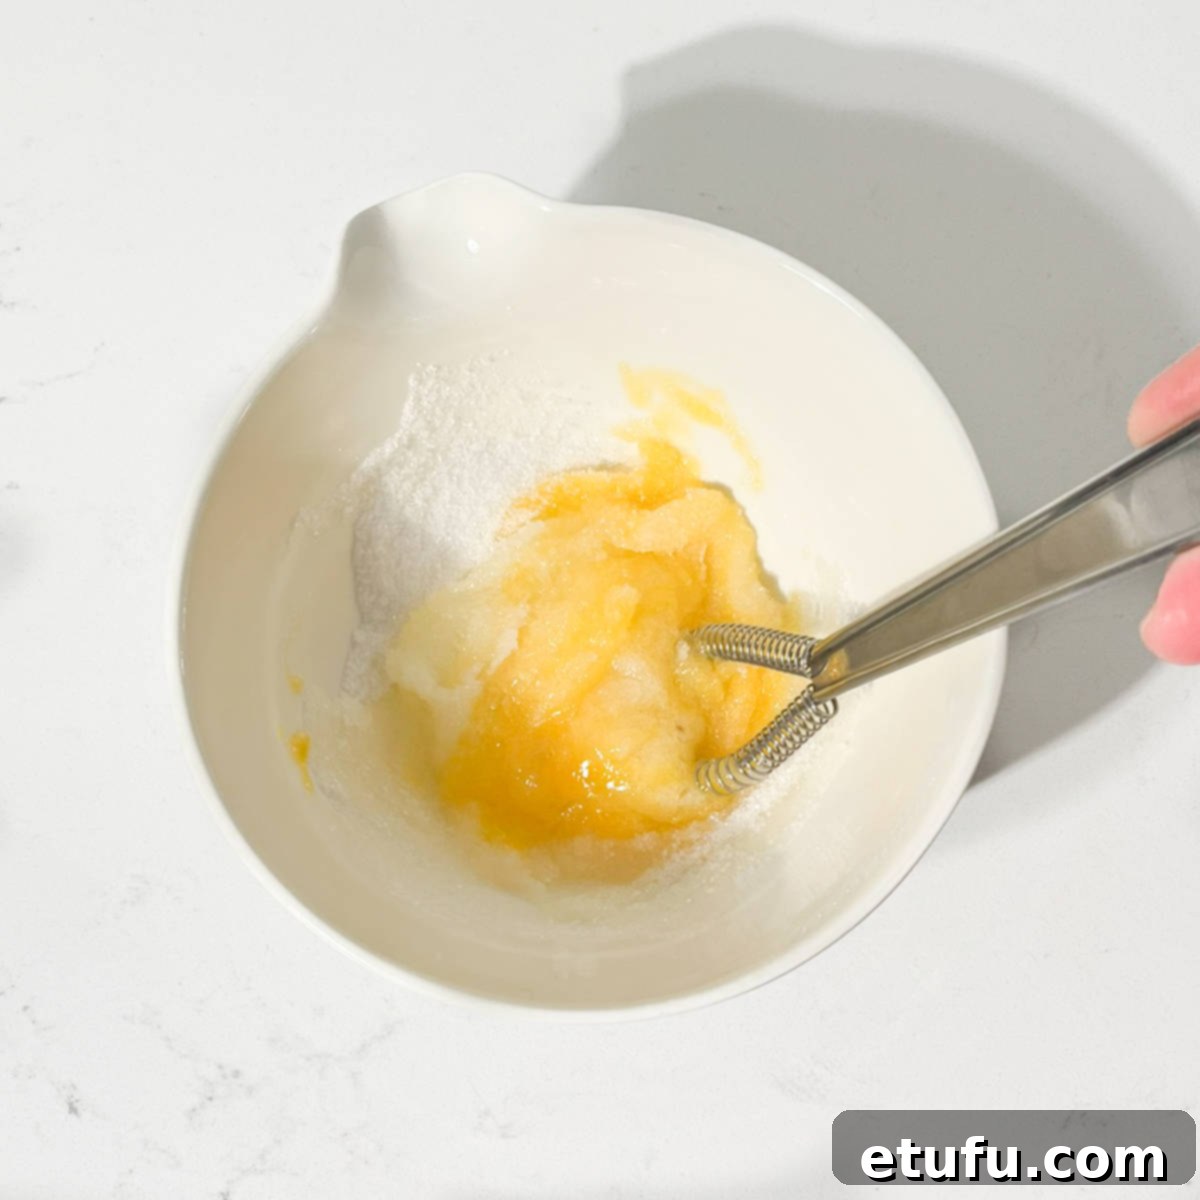
- Prepare the Egg Mixture: In a separate, small bowl, combine the egg with the granulated sugar and a pinch of salt. Whisk these ingredients together thoroughly until they are well combined and the sugar begins to dissolve. This creates a homogeneous mixture that will smoothly integrate into the dates.
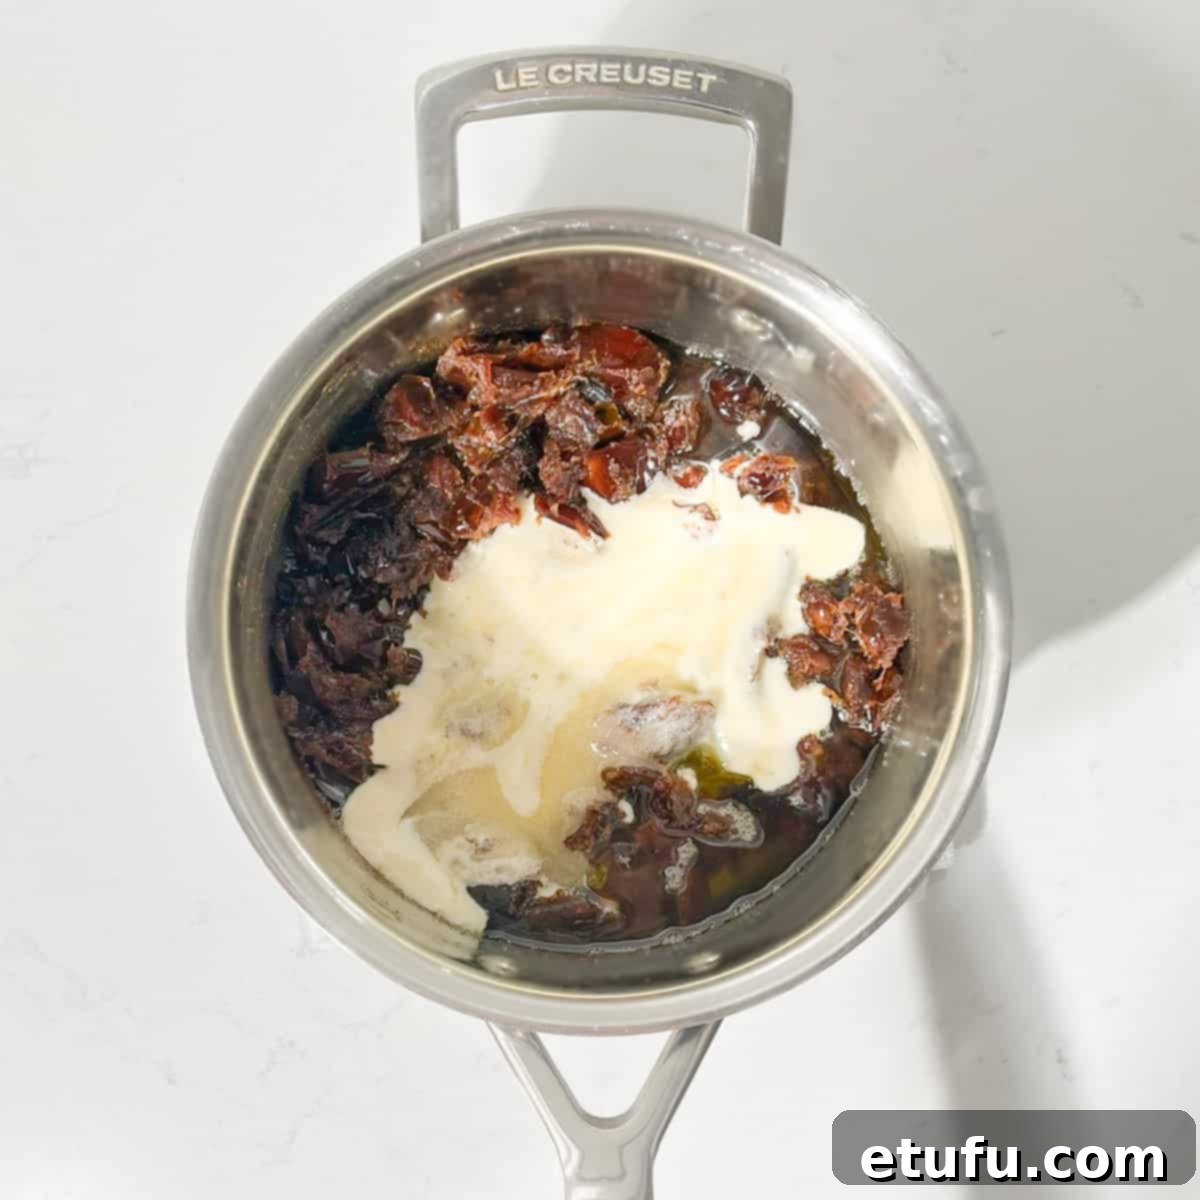
- Combine Egg and Dates: After the 10-minute cooling period for the dates, pour the whisked egg and sugar mixture into the saucepan with the dates. Immediately begin stirring vigorously to quickly incorporate the egg mixture. This rapid stirring is key to preventing the egg from scrambling due to residual heat, ensuring a smooth and cohesive consistency.
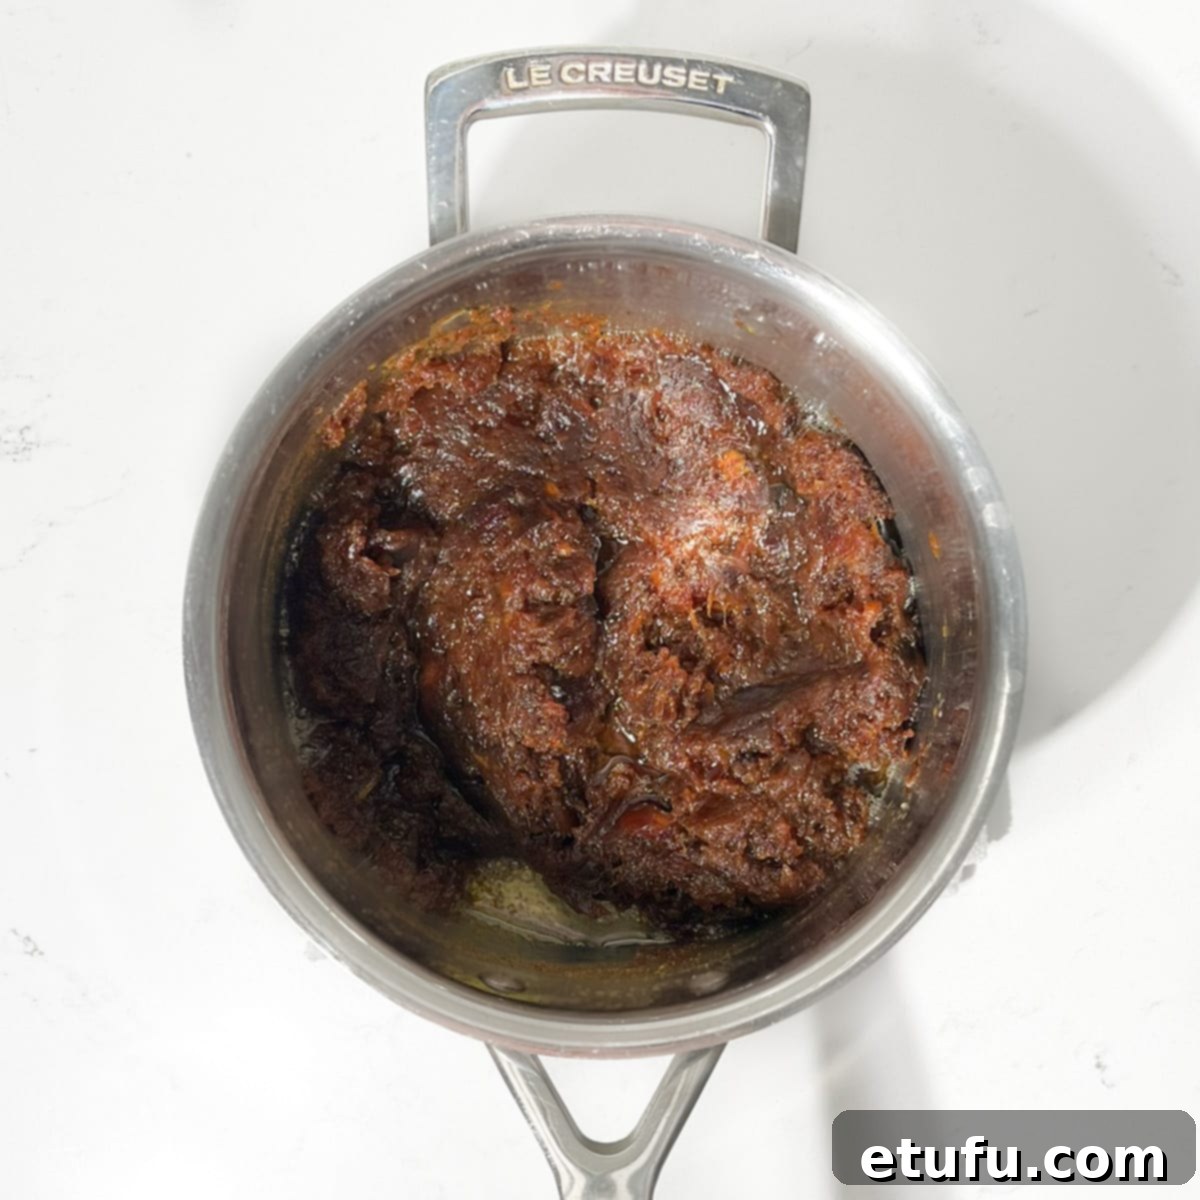
- Cook the Egg (briefly): Return the saucepan to a medium-low heat. Gently warm the entire mixture for an additional 2-3 minutes. This brief cooking period is essential to properly cook the egg without overcooking the dates. Continue to move and fold the mixture constantly, working to incorporate any separated butter back into the dates. Once the egg is cooked through and the mixture is thick and glossy, remove the pan from the heat.
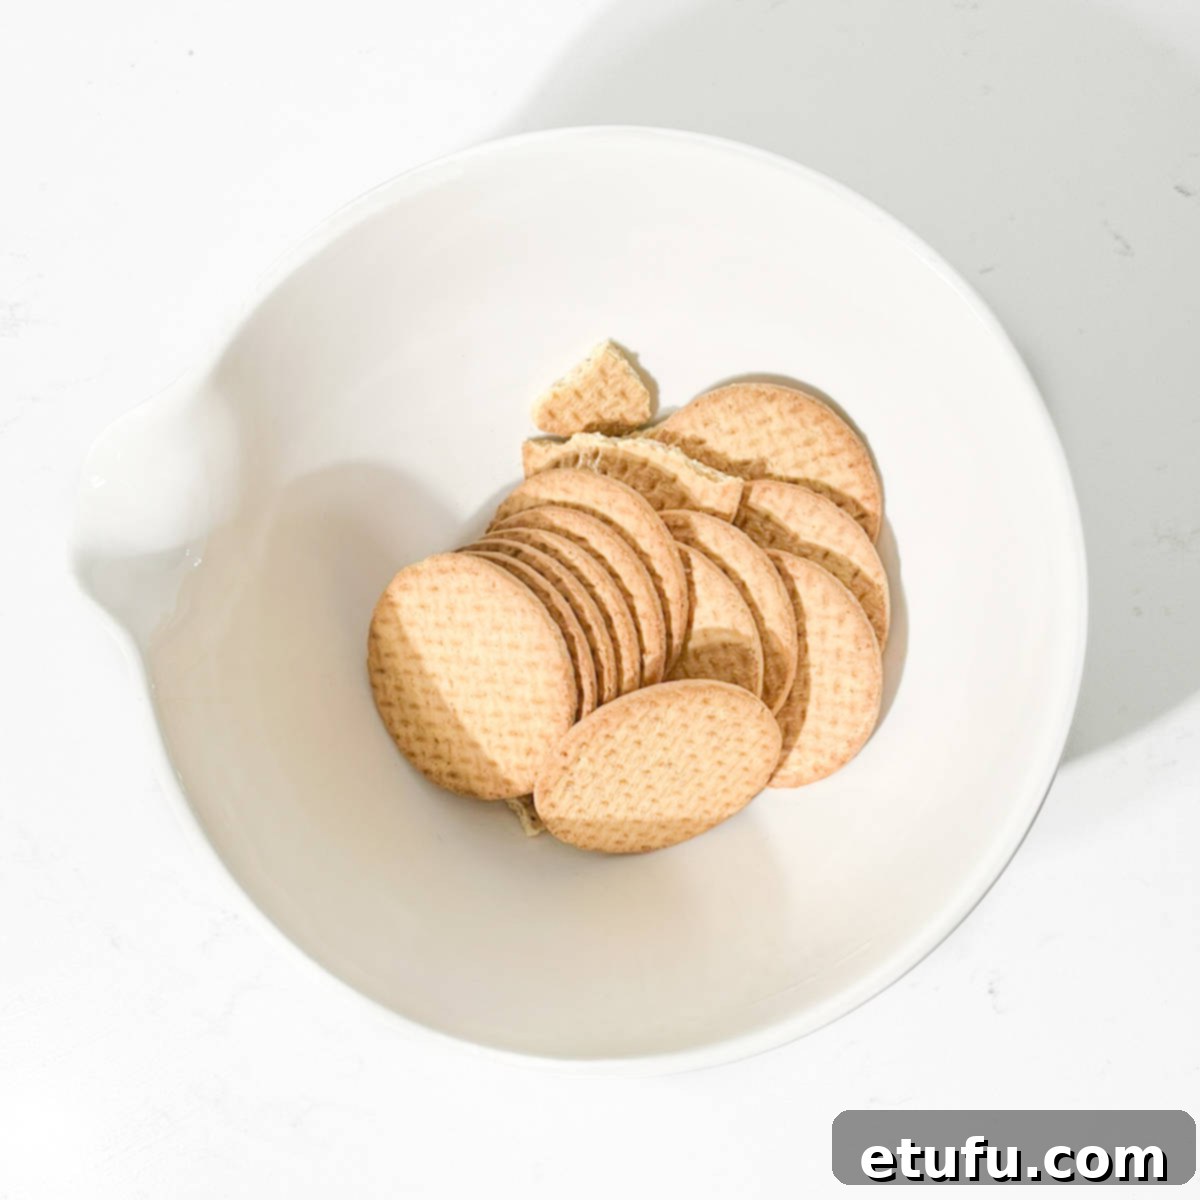
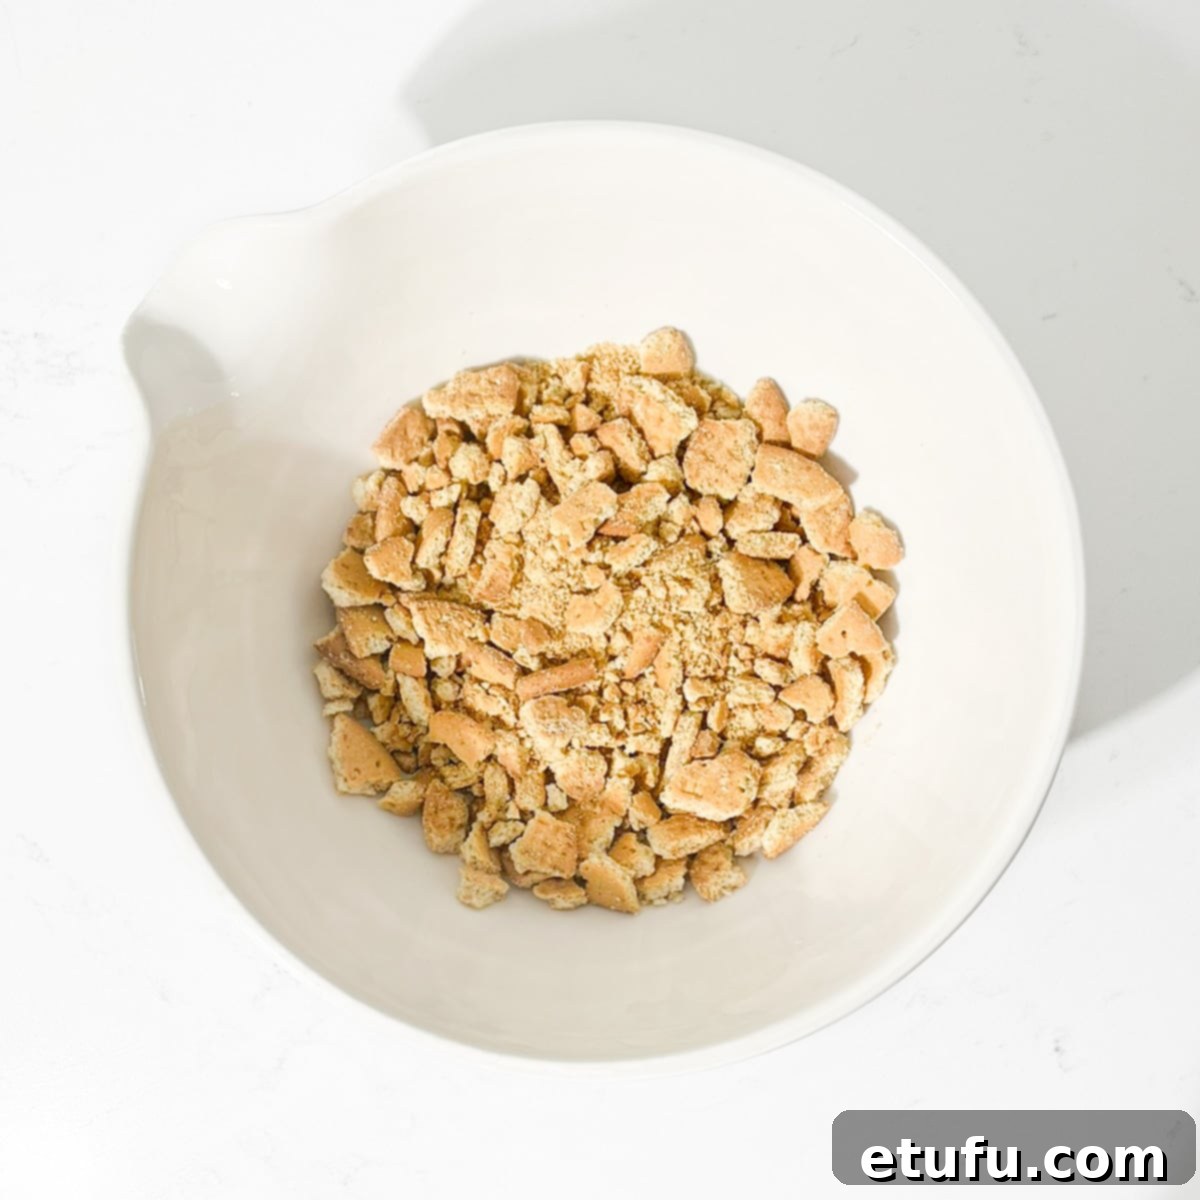
- Crush the Biscuits: In a large mixing bowl, manually break the digestive biscuits into small pieces. The key here is to avoid crushing them too finely; you want a variety of textures, including some larger chunks. Aim for pieces roughly the size of M&Ms, allowing for a delightful crunch in the finished squares. Using a food processor at this stage is not recommended, as it tends to pulverize the biscuits into a fine powder, which will compromise the desired texture.
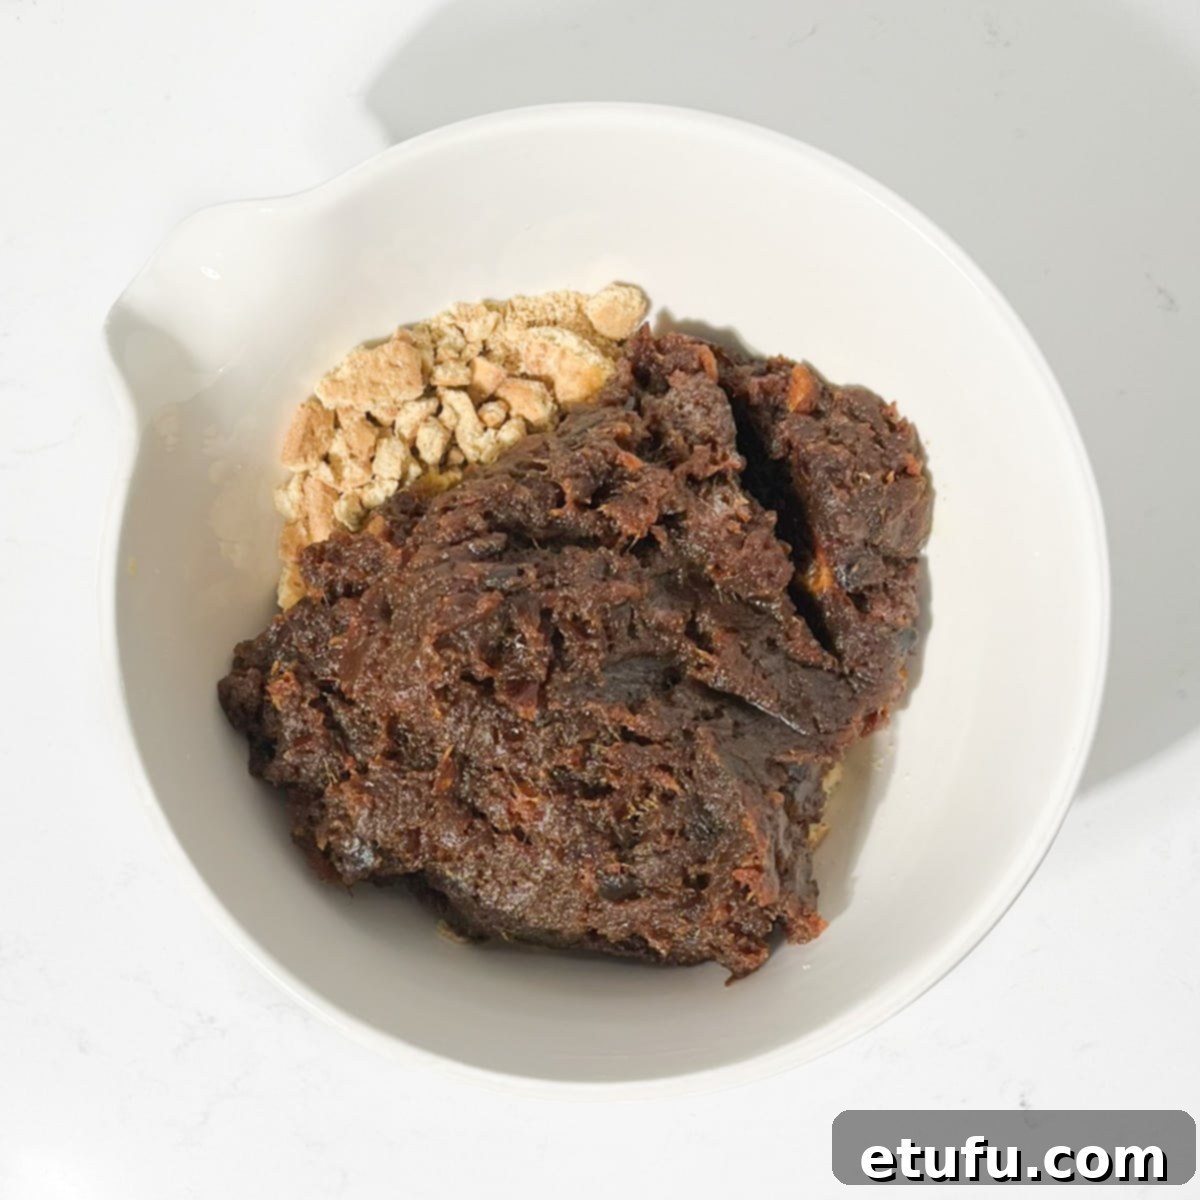
- Combine Mixtures: Pour the warm date mixture directly over the crushed biscuits in the large bowl. The warmth of the date mixture will help bind everything together.
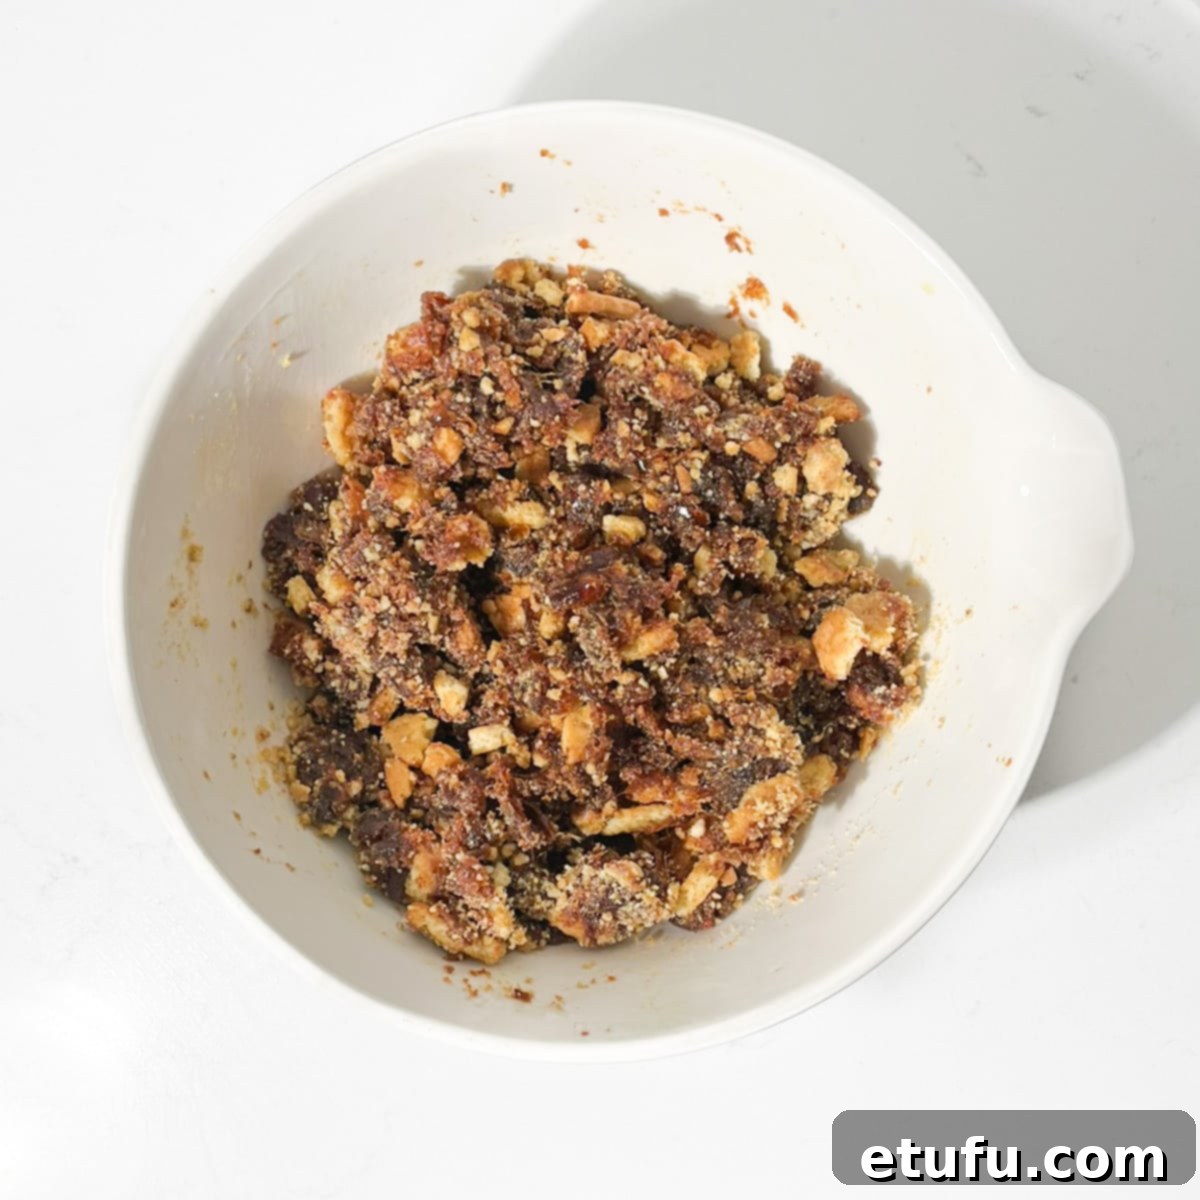
- Mix Thoroughly: Using a sturdy, large spoon (a serving spoon works well), thoroughly combine the date mixture with the crushed biscuits. Ensure every biscuit piece is coated in the sticky, delicious date blend. This takes a bit of effort but is crucial for an even distribution of flavor and texture.
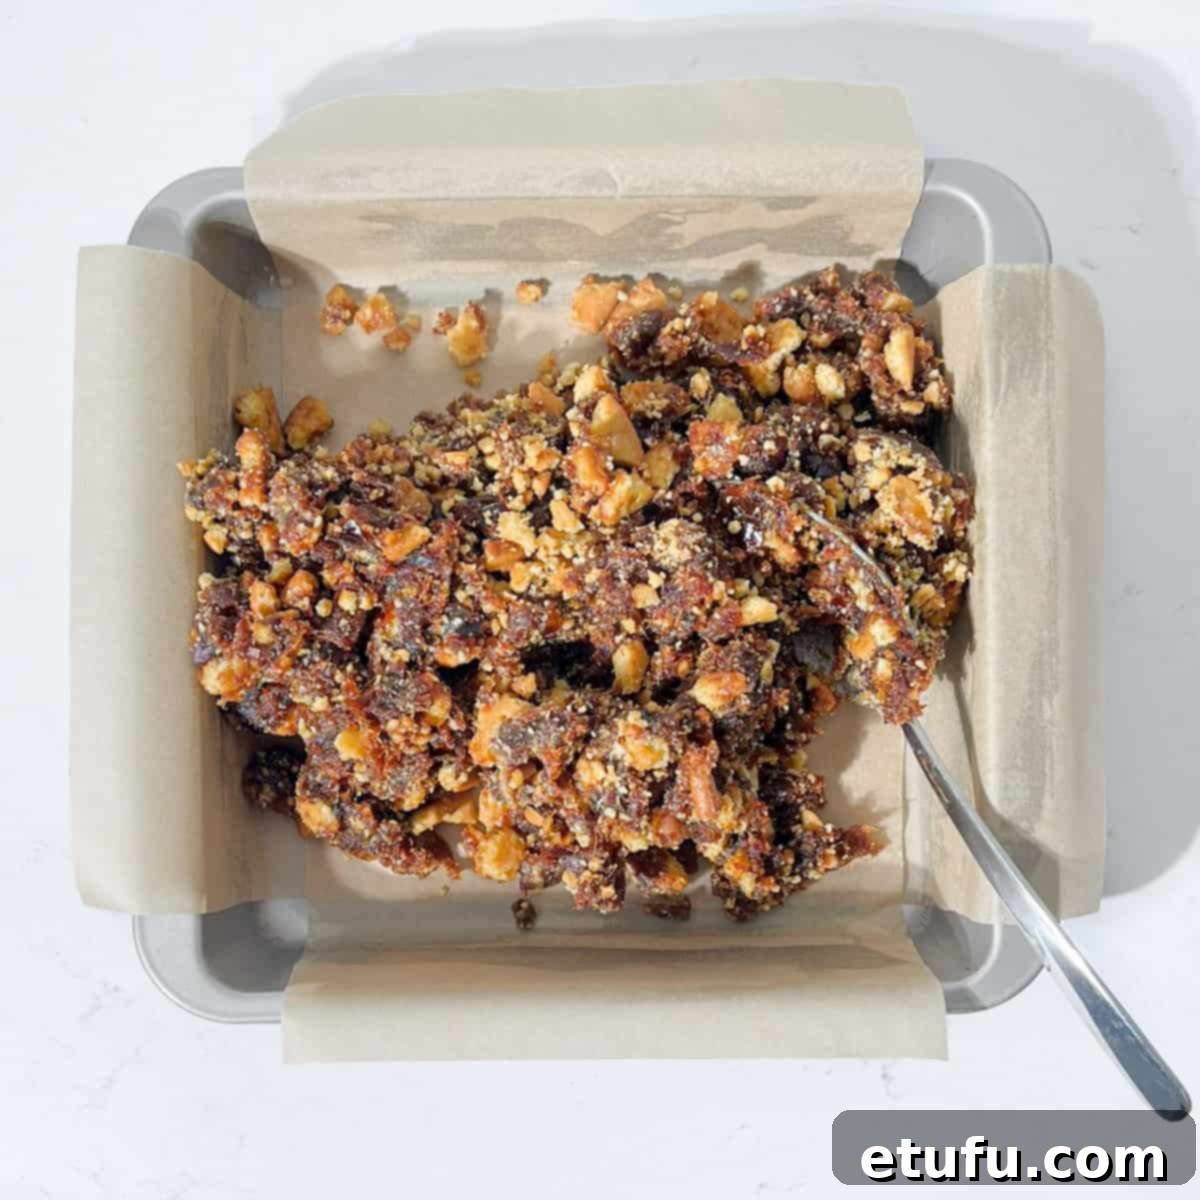
- Press into Pan: Scoop the combined mixture into your prepared, parchment-lined square pan. The mixture will be quite dense and sticky.
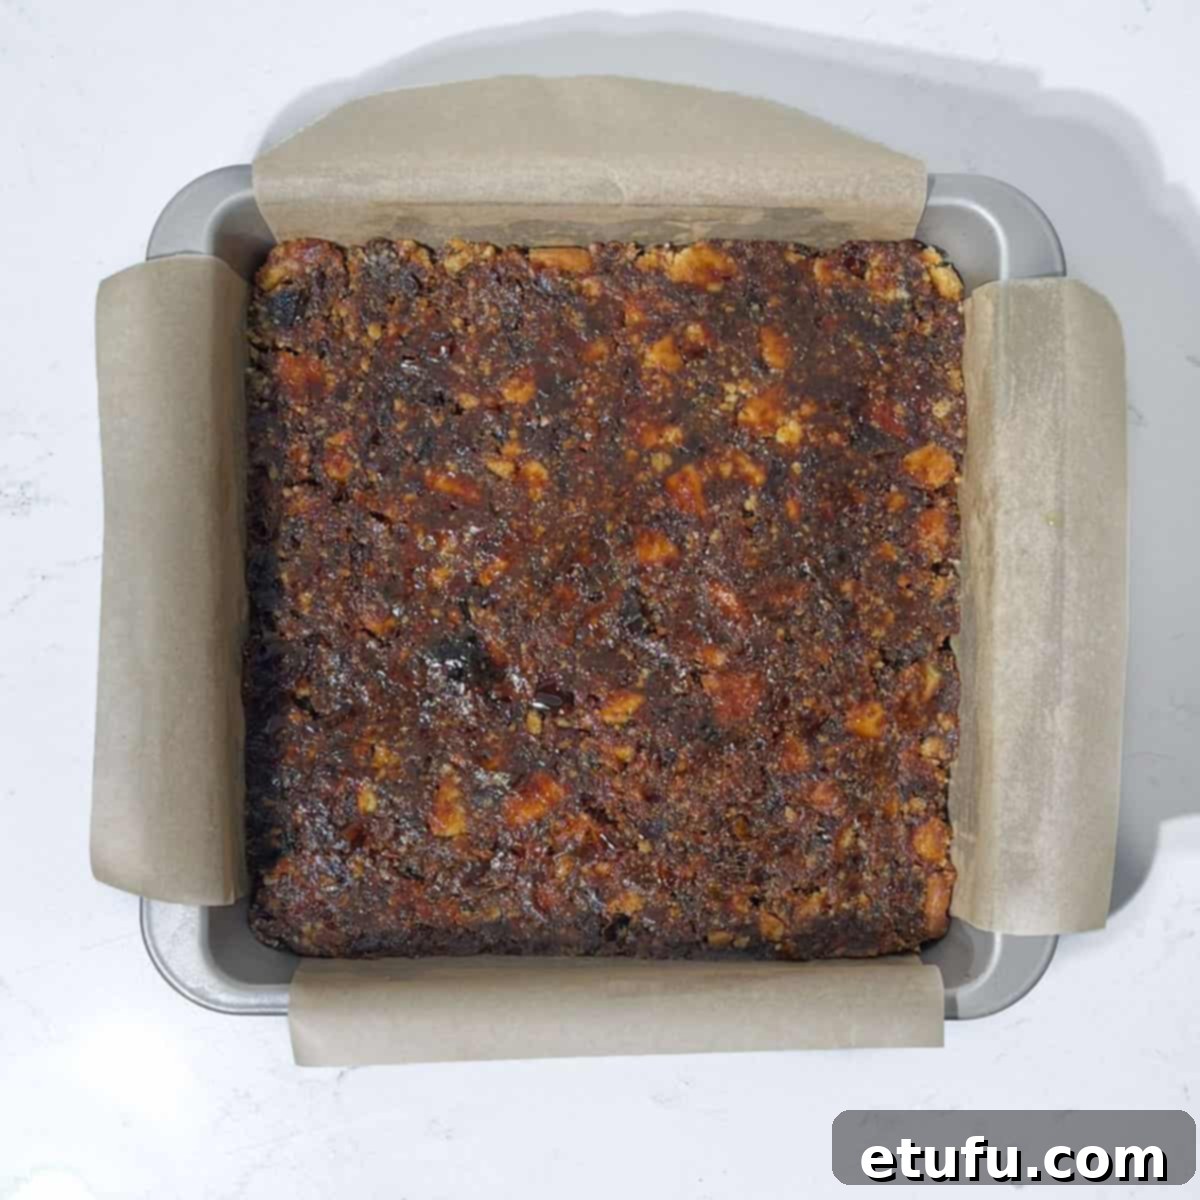
- Level and Firm: Using the back of your sturdy spoon, firmly press the mixture into all the corners of the pan, ensuring it’s evenly distributed and tightly packed. Then, use the back of the spoon to level the top surface, creating a smooth and uniform block. This firm pressing is key to achieving well-structured squares that won’t crumble when cut.
- Chill to Set: Place the pan of date squares into the refrigerator. Allow them to chill for a minimum of 3 hours. This extended chilling time is essential for the butter to firm up and the squares to properly set, making them easy to slice cleanly. For best results, consider chilling them overnight.
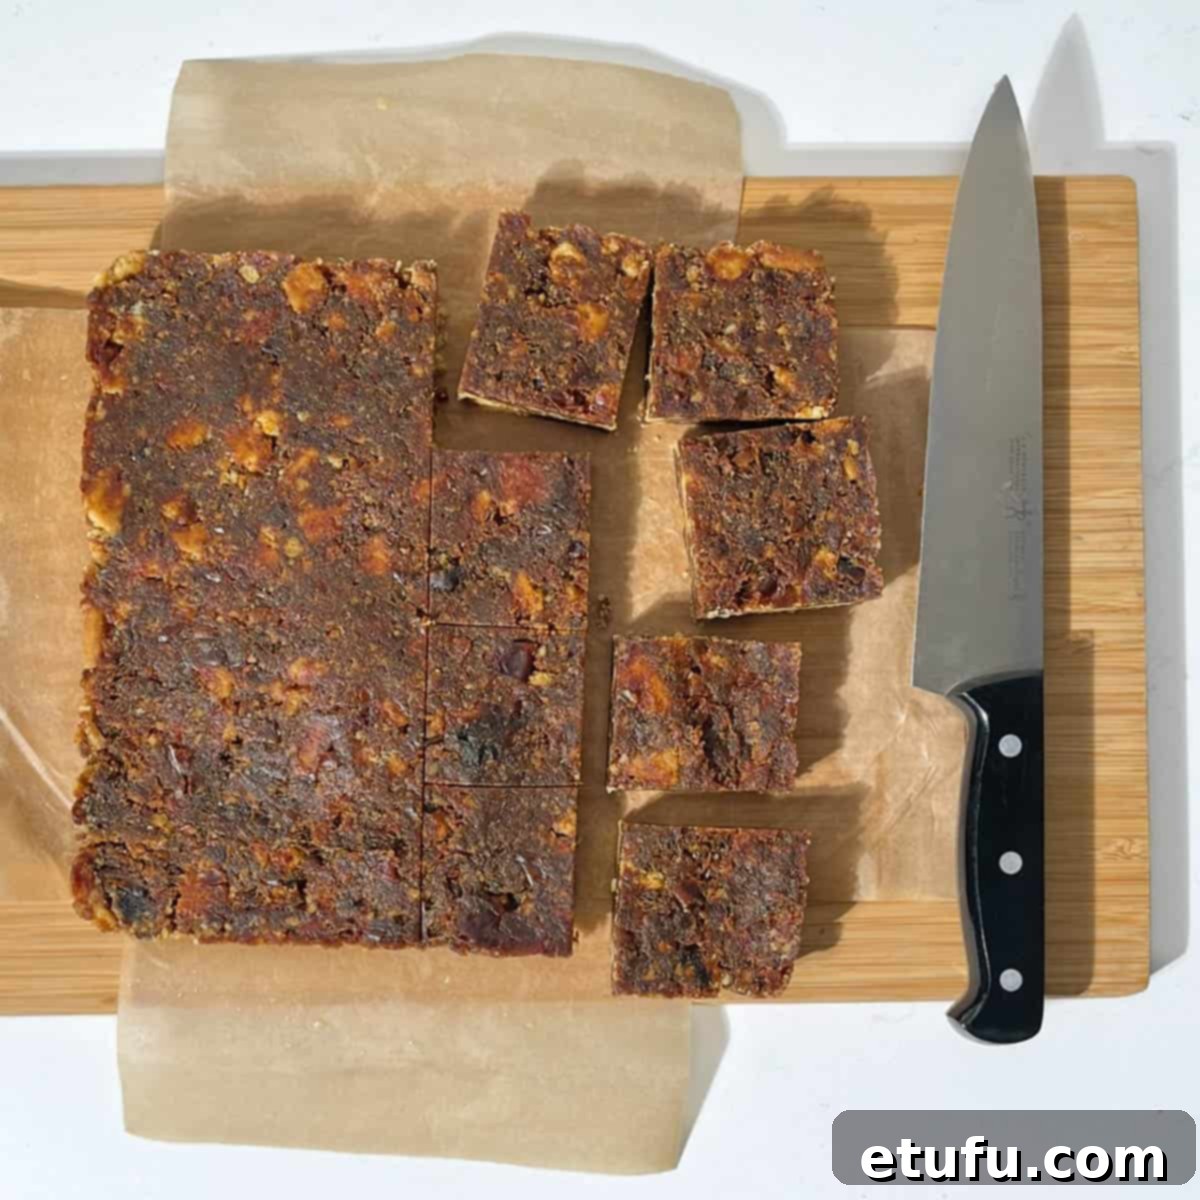
- Slice and Serve: Once the date squares are thoroughly chilled and firm, use the parchment paper overhang to carefully lift the entire slab out of the tin and transfer it onto a clean cutting board. With a sharp knife, slice the large slab into individual squares or bars of your desired size.
- Optional Garnish: For an added touch of flavor and visual appeal, you can lightly sprinkle the finished squares with desiccated coconut. The subtle sweetness and texture of coconut beautifully complement the rich flavor of the dates.
Pro Tips for Perfect No-Bake Date Squares
Even though this recipe is incredibly simple, a few expert tips can elevate your date squares from good to absolutely phenomenal. Pay attention to these details for the best possible results:
Chopping the Dates for Ideal Texture
When preparing your dates, there’s no need to meticulously chop them into tiny, uniform pieces. For a delightful variation in texture within your date squares, we actually prefer a quicker method: simply use a pair of clean kitchen scissors to snip each date in half. This creates chunky pieces that break down nicely during cooking but still retain some textural integrity, contributing to that satisfying chewiness in the final product.
The Art of Crushing Biscuits (Don’t Go Too Fine!)
The crunchy element from the biscuits is one of the hallmarks of these date squares, so getting the texture right is important. For the best date squares, it is crucial to avoid pulverizing the biscuits into a fine powder. Instead, aim for a mixture of small crumbs and some larger, irregular pieces. Think about the size of M&Ms as a good reference for your larger chunks, but it’s absolutely fine if some pieces are even bigger – these will provide an exciting textural contrast.
Using a food processor for this step is generally not advised. A food processor is highly efficient at creating fine crumbs or powder, which will result in a uniform, softer texture that lacks the enjoyable crunch we’re aiming for. Instead, place your biscuits in a large bowl and crush them by hand, or put them in a sturdy zip-top bag and gently bash them with a rolling pin. This allows you to control the size of the pieces and ensures you get that desired mix of textures.
Ensuring Proper Cooling and Setting
The cooling and setting time in the fridge is not merely a suggestion; it’s a critical step. A minimum of 3 hours is needed for the butter to re-solidify and the mixture to firm up completely. If you try to cut the squares too early, they might be too soft and sticky, leading to messy, misshapen pieces. For optimal results and beautifully clean slices, chilling them overnight is highly recommended. Patience here truly pays off!
Making Your Date Squares Vegan-Friendly
Adapting this delicious recipe to be entirely plant-based is wonderfully straightforward, allowing everyone to enjoy these delightful no-bake date squares. With just a few simple ingredient swaps, you can create a vegan version that’s just as rich and satisfying as the original:
Simply replace the butter with your favorite high-quality vegan butter (ensure it’s suitable for baking). For the egg, a quarter cup of unsweetened apple sauce works exceptionally well as a binder, contributing moisture and a subtle fruitiness. Alternatively, you could use a ‘flax egg’ (1 tablespoon ground flaxseed mixed with 3 tablespoons water, left to sit for 5 minutes until gelled). Finally, ensure the digestive biscuits you choose are certified vegan-friendly, as some brands may contain milk products. There are many excellent plain vegan biscuits available on the market today that will work perfectly.
Storage Solutions for Your Date Squares
Proper storage is key to keeping your no-bake date squares fresh, delicious, and enjoyable for longer. These treats are surprisingly resilient and even seem to improve with age!
Once fully set and cut, store your date squares in an airtight container at room temperature, or in the refrigerator. When stored correctly, they will maintain their freshness and delightful texture for up to 2 weeks. If you choose to store them in the fridge, they will become firmer, offering a chewier bite. To prevent them from sticking together, you can place a sheet of parchment paper or wax paper between layers in your container.
One of the most remarkable qualities of these date squares is that they truly mature and improve over time. The flavors have a chance to meld and deepen, making them often even more delicious on the second day after preparation, and in the days that follow. The butter-date-biscuit blend transforms into an even more cohesive and intensely flavored treat.
Can You Freeze These Date Squares? Absolutely!
Yes, these wonderful no-bake date squares are perfect for freezing, making them an excellent option for meal prepping desserts or ensuring you always have a sweet treat on hand. Freezing allows you to extend their shelf life significantly, providing convenient access to a delicious snack whenever you desire.
To freeze, first ensure your date squares are fully set and sliced. Place a sheet of baking paper between each layer of squares to prevent them from sticking together. You can then layer them neatly in a lidded, freezer-safe container or arrange them within a heavy-duty freezer bag. When stored this way, they will keep beautifully in the freezer for up to 3 months.
When you’re ready to enjoy them, simply remove the desired number of squares from the freezer. You can let them defrost gradually at room temperature for a few hours, or transfer them to the refrigerator to thaw overnight. They will return to their original deliciousness, ready to be enjoyed.
Frequently Asked Questions About Date Squares
For the cleanest and neatest slices, it is absolutely essential to wait until the date squares have thoroughly chilled and set in the refrigerator for a minimum of 3 hours. Attempting to cut them before they are firm enough will result in a sticky, crumbly mess, and your slices will not hold their shape well. Patience is key here for perfectly formed squares.
Yes, absolutely! Making these date squares gluten-free is very simple. The primary ingredient you’ll need to swap is the digestive biscuits. Many brands now offer excellent gluten-free versions of plain biscuits, which will work perfectly as a direct replacement. Just ensure the brand you choose is certified gluten-free, and you’ll be able to enjoy these delicious treats without any dietary concerns.
The most common reason for date squares not setting is insufficient chilling time. The butter in the recipe acts as the primary binder once it re-solidifies. Ensure you chill them for at least 3 hours, or ideally overnight, in the refrigerator. Additionally, make sure you properly cooked the egg and incorporated all the butter back into the date mixture during the stovetop cooking process, as this also contributes to the final set of the squares.
Yes, absolutely! Adding chopped nuts can introduce another layer of flavor and crunch. Walnuts, pecans, or almonds would be fantastic additions. Simply fold about ½ cup of your chosen chopped nuts into the date and biscuit mixture along with the crushed biscuits in step 11. This will give your date squares an extra dimension of texture and richness.
Discover More Effortless No-Bake Recipes
If you love the simplicity and deliciousness of these no-bake date squares, you’ll be thrilled to explore more of our easy, no-bake creations. Perfect for quick treats, special occasions, or just satisfying a sweet craving without turning on the oven, these recipes are guaranteed to delight:
- Festive Rice Krispie Cake
- Sweet & Buttery Honey Popcorn
- Irresistible No-Bake Biscoff Slices
- Easy Microwave Peanut Butter Fudge
Full Recipe: Easy No-Bake Date Squares
Easy Date Squares (No-Bake)
They boast a luxurious buttery, toffee-like flavor and a wonderful crunchy texture from the crushed biscuits.
Equipment
- Medium saucepan
- 20 x 20cm (8×8 inch) Baking dish or baking tin
- Parchment paper
- Wooden spoon or spatula
- Cutting board and sharp knife
Ingredients
- 250 grams butter
- 500 grams pitted dates, roughly chopped
- 1 large egg
- 100 grams white granulated sugar
- 1 pinch salt
- 200 grams digestive biscuits – or any plain biscuits like Graham crackers
Instructions
- Line a 20cm x 20cm (8″ x 8″) baking tin with parchment paper, ensuring there’s a slight overhang on all sides. This overhang will serve as a handle, making it easy to lift the entire block of date squares out of the tin once it’s set.
- Place the 250 grams of butter in a large saucepan and gently melt it over medium heat until completely liquid.
- Once the butter has melted, add the 500 grams of roughly chopped, pitted dates to the pan.
- Using a sturdy spatula, stir the mixture continuously until the dates soften significantly and begin to break up, forming a thick, paste-like consistency. This process typically takes around 5 minutes. You can aid this by gently ‘squishing’ the dates with the spatula as you stir. Make sure to scrape the bottom of the pan frequently to prevent sticking. Any excess liquid butter at this stage will be incorporated later.
- Once the dates are softened, remove the saucepan from the heat and let the mixture cool for approximately 10 minutes. It needs to be warm, but not intensely hot, to prevent the egg from scrambling when added.
- In a small bowl, whisk together the 1 large egg, 100 grams of white granulated sugar, and 1 pinch of salt until well combined.
- After the 10 minutes of cooling, add the whisked egg mixture to the dates in the saucepan. Immediately stir it in vigorously to quickly incorporate and prevent scrambling.
- Return the saucepan to medium-low heat and gently warm the mixture for another 2-3 minutes to cook the egg through. Keep stirring and folding the mixture to ensure the butter is fully integrated into the dates. Then, remove it from the heat.
- In a large bowl, manually break the 200 grams of digestive biscuits into small pieces. Do not crush them too finely; aim for a mix of crumbs and larger chunks (about the size of M&Ms) to ensure a delightful crunchy texture.
- Add the warm date mixture from the saucepan to the crushed biscuits in the large bowl.
- Using a sturdy, large spoon (like a serving spoon), thoroughly combine the date mixture with the crushed biscuits until all the biscuit pieces are coated and well integrated.
- Scoop the entire mixture into your prepared, parchment-lined square pan.
- Using the back of your sturdy spoon, firmly push the mixture into all the corners of the pan and level the top surface until it’s smooth and tightly packed. This ensures well-structured squares.
- Place the pan of date squares in the refrigerator for a minimum of 3 hours to allow them to set completely. For best results and clean slicing, chilling overnight is highly recommended.
- Once thoroughly chilled and firm, use the parchment paper overhang to lift the entire slab of date squares out of the tin and transfer it onto a cutting board. With a sharp knife, slice it into individual squares or bars.
- Optional: For an extra touch of flavor and visual appeal, sprinkle the finished squares with desiccated coconut. It pairs wonderfully with the sweet dates!
Notes
Chopping the dates
You don’t need to chop the dates too small. For a great texture, we recommend using kitchen scissors to simply cut each date in half, leaving you with chunky pieces.
Don’t crush the biscuits too finely
For the best date squares, avoid crushing the biscuits into a fine powder. Instead, aim for some larger pieces (about the size of M&Ms, or even larger chunks) to add a lovely crunchy texture to the squares. Using a food processor will likely turn the biscuits into a powder, which is not the desired outcome for this recipe.
**Nutritional data disclaimer**
Please keep in mind that the nutritional information provided below is calculated by a third party and we cannot guarantee its accuracy. We strive to provide the most accurate information possible, but we do not take responsibility for any potential errors. The nutritional value of this recipe may vary depending on the exact brands and specific products used. We always recommend consulting with a qualified healthcare professional or registered dietitian for personalized advice regarding your dietary needs.
Nutrition Information (Per Serving)
Carbohydrates: 18g |
Protein: 1g |
Fat: 6g |
Saturated Fat: 4g |
Polyunsaturated Fat: 1g |
Monounsaturated Fat: 2g |
Trans Fat: 1g |
Cholesterol: 19mg |
Sodium: 76mg |
Potassium: 104mg |
Fiber: 1g |
Sugar: 14g |
Vitamin A: 182IU |
Vitamin C: 1mg |
Calcium: 12mg |
Iron: 1mg
For food safety advice, including guidance on food allergies
More Delicious Snacks On The Go
In addition to our heavenly no-bake date squares, we have a variety of other fantastic recipes perfect for grab-and-go moments, quick breakfasts, or delightful treats any time of day. Explore these options for more inspiration:
Fluffy Buttermilk Blueberry Muffins
Rich & Fudgy Triple Chocolate Muffins
Quick & Easy Lemonade Scones
Decadent Raspberry and White Chocolate Blondies
The Best Classic Sultana Cake Recipe
Authentic Sticky Jamaican Ginger Cake
Moist Banana Muffins with Generous Chocolate Chunks
Simple No-Bake Scottish Chocolate Tiffin (Fridge Cake)
Our Favorite Banana Bread Recipe with Only 4 Ingredients
