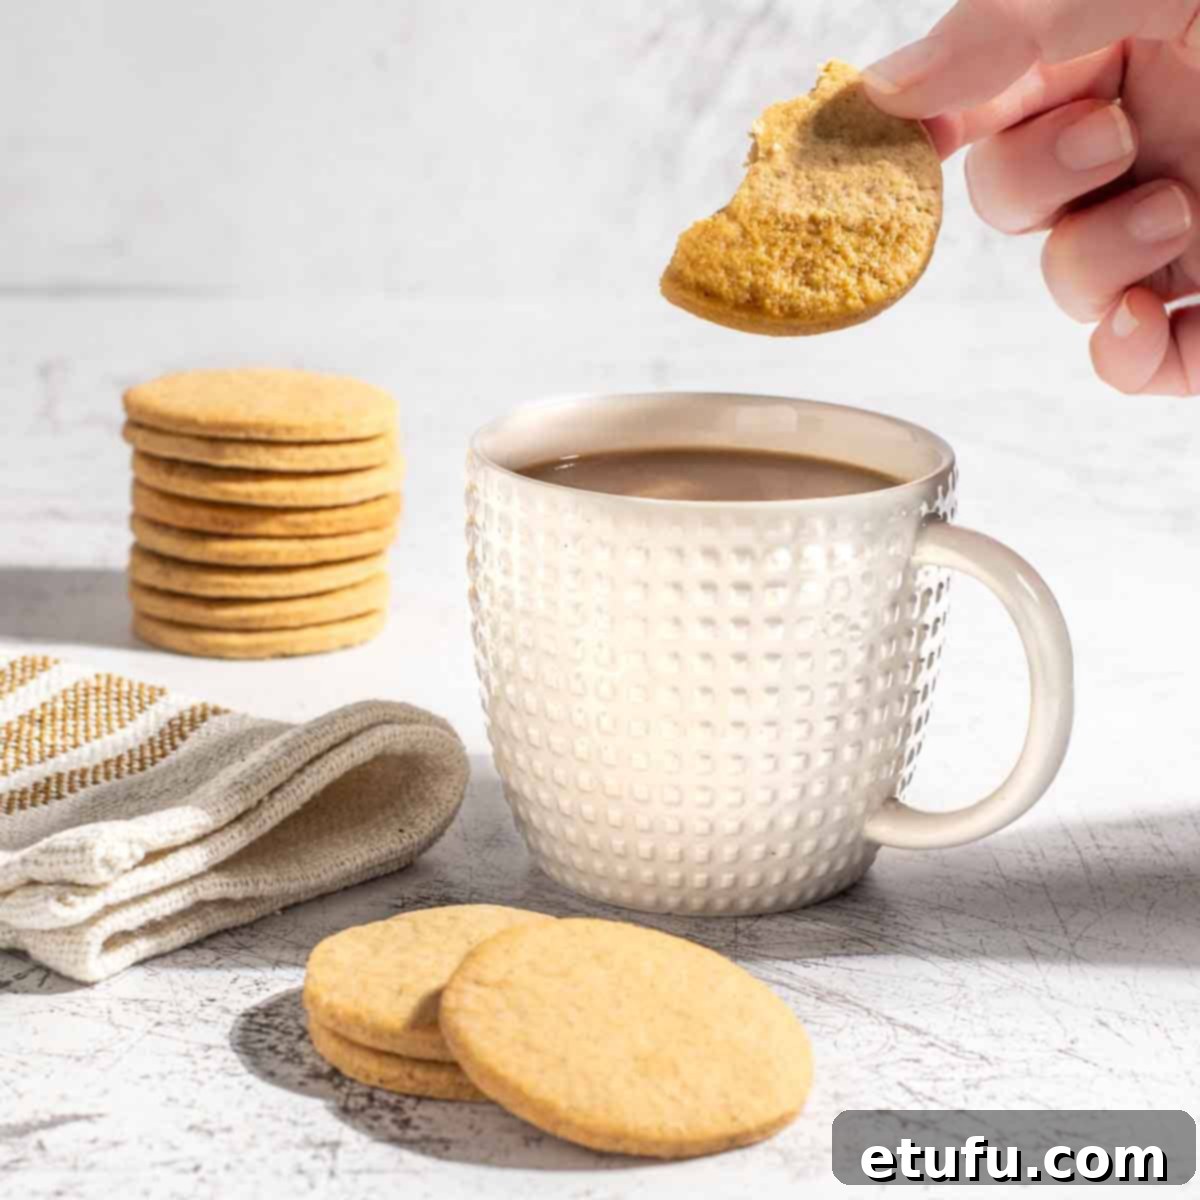
Outydse Soetkoekies: The Quintessential South African Spice Biscuits
Embark on an epicurean journey to the heart of South Africa with our cherished recipe for Outydse Soetkoekies. More than just “sweet biscuits” as their English translation suggests, these aromatic, spiced treats are a cornerstone of South African culinary heritage, particularly within Afrikaans homes. Imagine the warm embrace of cinnamon, ginger, nutmeg, and cloves filling your kitchen, evoking memories of generations past and the comforting tradition of shared moments over a cup of tea. These traditional South African biscuits aren’t just baked goods; they are edible stories, each bite a whisper of nostalgia and a celebration of rich cultural flavor.
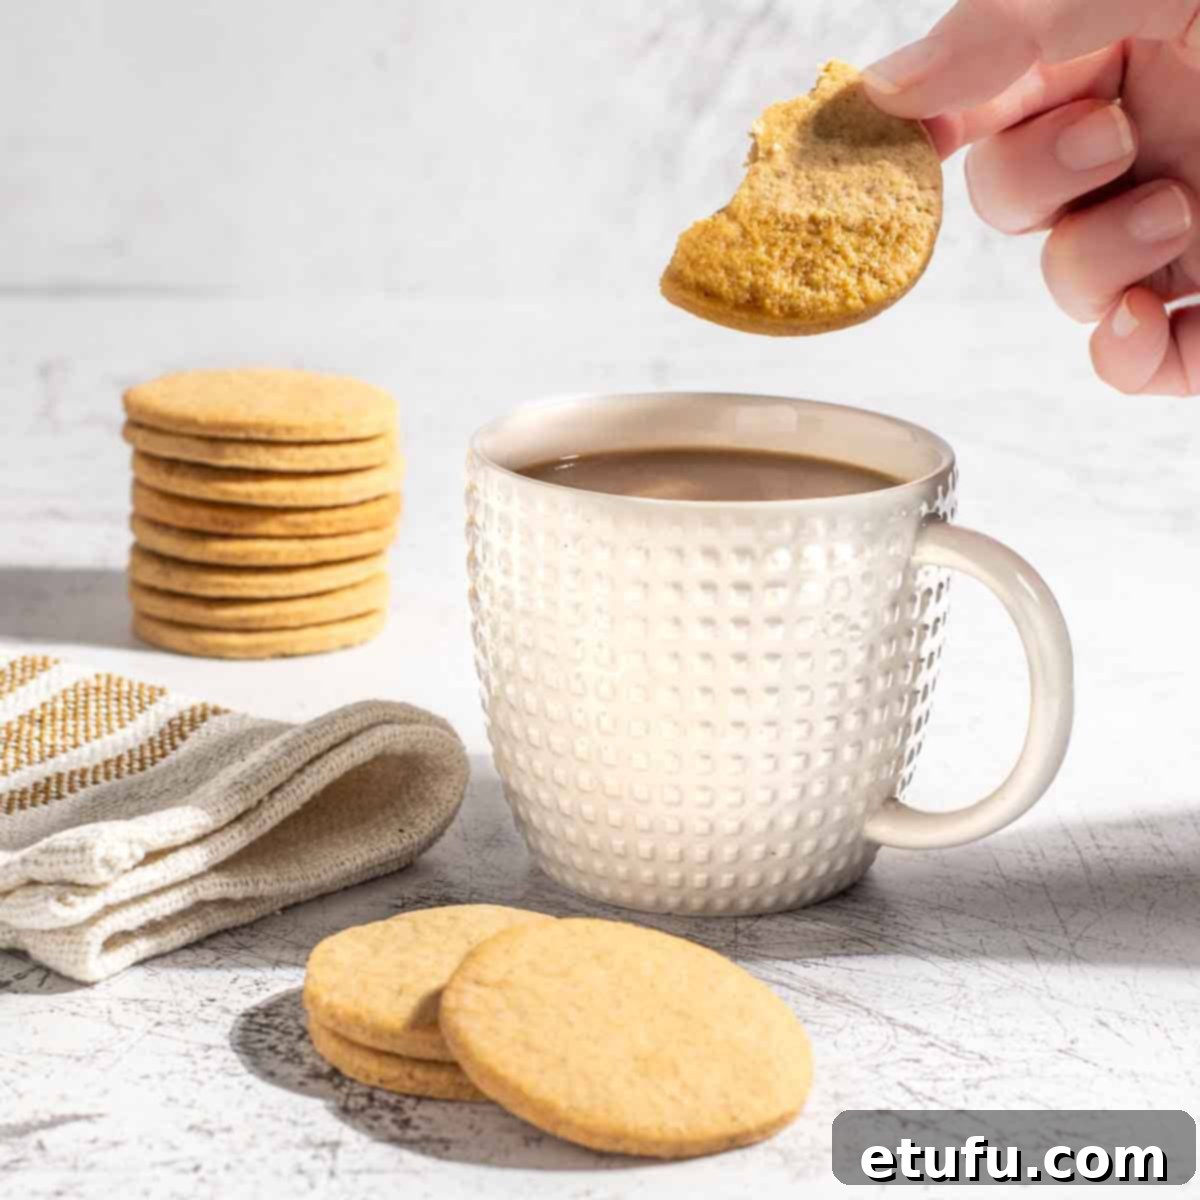
Every South African family seems to have its own beloved rendition of Outydse Soetkoekies. Ask ten oumas (grandmothers), and you’ll uncover ten unique variations – some subtly spiced, others bold and fragrant, some robust enough to withstand any lunchbox adventure, and others delicately crumbly. Our recipe stands out for its unwavering commitment to flavor and finesse. We believe in a clean, classic profile that achieves understated elegance through generous spice and a perfectly crisp texture. We layer no less than FOUR warming spices, measured with the generous spirit typical of South African hospitality. The dough is meticulously rolled thin, ensuring each biscuit delivers a satisfyingly crisp snap, a hallmark of our refined approach. We intentionally skip the egg wash, preferring the rustic, matte finish that truly highlights their inherent charm and lets the exquisite aroma take center stage. Once you start nibbling these tea tin royalties, we promise you’ll find it utterly impossible to stop.
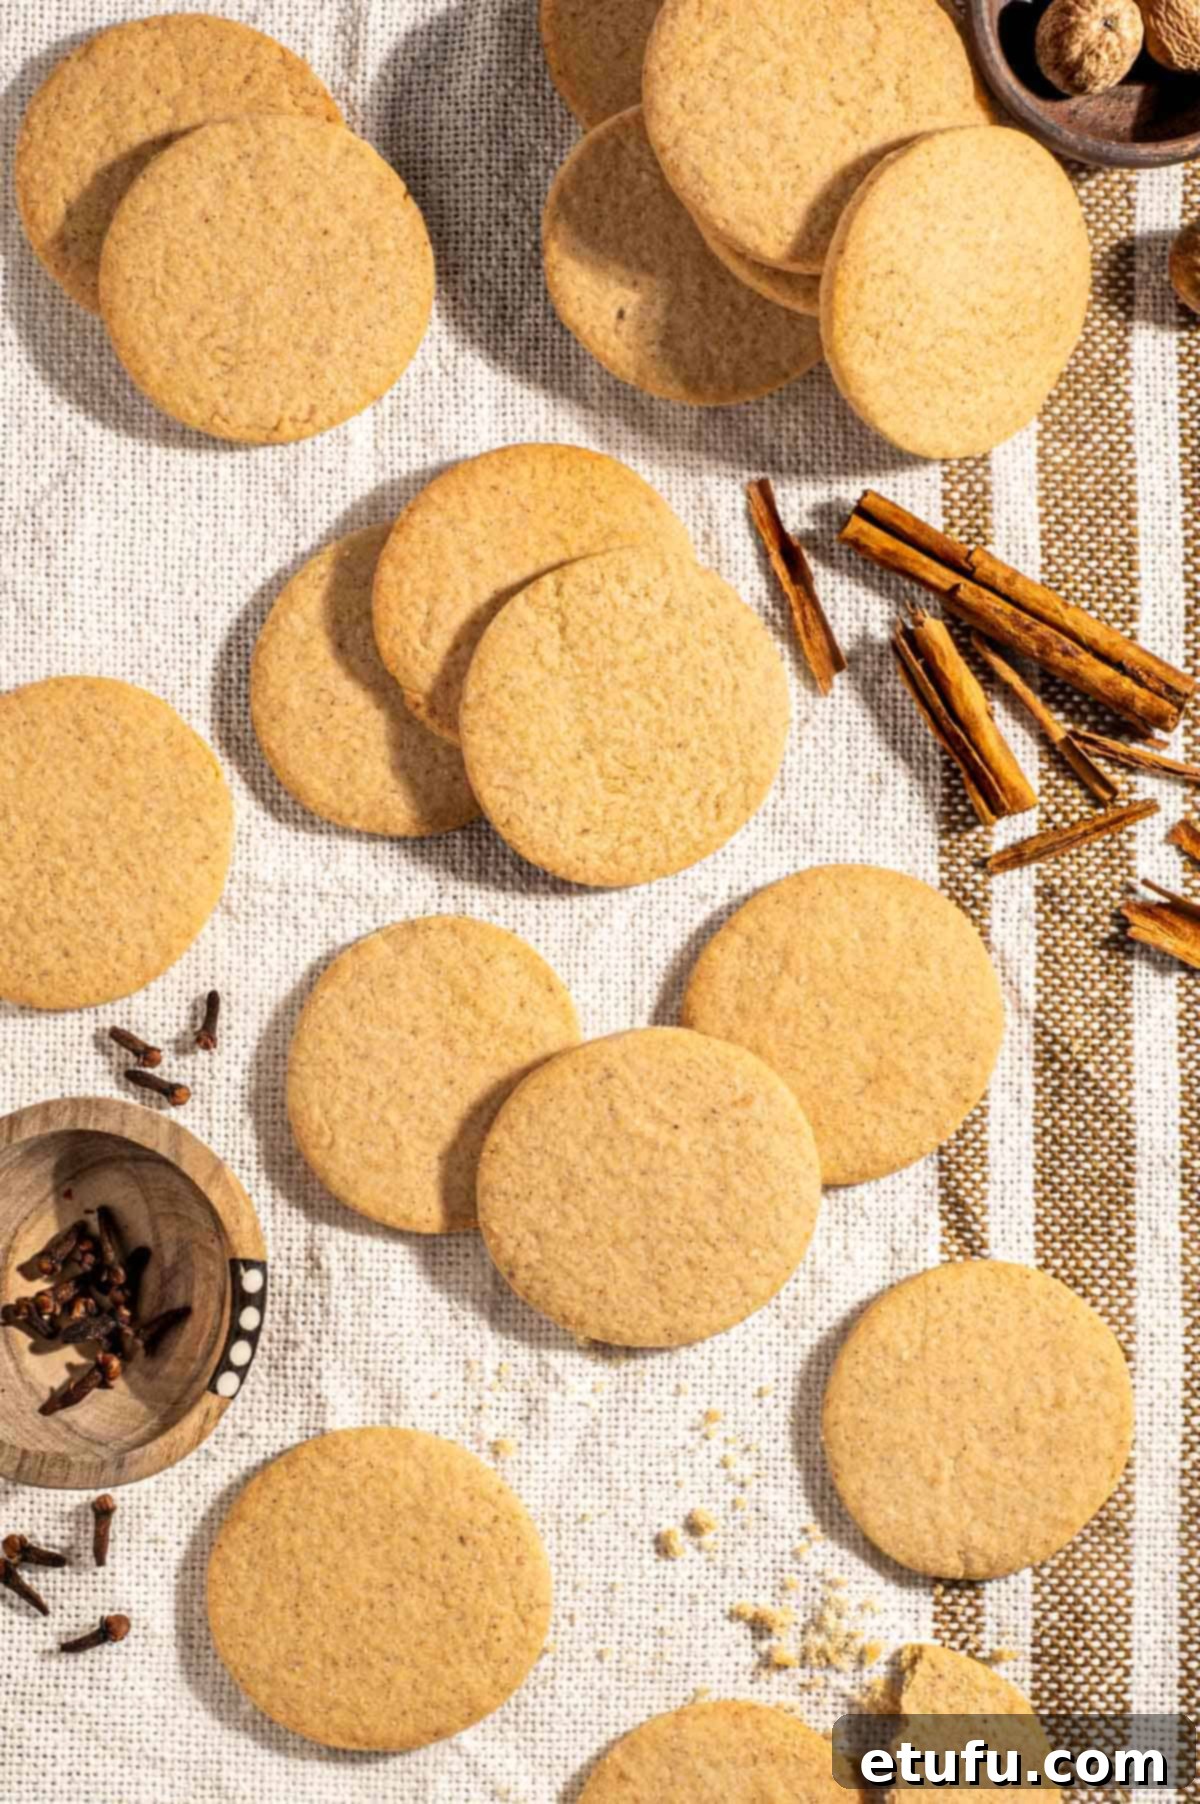
Table of Contents
- Recipe Highlights
- More South African Biscuit Recipes
- Key Ingredient Notes and Substitutions
- Step-by-Step Instructions
- Variations
- Decoration Ideas
- Storage
- Frequently Asked Questions
- Outydse Soetkoekies Recipe Card
While “Soetkoekies” translates simply to “sweet biscuits” in English, this humble name belies a depth of flavor and historical significance that makes them anything but plain. For generations, these spiced delights have graced South African koekblikke (biscuit tins), serving as a comforting constant in daily life. Their presence was especially felt in Afrikaans households, where a cup of tea was rarely served without an accompanying biscuit, and often, it was these very Soetkoekies that offered the perfect pairing. Tracing their origins, many believe their roots extend back to the baking traditions brought by early Dutch settlers, explaining the generous use of butter and an array of fragrant spices, as well as the fascinating diversity of recipes still cherished today.
These biscuits are a tangible link to memory, a celebration of tradition, and the perfect offering when a friend or family member drops by for tea. They’re what you present when you want to convey warmth and say, “I’ve got just the thing to make you feel at home.”
Recipe Highlights: Why Our Soetkoekies Stand Out
- A Symphony of Spices: Our recipe generously infuses these biscuits with four essential warming spices: cinnamon, ginger, nutmeg, and cloves. This robust blend creates an unforgettable aromatic experience.
- Bold Flavor Profile: Unlike many recipes that shy away from spice, ours embraces it, delivering a far more aromatic and flavorful biscuit that truly embodies the spirit of traditional South African baking.
- Perfectly Crisp Texture: We achieve a delicate snap by rolling the dough thinly (approximately 3mm), ensuring a light and satisfying crunch with every bite.
- Nostalgic Elegance: These Soetkoekies are not only incredibly flavorful but also exude a timeless, understated elegance. Their rustic appearance and comforting aroma make them irresistibly nibble-worthy.
- Versatile Treat: Ideal for daily tea time, thoughtful homemade gifts, or as a delightful addition to your festive baking repertoire during holidays.
- Batch Baking Friendly: This recipe yields a generous quantity, making it perfect for filling your biscuit tin to the brim, ensuring you always have a delicious treat on hand.
Explore More South African Biscuit Classics
If your taste buds are captivated by the charm of South African biscuits, we encourage you to delve deeper into our collection of cherished recipes. Beyond these delightful Soetkoekies, discover other proper classics, each with its own unique and tasty spin. Give our condensed milk biscuits a try for a wonderfully soft and sweet experience, indulge in the rich chocolatey goodness of Romany Creams, or savor the irresistible jam and coconut topping of Hertzoggies. These beloved bakes offer a true taste of South African home cooking.
- Classic Romany Creams Recipe
- Condensed milk cookies
- Hertzoggies – Jam and Coconut Tartlets
Key Ingredient Notes and Substitutions for Perfect Soetkoekies
**For the precise measurements and complete ingredient list, please refer to the detailed recipe card at the bottom of this post.
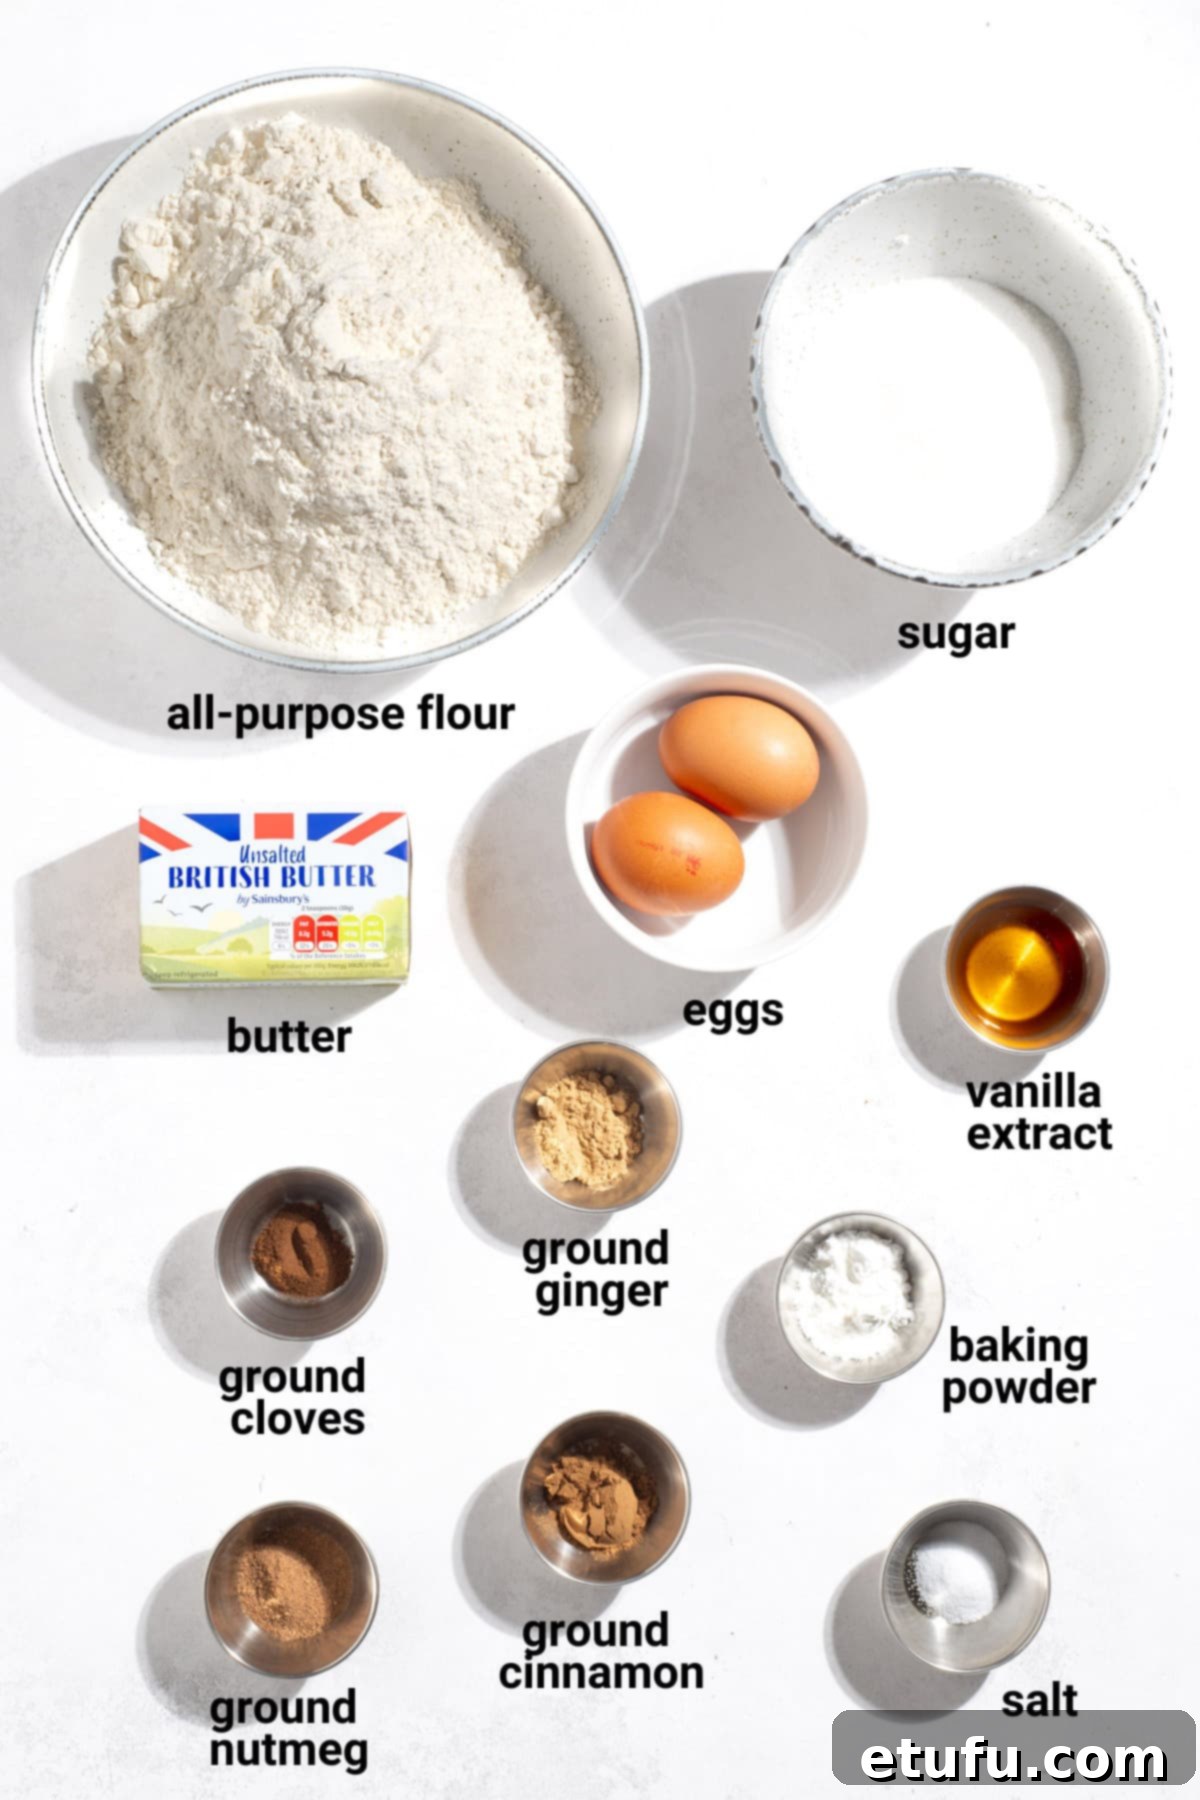
The Spices – More is Definitely More!
In our quest for the ultimate Outydse Soetkoekies, we do not shy away from the spices – not even a little bit! In fact, we intentionally use about three times the quantity found in many other soetkoekie recipes. This generous approach, deeply rooted in authentic South African baking traditions, ensures that each biscuit is bursting with unparalleled aroma and a rich, complex flavor that is truly memorable. But don’t let the quantity intimidate you; the blend is expertly balanced, warm, and deeply aromatic, never overwhelming.
Our magical quartet of spices includes ground cinnamon, ginger, nutmeg, and cloves. Just uttering their names evokes the comforting image of a warm kitchen, filled with loved ones and the delightful fragrance of freshly baked goods. This combination is pure koekie comfort, creating a symphony of flavors that is both nostalgic and profoundly satisfying. Cinnamon provides a sweet, woody warmth; ginger adds a subtle, peppery zest; nutmeg contributes a warm, slightly nutty note; and cloves offer a pungent, sweet, and robust finish. Together, they create the distinctive, inviting taste that defines these traditional South African spice biscuits.
Of course, baking is also an art of personal expression. If you or someone you’re baking for is particularly spice-sensitive, feel free to gently tweak the levels to your liking. Prefer a little more cinnamon and a touch less clove? Absolutely go for it. For the adventurous baker, consider experimenting with a pinch of cardamom or allspice to introduce a new dimension of flavor. However, for us, this classic combination hits that sweet spot perfectly: it’s deeply fragrant, wonderfully warming, and carries the authentic taste of South African heritage.
Butter: The Foundation of Flavor and Texture
The quality and temperature of your butter are paramount to achieving the perfect Soetkoekies. We always opt for unsalted butter in this recipe, as it gives you precise control over the overall salt content of your biscuits. However, if salted butter is what you have readily available, you can certainly use it; just be mindful of the added salt and perhaps reduce any additional salt in the recipe slightly. The critical factor here is the butter’s consistency: it must be soft enough to easily yield when pressed with a finger, yet not so soft that it’s melted or greasy. Butter that is too cold will not cream properly with the sugar, leading to a denser dough. Conversely, butter that is too soft can cause your biscuits to spread excessively in the oven, losing their delicate shape. Achieving that ideal room temperature for your butter is a small step that makes a significant difference.
Eggs: Binding and Enriching
For this recipe, we use two large eggs, typically weighing around 60g each in their shell. It is absolutely essential that these eggs are at room temperature. The reason for this is scientific and impacts the final texture of your dough. Cold eggs, when added to creamed butter and sugar, can cause the butter to seize up and curdle. This reaction can result in a dough that is harder to work with and a biscuit that is less tender and uniform in texture. Room temperature eggs, on the other hand, emulsify much more effectively with the butter and sugar, creating a smooth, cohesive, and well-aerated mixture that forms the foundation for wonderfully light and crisp Soetkoekies.
Quick Tip for Room Temperature Eggs
Forgot to take your eggs out of the fridge ahead of time? No problem! To quickly bring fridge-cold eggs up to room temperature, simply place them in a bowl and cover them with warm (not hot) tap water for about 10-15 minutes. This gentle bath will warm them through perfectly for your baking needs.
Step-by-Step Instructions: Crafting Your Own Outydse Soetkoekies
Follow these detailed steps to create a batch of our beautifully spiced South African biscuits. Precision and a little patience will ensure your Soetkoekies are perfect every time.
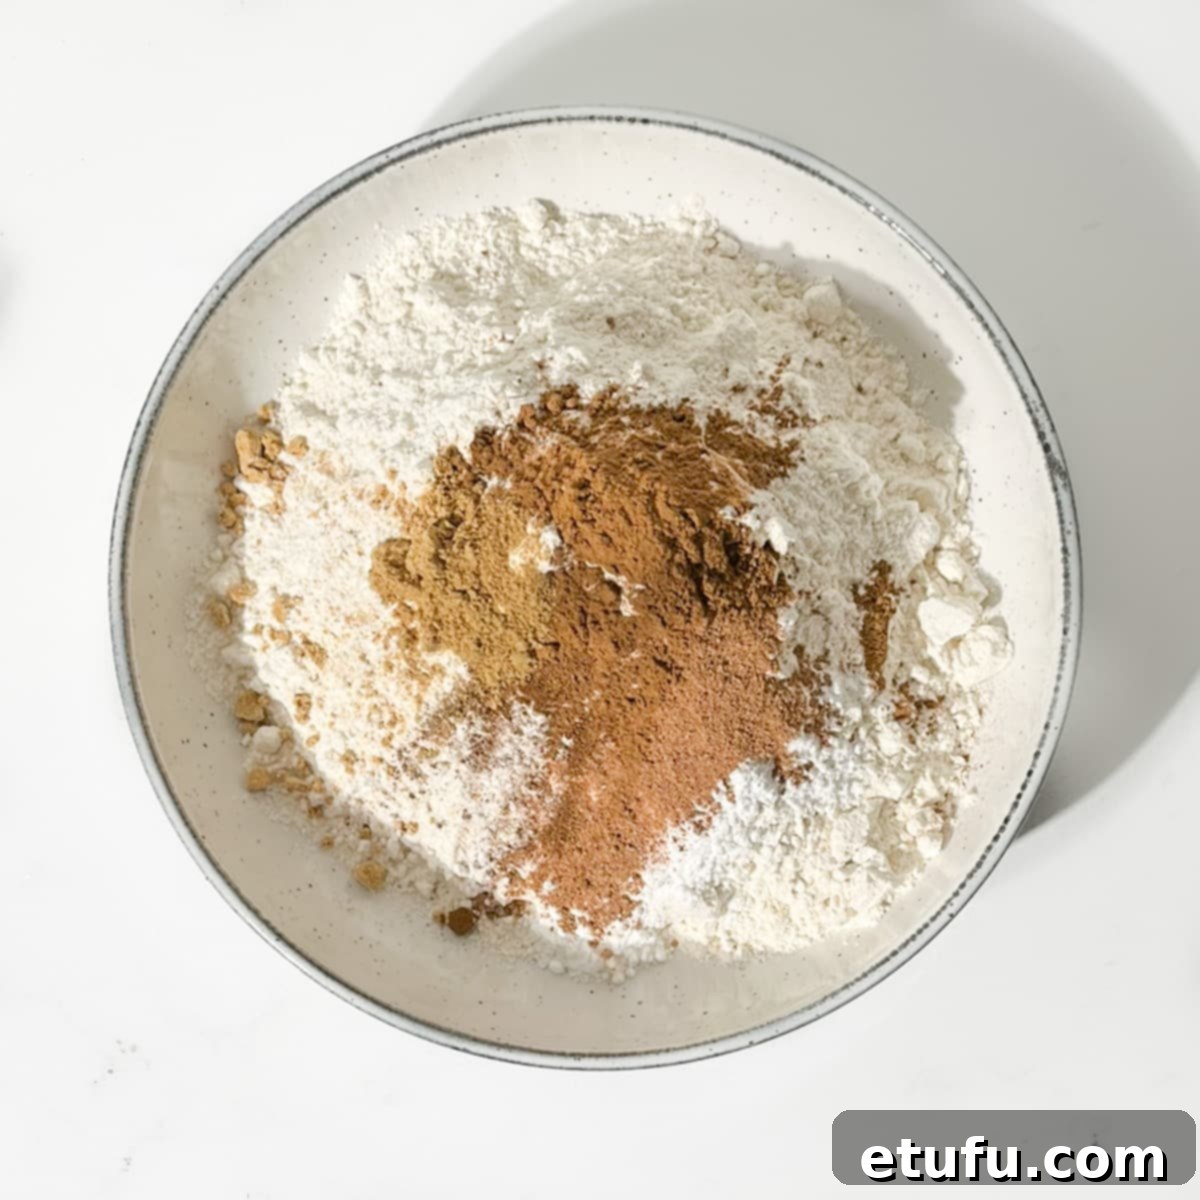
1. Combine Dry Ingredients: In a medium-sized mixing bowl, meticulously sift together the plain flour, baking powder, salt, ground cinnamon, ground ginger, ground nutmeg, and ground cloves. Sifting ensures all ingredients are evenly distributed and eliminates any lumps, leading to a smooth, uniform dough. Set this aside.
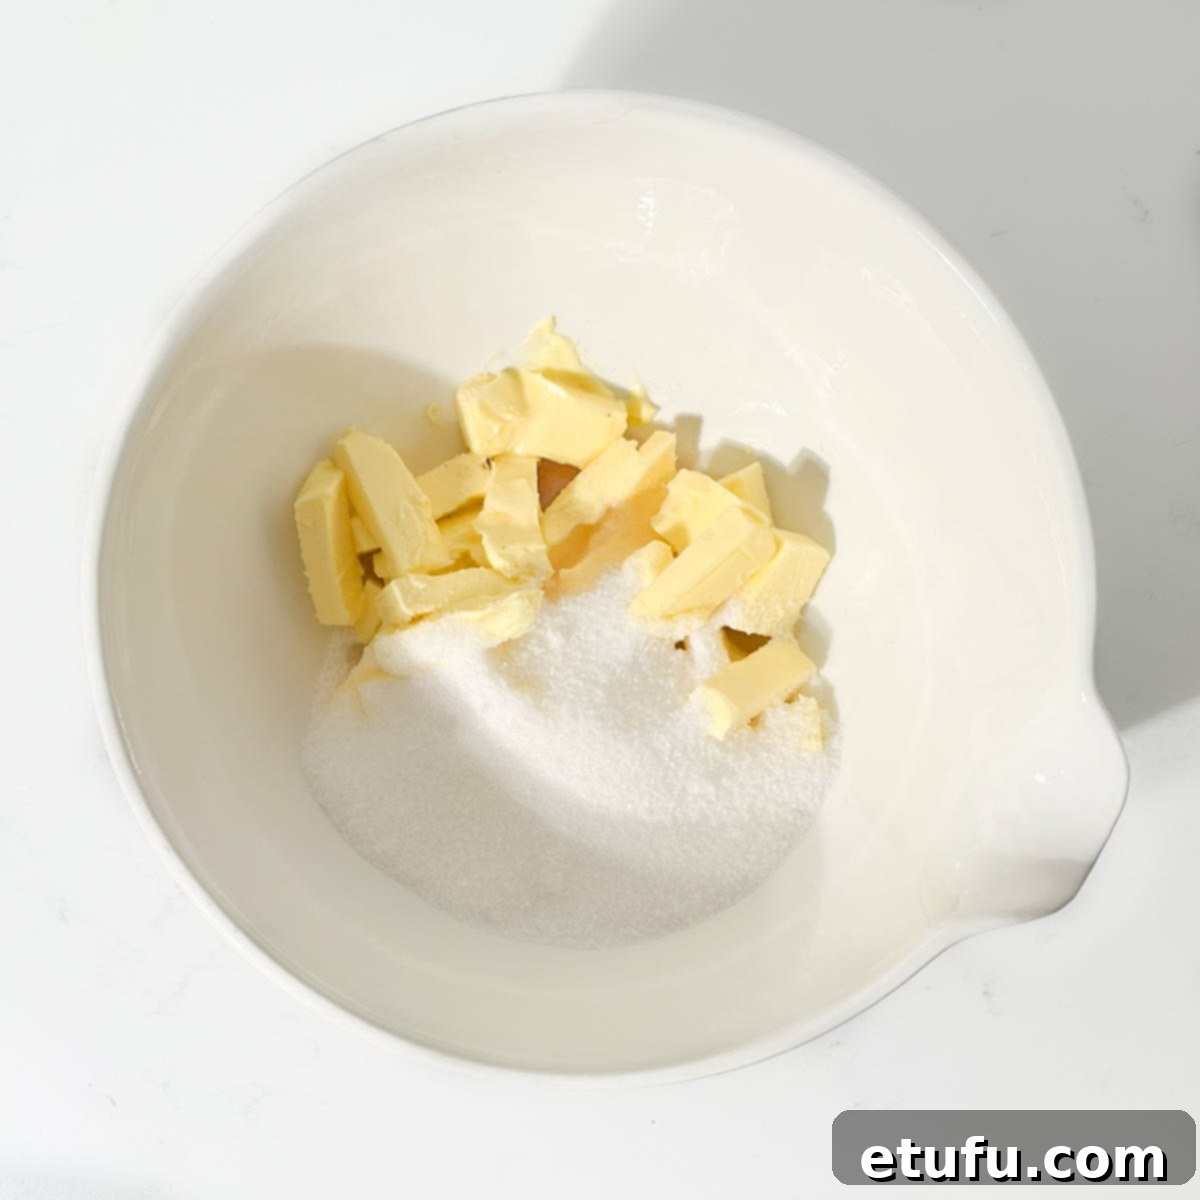
2. Cream Butter and Sugar: In a large mixing bowl, place the softened butter, sugar, and vanilla extract. Using an electric hand mixer or a stand mixer fitted with the paddle attachment, beat these ingredients together for a full 3-4 minutes. Continue until the mixture becomes wonderfully pale in color and takes on a light, fluffy, and creamy texture. This step incorporates air, which is crucial for a tender biscuit.
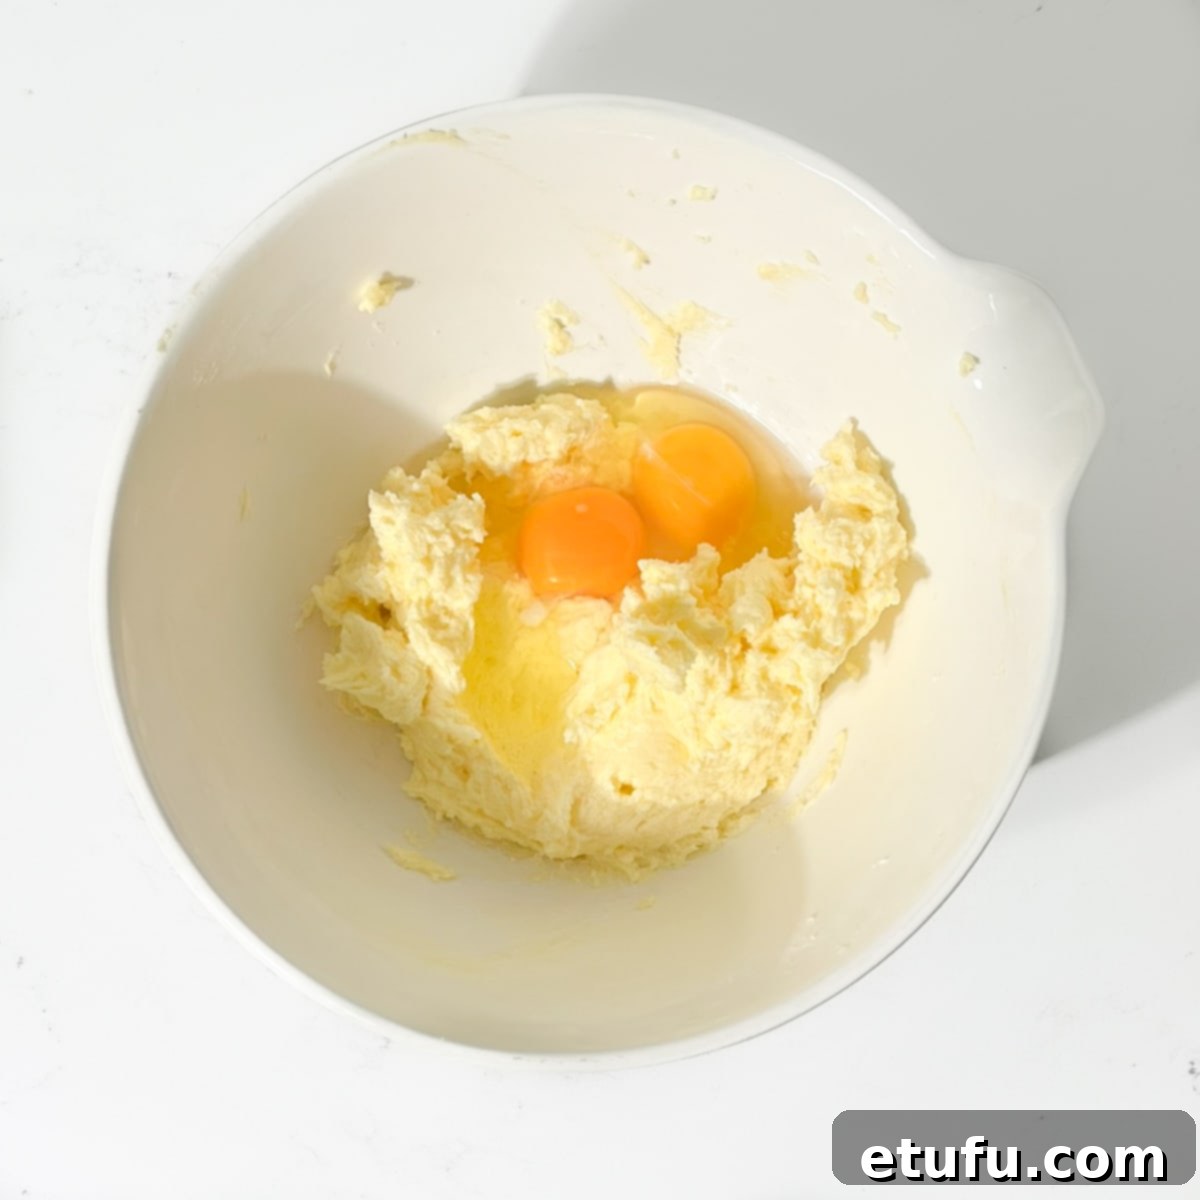
3. Incorporate Eggs: Carefully crack in the two room-temperature eggs. Continue beating with your mixer until the eggs are fully combined and thoroughly incorporated into the butter mixture. Don’t be alarmed if the mixture appears slightly curdled at this stage; this is perfectly normal and will resolve as you add the dry ingredients.
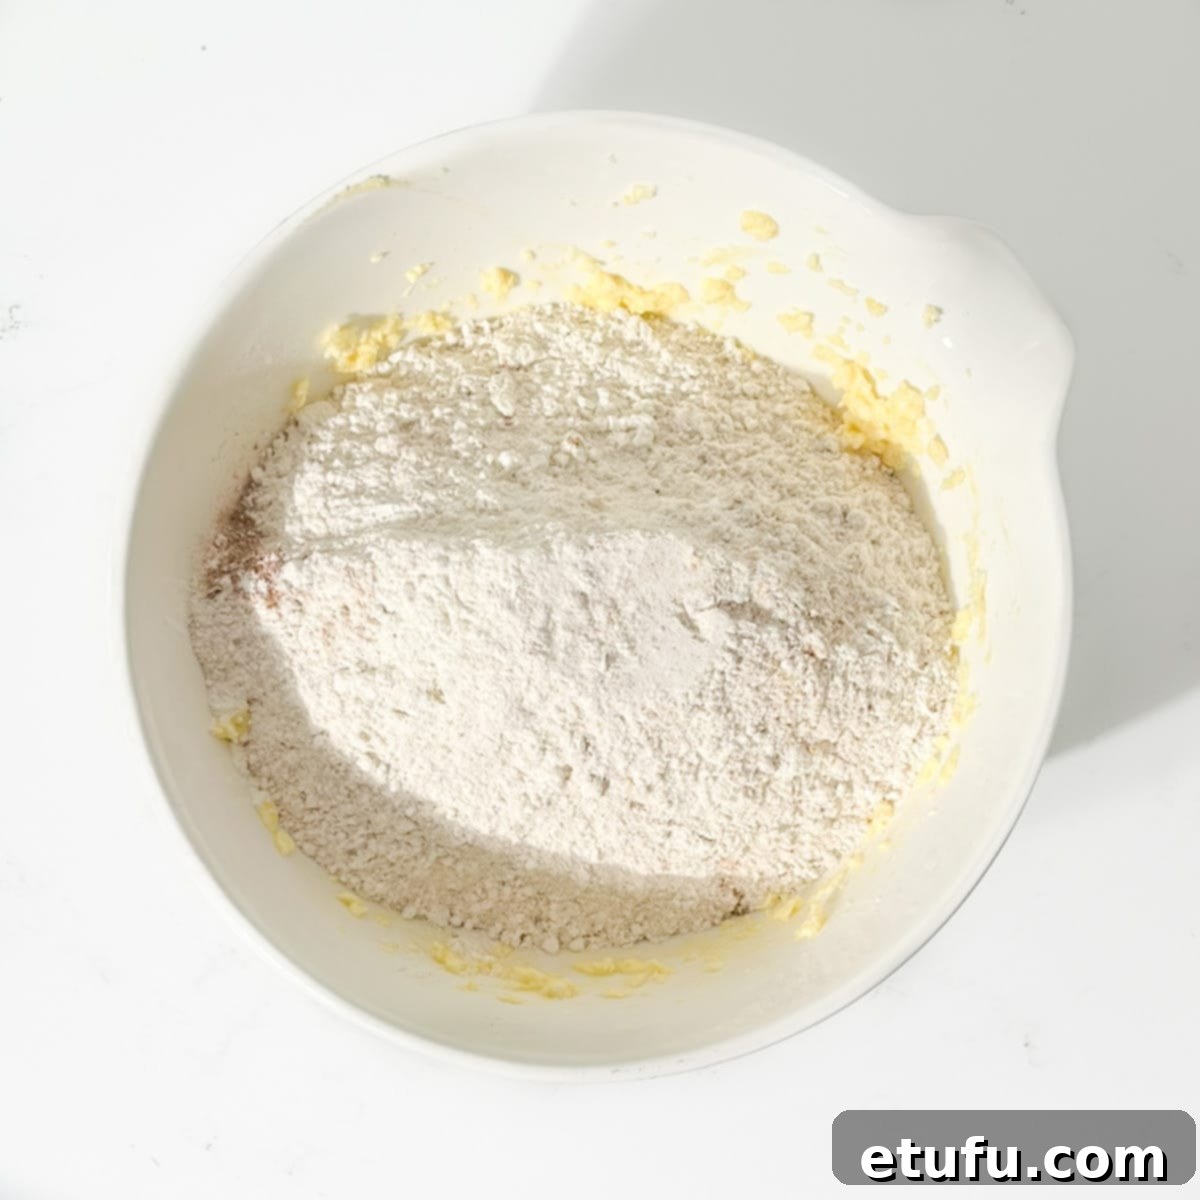
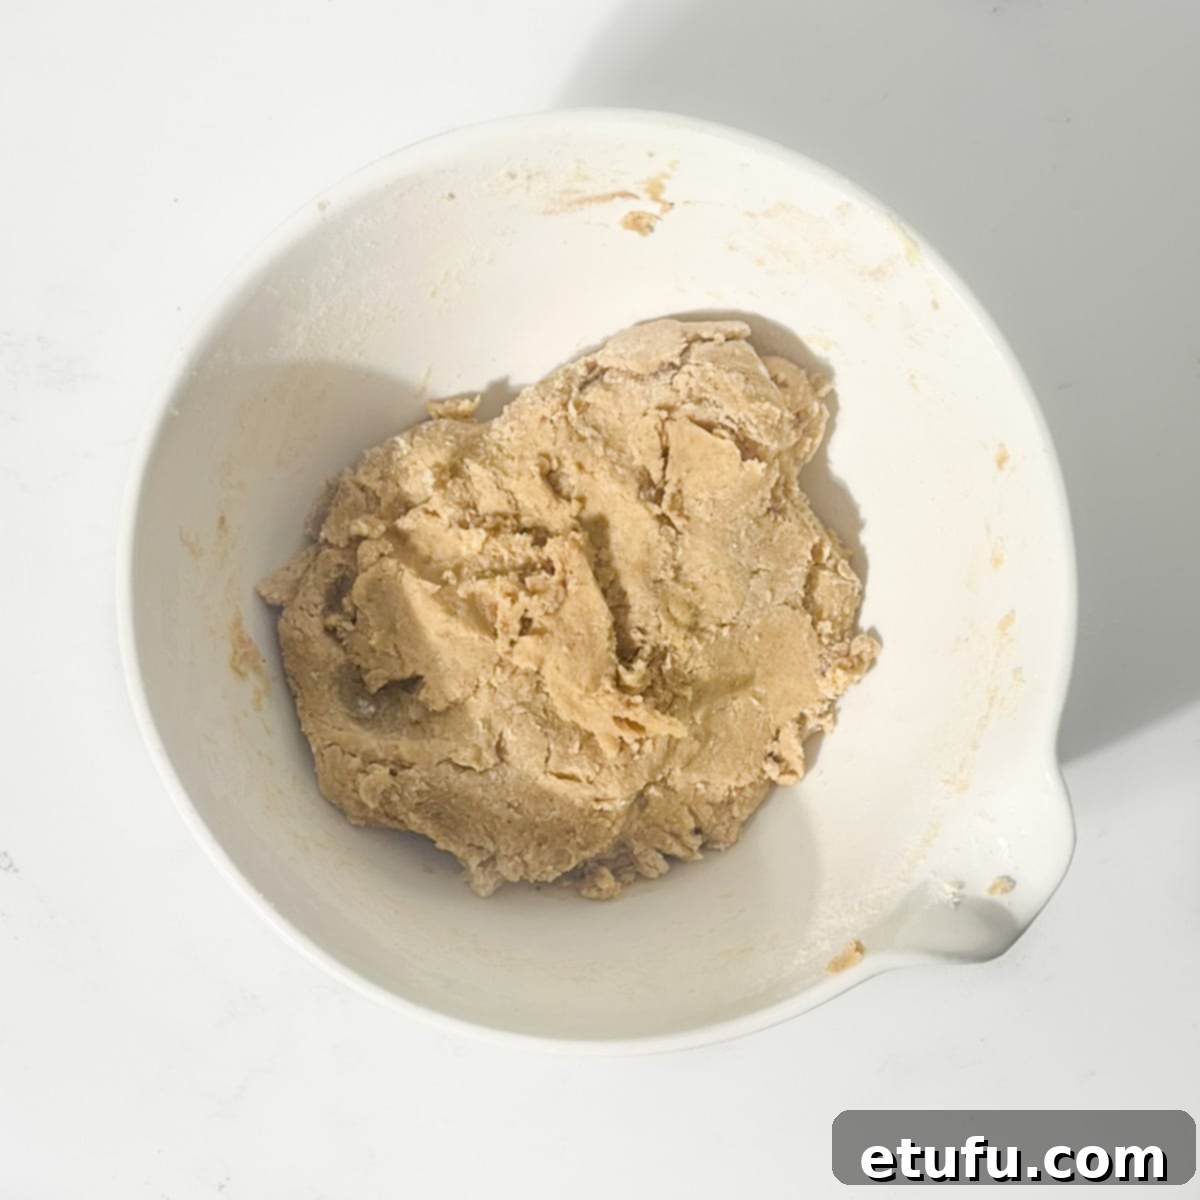
4. Add Dry to Wet: Gradually add the sifted dry ingredients to the wet butter mixture. Do this in two or three additions, gently folding everything together using a spatula or a wooden spoon. Continue mixing until the dough just comes together, appearing somewhat dry and crumbly.
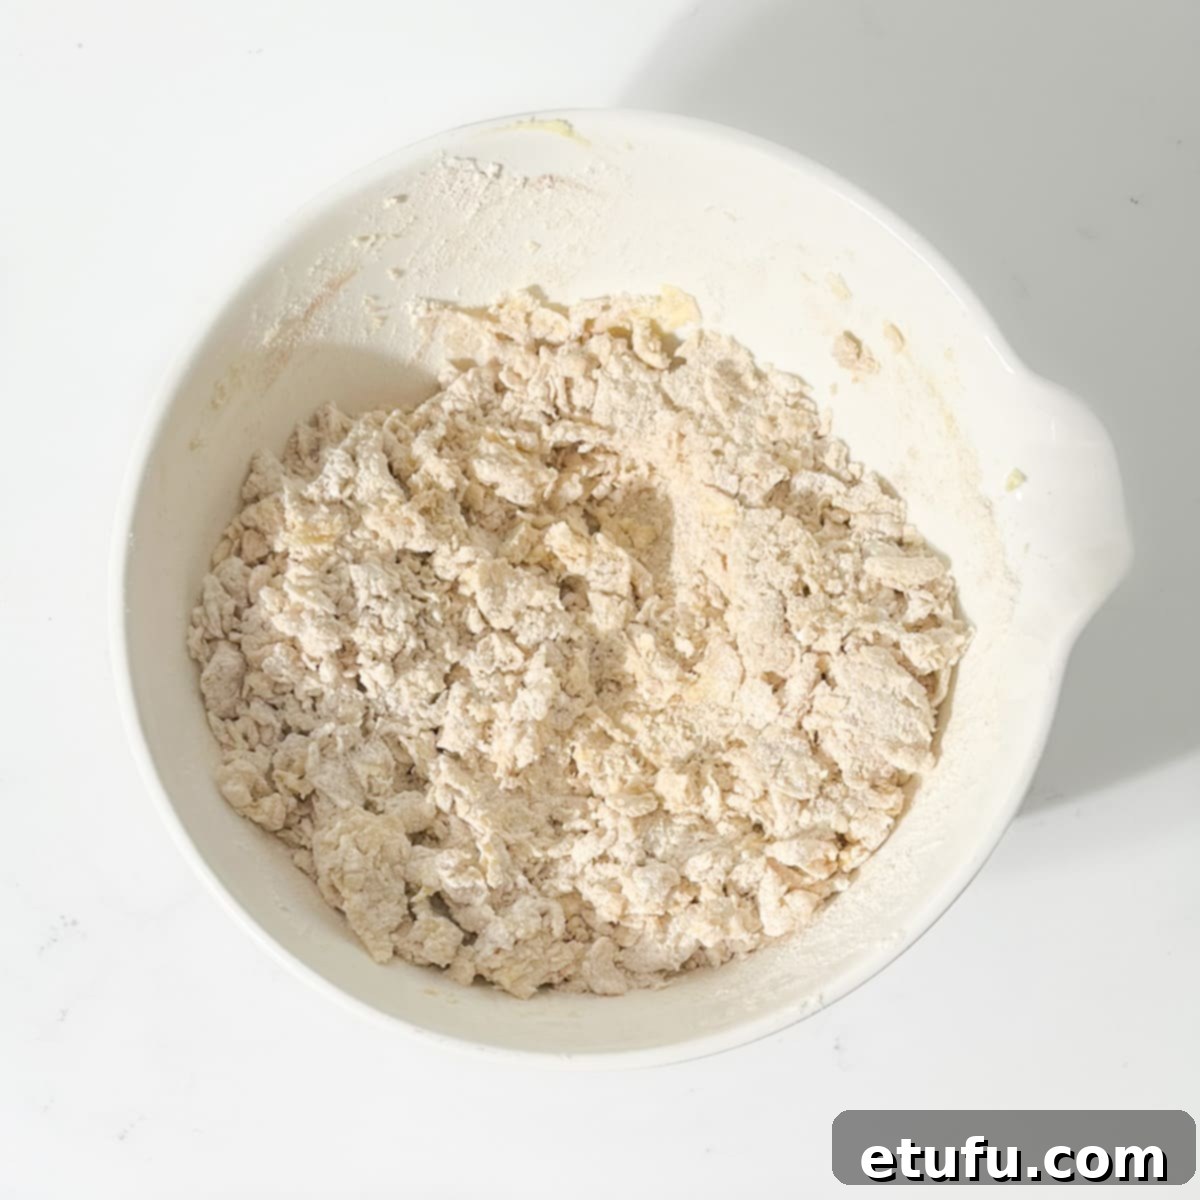
5. Form the Dough: Once the mixture is crumbly, set your spatula aside. Use your hands to gently bring the dough together. Knead it very briefly and lightly within the bowl until it forms a soft, cohesive ball. Be careful not to overwork the dough, as this can lead to tough biscuits. Ensure there are no dry patches of flour remaining.
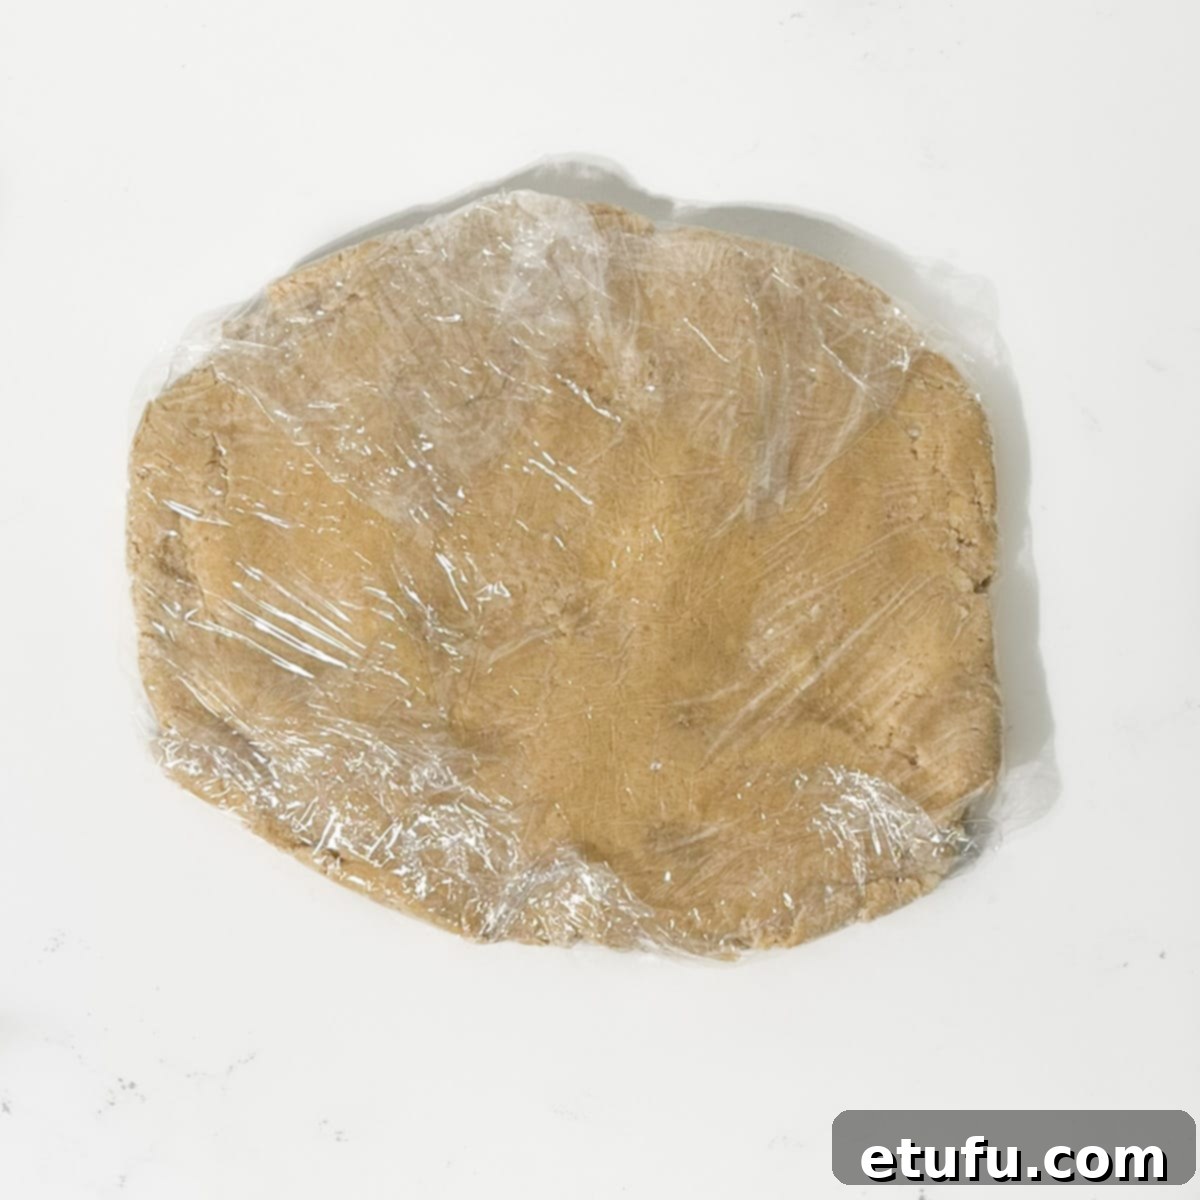
6. Chill the Dough: Turn the freshly formed dough out onto a large piece of cling film. Flatten it into a thick, uniform disc, which will make rolling easier later. Wrap it up snugly, ensuring no air can get in, and place it in the fridge for a minimum of one hour. This crucial chilling step allows the butter to firm up and the flavors to meld, preventing the biscuits from spreading too much during baking.
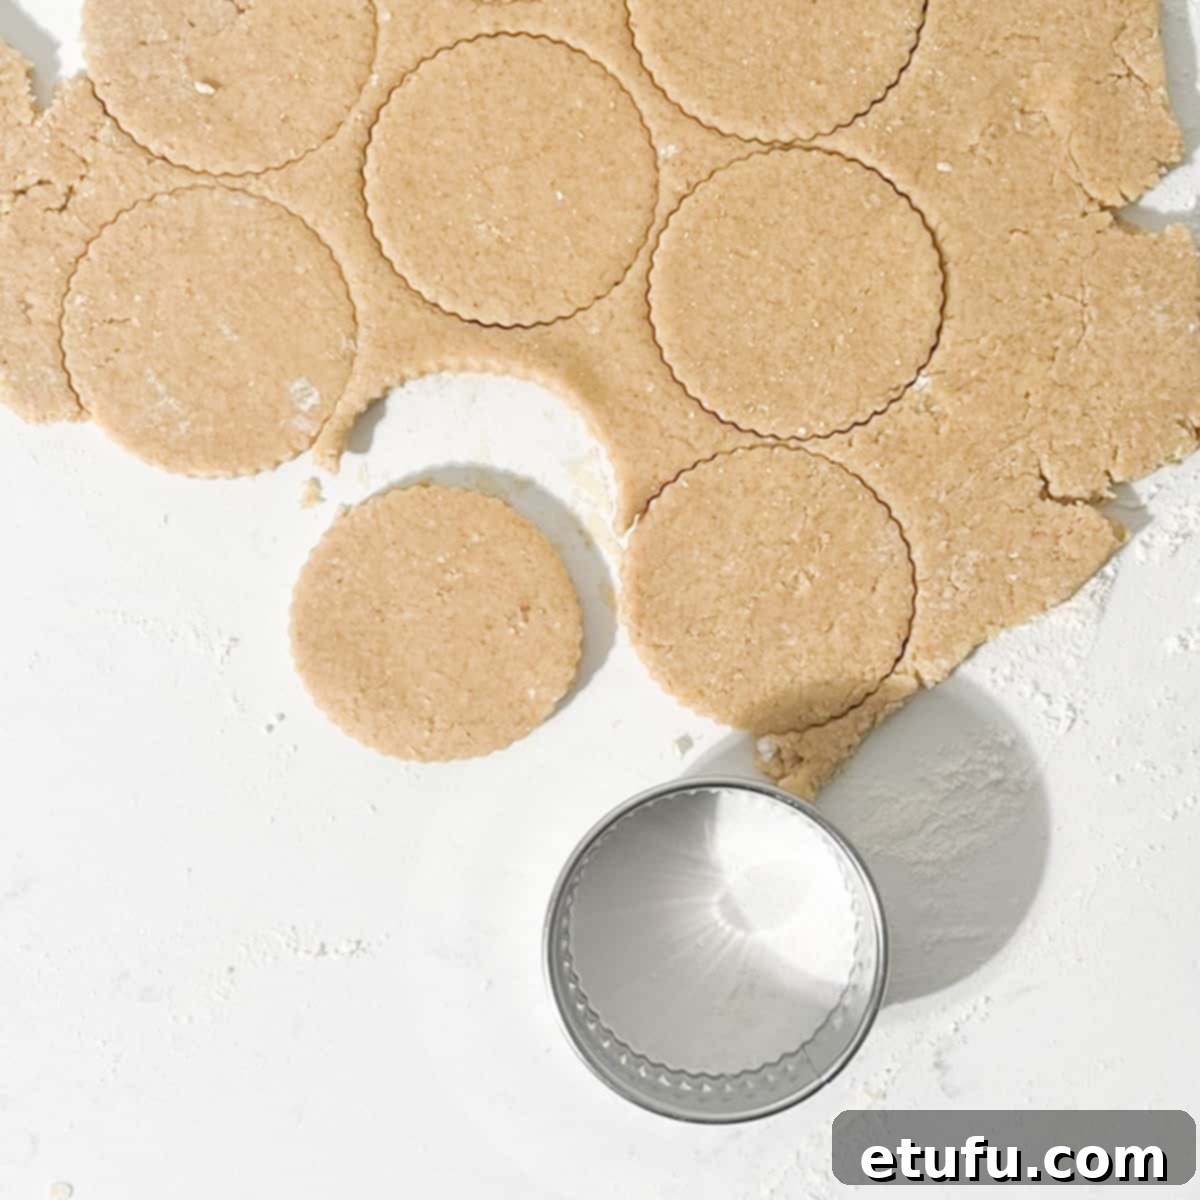
7. Roll and Cut: Lightly flour a clean work surface. Take your chilled dough and roll it out evenly to a thickness of approximately 3-4mm. This thinness is key to achieving that desirable crisp snap. Using your favorite cookie cutters, cut the dough into various shapes. Gather any dough scraps, gently re-roll them, and cut out more biscuits until all the dough is used.
8. Second Chill (Important!): Carefully place the cut biscuits onto unlined baking trays. Transfer these trays to the fridge and chill them for an additional 10 minutes. This second chill is particularly important, especially if you’re using intricate cookie cutters, as it helps the biscuits hold their precise shape beautifully during baking.
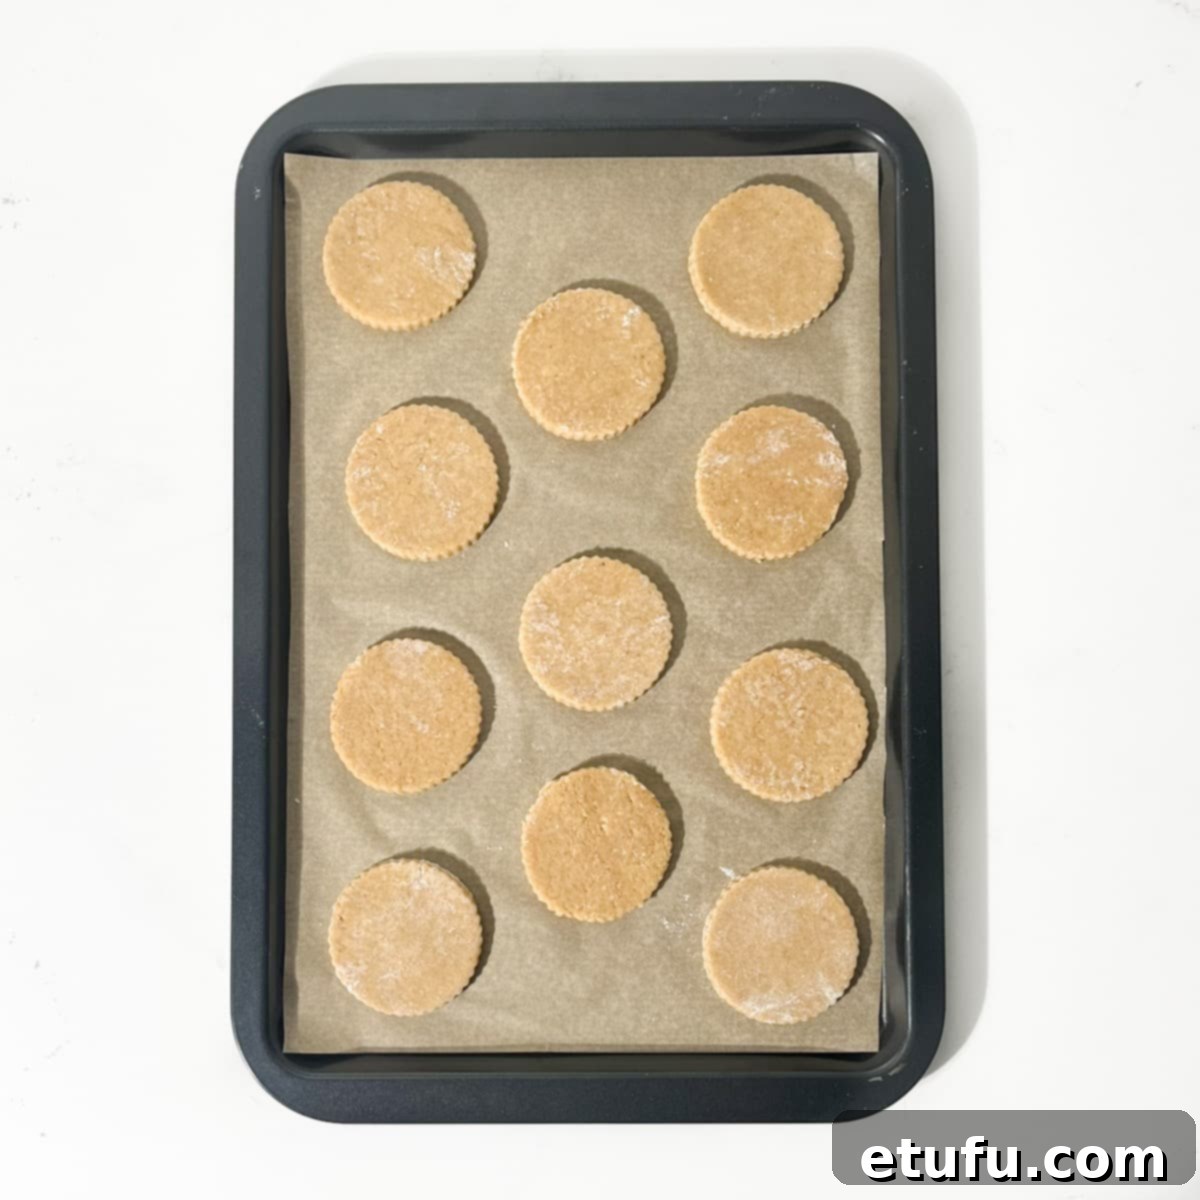
9. Preheat and Prepare: While the biscuits are chilling, preheat your oven to 180°C / 350°F (Gas Mark 4). Line your baking trays with non-stick baking paper. You may need several trays, depending on the number and size of your cut biscuits.
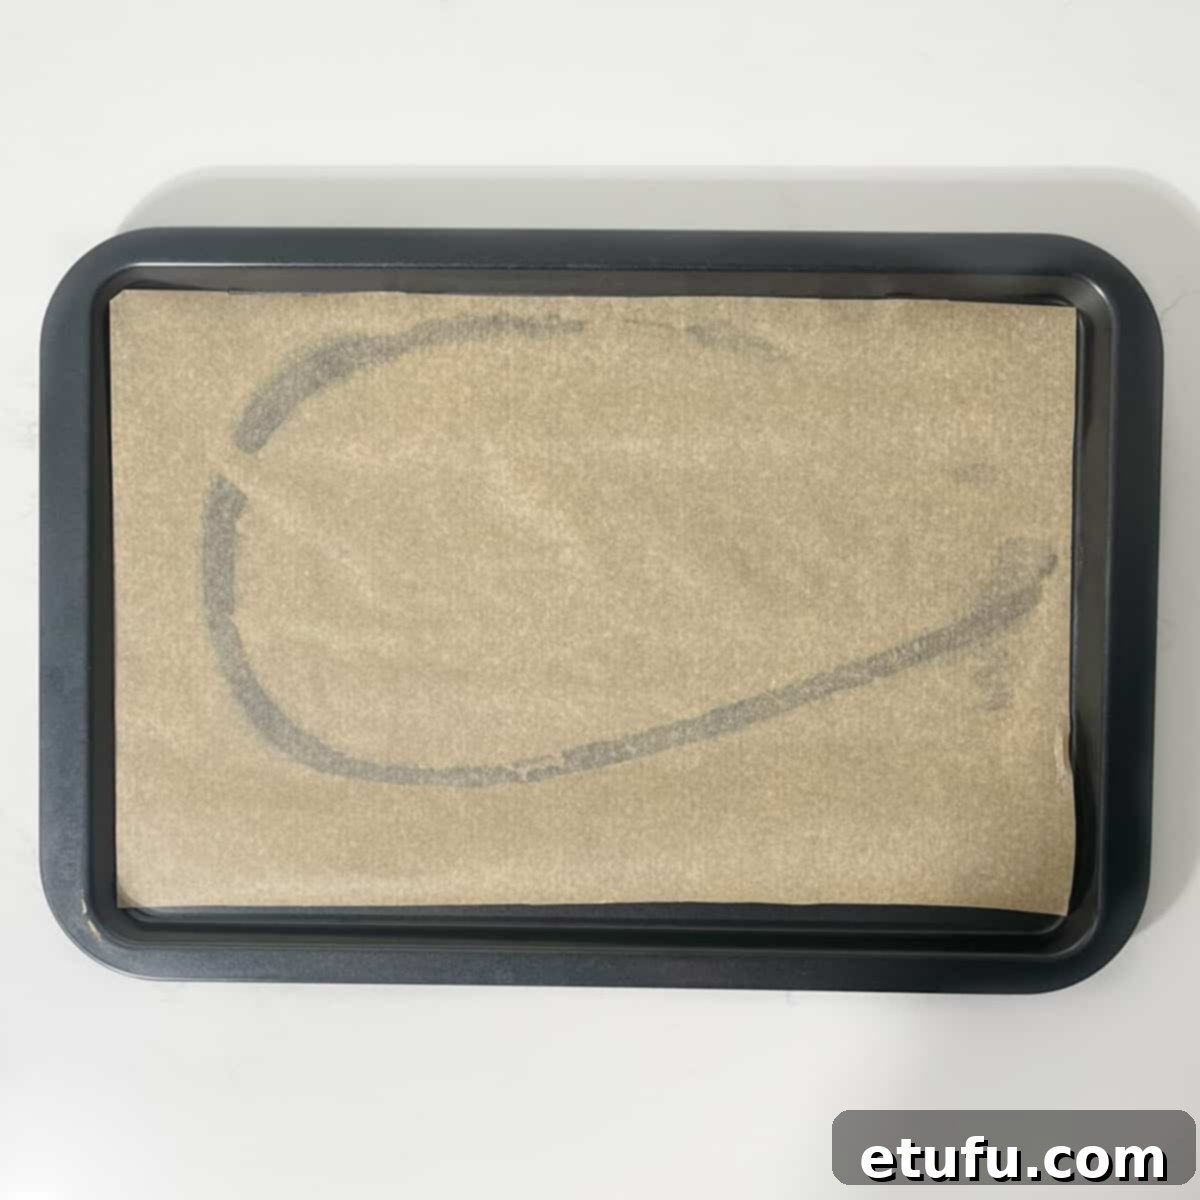
10. Bake to Perfection: Arrange the chilled biscuits on the prepared baking trays, leaving a little space between them. Bake for 13-15 minutes, or until the edges are just beginning to turn a light golden brown. The baking time may vary slightly depending on your oven and the thickness of your biscuits, so keep a close eye on them. The goal is a crisp, not overly browned, biscuit.
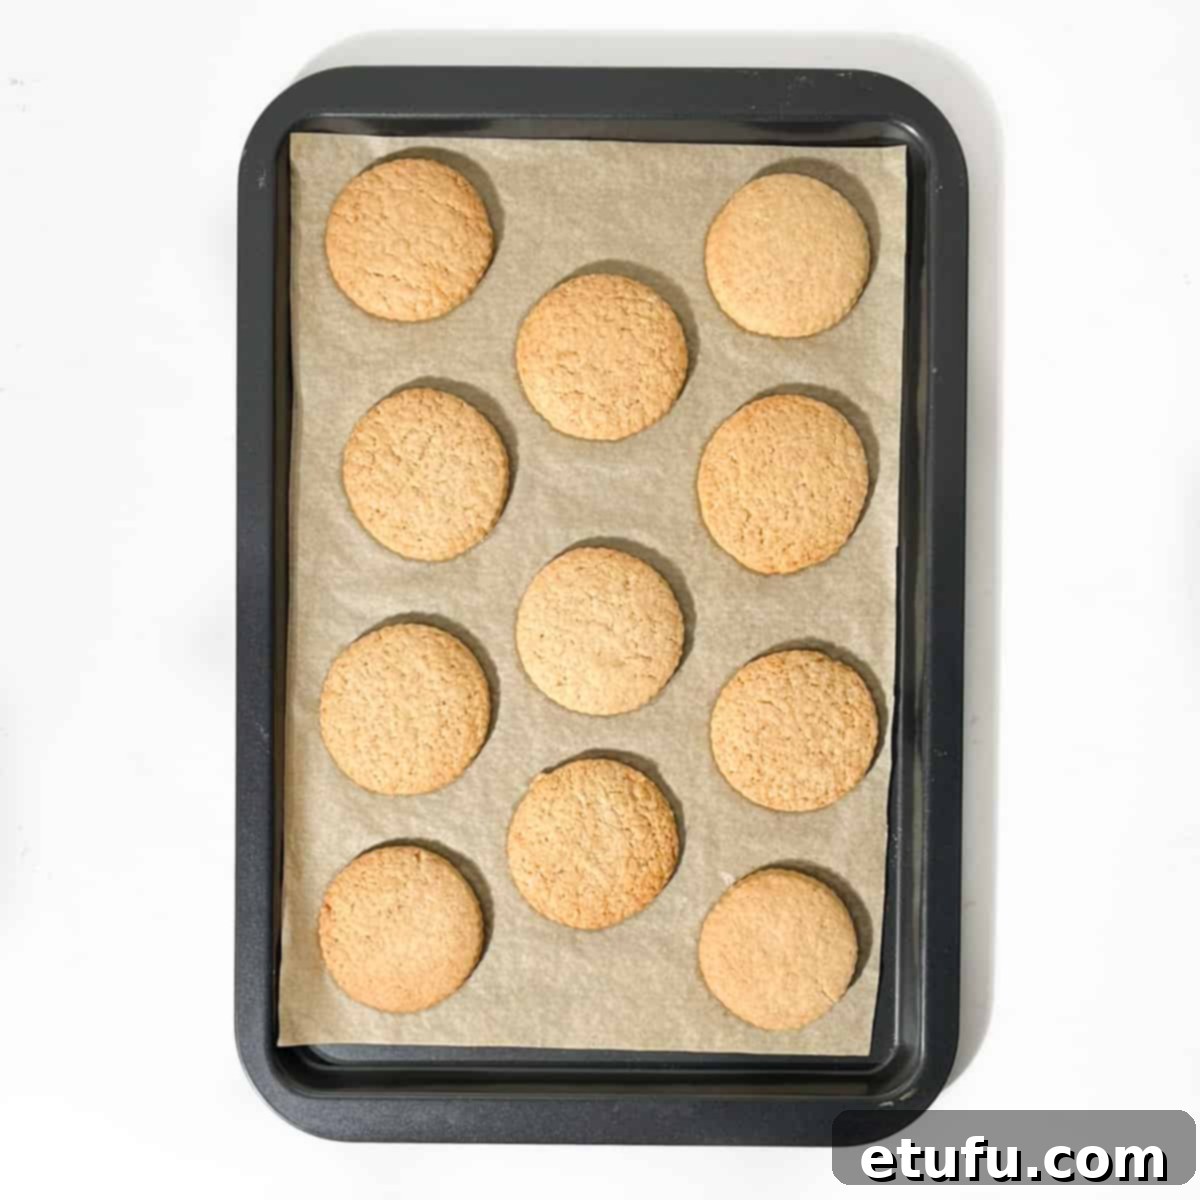
11. Cooling: Once baked, remove the trays from the oven. Allow the biscuits to firm up on the hot baking tray for approximately 5 minutes. This allows them to set and prevents breakage. After 5 minutes, carefully transfer the warm biscuits to a wire rack to cool completely. They will become even crispier as they cool.
Creative Variations for Your Soetkoekies
While our classic Outydse Soetkoekies recipe is perfect as is, feel free to get creative and customize them to your taste or the occasion:
- Citrus Zest Brightness: For a delightful pop of freshness, incorporate finely grated lemon or orange zest into the wet ingredients. The citrus oils will beautifully complement the warming spices, adding a bright, aromatic lift to your biscuits.
- Almond Infusion: Elevate the flavor profile by swapping the vanilla extract for a teaspoon of almond extract. This will introduce a deeper, more sophisticated nutty note that pairs wonderfully with the existing spices.
- Seasonal Spice Adjustment: Tailor your spice levels to suit the season or your mood. You might opt for a more pronounced cinnamon and clove presence during the cooler winter months for extra warmth, and a slightly lighter hand with the spices in the summer for a subtler aromatic touch.
- Chocolate Dipped Delight: For an indulgent twist, once cooled, dip half of each biscuit into melted dark or milk chocolate. Allow the chocolate to set on parchment paper for a decadent treat.
- Nutty Crunch: Finely chop a handful of toasted almonds or pecans and fold them into the dough before chilling for an added textural dimension and nutty flavor.
Elegant Decoration Ideas
The rustic beauty of Soetkoekies is wonderful on its own, but a little decoration can transform them for special occasions:
- Classic Gloss: If you prefer a traditional glossy finish, brush the unbaked biscuits with an egg wash (one egg yolk beaten with a tablespoon of milk or water) before baking. This will give them a lovely sheen.
- Simply Elegant: For an understated yet beautiful presentation, serve them plain, embracing their natural matte finish. A light dusting of powdered (icing) sugar, however, can add a touch of simple elegance.
- Sparkling Sugar: For a delightful crunch and sparkle, brush the unbaked biscuits with a little milk and then sprinkle them generously with coarse demerara sugar before baking. The sugar will caramelize slightly, creating a beautiful texture.
- Royal Icing Artistry: For more elaborate designs, especially around festive times like Christmas, royal icing is an excellent choice. You can create intricate patterns, delicate borders, or simple flood-fill designs.
- Edible Wafer Paper Creativity: For a truly unique and artistic touch, try using edible wafer paper. Once your biscuits are cooled and covered with a plain white royal icing base, you can attach pre-printed or hand-cut wafer paper designs for stunning visual appeal. This method offers endless creative possibilities! (See the image below for inspiration!)

Storage Solutions for Your Soetkoekies
One of the many wonderful things about Outydse Soetkoekies is how beautifully they store, making them perfect for advance preparation or enjoying over an extended period.
Room Temperature Storage: Once completely cooled, these biscuits will keep exceptionally well. Store them in an airtight cookie tin or any other sealed container at room temperature. Kept this way, they will remain fresh, crisp, and flavorful for up to 3 months. The airtight seal is crucial to maintain their crisp texture and protect their delicate aroma.
Freezing Baked Biscuits: Soetkoekies are also fantastic candidates for freezing. Once baked and thoroughly cooled, arrange them in a single layer on a baking sheet and freeze until solid. Then, transfer the frozen biscuits to a freezer-safe bag or an airtight container, layering them with parchment paper to prevent sticking. They will maintain their quality for up to 6 months in the freezer. When you’re ready to enjoy them, simply take out as many as you need and let them thaw at room temperature for a quick, delicious treat. This makes them ideal for batch baking ahead of busy seasons or unexpected guests.
Frequently Asked Questions About Soetkoekies
Absolutely! Freezing soetkoekie dough is a brilliant way to prepare ahead and have fresh biscuits whenever a craving strikes. To freeze the dough, simply wrap the prepared dough disc tightly in several layers of cling film, ensuring it’s completely sealed to prevent freezer burn. Then, place it in a freezer-safe bag or container and freeze for up to three months. When you’re ready to bake, transfer the frozen dough to the refrigerator and allow it to thaw overnight. Once thawed, you can roll and bake it as usual, following the recipe instructions from step 7 onwards. This method is incredibly convenient for spontaneous baking!
The delightful history of Soetkoekies dates back centuries, deeply intertwined with the arrival of Dutch settlers in South Africa during the 1600s. These early European immigrants brought with them cherished baking traditions, including a love for richly spiced cookies. Spices such as cinnamon, ginger, nutmeg, and cloves, which were considered luxurious and exotic at the time, were generously incorporated into their recipes. Over time, these simple yet flavorful spiced biscuits became an enduring staple in Afrikaans kitchens, evolving with local ingredients and culinary nuances. Each family often developed its own treasured variation, passed down through generations, making Soetkoekies a culinary emblem of South African heritage. They represent a fusion of Dutch influence and local adaptation, a tasty little piece of living history enjoyed with every bite.
The pronunciation of “Soetkoekies” in English can be a little tricky, but it’s quite phonetic once you know how. It’s pronounced roughly as “soot-koo-KEES.” Let’s break it down: “Soet” sounds like “soot” (as in chimney soot), with a short, crisp ‘oo’ sound, not a drawn-out ‘oooh’. “Koe” sounds like “koo” (as in ‘cool’ without the ‘l’), and “kies” sounds like “kees” (as in ‘keys’). So, put together, it’s “soot-koo-KEES.” While the literal English translation is “sweet biscuits,” this phonetic guide helps convey the authentic Afrikaans name for these wonderfully spiced and flavorful traditional South African treats.
Recipe Card: Outydse Soetkoekies – South African Spice Biscuits
Outydse Soetkoekies – South African Spice Biscuits
Print Recipe
Ingredients
- 560 grams (19.8 oz) plain flour
- 2 teaspoons baking powder
- 1 teaspoon salt
- 1½ teaspoon ground cinnamon
- 1½ teaspoon ground ginger
- 1½ teaspoon ground nutmeg
- 1 teaspoon ground cloves
- 250 grams (8.8 oz) butter, softened – room temperature
- 200 grams (7.1 oz) sugar
- 1 teaspoon vanilla extract
- 2 eggs – room temperature
Instructions
- In a medium bowl, sift together the flour, baking powder, salt, cinnamon, ginger, nutmeg and cloves.560 grams (19.8 oz) plain flour, 2 teaspoons baking powder, 1 teaspoon salt, 1½ teaspoon ground cinnamon, 1½ teaspoon ground ginger, 1½ teaspoon ground nutmeg, 1 teaspoon ground cloves
- In a large bowl, add the butter, sugar and vanilla extract. Beat with an electric hand mixer or stand mixer for 3-4 minutes, until pale and fluffy.250 grams (8.8 oz) butter, softened, 200 grams (7.1 oz) sugar, 1 teaspoon vanilla extract
- Crack in the two eggs and beat until fully combined. Don’t worry if the mixture looks a little curdled – this is perfectly normal.2 eggs
- Add the sifted dry ingredients to the butter mixture. Fold everything together using a spatula or wooden spoon until the dough looks dry and crumbly.
- Set the spatula aside and use your hands to gently bring the dough together until it forms a soft, cohesive ball with no dry patches of flour left. You can do this right in the bowl.
- Turn the dough out onto a large piece of cling film, flatten it into a thick disc, wrap it up snugly and place it in the fridge for at least an hour to firm up.
- On a lightly floured surface, roll the chilled dough out to 3-4mm thickness. Cut into shapes using your favourite cookie cutters.
- Place the cut biscuits on the trays and chill them in the fridge for 10 minutes. This helps them hold their shape, especially if you’re using detailed cutters.
- Preheat the oven to 180°C / 350°F (gas mark 4). Line your baking trays with non-stick baking paper. You may need a few trays depending on the size of your batch.
- Bake for 13-15 minutes, or until the tops are just turning a light golden brown.
- Let the biscuits firm up on the tray for 5 minutes, then transfer to a wire rack to cool completely.
Notes
Variations
- Add lemon or orange zest for brightness.
- Swap vanilla for almond extract to deepen the flavour.
- Adjust the spice levels depending on the season or your mood – more cinnamon in winter, less in summer.
Decoration ideas
- Brush with egg wash for a nice shiny finish.
- Keep it simple and serve plain for that lovely matte look, or dust with a little icing sugar.
- For a bit of sparkle, brush with milk and sprinkle some coarse sugar.
- Royal icing is great if you want to get fancy, especially around Christmas.
- If you’re feeling creative, try edible wafer paper over plain white royal icing.
**Nutritional data disclaimer**
Please keep in mind that the nutritional information provided below is calculated by a third party and we cannot guarantee the accuracy. We try our best to give you the most accurate information, but we do not take responsibility for errors that may be present. Also, the nutritional value of the recipe may change depending on the exact brands and products used. We recommend that you consult with a qualified healthcare professional or registered dietitian for personalised advice on your dietary needs.
Nutrition
For food safety advice, including guidance on food allergies
