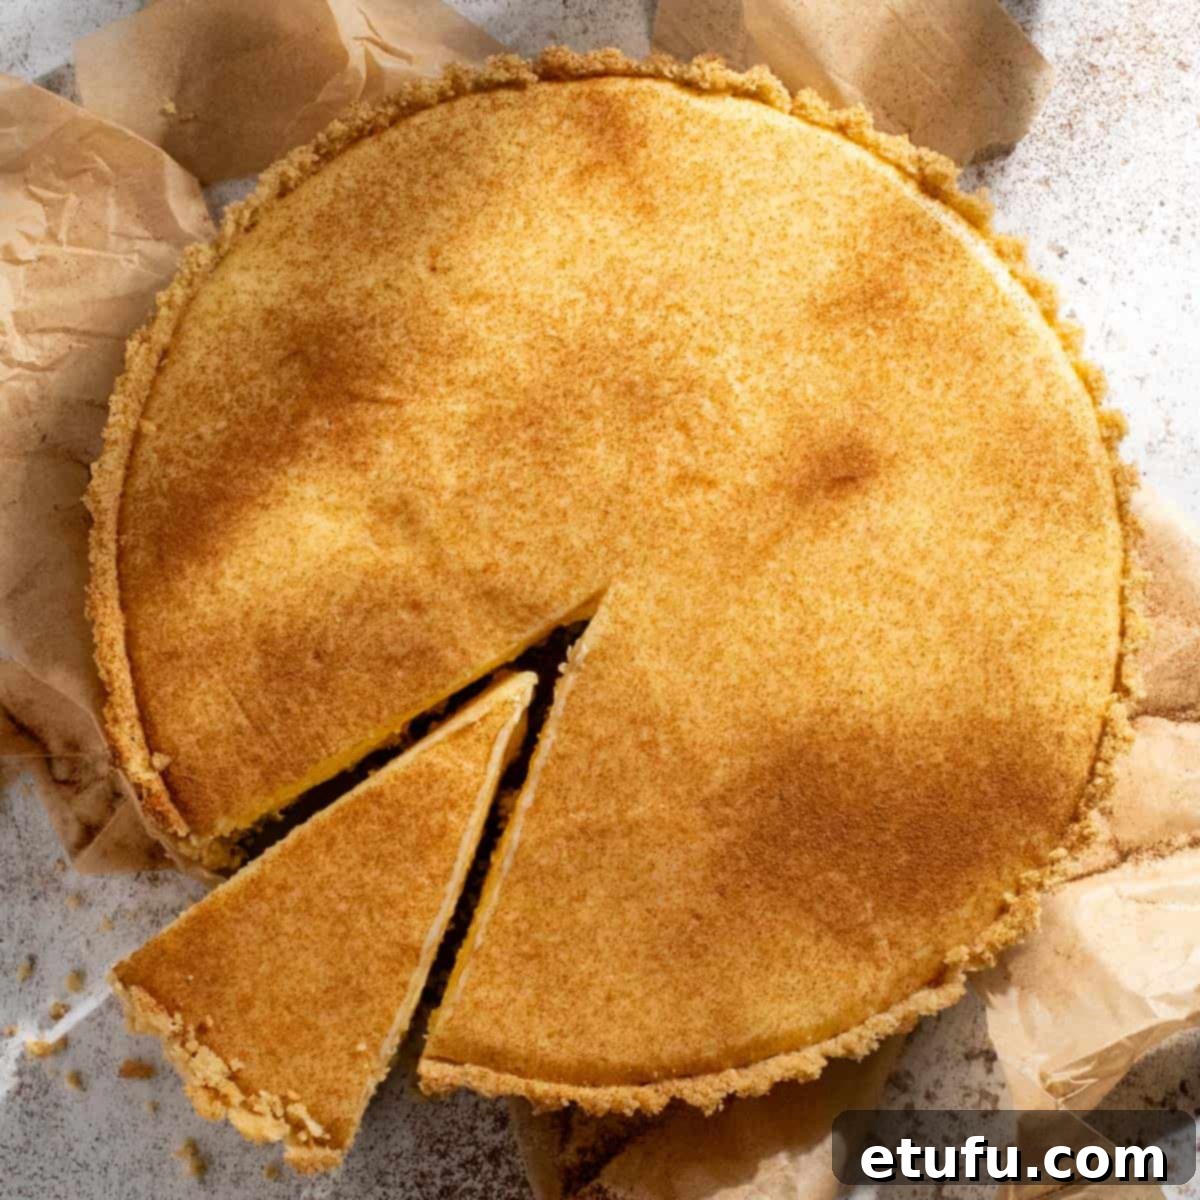
Prepare your senses for an unforgettable culinary journey to the heart of South Africa with this truly authentic milk tart recipe. Fondly known as “melktert” in Afrikaans, this dessert isn’t just a sweet treat; it’s a creamy, cinnamony hug-on-a-plate, deeply woven into the fabric of South African culture and cherished across generations. Whether you’re a seasoned baker or a curious beginner, this no-bake recipe promises a luxuriously smooth filling, a delightfully crisp base, and an experience that captures the essence of homemade comfort.
What sets this particular rendition apart is its use of only egg yolks, a technique that bestows a rich, full-bodied flavor reminiscent of classic French crème pâtissière, without any eggy aftertaste. This approach, combined with a simple yet sturdy Tennis biscuit base and a velvety filling enriched with condensed milk and custard powder, results in a dessert that’s both elegant and effortlessly delicious. It’s the perfect sweet ending for any meal, a delightful addition to tea time, or a special gesture for that “Saffa” in your life longing for a taste of home.
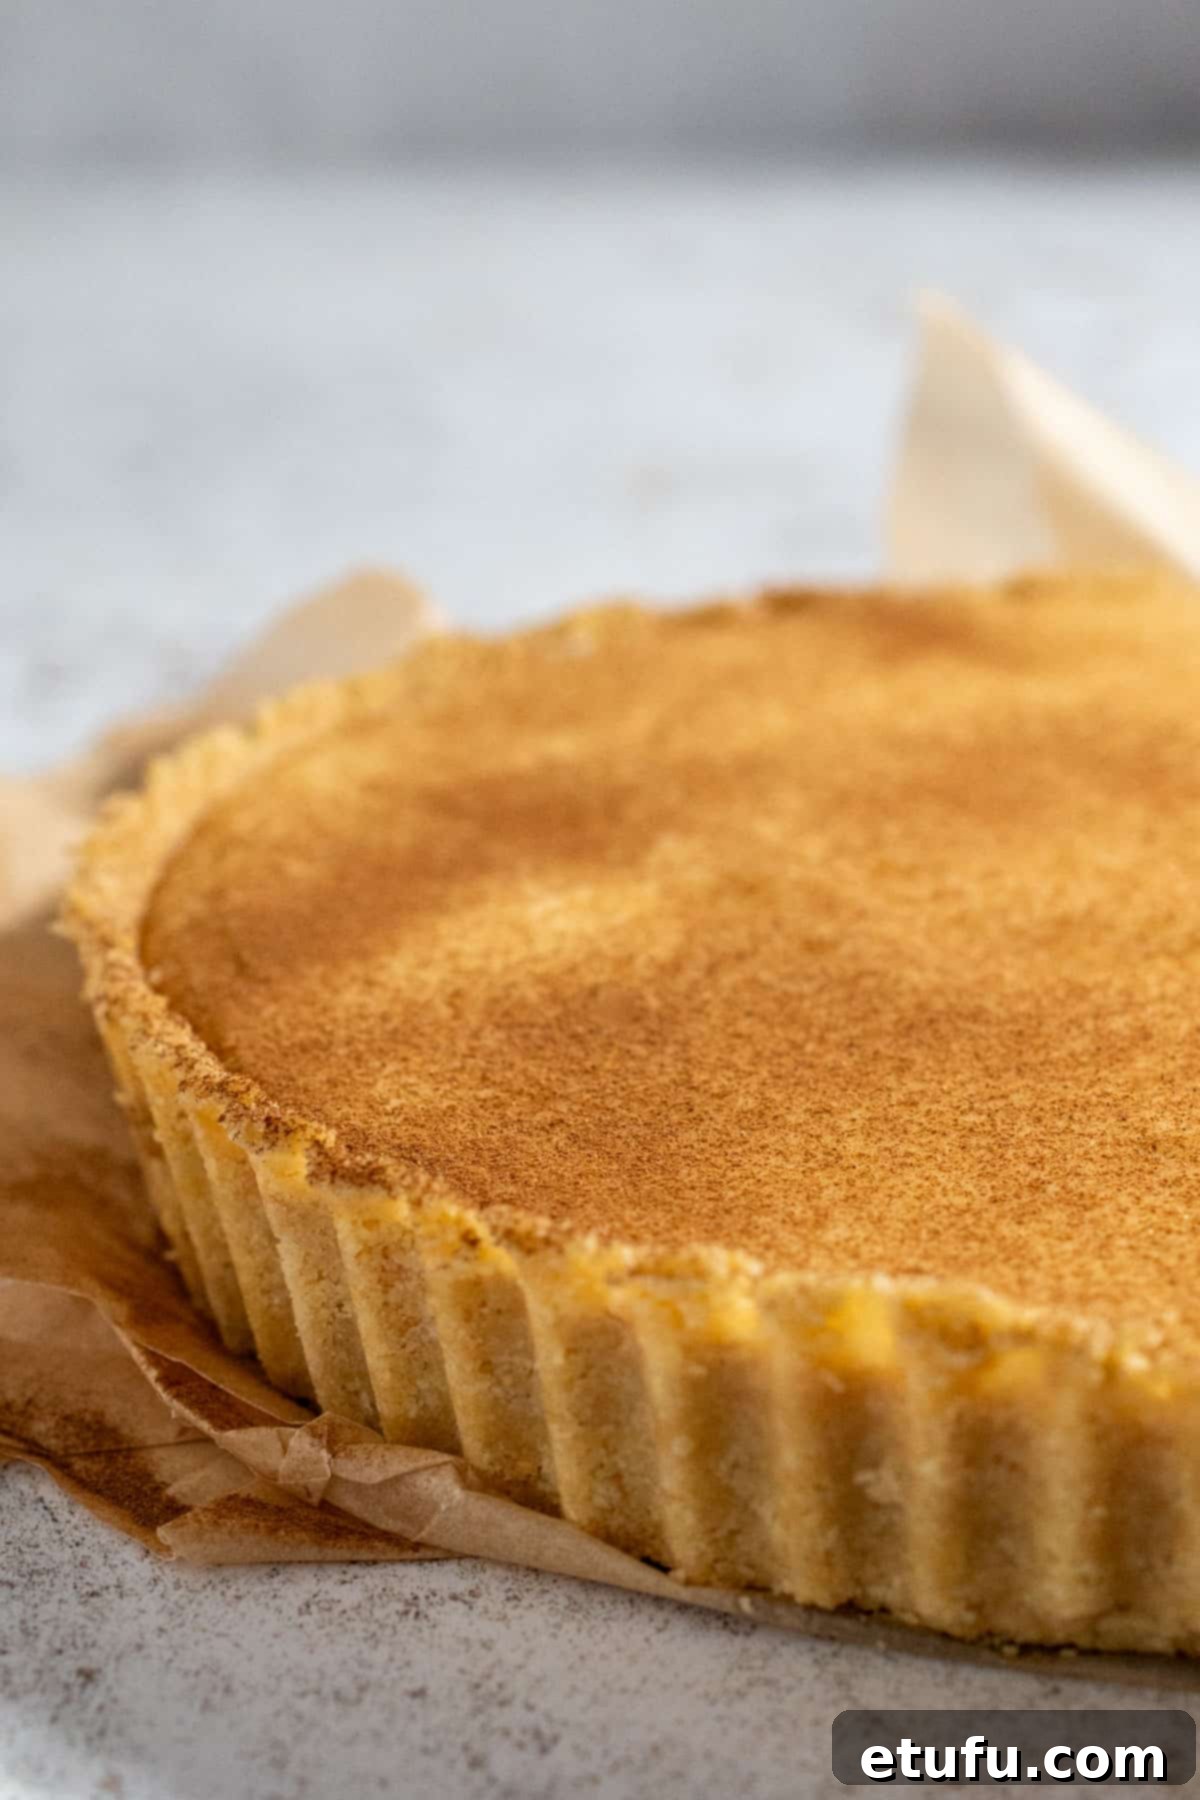
The Rich History of South African Milk Tart (Melktert)
The story of the South African milk tart, or “melktert,” begins in the 17th century with the arrival of Dutch settlers in the Cape. They brought with them their traditional custard pie recipes, which over time, adapted and evolved to incorporate local ingredients and tastes, becoming the beloved dessert we know today. Much like other iconic South African dishes such as cinnamon pancakes (pannekoek), the spiced mince dish bobotie served with fragrant yellow rice, sweet pumpkin fritters (pampoenkoekies) with caramel sauce, the deep-fried dough balls known as vetkoek, and the ever-popular malva pudding, melktert holds a special place in the nation’s culinary heritage.
It’s a dessert that evokes nostalgia, often associated with family gatherings, celebrations, and comforting home-cooked meals. Its simple elegance and comforting flavors make it a staple in South African homes, from bustling city kitchens to quiet farmsteads. The delicate balance of sweetness, creaminess, and a hint of cinnamon is what makes melktert universally appealing and a proud representation of South African hospitality.
Why This No-Bake Milk Tart Recipe Will Be Your New Favorite
Effortless No-Bake Perfection: Say goodbye to oven worries! This “melktert” recipe eliminates the need for baking, making it incredibly simple to prepare. The easy Tennis biscuit base requires no baking, saving you time and ensuring a consistent, delicious crust every time. It’s perfect for warm weather or when you just don’t want to turn on the oven.
Rich, Velvety Filling from Egg Yolks: By utilizing only egg yolks, we achieve an unparalleled richness and a beautiful, light golden hue in the filling. This not only enhances the flavor depth, akin to a professional pastry cream, but also means there are no raw egg whites to worry about, making it safe and enjoyable for everyone in the family, including those who might be sensitive to uncooked egg white.
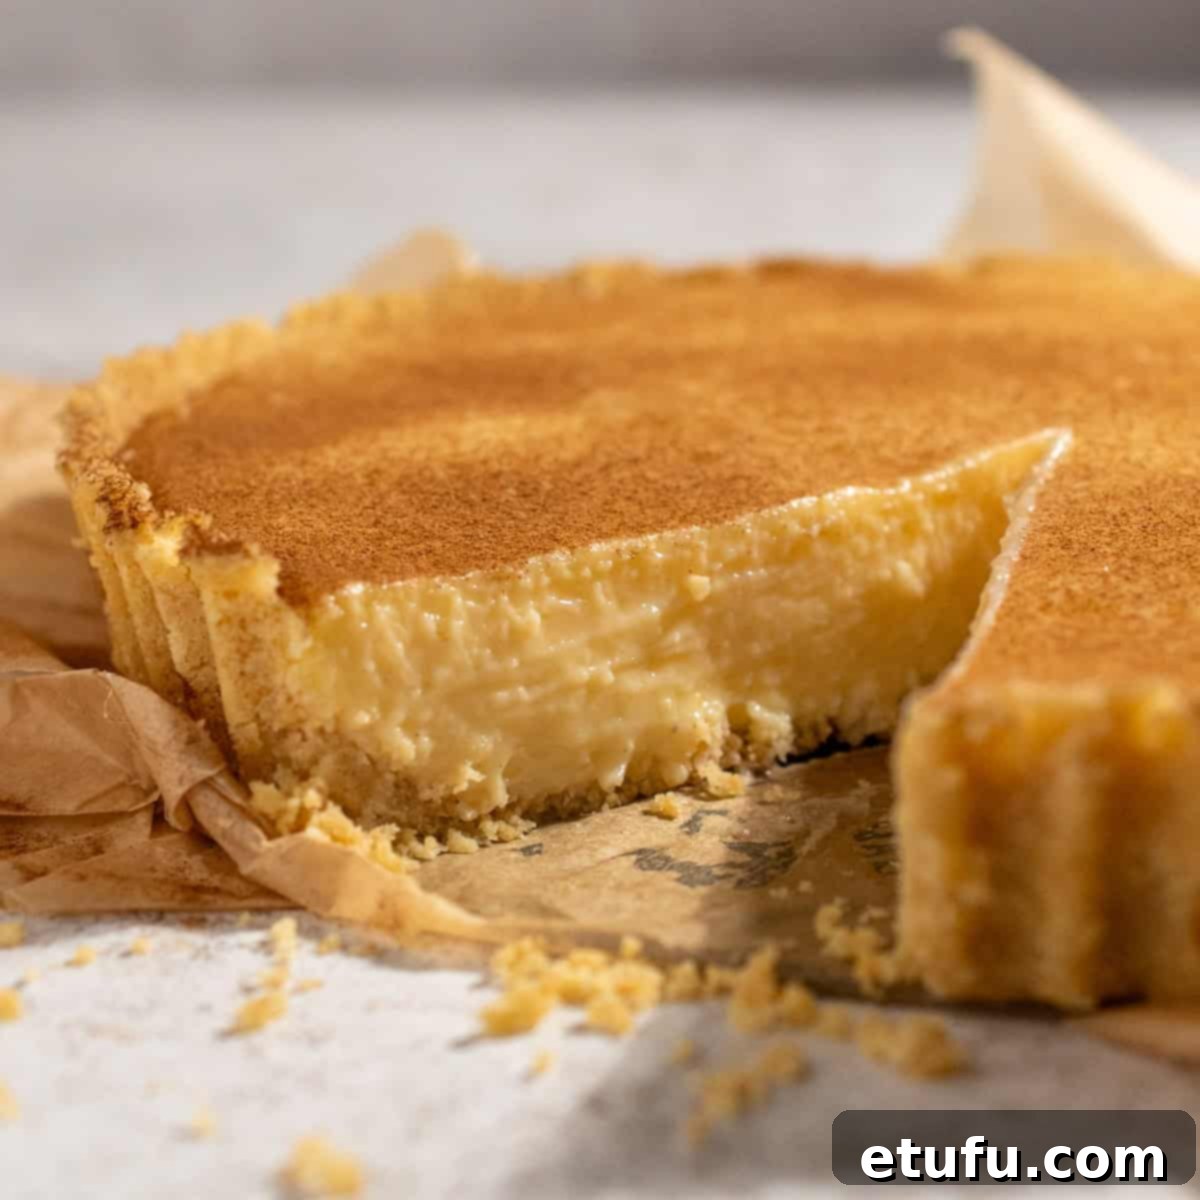
Flawless Slices That Hold Their Shape: One of the hallmarks of a perfect milk tart is its ability to hold its form without being overly firm or disappointingly soft. This recipe is meticulously crafted to ensure your slices are clean, neat, and beautifully presentable, maintaining their integrity from the first cut to the last bite.
Naturally Beautiful Color: Thanks to the golden egg yolks and the subtle enhancement from custard powder, the filling boasts a gorgeous light golden color. This natural pigmentation adds to the visual appeal, making it as pleasing to the eye as it is to the palate, distinguishing it from paler, less vibrant versions.
Quick & Convenient Preparation: Despite its sophisticated taste and appearance, this milk tart comes together in a remarkably short amount of time. Excluding the essential chilling and setting period, the active preparation takes no more than 15 minutes, making it an ideal dessert for busy schedules or spontaneous entertaining.
Key Ingredients & Smart Substitutions for Your Melktert
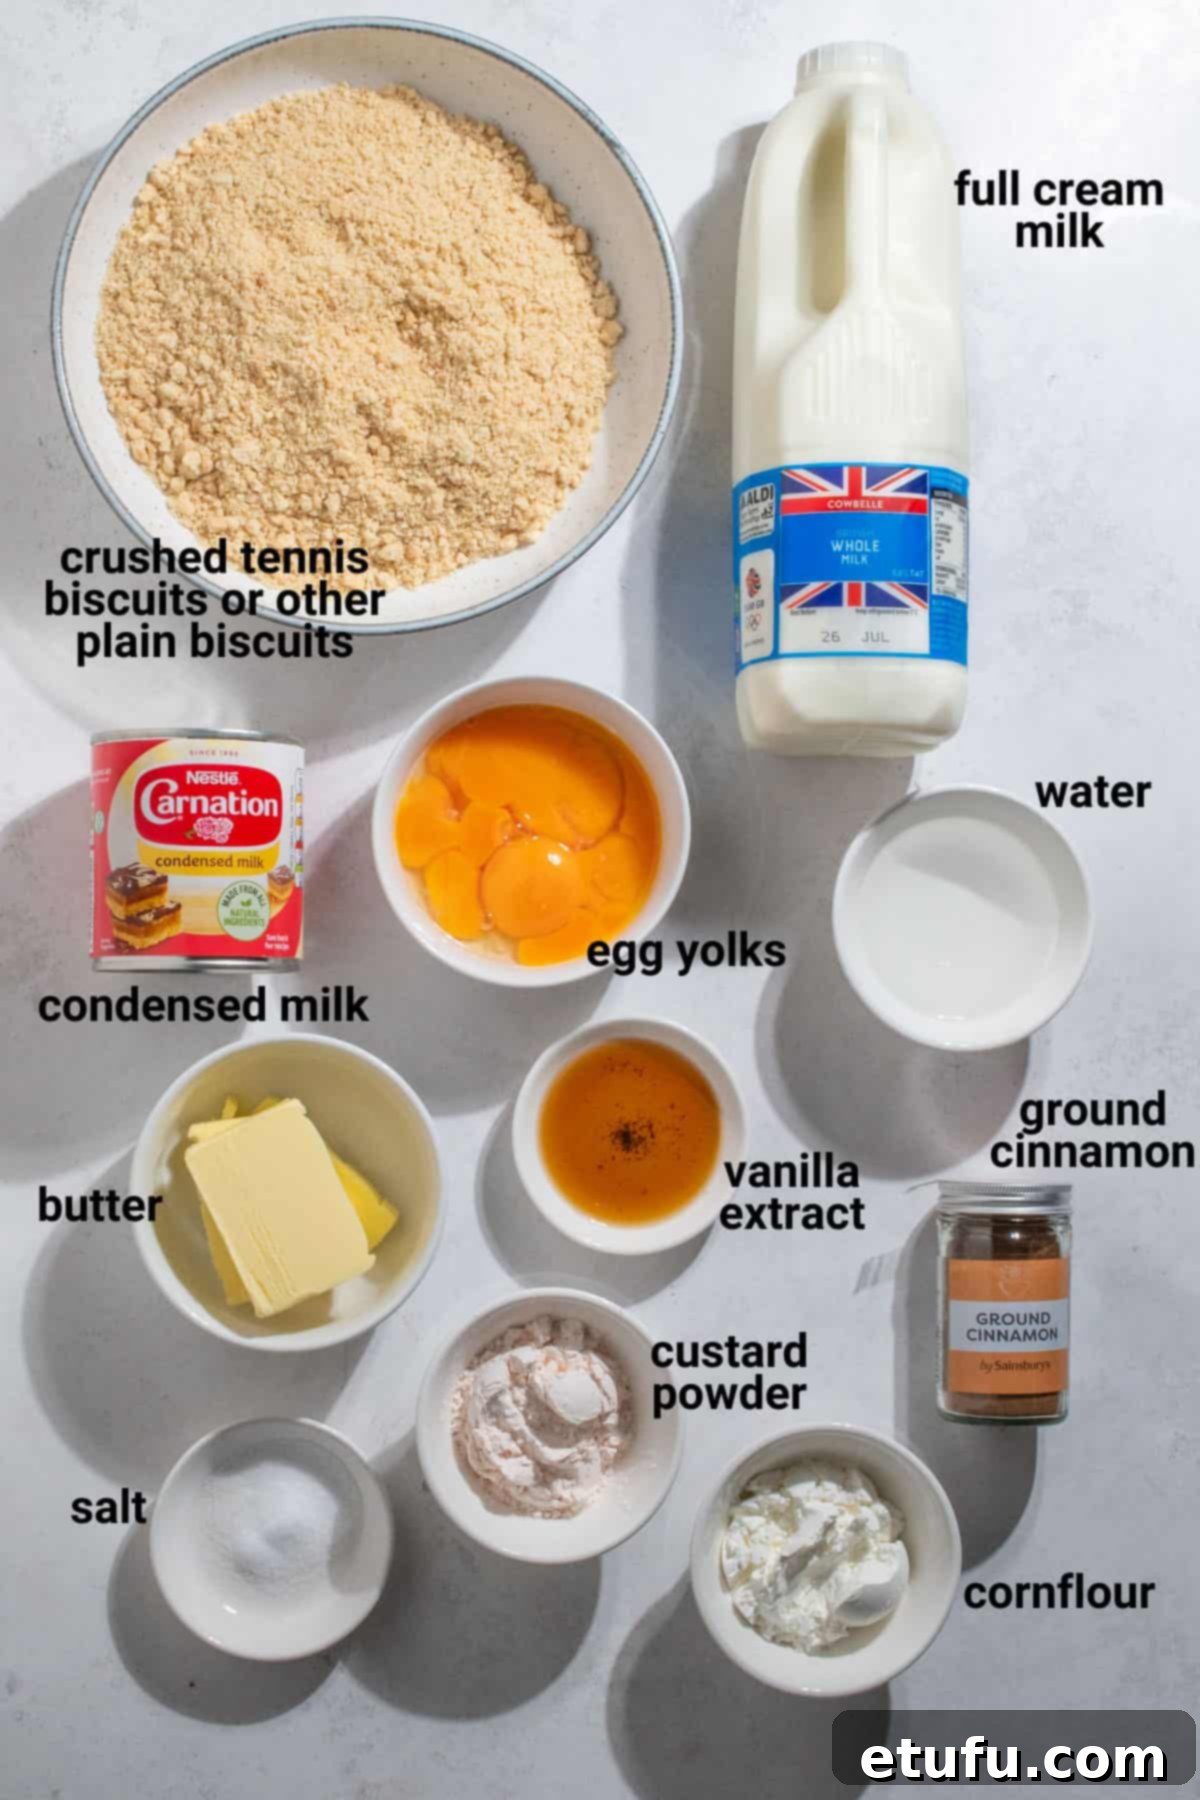
Crafting the perfect milk tart starts with understanding its core ingredients and knowing how to make smart substitutions when needed. While we always recommend using the specified ingredients for the most authentic flavor, here’s a guide to ensure your melktert is a success, no matter where you are in the world.
Tennis Biscuits: The Iconic Base
Tennis biscuits are a South African institution – sweet, rectangular, and with a delicate coconut flavor. They form the quintessential base for many no-bake South African desserts, including our beloved milk tart. If you’re outside South Africa and don’t have access to them, don’t worry! The key is to find a plain, crisp biscuit, ideally with a hint of coconut, to replicate the authentic taste and texture.
- UK: Look for Nice biscuits or McVitie’s coconut rings. Both offer a similar plain, slightly sweet profile.
- Australia: Arnott’s Nice biscuits are an excellent, readily available alternative.
- New Zealand: Griffins Coconut Krispies will work beautifully to capture that signature coconut note.
- USA: Voortman Coconut Cookies are a good option. Alternatively, shortbread cookies or even a simple vanilla wafer can be adapted.
If a coconut-flavored biscuit isn’t an option, standard plain biscuits like digestives, Graham crackers, or Marie biscuits can be used. To introduce a subtle coconut essence, consider adding a tablespoon or two of desiccated coconut when you blitz the biscuits into crumbs in your food processor. This small addition can make a big difference in flavor authenticity.
Full Cream Milk: The Foundation of Creaminess
For a truly rich and decadent milk tart filling, full cream milk is your best friend. Its higher fat content contributes significantly to the luxurious creaminess and smooth texture that melktert is famous for. It helps to create a filling that is utterly melt-in-your-mouth.
While semi-skimmed milk can be used in a pinch, be aware that it will result in a slightly less rich and creamy texture. We strongly advise against using skimmed milk, as it lacks the necessary fat content to achieve the desired consistency and flavor, often leading to a rather thin and lackluster tart. For the best results, stick to full cream.
Condensed Milk: Sweetness and Velvety Texture
Sweetened condensed milk is a crucial component of our milk tart filling, contributing both its characteristic sweetness and a silky, smooth texture. It helps to thicken the custard and adds a depth of flavor that complements the milk and egg yolks perfectly.
Cans of condensed milk can vary slightly in weight depending on your region, typically ranging around 385g to 400g (13.5oz to 14oz). Don’t stress too much about a few grams over or under the 390g (14oz) mark; these minor differences will not significantly impact the final taste or texture of your tart.
The Crucial Thickeners: Cornflour (Maizena) & Custard Powder
Cornflour (also known as cornstarch, or Maizena in some regions) and custard powder are essential for achieving the perfectly set, yet still wobbly, texture of the milk tart filling. Cornflour acts as a primary thickening agent, while custard powder not only thickens but also imparts a lovely vanilla flavor and a beautiful golden color to the custard.
A Note on Measuring Cornflour and Custard Powder
Accuracy is key when measuring these powders. To ensure consistent results, always scoop the powder lightly into your measuring spoon and then level it off with the straight edge of a knife. Avoid packing the powder down or allowing it to be heaped on the spoon, as this can lead to an overly thick or rubbery filling. A precise, level measurement ensures the perfect texture.
Vanilla Extract & Cinnamon: The Aromatic Enhancers
A good quality vanilla extract is indispensable for adding a warm, fragrant note that elevates the entire tart. Don’t skimp on this; it makes a huge difference. And, of course, the final dusting of ground cinnamon is non-negotiable for that authentic melktert finish, providing a spicy warmth that balances the sweetness.
Choosing the Right Tart Dish for Your Milk Tart
This recipe is perfectly scaled for a 23cm (9-inch) loose-bottomed tart dish with a depth of approximately 3.5cm. We often use a fluted dish for aesthetic appeal, but a plain-sided one works just as well. The loose bottom is incredibly convenient for effortlessly removing and serving your beautiful tart.
While these dimensions are ideal, you can certainly use any tart or pie dish around this size, even if it’s a different shape. Keep in mind that a slightly smaller dish might result in a thicker tart and potentially some leftover filling, while a slightly larger dish will yield a thinner tart. If your chosen dish doesn’t have a loose bottom, don’t worry! Simply slice and serve your milk tart directly from the dish, and it will be just as delicious.
Recipe Instructions: Crafting Your Authentic Milk Tart
Part 1: Preparing the Irresistible Biscuit Crust
- Prepare the Biscuits: Begin by processing the Tennis biscuits (or your chosen substitute) in a food processor until they achieve a fine, sand-like consistency. Alternatively, if you don’t have a food processor, place the biscuits in a sturdy Ziploc bag and crush them thoroughly with a rolling pin. Ensure there are no large chunks, as this can make the crust prone to breaking.
- Melt the Butter: Gently melt 100g of butter in the microwave until it is completely liquid. Be careful not to overheat it to the point of browning.
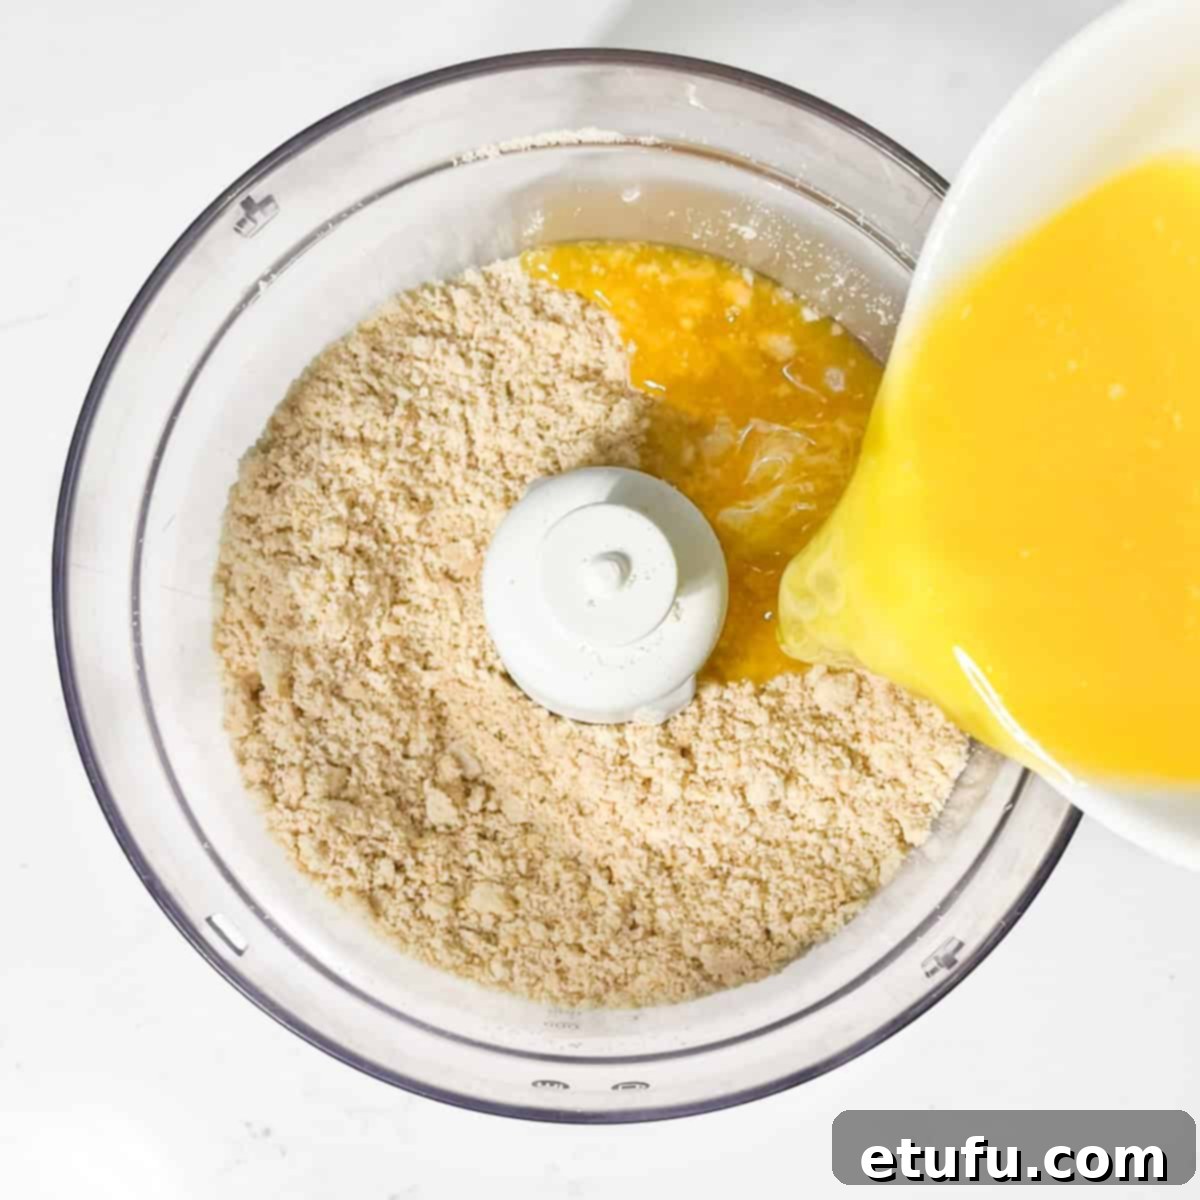
- Combine & Mix: Pour the melted butter directly into the biscuit crumbs. Briefly blitz in the food processor again, or mix thoroughly by hand, until the butter is fully incorporated and the crumbs are evenly moistened and resemble wet sand.
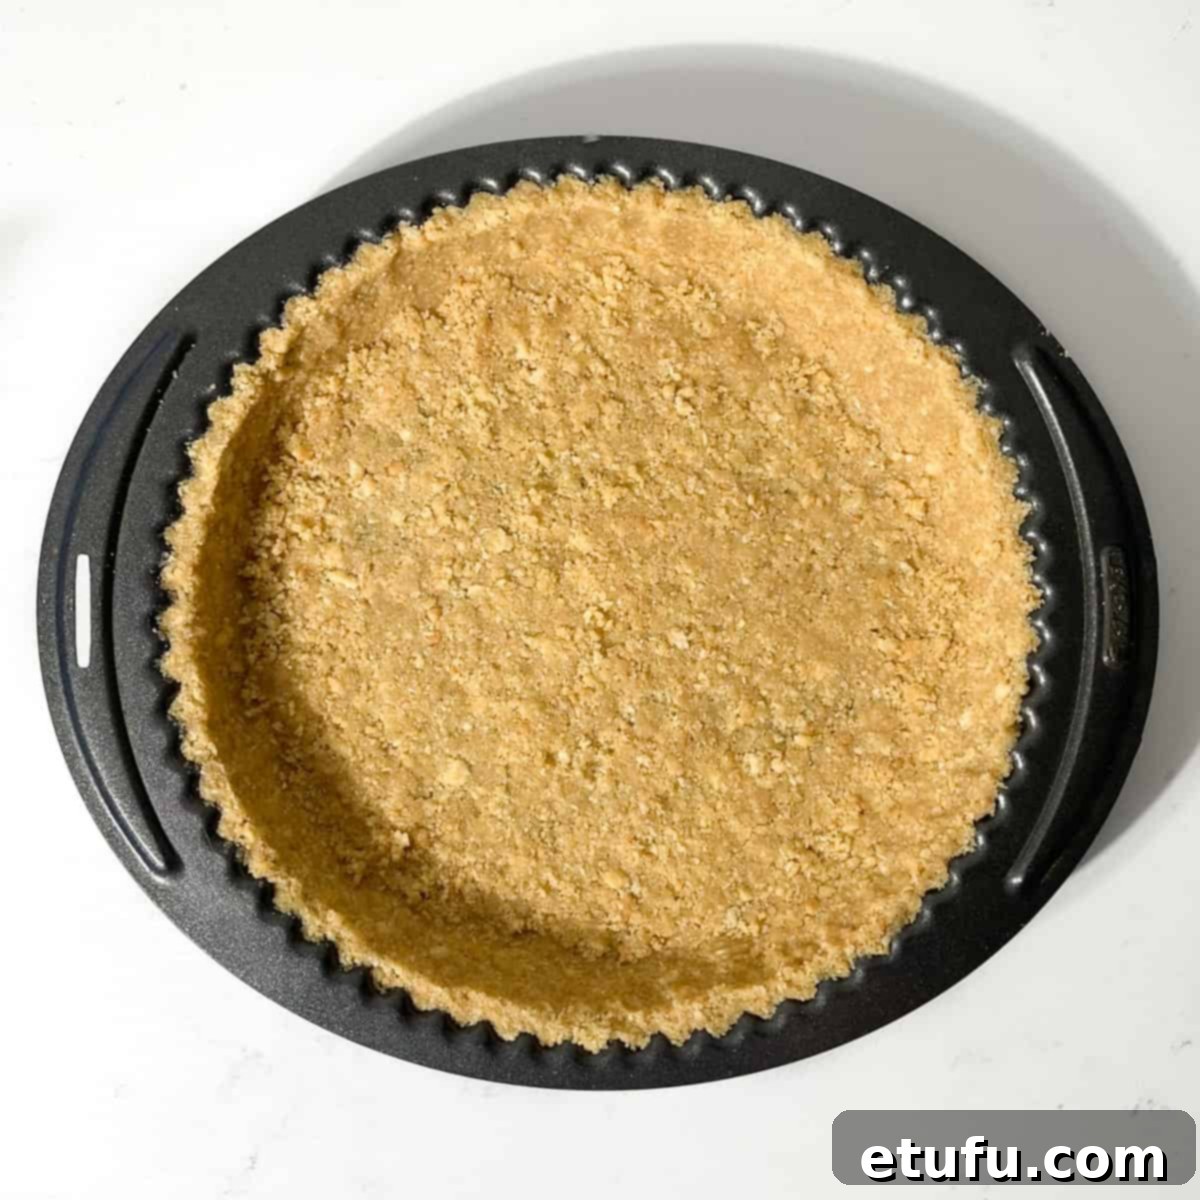
- Form the Crust: Transfer the buttery crumb mixture into your chosen 23cm (9-inch) tart tin. Using the back of a spoon or your fingertips, press the mixture down firmly and evenly across the bottom and up the sides of the tin. This firm pressing is crucial for a stable crust. Once formed, place the tart crust in the fridge to chill and firm up while you prepare the filling.
Part 2: Crafting the Luxurious Milk Tart Filling
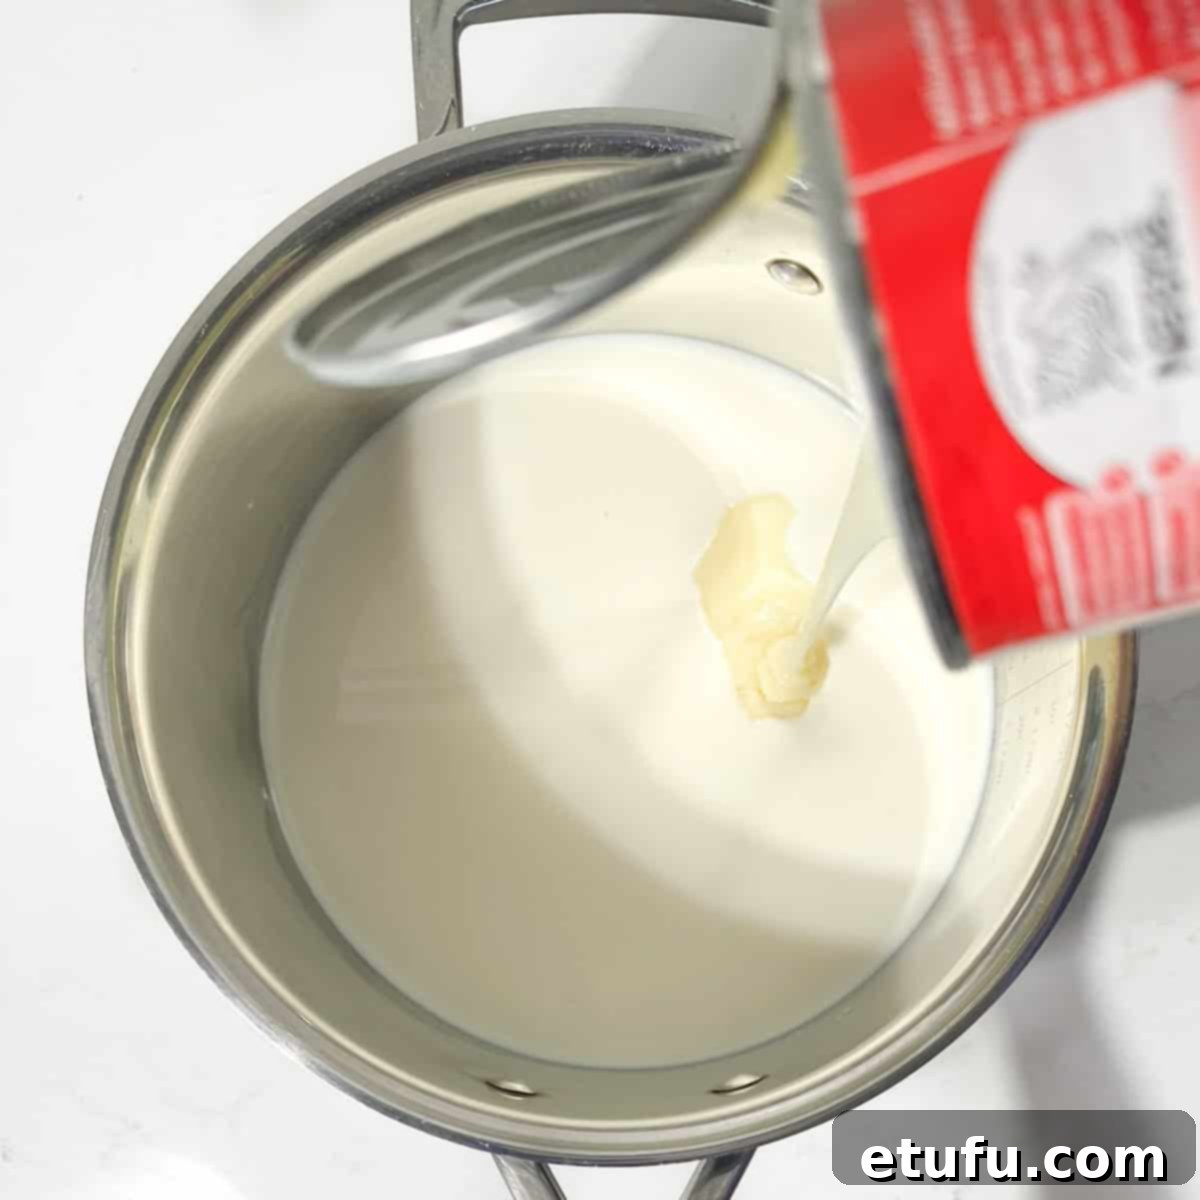
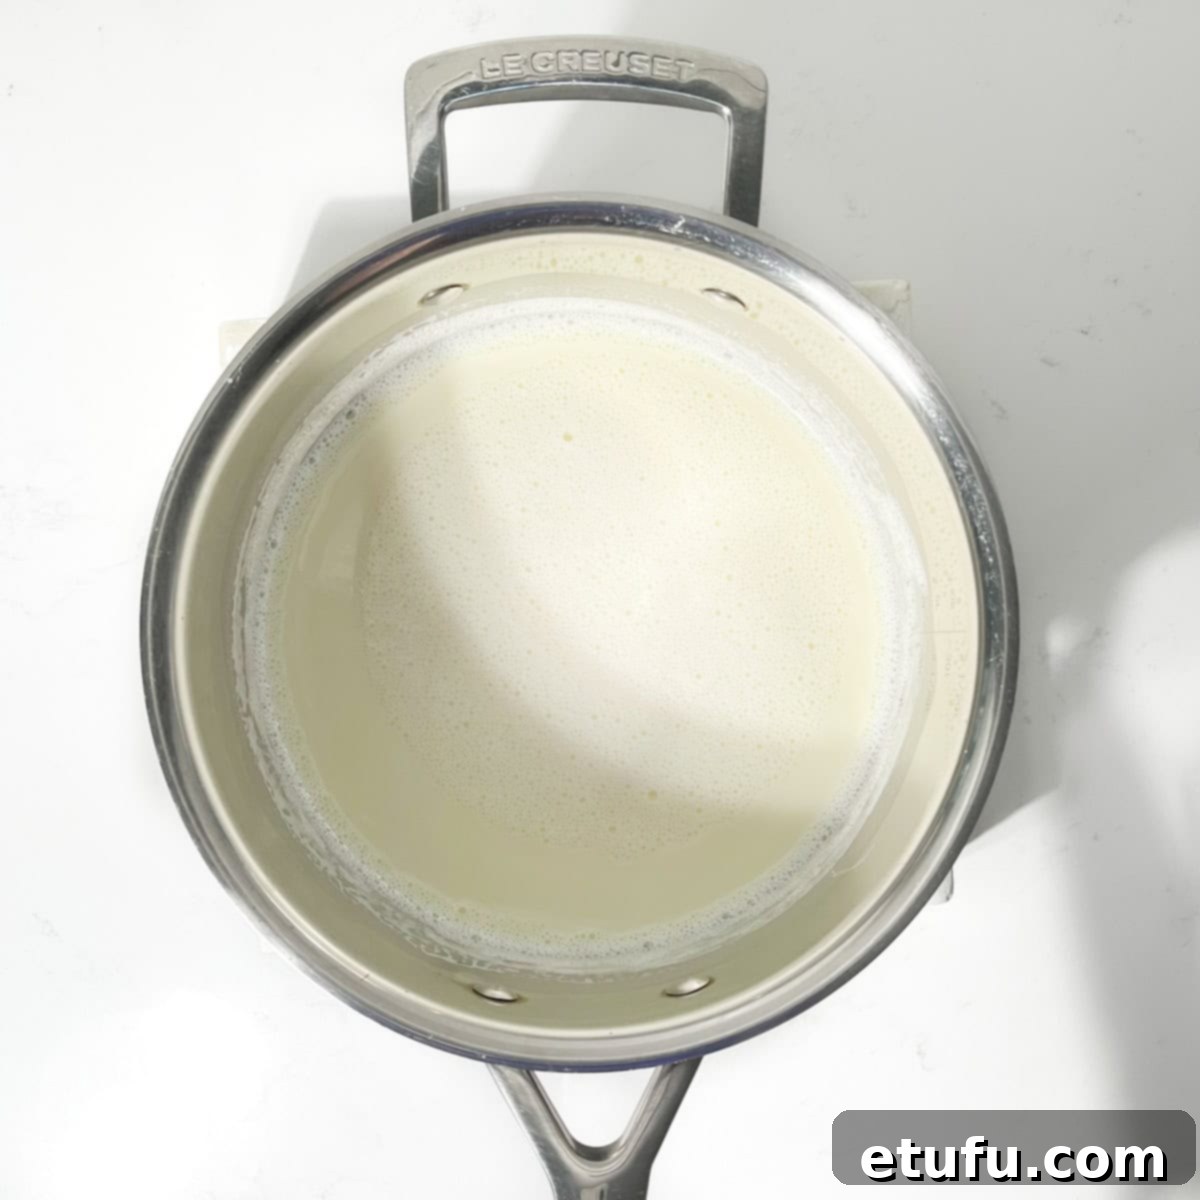
- Heat the Milk Mixture: In a large, heavy-bottomed saucepan, combine the 700ml full cream milk and the can of condensed milk. Place the saucepan over medium heat, stirring gently and continuously to prevent the milk from sticking to the bottom. Bring the mixture to a gentle simmer, just until it reaches boiling point. Immediately remove the pan from the heat to prevent burning, as burnt milk can ruin the entire flavor. Set aside while you prepare the egg mixture.
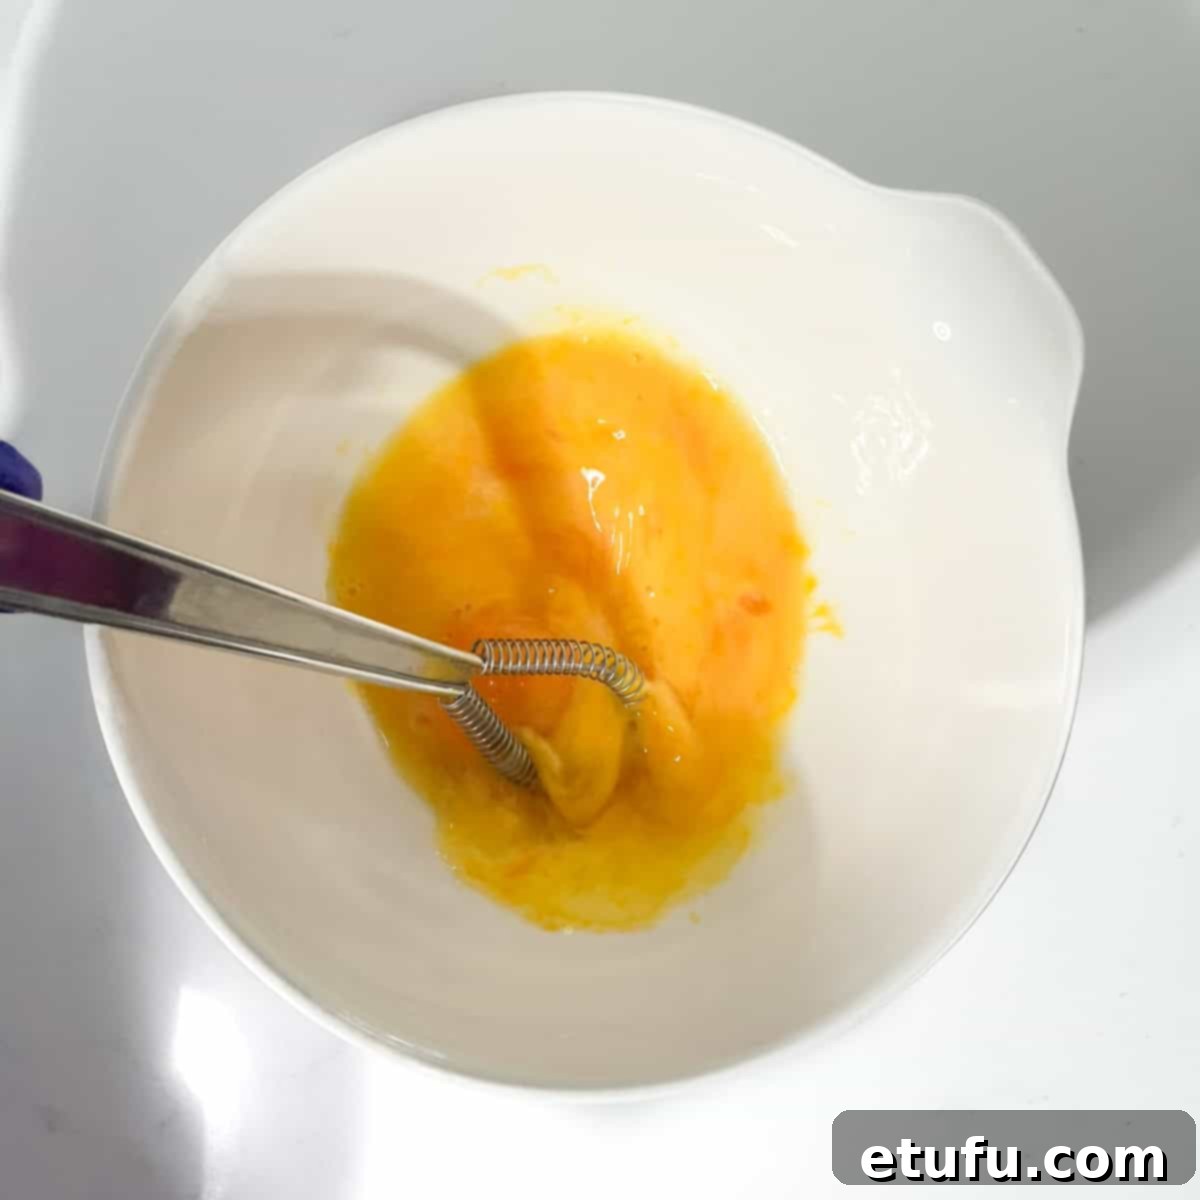
- Prepare the Egg Mixture: In a separate mixing bowl, whisk together the 4 egg yolks and 4 tablespoons of water until well combined and slightly frothy.
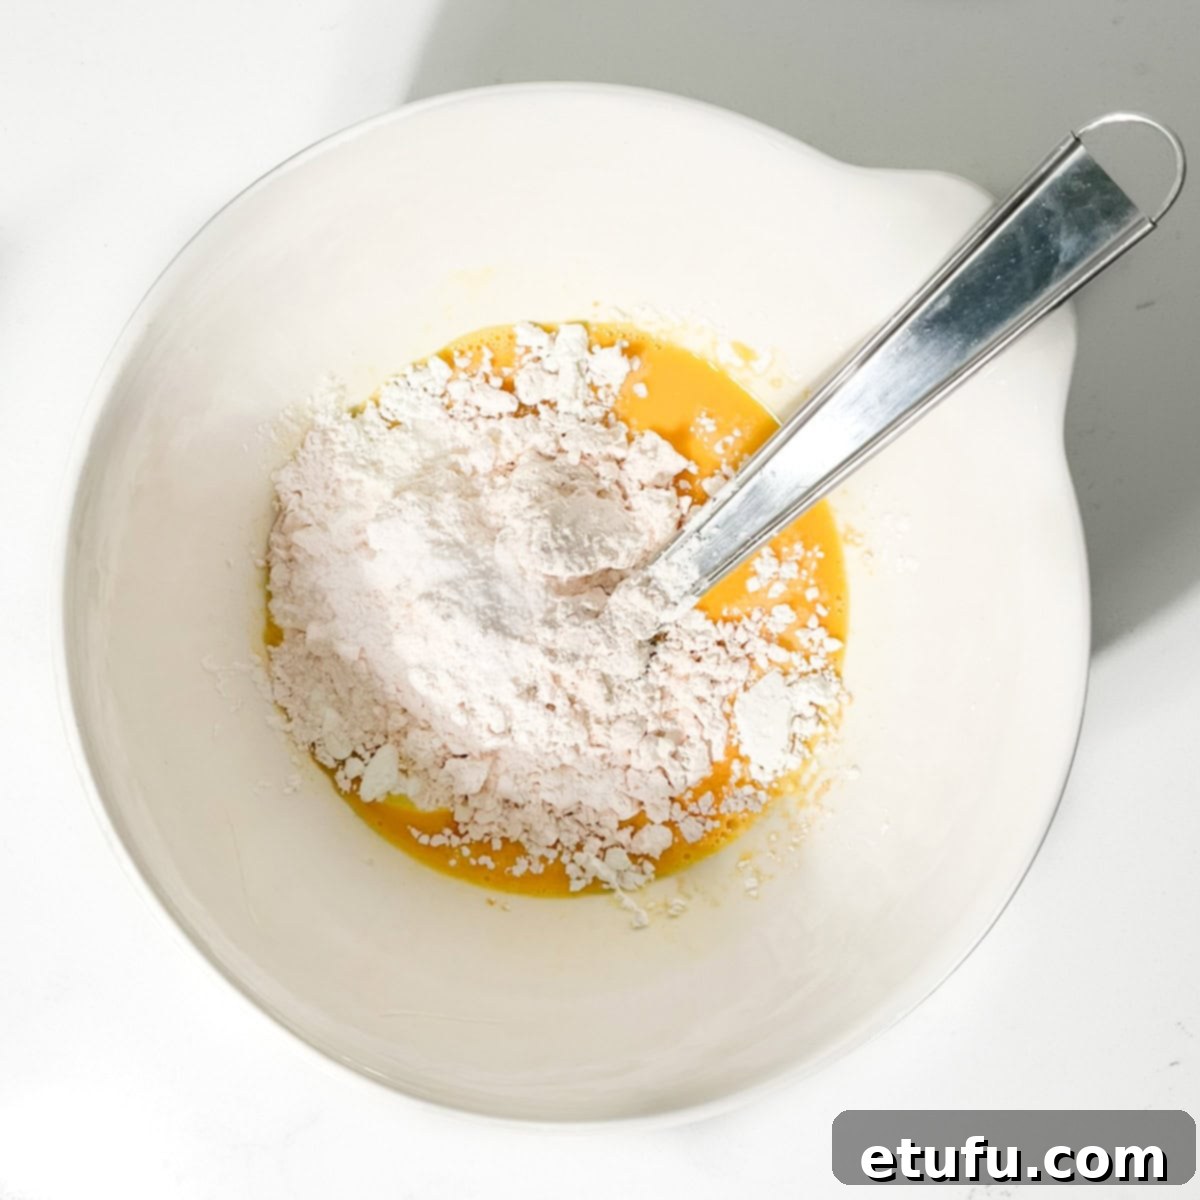
- Add Dry Ingredients: To the egg yolk mixture, add the 4 tablespoons of cornflour, 2 tablespoons of custard powder, and ¼ teaspoon of salt.
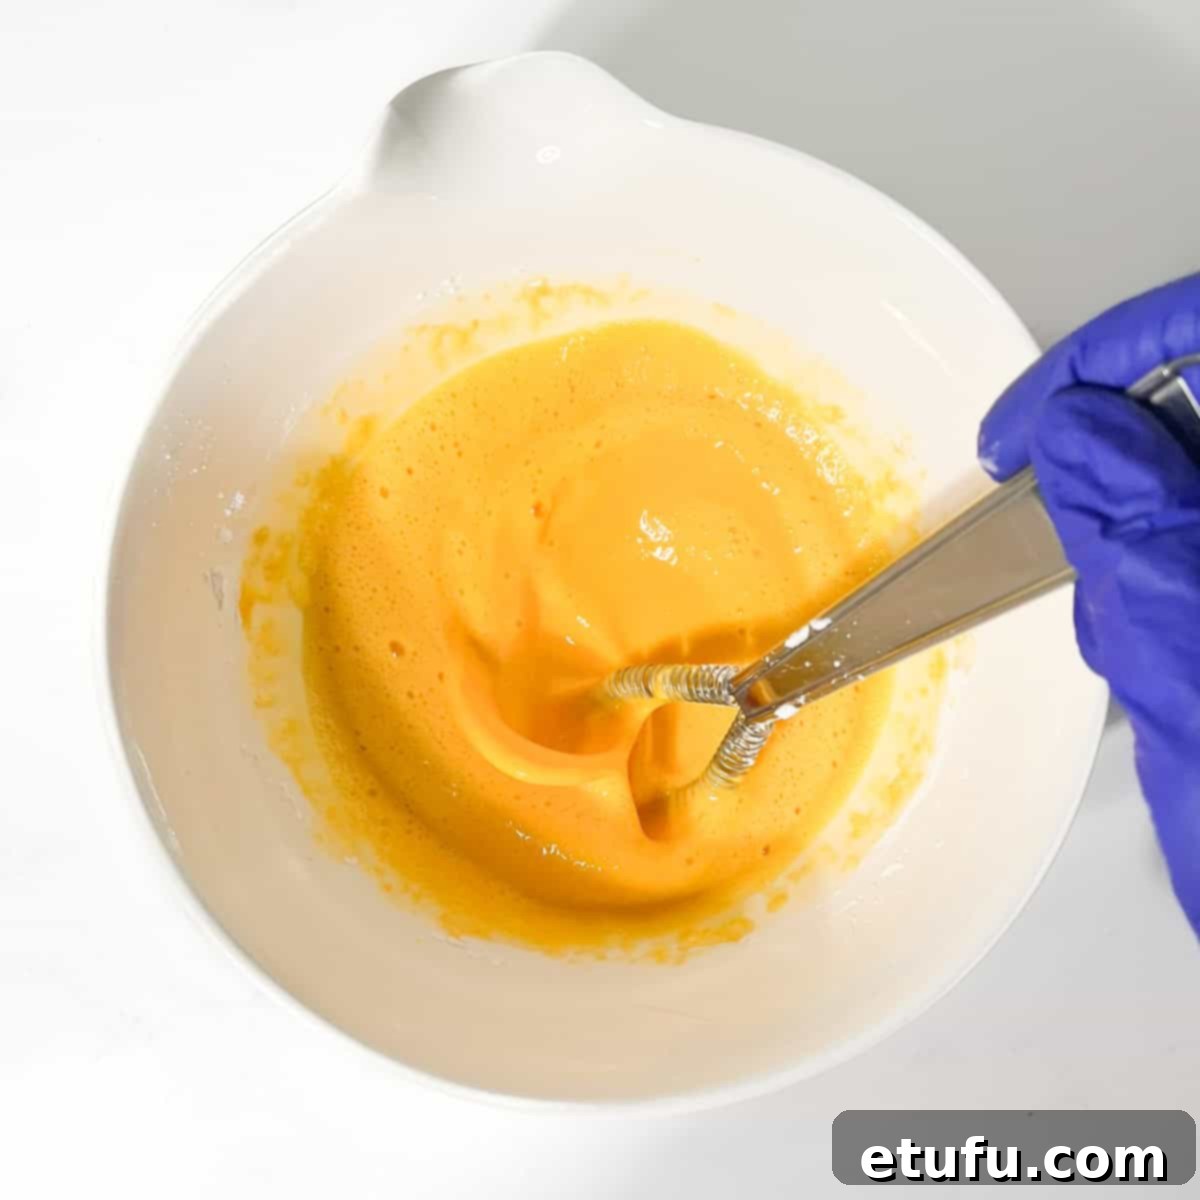
- Whisk Until Smooth: Vigorously whisk the powders into the egg mixture until it is completely smooth and free of any lumps. You may need to hand-whisk for about a minute to achieve this consistency. A lump-free mixture is essential for a silky-smooth filling.
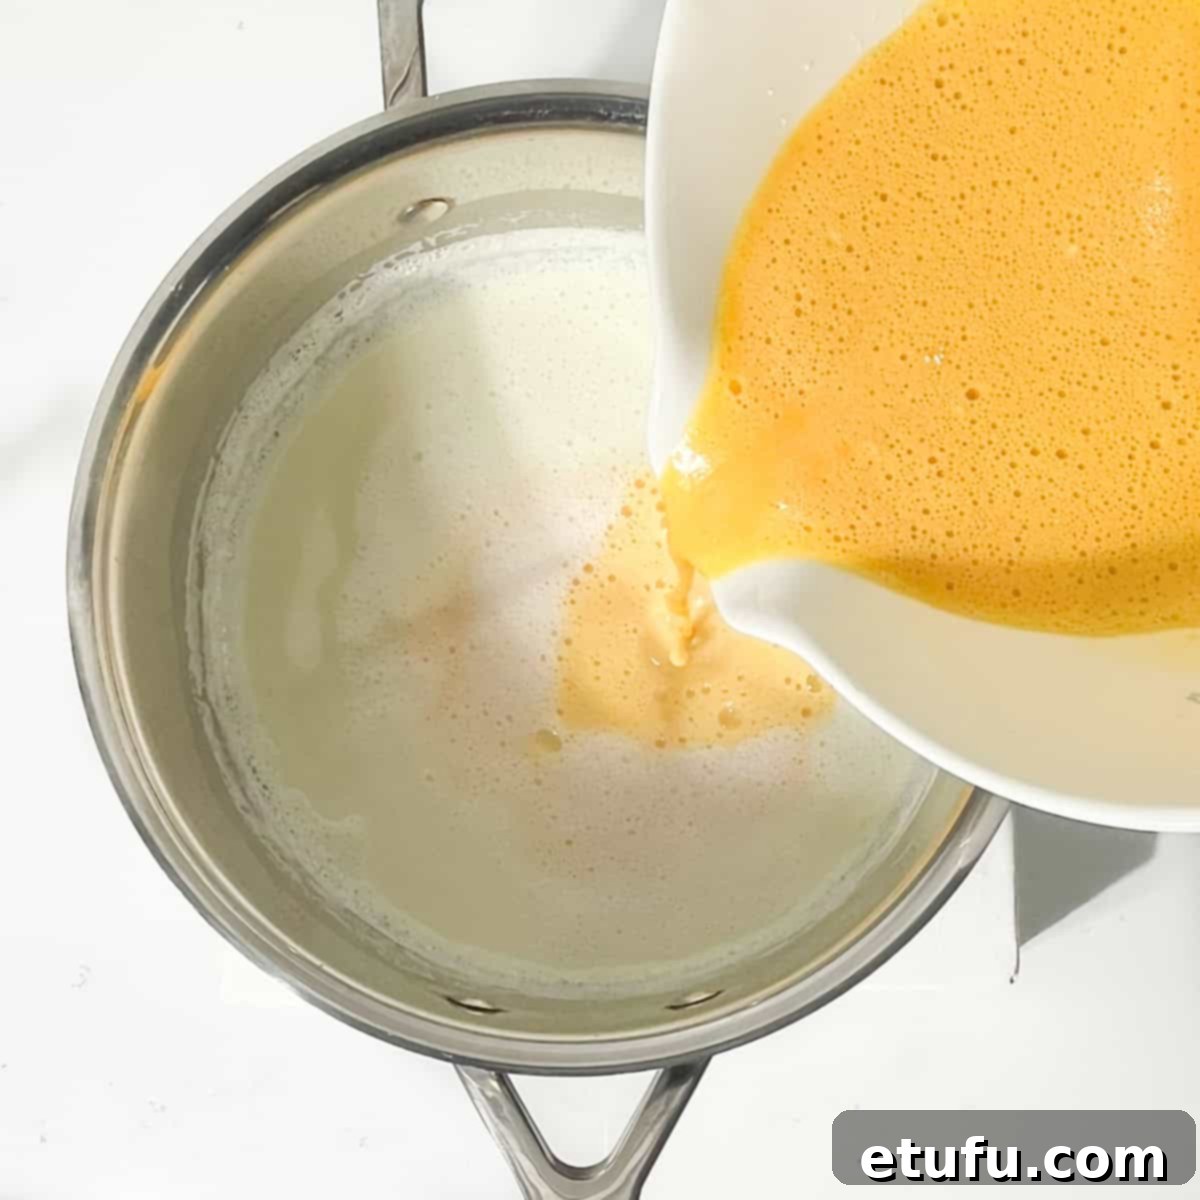
- Combine & Thicken: Pour the egg mixture into the warm milk in the saucepan. Immediately return the saucepan to a very low heat and begin whisking continuously with a wire whisk. This constant whisking is vital to prevent lumps and ensure even thickening.
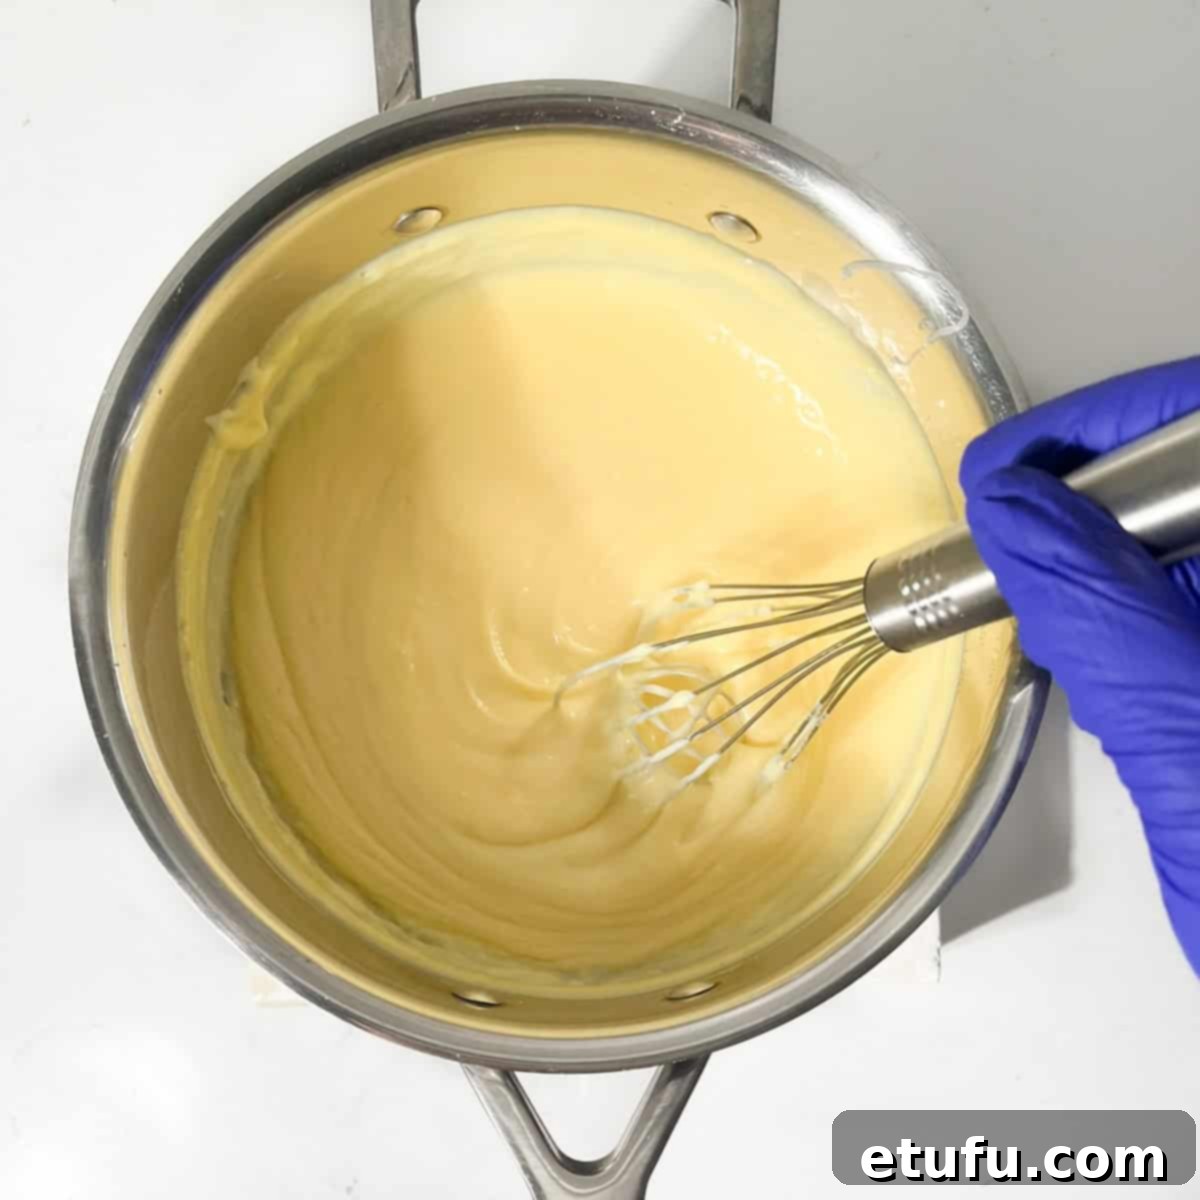
- Cook the Filling: Continue whisking without interruption for approximately 5-7 minutes. The mixture will gradually thicken significantly, and the whisk should begin to leave distinct “trails” in the custard. Patience is key here; if the filling isn’t thick enough, the tart may not set properly. Throughout this process, maintain a consistently low heat to prevent the bottom from scorching and ensure the cornflour and custard powder are fully cooked. Make sure to reach into the corners of the saucepan with your whisk to prevent any ingredients from sticking and burning.
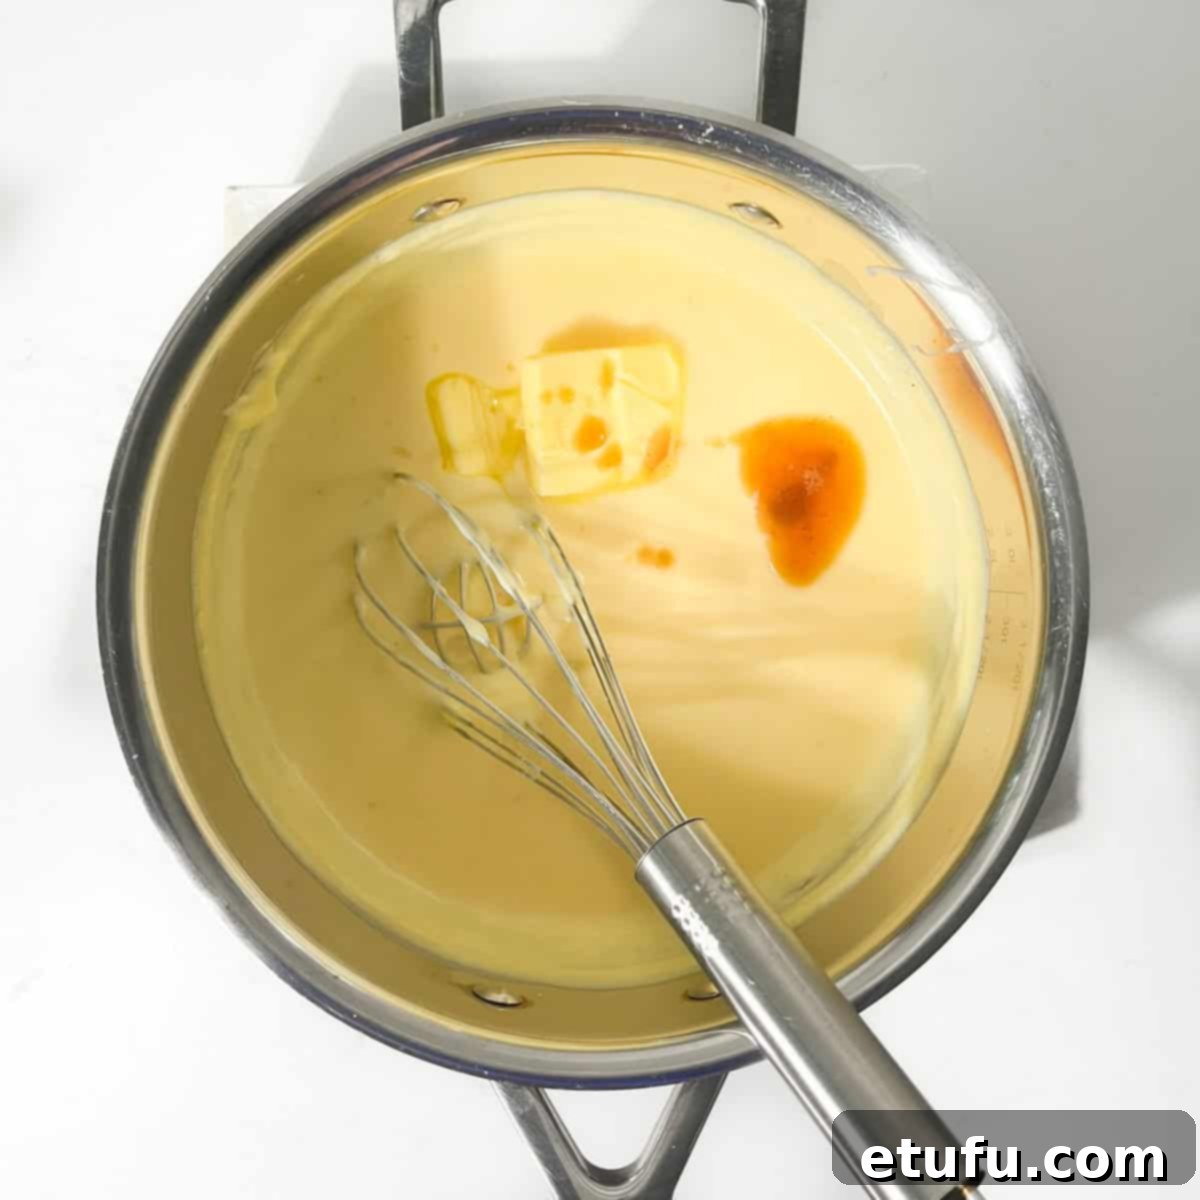
- Finish the Filling: Remove the pan from the heat. Whisk in the 30g (two tablespoons) of butter and 2 teaspoons of vanilla extract until both are fully incorporated and the filling is glossy. The butter adds an extra layer of richness and a smooth finish.
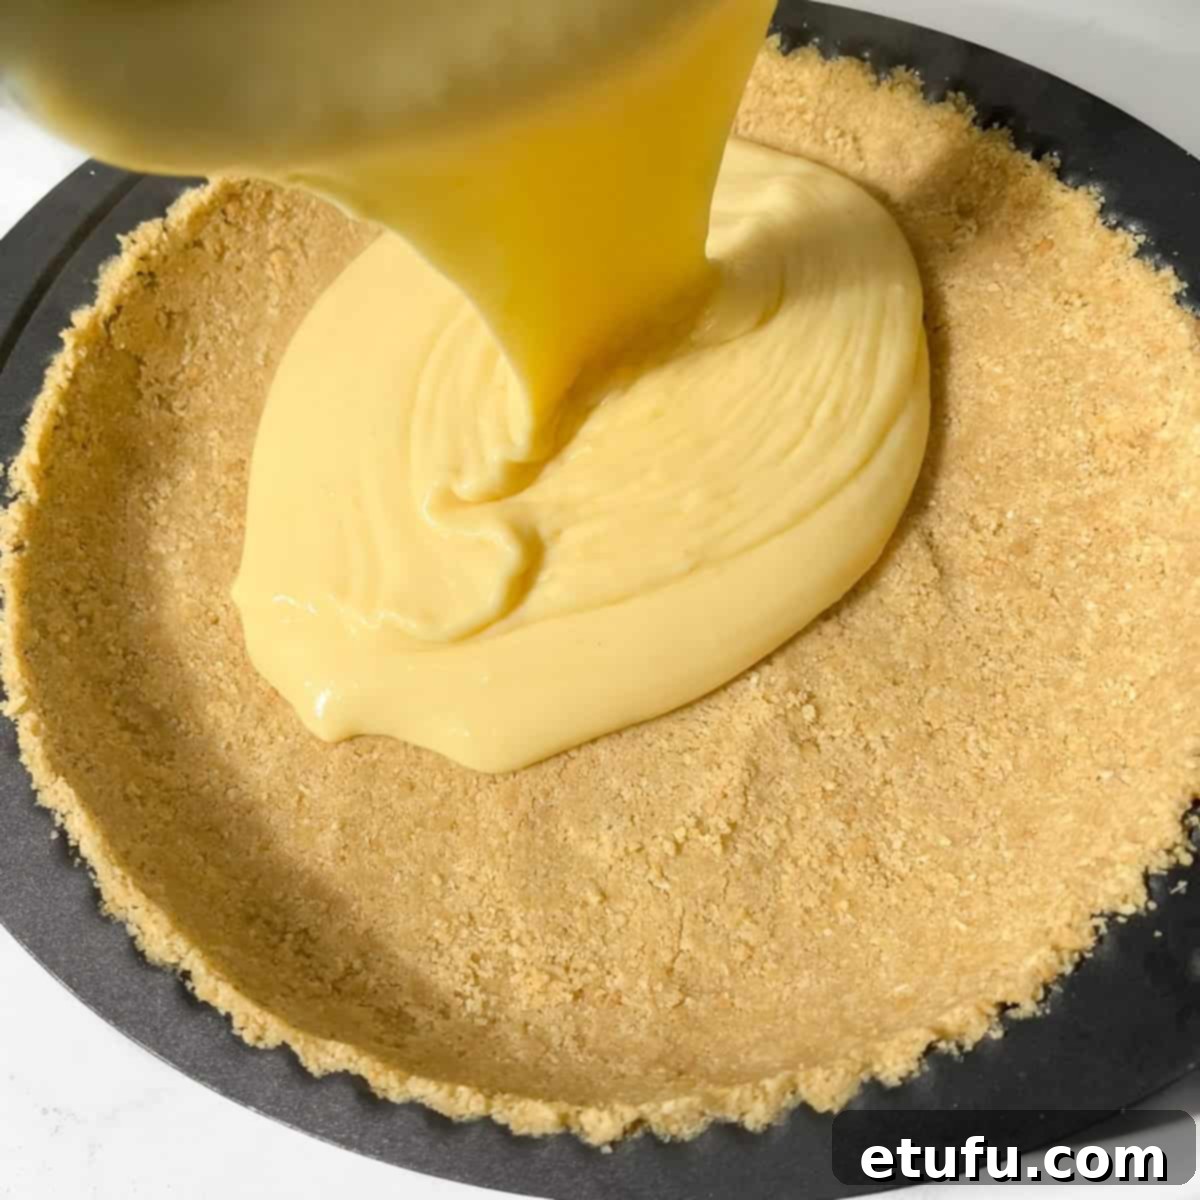
- Assemble the Tart: Carefully pour the warm milk tart filling into the chilled biscuit base. Fill it until it reaches the top edge of the crust, ensuring it’s evenly distributed.
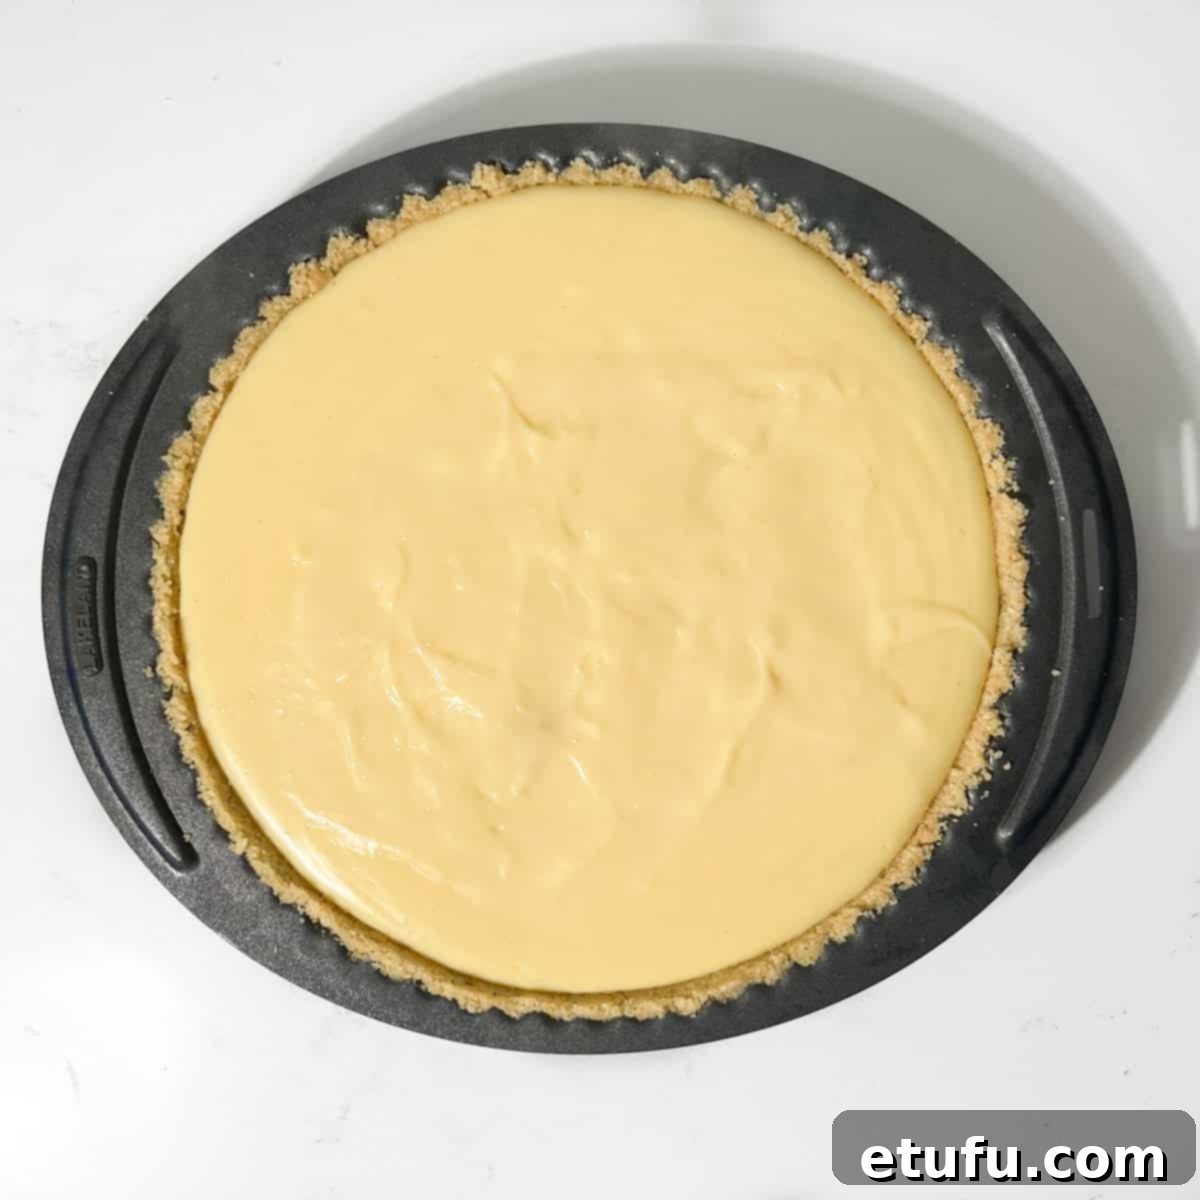
- Chill to Set: Gently jiggle the tart from side to side a few times to help the filling settle and become perfectly level. Allow the tart to cool slightly on the countertop before carefully transferring it to the fridge. It needs to chill for at least 4 hours, or preferably overnight, to allow the filling to set completely and achieve its signature texture.
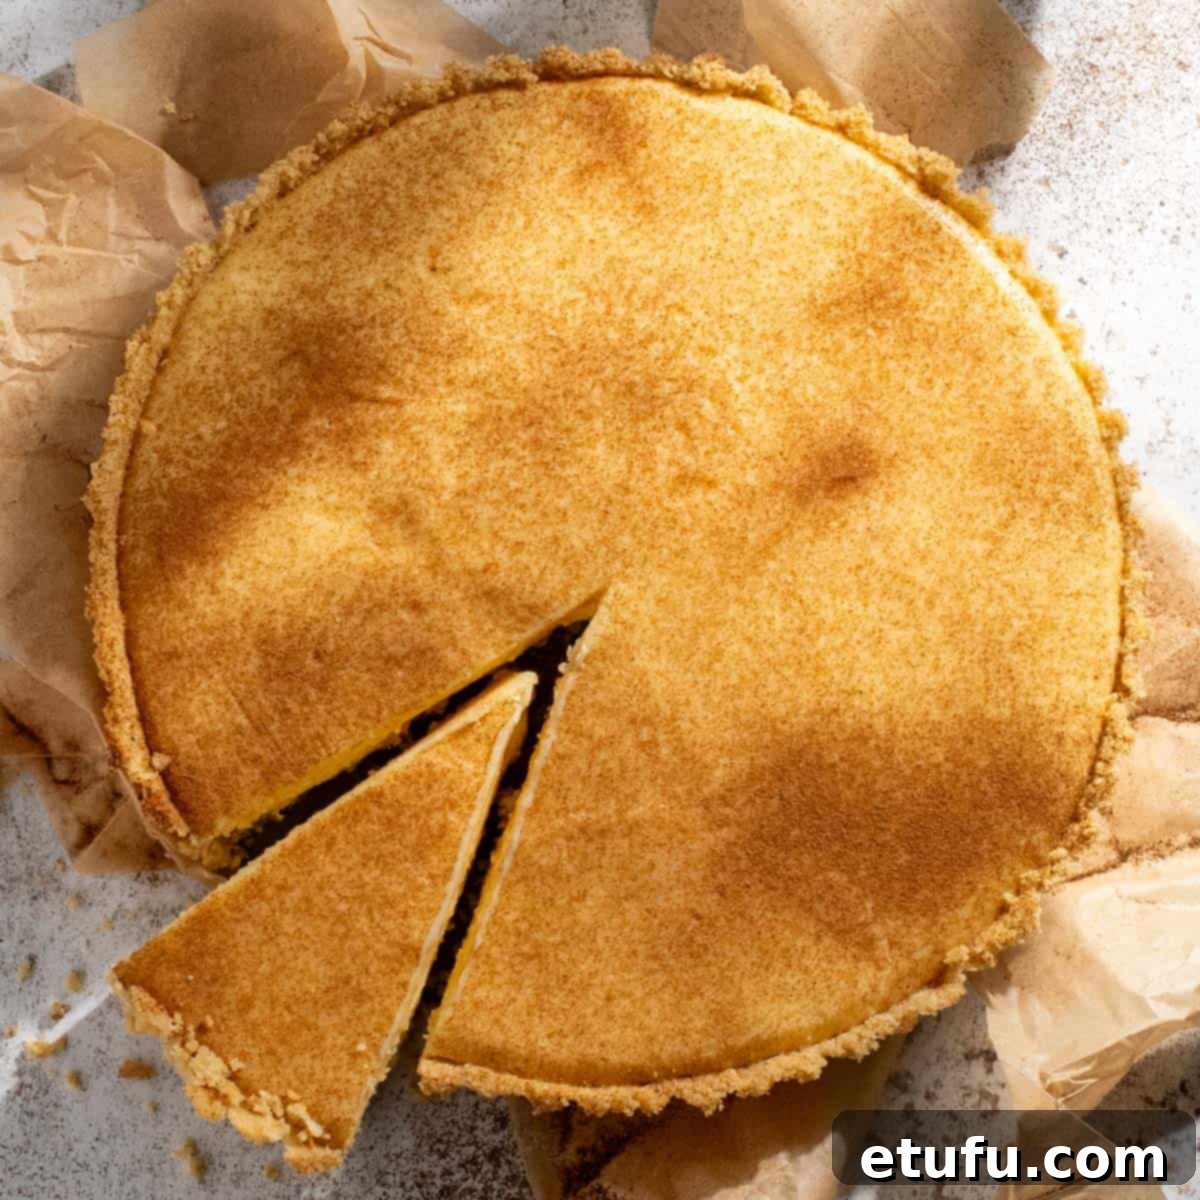
- Serve with Cinnamon: Once the milk tart is fully set and thoroughly chilled, remove it from the fridge. Evenly sprinkle a generous layer of ground cinnamon over the top. This final dusting is traditional and adds a beautiful aroma and a warm, spiced flavor that truly completes the experience. Slice and serve!
Expert Tips for Your Perfect Milk Tart
Achieving milk tart perfection is easy with these tried-and-true tips:
- Perfect Biscuit Crumbs: Ensure your biscuit crumbs are finely ground, resembling coarse sand. If the pieces are too large, the crust may not hold together as well and could break when you try to remove it from the tin or slice the tart.
- Prevent Sticking: While a loose-bottomed tin helps immensely, for extra assurance against sticking, lightly spray your tart tin with a non-stick cooking spray or apply a very thin, even coat of butter or oil before adding the biscuit base.
- Watch the Milk Closely: It is absolutely crucial not to let the milk mixture burn at any stage. Milk can scorch quickly, and even a slight burnt taste can permeate and ruin the entire milk tart. Stay vigilant, stir often, and keep the heat moderate when bringing it to a boil.
- Accurate Measurements Matter: For consistent results, especially with thickening agents like cornflour and custard powder, weigh and measure your ingredients accurately. Remember our tip: scoop powders lightly and level them off with a knife, avoiding packing.
- Whisk Beyond Initial Thickness: The filling might start to thicken within the first couple of minutes of whisking. However, continue whisking for the full 5-7 minutes. This ensures that the cornflour and custard powder are fully cooked, eliminating any starchy taste and guaranteeing that the tart will set properly with a silky-smooth texture.
- Maintain Low Heat: When cooking the filling after adding the egg mixture, keep the heat consistently LOW. This prevents the bottom of the custard from burning and allows the thickening process to happen gradually and evenly, creating a perfectly smooth custard.
- Scrape the Corners: As you whisk the filling, make sure to reach your whisk into all the corners and edges of the saucepan. This prevents any of the mixture from accumulating and potentially burning in those areas, which can introduce an unpleasant flavor or texture to your otherwise perfect tart.
Storing Your Delicious Milk Tart
Milk tart is best enjoyed fresh and chilled. It will stay wonderfully fresh and delicious for up to 3 days when stored in the refrigerator. If you push it, it can last up to 5 days, but the crust may start to soften slightly. To keep it at its best, cover the tart tightly with plastic wrap or aluminum foil to prevent it from drying out or absorbing any unwanted odors from your fridge.
Can You Freeze Milk Tart?
While some people attempt to freeze milk tarts, we generally do not recommend it for the fully assembled tart. The milk and egg-based filling can often split or become watery and grainy upon thawing, and the biscuit crust tends to become very soft and lose its crispness. However, if you want to get ahead, you can prepare and freeze the biscuit crust in advance, wrapped tightly, and then assemble the tart with fresh filling when you’re ready to serve.
Explore More Condensed Milk Delights
If you loved the creamy richness that condensed milk brought to this tart, you’re in for a treat! Condensed milk is a versatile ingredient that shines in many desserts and beverages. Discover more recipes that feature this beloved pantry staple:
- Milo Dinosaur (a rich chocolate malt drink)
- Decadent Condensed Milk Cookies
- Quick and Easy Coconut Ice
- Creamy Iced Coffee with Condensed Milk
- Easy Lemon Meringue Tart with Biscuit Base
Discover More Traditional South African Recipes
South African cuisine is a vibrant fusion of cultures and flavors. If you enjoyed creating this milk tart, we invite you to explore more authentic recipes from the Rainbow Nation:
- Classic Bobotie
- Fragrant Yellow Rice
- Hearty Bunny Chow
- Indulgent Bar-One Sauce
- More Milk Tart Recipes
- Golden Vetkoek
- Sweet Soetkoekies (Spice Biscuits)
- Delightful Hertzoggies (Jam and Coconut Tartlets)
- Condensed Milk Cookies
- Comforting Malva Pudding
- Flavorful Trinchado (Portuguese-Inspired Beef Stew)
- Creamy Melkkos (Milk Food)
See all our South African recipes for more inspiration.
Milk Tart with Condensed Milk Recipe
This authentic South African milk tart recipe is, without a doubt, our all-time favorite! It features an easy Tennis biscuit base and a luxuriously creamy filling made with condensed milk and custard powder. It’s a no-bake, old-fashioned, cinnamony hug-on-a-plate, perfect for any occasion.
Course: Dessert
Cuisine: South African
Prep Time: 15 minutes
Fridge Time: 4 hours
Total Time: 4 hours 15 minutes
Servings: 10 servings
Calories: 398 kcal
Author: Maretha Corbett
Equipment
- 1 x 23cm (9-inch) tart or cake tin with loose base (see above section for details)
- Food processor (or rolling pin)
- Large saucepan
- Mixing bowls
- Wire whisk
Ingredients
For the Crust:
- 200 grams Tennis biscuits (or Nice biscuits (UK), digestives, Marie biscuits, etc.)
- 100 grams butter, melted
For the Filling:
- 700 millilitres full cream milk
- 1 can condensed milk (circa 390g/14oz)
- 4 egg yolks
- 4 tablespoons water
- 4 tablespoons cornflour (Maizena), level, not heaped
- 2 tablespoons custard powder, level, not heaped
- ¼ teaspoon salt
- 30 grams butter (or two tablespoons)
- 2 teaspoons vanilla extract
- Cinnamon for dusting
Instructions
Making the Crust:
- In a food processor, blitz the biscuits until they resemble coarse sand. Alternatively, you can crush them in a bag with a rolling pin, just make sure the texture is fairly fine.
- Melt the 100g butter in the microwave until it becomes liquid.
- Add the melted butter to the biscuit crumbs and briefly blitz again until well combined.
- Tip the crumb mixture into the tart tin, pressing it down firmly across the bottom and up the sides. Place it in the fridge to firm up while you make the filling.
Making the Filling:
- In a large saucepan, combine the 700ml full cream milk and the can of condensed milk.
- Place the saucepan over medium heat and gently stir until the milk reaches boiling point. Be very careful not to burn the milk. Remove the pan from the heat while you prepare the egg mixture.
- In a bowl, whisk together the 4 egg yolks and 4 tablespoons of water.
- Add the 4 tablespoons cornflour (Maizena), 2 tablespoons custard powder, and ¼ teaspoon salt to the egg mixture.
- Whisk the powders into the egg mixture until it’s completely smooth without any lumps. You might need to hand-whisk vigorously for about a minute.
- Pour the egg mixture into the warm milk in the saucepan, place it over very low heat and immediately start whisking with a wire whisk.
- Whisk continuously for about 5-7 minutes until the mixture thickens and the whisk leaves distinct “trails” in the mixture. If it’s not thick enough, the tart may not set properly – be patient. Keep the heat low throughout to prevent burning.
- Remove the pan from the heat and whisk in the 30g butter and 2 teaspoons vanilla extract.
- Pour the milk tart filling into the tart base until it reaches the top edge of the crust.
- Gently jiggle the tart from side to side to even out the filling. Allow it to cool slightly before placing it in the fridge for at least 4 hours or overnight to allow it to set.
- Once the milk tart has set, evenly sprinkle ground cinnamon over it to your liking.
Notes
Remember to follow the detailed “Expert Tips for Your Perfect Milk Tart” section above for best results, focusing on precise measurements, gentle cooking, and thorough whisking to achieve the ideal texture and flavor for your melktert.
For food safety advice, including guidance on food allergies
**Nutritional Data Disclaimer**
Please keep in mind that the nutritional information provided below is calculated by a third party and we cannot guarantee its absolute accuracy. We strive to provide the most precise information possible, but we do not take responsibility for any errors that may be present. Additionally, the nutritional value of the recipe may vary depending on the exact brands and products used. We recommend consulting with a qualified healthcare professional or registered dietitian for personalized advice regarding your dietary needs.
Nutrition
Calories: 398 kcal | Carbohydrates: 45g | Protein: 9g | Fat: 21g | Saturated Fat: 11g | Polyunsaturated Fat: 2g | Monounsaturated Fat: 6g | Trans Fat: 0.4g | Cholesterol: 136mg | Sodium: 336mg | Potassium: 325mg | Fiber: 1g | Sugar: 30g | Vitamin A: 658IU | Vitamin C: 1mg | Calcium: 240mg | Iron: 1mg
